
How to Make Ghee at Home
Ghee (how long does ghee last?) is a type of clarified butter (how long does butter last?) that has been used in Indian cooking for millennia. It is made by simmering butter and removing the milk solids that rise to the top, resulting in a product that is pure butterfat with nutty flavor and a high smoke point. This liquid gold can be used for sautéing, frying, or as a spread. It is also prized in traditional medicine and believed to promote a variety of health benefits.
Making ghee at home is a simple process that requires minimal equipment and ingredients, yet yields a versatile and healthier alternative to many cooking oils. The procedure involves heating butter gently until its water content evaporates and allowing the milk solids to brown, which imbues the ghee with its characteristic flavor and brown butter appearance. Home cooks favor this method for the control it provides, enabling them to create ghee that suits their taste and dietary preferences.
The recipe for homemade ghee is straightforward. One needs only unsalted butter and a heavy-bottomed pan to ensure even heating. The butter is melted slowly, allowing a clear distinction of the separated layers, and then it is simmered until the milk solids have settled at the bottom and can be strained out. The resulting golden liquid is then cooled and stored, ready to enhance a variety of dishes with its rich, nutty essence.
Understanding Ghee
Ghee is a form of clarified butter with a high smoke point and distinct nutty flavor, commonly used in various cuisines for its culinary benefits.
Health Benefits and Nutritional Information
Ghee is rich in saturated fats, providing a source of energy and aiding in the absorption of fat-soluble vitamins. Unlike regular butter, this homemade butter contains fewer dairy solids, which makes it a potential alternative for those with slight dairy sensitivities. It boasts a high smoke point, around 485°F (250°C), higher than many common cooking fats like butter or coconut oil, making it suitable for high-heat cooking.
Nutritional Information (per tablespoon):
Calories: 112
Fat: 12.7g
Saturated Fat: ~8g
Carbohydrates: 0g
Protein: 0g
Cholesterol: ~33mg
Comparing Ghee to Other Fats
Ghee and coconut oil are both celebrated for their high smoke points, but ghee typically surpasses coconut oil by about 55°F. Ghee's saturated fat content is comparable to butter, yet its removal of milk solids grants it a higher smoke point and different textural properties. The golden color and rich, nutty aroma of ghee contribute a unique flavor to dishes.
Comparison Table:
In culinary contexts, ghee is used to enhance the flavor and texture of food. It can serve as a substitute for oils or butter in sautéing, baking, and frying. The difference between ghee and other fats lies in its processing and composition – ghee is clarified butter with a higher smoke point and distinct taste that can vary the outcome of a recipe.
Ingredients and Equipment Needed
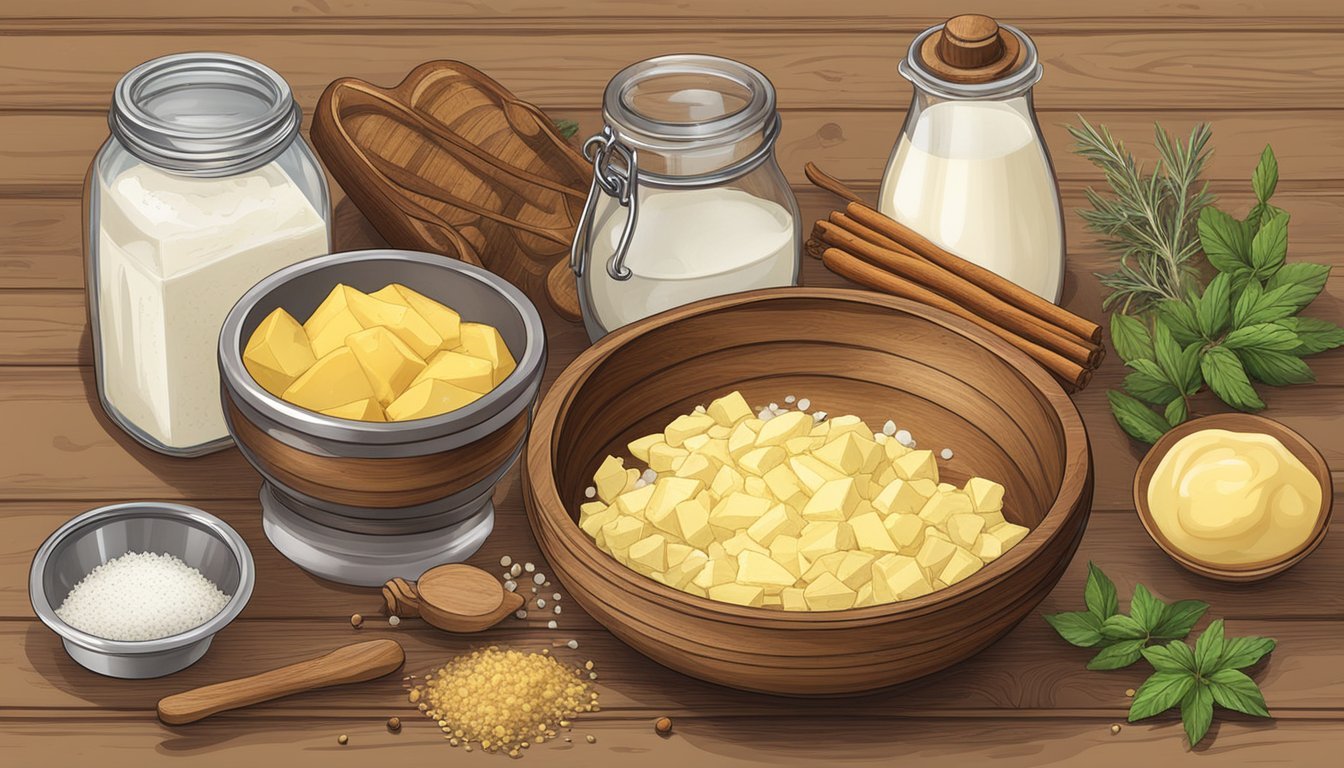
To make ghee at home, one requires high-quality butter and a set of specific kitchen tools to ensure a successful preparation. The process relies on the use of these ingredients and tools to create the clarified butter known as ghee.
Choosing the Right Butter
The foundation of ghee lies in the butter used; thus, selecting the correct type is paramount. For optimal results, unsalted butter is the standard choice, as it allows for better control over the final product's flavor. When available, opting for grass-fed or organic butter can enhance the ghee's taste and nutritional profile due to the higher levels of Omega-3 fatty acids and vitamins found in milk from grass-fed cows.
Gathering the Necessary Kitchen Tools
To clarify butter into ghee, the following kitchen tools are essential:
Heavy-bottomed pan: A medium saucepan or any heavy-bottomed pan is required to evenly distribute heat and prevent the butter from burning.
Spoon: One needs a spoon or spatula to stir the butter during the clarification process.
Cheesecloth or Muslin: A piece of cheesecloth or muslin is necessary to strain the clarified butter, removing milk solids.
Jar or Heatproof container: Once strained, the ghee needs to be stored in a jar, preferably a mason jar, or any heatproof container that has been sterilized.
Accumulating these specific items will facilitate a smooth and effective ghee-making process.
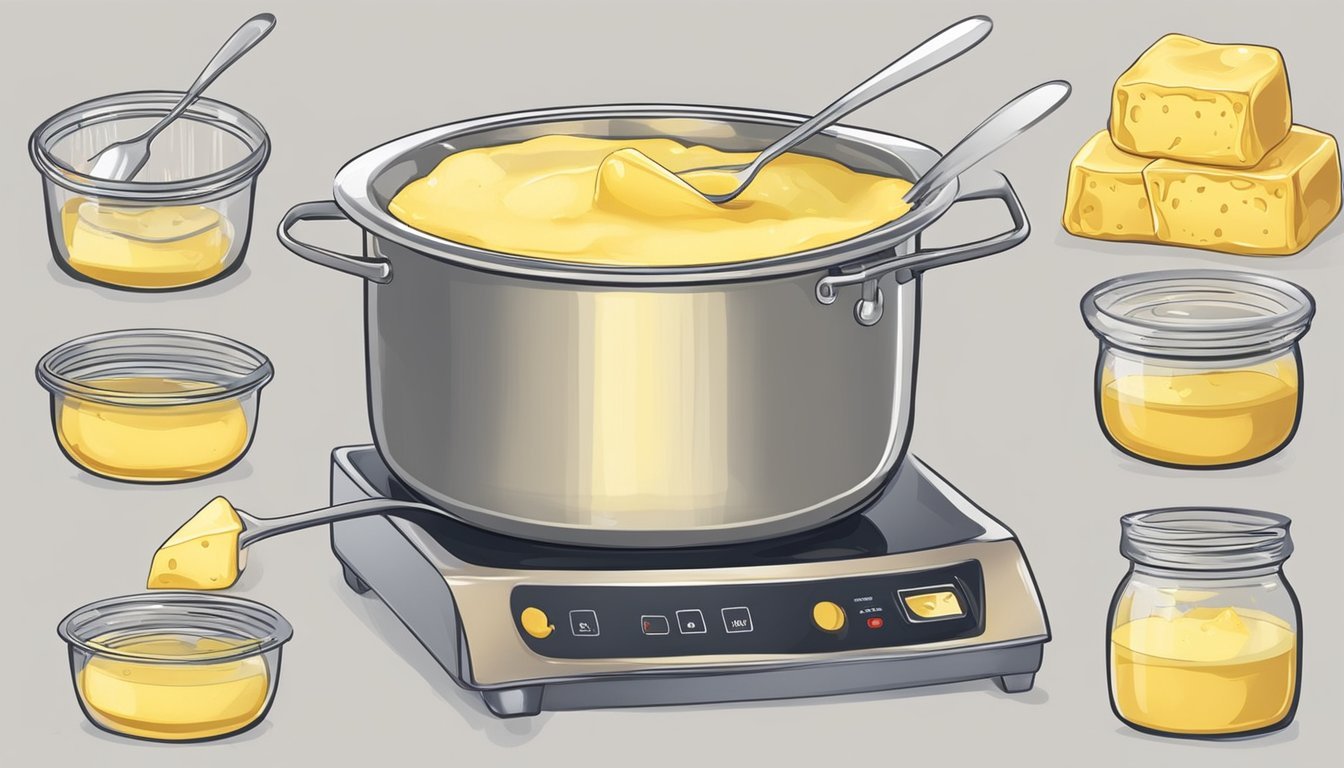
The Ghee-Making Process
Ghee is traditionally made through a process of simmering butter to separate the milk solids and water from the butterfat. This creates a pure, golden clarified butter that is highly valued in cooking.
Preparing the Butter
One begins by gently melting unsalted butter over low heat. It is crucial to use a heavy-bottomed pot to reduce the risk of burning. Slowly, the butter will transition to a liquid state, and this initial melt is fundamental to the ghee-making process. Avoid stirring the butter; instead, allow it to melt uniformly.
The Clarification Stage
As the butter melts, it will begin to simmer, and a layer of white milk solids will form on the surface. These milk solids are proteins that need to be removed to achieve clarification. It is essential to maintain a low and steady heat to prevent these solids from burning. Over approximately 15-20 minutes, the color of these solids will change from white to golden, signaling the browned milk solids stage. One must watch carefully at this point, as there's a fine line between perfectly browned solids and burnt ones.
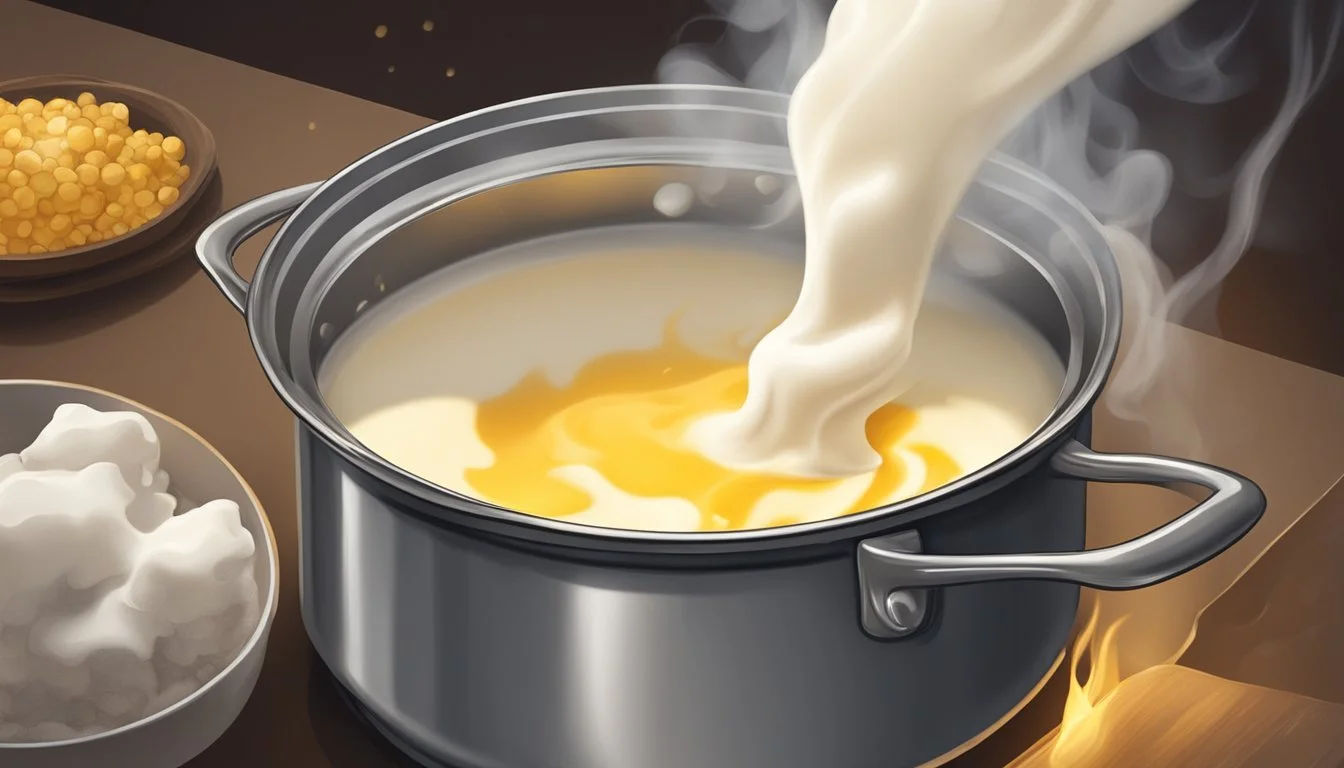
Straining the Ghee
Once the milk solids have browned, the next step is straining the ghee to ensure purity. One should use a cheesecloth or a fine mesh strainer to remove the browned milk solids. The straining process is meticulous, as any remaining solids can spoil the ghee or affect its flavor. After straining, the clear golden liquid remaining is the ghee, now free from any moisture or solid impurities. This clarified butter should be smooth with a rich, nutty flavor and can be stored without refrigeration.
Storing and Preserving Ghee

Proper storage and preservation are essential for maintaining the quality and extending the lifespan of ghee. It involves choosing the right containers and understanding the effects of temperature on its shelf life.
Ideal Storage Containers
The ideal storage container for ghee is an airtight container that prevents moisture and other contaminants from entering. Containers made from glass or stainless steel are recommended as they do not react with the ghee and maintain its purity. It's imperative to ensure the container is clean and dry before pouring in the ghee to prevent mold growth.
Shelf Life and Refrigeration
Ghee has an impressive shelf life when stored correctly. At room temperature, it can last up to 12 months if kept in an airtight container away from direct sunlight and heat. Refrigeration can extend its freshness further, though it's typically not necessary unless the room temperature is consistently high. Avoiding the use of wet utensils when scooping out ghee can also prolong its quality. If one chooses to freeze ghee, it can be kept for extended periods, even years, without spoiling. However, this is rarely done due to its long shelf life at room temperature.
Cooking with Ghee

Ghee, a form of clarified butter, is a versatile ingredient that enhances the flavor profile of various dishes across different cuisines. It's also a favored cooking fat for those adhering to certain dietary preferences due to its high smoke point and healthful properties.
Ghee in Various Cuisines
Ghee holds a paramount place in Indian cooking. It is traditionally used in preparing savories and sweets for its rich, nutty flavor. Indian dishes like dal (lentils) are often tempered with ghee and various spices to add depth. Shrimp curry cooked in ghee takes on a delectably smooth taste and aroma that elevates the dish. Ghee's use is not limited to Indian cuisine; it's also found in Middle Eastern and Southeast Asian foods.
When it comes to cooking techniques, ghee is ideal for frying, stir-frying, and sautéing. Its high smoke point of about 485°F (252°C) makes it less likely to break down and produce harmful compounds when exposed to high heat, unlike many other oils. This property ensures that dishes cooked with ghee will have a clean taste, unaffected by the burnt flavor that oils with lower smoke points might impart.
Frying: Perfect for making crispy textures.
Stir-frying: Adds a subtle buttery taste to quick-cooked dishes.
Sautéing: Offers a stable base for building flavors.
Using Ghee for Dietary Preferences
Those with specific dietary preferences or sensitivities, such as paleo, keto, Whole30, vegetarian, or dairy-sensitive, can incorporate ghee into their diets with ease. Since ghee is made by removing milk solids, it contains negligible amounts of lactose and casein, making it suitable for many individuals with dairy sensitivities.
Gluten-free: Ghee is naturally gluten-free, making it safe for those with gluten intolerance or celiac disease to consume.
Dairy-free diets can often include ghee, as the process of clarification removes most of the dairy components that cause sensitivities. However, for those with severe allergies or strict dairy-free diets, it's essential to consult with a healthcare provider before incorporating ghee.
For those following paleo, keto, or Whole30 lifestyles, ghee serves as a source of healthy fats that align with the high-fat, low-carbohydrate dietary goals. Its rich nutritional profile supports these dietary plans well.
Paleo: A natural, unprocessed fat source.
Keto: Can help maintain ketosis with high-fat content.
Whole30: Approved as it's free from forbidden additives.
Vegetarians also find ghee a beneficial fat for cooking because it originates from milk and doesn't require the harm of any animals in its production process.
In summary, ghee is an adaptable cooking fat compatible with many dishes and suitable for a wide array of diets.
Be Merry with Ghee
Ghee, also known as clarified butter, is a staple in many kitchens for its rich, nutty flavor and high smoke point. The process of making ghee at home is simple and rewarding, allowing cooks to control the quality and purity of the final product.
Ingredients
Unsalted butter
Equipment
Heavy-bottomed saucepan
Mesh strainer
Cheesecloth or coffee filter
Clean glass jar for storage
To begin, place unsalted butter in a heavy-bottomed saucepan and melt it over medium heat. Once melted, the butter will begin to foam. Keep the heat at a steady medium to allow the water content to evaporate.
As the water evaporates, milk solids will separate and fall to the bottom of the pan. One must watch the butter carefully during this process to prevent the solids from burning. The butter will become clear, and golden ghee will float above the solids.
Once the ghee has taken on a rich golden color, remove it from heat. Let it cool slightly before straining through a mesh strainer lined with cheesecloth or a coffee filter to remove the milk solids. This results in pure ghee.
Transfer the strained ghee into a clean glass jar. Ghee can be stored without refrigeration, remaining shelf-stable for a lengthy period due to its low moisture content.
Making ghee at home not only infuses a kitchen with a delightful aroma but also offers a touch of homemade goodness to any dish. Its high smoke point makes it versatile for cooking and baking, while its rich flavor enhances everything from sautéed vegetables to sweet pastries. Home cooks can enjoy the process of making ghee and the enhanced taste it brings to their culinary creations.
