
The Secret to Perfectly Grilled Texas Oysters: Recipe and Tips from Top Chefs and Grill Masters
Discover > Texas Recipes > The Secret to Perfectly Grilled Texas Oysters: Recipe and Tips from Top Chefs and Grill Masters

Grilled oysters (What wine goes well with oysters?) hold a special place in the heart of Texas cuisine. With their delectable flavors and enticing aroma, these succulent treasures of the sea are a true delicacy. But what is the secret to achieving perfectly grilled Texas oysters?
Let's delve into the world of expert grill masters and top chefs to uncover the techniques and tips that elevate grilled oysters to a new level. From selecting the finest oysters to preparing the grill with precision, we'll guide you through each step, ensuring that your grilled oysters become a culinary masterpiece.
Get ready to savor the sea's flavors combined with the grill's smoky allure. With our comprehensive guide and the wisdom of culinary experts, you'll soon be grilling oysters that will leave everyone craving more.
The Allure of Grilled Oysters in Texas Cuisine

Grilled oysters hold an irresistible allure in Texas cuisine, capturing the essence of coastal living and the rich flavors of the Gulf Coast. This beloved delicacy has become a culinary symbol, representing the vibrant seafood culture and the unique flavors that define Texan gastronomy.
Texas is home to a bountiful coastline, where the waters teem with an abundance of oysters. These briny mollusks are harvested and prepared with meticulous care, embodying the essence of freshness and authenticity. Something truly magical happens when these oysters are gently placed on the grill.
The grill's heat awakens the oysters, transforming their tender flesh into succulent morsels of perfection. As the oysters sizzle and their shells open, a symphony of aromas fills the air with an enticing blend of smokiness, melted butter (how long does butter last?), garlic (What wine goes well with garlic?), and oceanic fragrance.
Grilled oysters have become an integral part of the Texas culinary landscape, adorning menus at seafood shacks, coastal restaurants, and backyard cookouts alike. Whether enjoyed as a casual street food snack or presented as an elegant appetizer, they have found their place in the hearts and palates of Texans.
Tips for Choosing the Freshest and Highest Quality Oysters
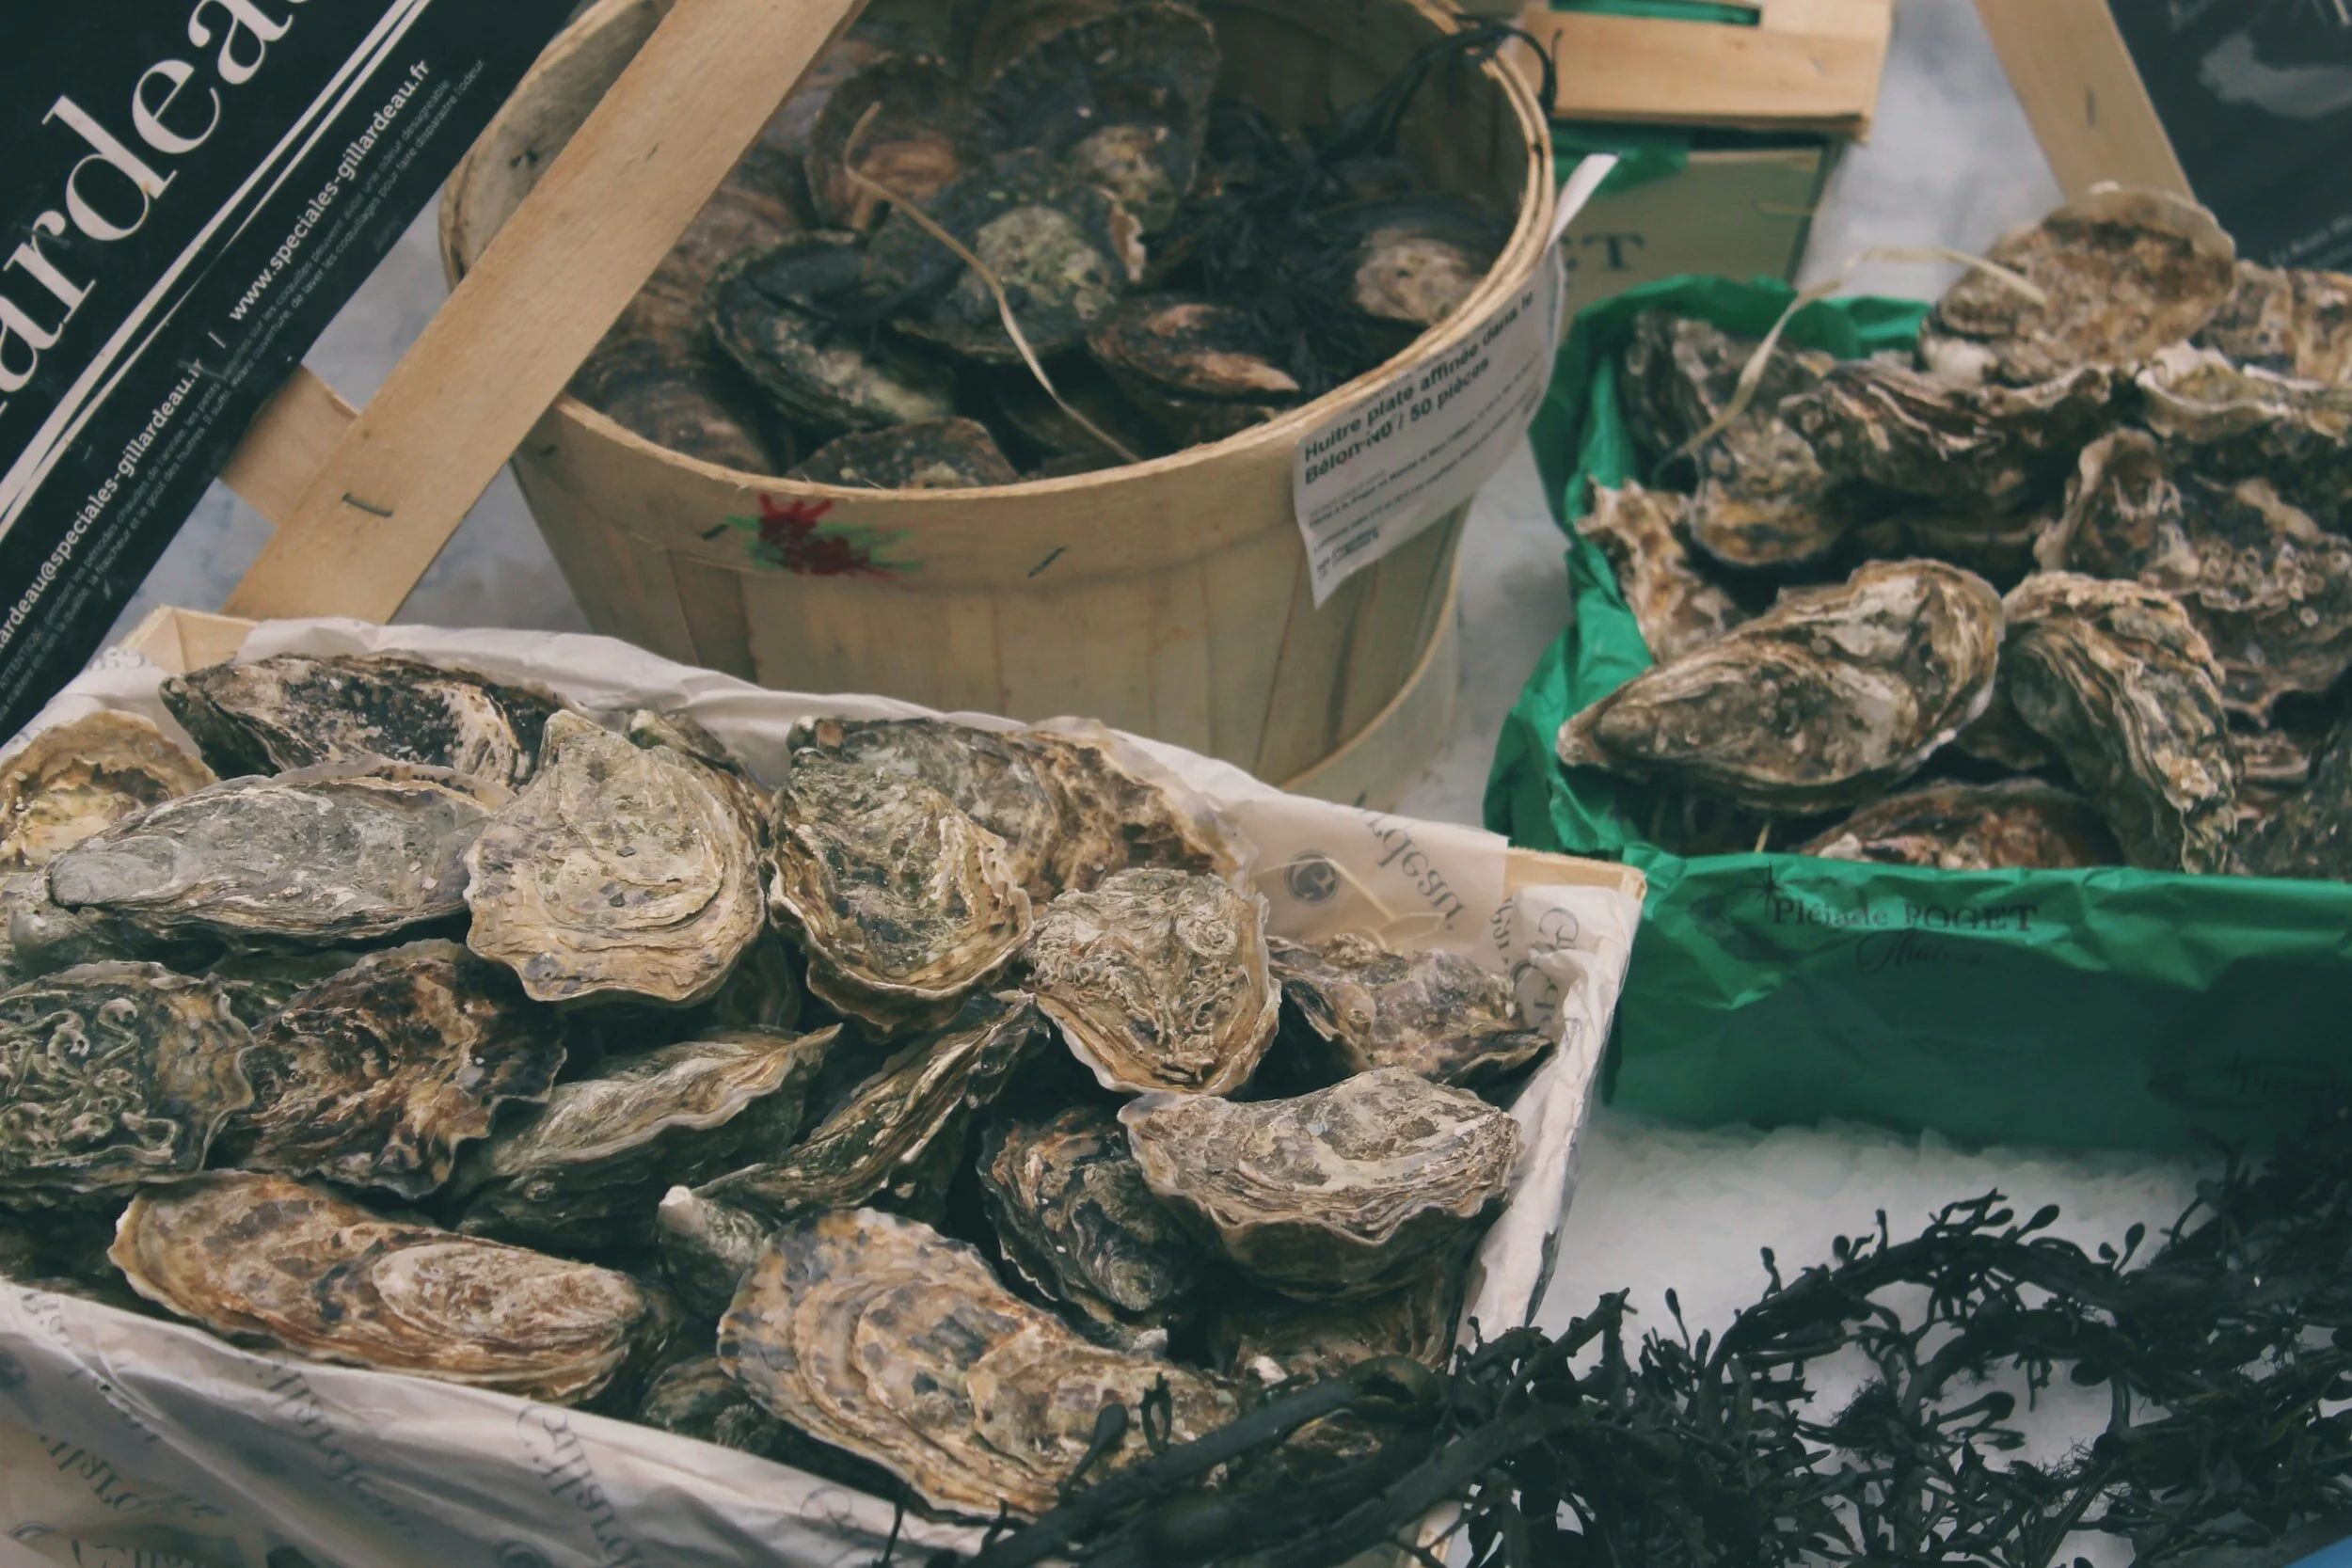
When it comes to choosing the freshest and highest quality oysters, here are some tips to keep in mind:
Look for Live Oysters
Opt for live oysters whenever possible. Their shells should be tightly closed or snap shut when tapped. Avoid oysters with shells gaping open, as this may indicate that they are dead or compromised.
Oyster farmers in Texas are working hand in hand with seafood distributors and restaurants to showcase their farm-raised oysters' exceptional taste and freshness, elevating the culinary experience for seafood enthusiasts across the state.
Smell the Sea
Take a deep whiff of the oysters. They should have a clean and briny aroma reminiscent of the ocean. Avoid oysters with strong, unpleasant odors, as this could indicate spoilage.
Check for Shell Integrity
Examine the shells for any cracks, chips, or irregularities. Oysters with damaged shells may have been mishandled or compromised, increasing the risk of contamination or poor quality.
Seek Out Plumpness
Look for oysters that feel heavy and plump in your hand. This suggests that they are full of water and meat, indicating freshness. Avoid oysters that feel light or have shrunken, dry flesh.
Know Your Season
Familiarize yourself with the oyster harvesting seasons in your area. Different varieties of oysters have peak seasons when they are freshest and most flavorful. Timing your oyster purchase during its prime season ensures a superior taste experience.
Trust Reputable Sources
Purchase oysters from reputable seafood markets, fishmongers, or trusted suppliers who prioritize freshness and quality. They should have proper handling and storage practices to maintain the oysters' integrity.
We put together this list of 8 Texas markets you can buy the freshest seafood from, some of these markets double as seafood restaurants so you can also get some of the best seafood dishes using tried and tested recipes!
Consider Local Sourcing
Whenever possible, support local oyster farmers and businesses. Local oysters tend to be fresher since they have a shorter distance to travel, resulting in a more vibrant taste.
Located in San Leon, Texas, Prestige Oyster's Inc. provides a “year-round source” of high-quality gulf oysters.
Ask Questions
Feel free to ask the seller or supplier about the origin and handling of the oysters. Inquire about their harvesting methods, storage conditions, and delivery practices. The more information you have, the better equipped you'll be to make an informed choice.
Remember, freshness is crucial when enjoying oysters, especially for grilling. By following these tips and relying on your senses, you'll be well on your way to selecting and serving the freshest and highest quality oysters for your culinary adventures.
Step-by-Step Guide to Safely Shucking Oysters

Shucking oysters can be a skillful and rewarding process. Here's a step-by-step guide to safely shucking oysters:
Gather your supplies:
Fresh oysters
A sturdy shucking knife (also known as an oyster knife)
A thick kitchen towel or an oyster-shucking glove
A small brush or scrubbing tool for cleaning the shells
A bowl or plate to collect the shucked oysters and their juices
When it comes to oyster knife and gloves, and bowls, online shopping is the way to go!
Clean the oysters:
Rinse the oysters under cold running water to remove any dirt or debris.
Use a brush or scrubbing tool to gently clean the shells, focusing on the areas where the oyster connects to the shell.
Prepare a stable work surface:
Place a folded kitchen towel on your work surface to provide stability and to protect the oyster shells from damage.
Hold the oyster securely:
Hold the oyster firmly in one hand using a towel or an oyster-shucking glove. Ensure the cupped side of the shell faces down and the hinge (the pointed end) faces you.
Locate the oyster's hinge:
Examine the oyster to find the small point where the two shells connect. This is the hinge.
Insert the shucking knife:
With your other hand, take the shucking knife and position the tip at the hinge.
Apply gentle but firm pressure, using a twisting motion to insert the tip into the hinge. Be cautious not to apply excessive force to avoid injury.
Twist and pry:
Once the tip is inserted, twist the knife to pry open the shells. Use a gentle back-and-forth motion while applying a bit of leverage to separate the top and bottom shells.
As you pry open the oyster, you may hear a slight "pop" sound when the shells separate.
Release the muscle:
Once the shells are partially opened, run the blade along the inside of the top shell to detach the oyster from the shell's muscle. This will allow the oyster to sit freely in the shell.
Remove the top shell:
Gently lift the top shell away from the oyster, exposing the meat while leaving it in the bottom shell.
Check for shell fragments:
Inspect the oyster for any small shell fragments or debris. Use the tip of the knife or your fingers to remove any unwanted particles.
Repeat the process:
Repeat the shucking process with the remaining oysters, ensuring you maintain a secure grip on each oyster while being cautious with the shucking knife.
Serve and enjoy:
Arrange the shucked oysters on a plate or a bed of crushed ice.
Optionally, you can add garnishes, such as crusty bread, lemon wedges or a butter sauce, to accompany the oysters.
Serve and savor the freshly shucked raw oysters!
Remember, shucking oysters requires practice and patience. Take your time, prioritize safety, and enjoy the rewarding experience of opening these delectable treasures from the sea.
Tips for Achieving Perfectly Grilled Oysters

Grilling oysters to perfection requires careful attention to heat and timing. Here are some tips to help you achieve the ideal balance:
Preheat the grill: Before placing the oysters on it, preheat it to medium-high heat. This will ensure the grill grates are hot enough to cook the oysters evenly and impart a desirable char.
Create different heat zones: If you have a larger grill, create different heat zones by positioning the charcoal or turning on only some burners. This allows for flexibility in cooking, as you can move the oysters to a lower heat zone if they are cooking too quickly or require more time.
Place the oysters cup-side down: Arrange them on the grill with their cupped side down to retain their natural juices. This helps to prevent the flavorful liquid from spilling out during cooking, keeping the oysters moist and enhancing their taste.
Monitor the cooking time: Grilling oysters is a relatively quick process. It typically takes about 5 to 10 minutes for the oysters to cook thoroughly. Keep a close eye on them, as overcooking can result in tough, rubbery oysters.
Observe the shells: As the oysters cook, keep an eye on the shells. They will gradually begin to open as the oysters inside cook. Once the shells have fully opened, it's a sign that the oysters are ready to be removed from the grill.
Use a timer: To ensure precise timing, consider using a timer. Set it for a shorter cooking time initially and then adjust accordingly based on the progress of the oysters. This helps to prevent any undercooking or overcooking mishaps.
Test the oysters for doneness: If you need more certainty about the readiness of the oysters, you can check their doneness by carefully inserting a small knife or oyster shucking knife into the opening of one oyster and lifting it slightly. The oyster should be opaque and easily separate from the shell.
Avoid overcrowding: Avoid overcrowding the hot grill with too many oysters at a time. This can hinder the circulation of heat and result in uneven cooking. Work in batches if needed, ensuring sufficient space between each oyster.
Practice and adjust: Grilling oysters may require some practice to achieve the desired results. Take note of the heat and timing during each grilling session and adjust accordingly for subsequent attempts until you find the perfect balance that suits your preference.
By paying close attention to heat levels and cooking times, you'll achieve the ideal balance when grilling oysters. This ensures that they are perfectly cooked, with a delightful combination of smokiness, tenderness, and the natural brininess of the oyster meat.
Expert Insights: Tips from Top Chefs and Grill Masters

To provide expert insights on achieving the perfect balance of heat and timing when grilling oysters, we've gathered tips from top chefs and grillmasters:
Chefs recommend starting with medium-high heat on the grill. This allows for a good sear without overcooking the oysters. Adjust the heat as needed during cooking to maintain control over the timing.
Grill masters suggest using a two-zone fire setup. Start by placing the oysters over direct heat for a quick sear, then move them to the cooler side of the grill to finish cooking more gently. This helps to prevent charring and allows for better control over the timing.
Chefs advise preheating the grill with the lid closed for at least 10 minutes before adding the oysters. This ensures that the grill grates are evenly heated, promoting consistent cooking and minimizing the risk of uneven heat distribution.
Grill masters emphasize the importance of timing when grilling oysters. He recommends starting with a shorter cooking time, around 3-4 minutes, and then checking for doneness. If needed, you can return the oysters to the grill for 1-2 minutes until they are cooked to your desired level.
Chefs suggest using a spray bottle filled with water to control flare-ups and prevent excessive charring. This allows you to maintain the desired heat level without scorching the oysters or causing them to become overly dry.
Grill masters advise keeping the grill lid closed as much as possible during cooking. Opening the lid frequently can cause temperature fluctuations and extend the cooking time. However, do check on the oysters periodically to ensure they cook quickly.
Chefs recommend experimenting with different cooking times to find your preferred level of doneness. Some people enjoy oysters that are barely cooked, while others prefer them cooked through. Adjust the timing based on personal preference and taste.
Grill masters suggest using a grilling basket or a sheet of foil with perforations to prevent smaller oysters from falling through the grill grates. A foil-lined baking sheet allows for more precise control over the cooking process. It makes it easier to remove the oysters when they are done.
These expert tips provide valuable guidance, but personal preferences and grill variations may require some recipe adjustments. With practice and a keen eye, you'll soon develop your technique for achieving the perfect balance of heat and timing when grilling oysters. Enjoy the journey of perfecting this art and savor the delicious results!
Grilled Oysters With Lemony Garlic-Herb Butter Recipe

Garlic, lemon, herbs, and butter make a classic combination that can easily be spooned into grilled oysters. The leftover flavored butter and sauce are excellent melted over grilled vegetables like asparagus or zucchini or overcooked chicken, fish, or meat. It can stay fresh for at least two days in the chiller or the freezer for at least a month. When looking into oyster varieties, find large oysters with deeply cupped shells to help preserve their natural liquor and allow ample area for flavoring butter.
Grilled Oysters With Lemony Garlic-Herb Butter Recipe:
Ingredients:
12 fresh large oysters, scrubbed clean
1/2 cup unsalted butter, softened
2 cloves (how long do cloves last?) garlic, minced
Zest of 1 lemon
2 tablespoons fresh lemon juice
2 tablespoons chopped fresh herbs (how long do fresh herbs last?) (such as parsley, chives (how long do chives last?), or cilantro)
Salt and freshly ground pepper to taste
Lemon wedges for serving
Instructions:
Preheat the grill to medium-high heat.
Combine the completely melted butter, minced garlic, lemon zest (how long does lemon zest last?), lemon juice, and chopped fresh herbs in a small bowl. Mix well until all the ingredients are evenly incorporated.
Carefully shuck the oysters, discarding the top shells and loosening the oysters from the bottom shells. Place oysters on a heatproof baking sheet or a grill-safe tray.
Spoon a small amount of the prepared garlic-herb butter mixture onto each oyster, ensuring it is evenly distributed.
Place the oysters directly on the preheated grill grates, butter side up. Close the grill lid and cook for about 5-7 minutes until the oysters are cooked, and the butter is melted and bubbling.
Using heatproof gloves or tongs, carefully remove the grilled oysters from the grill and transfer them to a serving plate.
Season the grilled oysters with salt and pepper to taste. Serve immediately with lemon wedges on the side.
To enjoy the grilled oysters, use a small fork or seafood utensil to separate the oyster from the shell and scoop up some of the flavorful butter. Squeeze a little fresh lemon juice over each oyster for an extra citrus flavor.
These grilled oysters with lemony garlic-herb butter are a delightful treat that combines the smokiness from the grill with the rich flavors of the buttery herb mixture. They make an impressive appetizer or a delicious addition to any seafood feast. Enjoy the sea's taste and this mouthwatering dish's tantalizing flavors!

Grilled Oysters With Lemony Garlic-Herb Butter Recipe:
Ingredients
- 12 Fresh large oysters, scrubbed clean
- 1/2 cup unsalted butter, softened
- 2 cloves garlic, minced
- Zest of 1 lemon
- 2 tablespoons fresh lemon juice
- 2 tablespoons chopped fresh herbs (such as parsley, chives, or cilantro)
- Salt and freshly ground pepper to taste
- Lemon wedges for serving
Instructions
- Preheat the grill to medium-high heat.
- Combine the completely melted butter, minced garlic, lemon zest, lemon juice, and chopped fresh herbs in a small bowl. Mix well until all the ingredients are evenly incorporated.
- Carefully shuck the oysters, discarding the top shells and loosening the oysters from the bottom shells. Place oysters on a heatproof baking sheet or a grill-safe tray.
- Spoon a small amount of the prepared garlic-herb butter mixture onto each oyster, ensuring it is evenly distributed.
- Place the oysters directly on the preheated grill grates, butter side up. Close the grill lid and cook for about 5-7 minutes until the oysters are cooked, and the butter is melted and bubbling.
- Using heatproof gloves or tongs, carefully remove the grilled oysters from the grill and transfer them to a serving plate.
- Season the grilled oysters with salt and pepper to taste. Serve immediately with lemon wedges on the side.
- To enjoy the grilled oysters, use a small fork or seafood utensil to separate the oyster from the shell and scoop up some of the flavorful butter. Squeeze a little fresh lemon juice over each oyster for an extra citrus flavor.
Nutrition Facts
Calories
140.65Fat
15.42 gSat. Fat
9.73 gCarbs
1.02 gFiber
0.2 gNet carbs
0.83 gSugar
0.23 gProtein
0.46 gSodium
37.79 mgCholesterol
41.79 mgPercentages are based on a diet of 2000 calories a day.
