
How do you eat a lemon bar?
Uncovering the Best Techniques for Savory Enjoyment

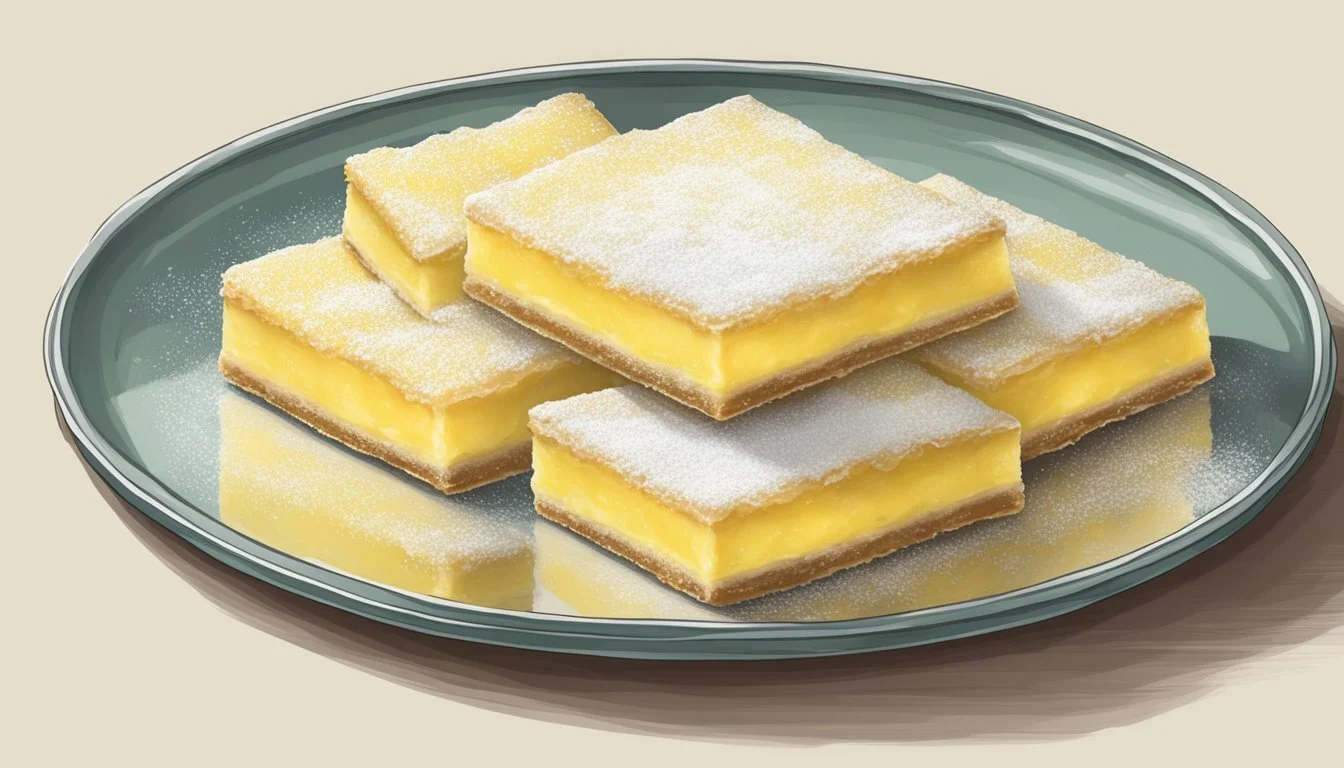
Lemon bars are a delicious and tangy dessert enjoyed by many for their perfect balance of sweetness and citrus bite. With their bright yellow hue and dusting of powdered sugar, they make for an alluring treat that promises to awaken the palate. The experience of eating a lemon bar is often likened to a burst of summer regardless of the season, with the zesty lemon flavor cutting through the buttery richness of the shortbread crust.
Enjoying lemon bars requires no particular protocol, making them a versatile treat suitable for various occasions. They are typically served chilled or at room temperature, allowing the full array of flavors to shine through. The refreshing taste of lemon bars not only serves as a wonderful finale to a meal but also offers a satisfying pick-me-up in the midst of a hectic day.
Their simplicity in both preparation and consumption belies the meticulous balance of ingredients that defines a well-crafted lemon bar. The contrast between the crumbly crust and the soft, custard-like lemon filling creates a harmonious texture that complements the intense lemon flavor. Lemon bars can be savored slowly to appreciate the interplay of flavors or enjoyed in joyful, eager bites—a testament to their appeal as a beloved dessert.
Selection of Ingredients

Crafting the perfect lemon bar hinges on the quality and freshness of its ingredients. From the zest that imparts a citrus zing to the flour that forms its crumbly base, every component plays a critical role.
Choosing the Right Lemons
When selecting lemons, one should prioritize fresh lemons for both juice and zest to ensure a bright, tangy flavor. The zest, rich in oils, provides an aromatic intensity to the lemon bars, while fresh lemon juice contributes to the characteristic tartness. It is essential to avoid lemons that are too soft or have blemishes, which are indicative of past peak freshness.
Sourcing Quality Flour and Sugar
The structure of the lemon bar's crust and filling comes from the choice of all-purpose flour. A staple in baking, this flour should be sifted to avoid clumping and measured correctly for consistency. Granulated sugar is used within the crust and the filling for sweetness, balancing the acidity of the lemon. For a delicate finishing touch, powdered sugar can be sifted over the cooled bars. When purchasing these ingredients, one should ensure that they are from reputable sources and stored properly to maintain their integrity.
Preparing the Shortbread Crust

The key to a delightful lemon bar is starting with a perfectly baked shortbread crust. It requires a careful balance of all-purpose flour, granulated sugar, unsalted butter, and a pinch of salt. Once mixed and baked, this crust forms a firm foundation for the tangy lemon topping.
Mixing the Dry Elements
For the crust:
2 cups all-purpose flour
1/2 cup granulated sugar
1/4 teaspoon salt
One must thoroughly combine the dry ingredients to ensure consistent texture and flavor. They should measure and whisk together the all-purpose flour, granulated sugar, and salt in a large mixing bowl until they are evenly distributed.
Incorporating the Butter
To the dry mixture, cut in:
1 cup (2 sticks) unsalted butter, softened
Using either a pastry cutter or their hands, they should work the softened unsalted butter into the dry mixture. The goal is to achieve a crumbly texture where the butter is evenly distributed throughout. The mixture should hold together when pinched but should not form a dough.
For the baking process:
Preheat the oven to 350°F (175°C).
Line a 9x13 inch baking dish with parchment paper, extending over the edges for easy removal later.
Firmly press the crust mixture into the bottom of the pan, creating an even layer.
Chill the pan in the freezer for about 10 minutes to firm up the crust.
Bake in the preheated oven for 20 minutes or until the crust is lightly golden brown.
It's essential not to overwork the dough to maintain the tender texture of the crust. The shortbread crust should be cooled slightly before the lemon filling is added and then baked again to create the final product: a zesty lemon bar with a buttery, flakey foundation.
Creating the Lemon Filling

In making lemon bars, the filling is crucial as it provides the quintessential balance between tart and sweet. Mastery of the filling's preparation ensures a delightful treat.
Whisking the Wet Ingredients
The process begins with vigorously whisking the wet ingredients together. Typically, this includes fresh lemon juice, which offers the tartness central to the filling's flavor profile, and eggs, which provide structure and richness. A precise integration of these ingredients is key to a smooth consistency.
In a bowl, whisk:
Fresh lemon juice (amount as needed for recipe)
Eggs (typically 2-4, based on recipe size)
Ensure mixture is homogenous and has a uniform color.
Combining with the Dry Mixture
After the wet ingredients are sufficiently whisked, they are combined with the dry mixture. This usually entails incorporating granulated sugar for sweetness and all-purpose flour for thickening the filling, creating the right viscosity.
Combine the following:
Granulated sugar (quantity as specified in the recipe)
All-purpose flour (enough to thicken without being overly starchy)
The dry ingredients should gradually be sifted into the wet mixture to prevent lumps and ensure a smooth filling.
Perfecting the Flavor and Texture
Lastly, the zest from lemons can be added to intensify the citrus aroma and add complexity to the flavor profile. The zest imparts an essential oil that deepens the tartness without additional liquid. The marriage of zest to the thickened mixture completes the lemon filling, ready to be poured over the pre-baked crust.
Finely zest lemons and fold into the mixture for enhanced flavor.
Pour onto crust and bake until set, without overbrowning.
Achieving the perfect lemon filling involves careful attention to the balance and interplay of tart lemon juice, sweet sugar, thickening flour, and aromatic zest. The result should be a lemon filling that is velvety and bursts with flavor—a bold complement to the shortbread crust beneath.
Baking the Lemon Bar

When it comes to baking a lemon bar, precision in layering the crust and filling, setting the appropriate oven conditions, and adhering to the baking process are vital to achieve the perfect balance of textures and flavors.
Layering the Crust and Filling
To start, one will need to prepare a 9x13-inch baking pan by lining it with parchment paper for easy removal after baking. This ensures that the crust and filling can be lifted out without sticking. In making the crust, which serves as the base for the lemon bars, it is combined and pressed into the bottom of the pan and partially baked prior to adding the filling. Once the crust is golden and set, the lemon filling—typically a mixture of eggs, sugar, flour, lemon zest, and lemon juice—is poured over it.
Setting the Oven Conditions
Preheat the oven to the required temperature specified by the recipe, which commonly ranges from 350°F to 375°F. Ensuring the oven is at the right temperature is crucial for the lemon bars to bake evenly and develop the desired consistency.
The Baking Process
After pouring the filling over the crust, the pan returns to the preheated oven. It is baked until the filling is set, which usually takes about 20 to 35 minutes depending on the recipe and oven. The center should not jiggle excessively; a slight tap on the pan can be used to test this. After baking, the lemon bars should be allowed to cool completely at room temperature. Once cool, they can be cut into squares or rectangles, often dusted with powdered sugar for a classic finish.
Finishing Touches

After baking the perfect lemon bars, final steps are taken to enhance their flavor and appearance, turning them into a delightful treat that balances the sweetness and tartness ideally.
Cooling and Dusting with Sugar
Once removed from the oven, the lemon bars should be allowed to cool completely to ensure the buttery crust sets properly, and the filling is firm. This cooling period also prepares the surface for a fine dusting of powdered sugar that not only adds to the sweetness but gives the bars a visually appealing, snowy finish.
Garnishing and Serving
After the lemon bars have cooled, one may opt for a light garnish of lemon zest sprinkled on top, which enhances the citrus flavor and adds a bit of color. Whipped cream can also be offered on the side as a garnish, providing a creamy contrast to the tart filling. When serving, ensure each piece is cleanly cut, showcasing the layers and providing a satisfying balance of flavors in every bite.
Storing and Preserving Lemon Bars
Proper storage is crucial for maintaining the taste and safety of lemon bars. They should be kept in an airtight container to inhibit bacterial growth and prevent odors and flavors from contaminating them.
Refrigerating for Freshness
Lemon bars must be refrigerated to retain their freshness. The filling, rich in eggs and moisture, is prone to bacteria if left at room temperature.
Container: Place the bars in an airtight container to preserve their texture and flavor.
Duration: Refrigeration can keep the lemon bars fresh for several days.
Freezing for Long-term Storage
Freezing extends the shelf life of lemon bars for those planning to enjoy them well into the future.
Preparation: Before freezing, ensure the bars are cooled completely.
Wrapping: Wrap individual bars or sections snugly in aluminum foil or plastic wrap to protect against freezer burn.
Container: For additional protection, place wrapped bars in a freezer-safe airtight container or a heavy-duty freezer bag.
Thawing: To thaw, transfer them to the refrigerator overnight before serving.
Duration: Lemon bars can be stored in the freezer for up to six months.
