
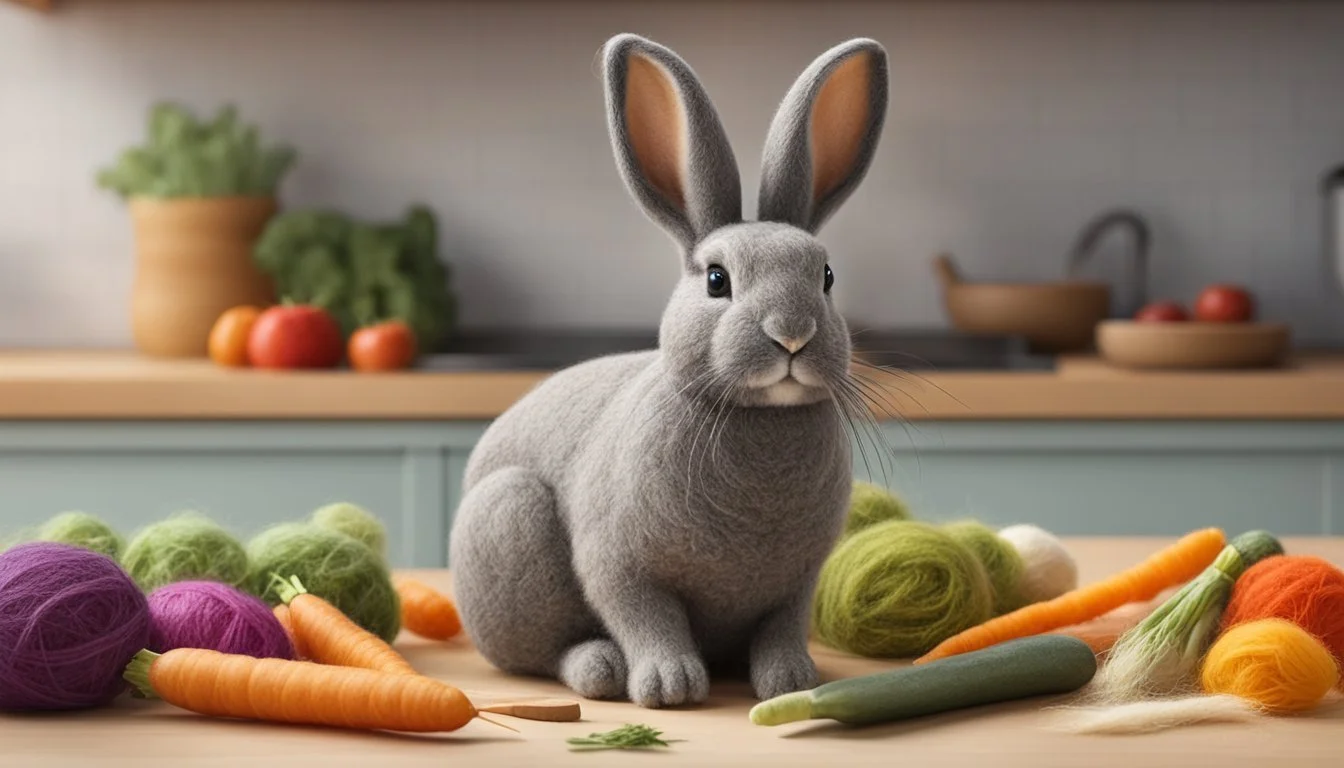
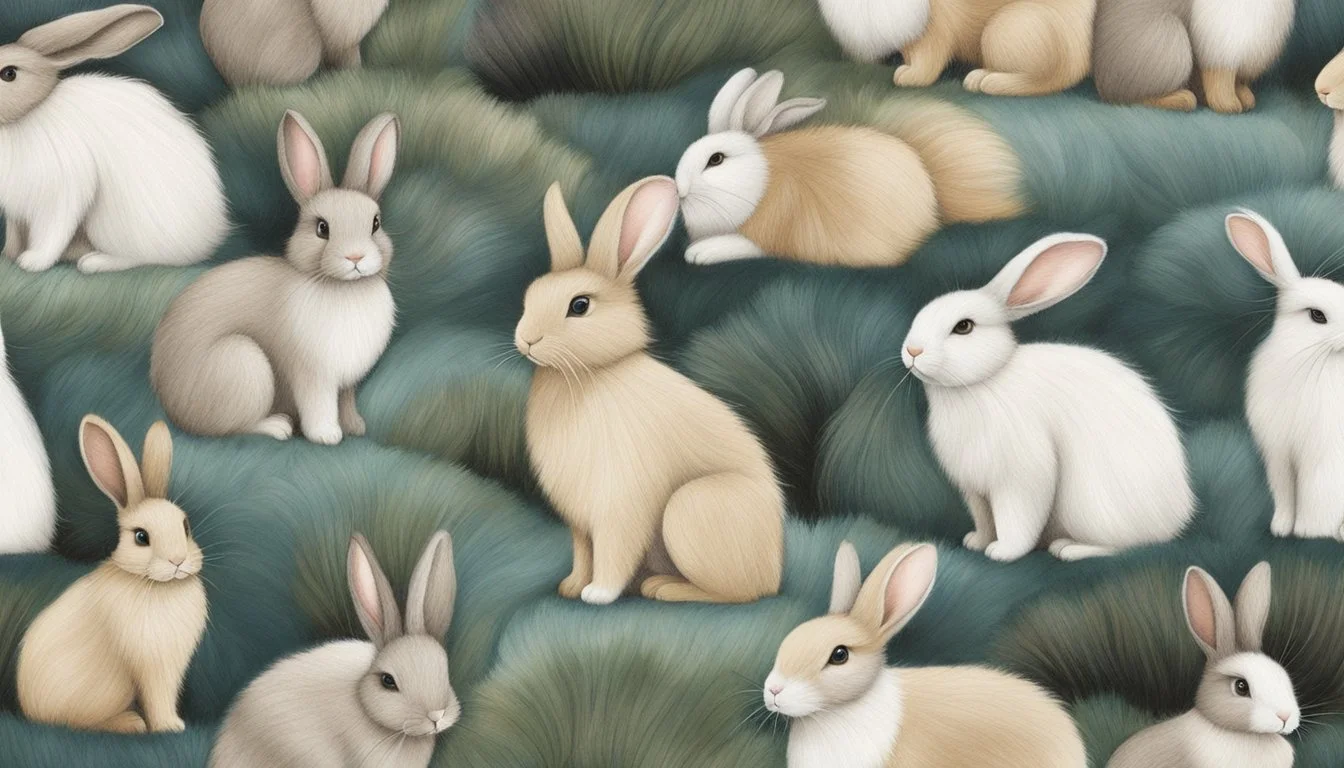
The Art of Making Rabbit Felt from Kitchen Scraps
A Sustainable Crafting Guide
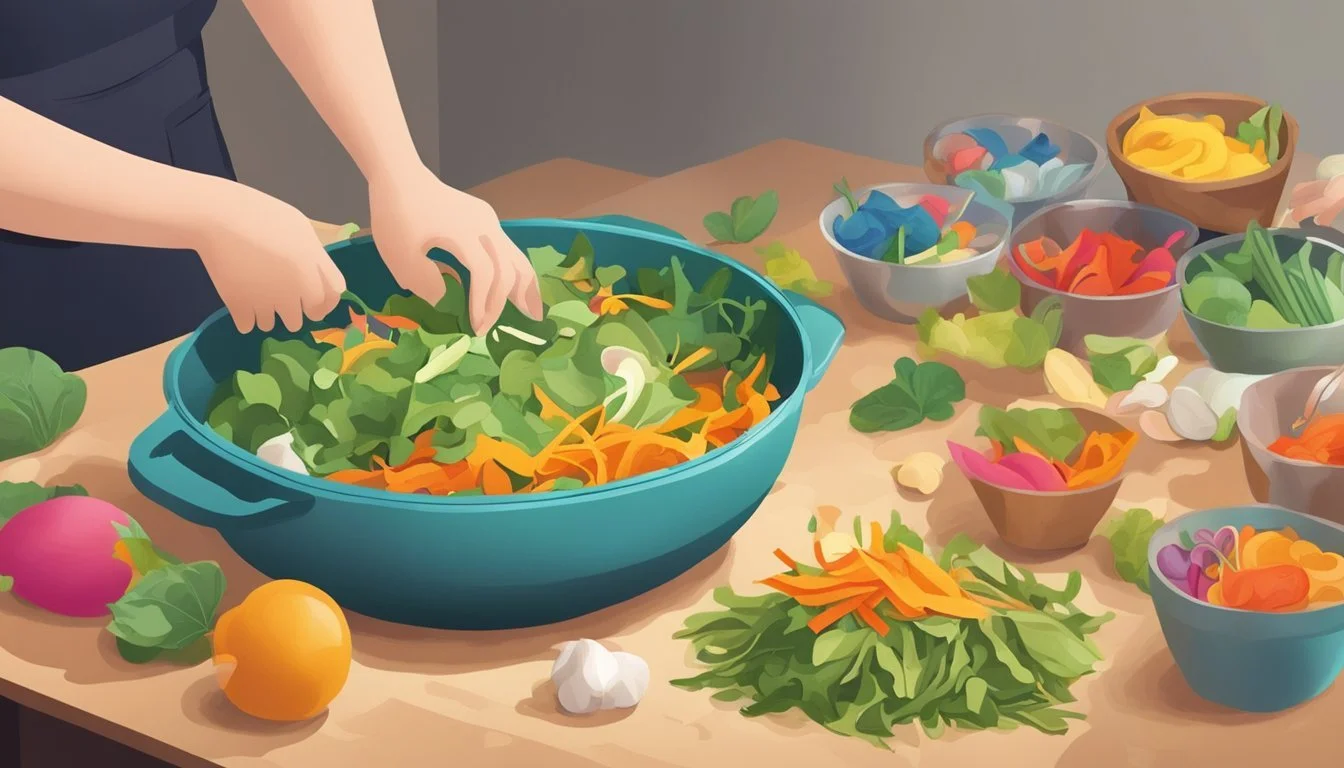
Crafting with kitchen scraps provides an innovative way to merge sustainability and creativity. In the realm of do-it-yourself projects, the creation of rabbit felt figures from recycled materials has garnered attention not only for its environmental benefits but also for its charm and accessibility. By utilizing fabric remnants and common household supplies, individuals can transform what would be waste into handcrafted treasures, engaging in an art that is as rewarding as it is eco-friendly.
The art of making felt rabbits strikes a chord with both novice and experienced crafters due to its simplicity and the tactile pleasure of working with soft materials. The process generally involves shaping and sewing layers of felt—but with a twist. Instead of relying on store-bought materials, crafters are using kitchen scraps such as old linens, unused clothing, and other fabric offcuts. This approach not only recycles materials but also offers a canvas for personal expression through the unique textures and patterns of the repurposed fabrics.
For those with a penchant for hand crafts, the additional steps of adding embellishments and features to these eco-conscious creations can turn a simple rabbit felt project into an endearing work of art. Details such as embroidered eyes and mouths, soft pom-pom tails, and even miniature accessories personalize each piece. This tactile art form marries the satisfaction of making something by hand with an environmentally mindful method, exemplifying a thoughtful approach to craft in the modern day.
Sourcing Materials
In the craft of making rabbit felt, sourcing materials is an essential step that sets the stage for the entire project. Materials must be chosen thoughtfully to ensure the final product is of high quality.
Identifying Suitable Fabric
When selecting fabrics for felting, one should focus on woolen materials since they interlock easily due to their natural properties. Kitchen scraps can be a great source for this. Old sweaters that have shrunk or felted, can provide an excellent base material. It's important to ensure that the fabric scraps are:
100% wool: Check labels for fabric content.
Clean and dry: Pre-wash any used sweaters to remove oils and dirt.
Using Felt Scraps Effectively
Once suitable woolen fabric scraps are collected, they can be repurposed with efficiency by following a simple DIY tutorial. They should be sorted according to color and thickness to match the parts of the rabbit's anatomy. For instance:
Body: Thicker, larger pieces for main structure.
Details: Thinner, smaller pieces for features like ears and paws.
By following a step-by-step guide, crafters can effectively utilize diverse colored and sized scraps to shape into intricate parts of the rabbit felt project. Keep in mind to employ the fabric's natural felting properties when creating your DIY rabbit felt figure.
Preparation Techniques

In the art of making felt rabbits, proper preparation of materials is crucial for a successful project. The transformation of kitchen scraps into charming felt creatures requires meticulous cutting, shaping, and gathering the right tools.
Cutting and Shaping Felt
To begin, crafters must cut the felt into the required shapes that will form the various parts of the rabbit. Utilizing sharp scissors is essential to achieve clean edges. Typically, a template serves as a guide for cutting consistent and precise shapes.
Ears: Two identical pieces, mirror images.
Body: A single or multiple pieces, depending on the design.
Limbs: Four pieces, ensuring uniformity in size.
Once the pieces are cut, the shaping process involves crafting each part to give life to the rabbit's form. It may include rounding corners for softer edges or creating slight indentations to indicate the rabbit's features.
Assembling Required Tools
The assembly of a felt rabbit requires an array of tools. A needle and thread are indispensable for hand-sewing the pieces together. Some crafters may opt to use a sewing machine for a faster and more uniform stitch, particularly for larger projects or production in greater quantity.
Tool List:
Scissors (for cutting felt)
Needle (for hand sewing)
Sewing machine (optional, for machine sewing)
Embroidery floss (for detailing)
Templates (for uniform shapes)
This tutorial segment equips the crafter to take the first step in transforming raw materials into a handcrafted felt rabbit, setting a solid foundation for detailed work to follow.
Designing Your Rabbit
Designing a felt rabbit requires careful consideration of patterns and the detailing of facial features. It is essential to select an appropriate pattern and embroidery techniques to create a charming and realistic rabbit.
Creating Patterns
One initially needs to draft or select a pattern that outlines the shape of the rabbit, specifically considering the proportions of the bunny's body, ears, and other elements. A printable template can serve as a reliable guide, ensuring consistency in size and shape for each component.
Body and Ears
Use a template to trace the outline onto the felt.
Remember to include seam allowances if the bunny will be stuffed.
Ears
The internal ear pattern can be a different color or material, giving a realistic contrast.
Detailing Facial Features
The facial features of a rabbit—eyes, nose, and mouth—are vital for bringing the character to life.
Eyes
Positioning is crucial; use dark grey embroidery floss to back stitch the eyes.
The eyes should be symmetrical and reflective of the rabbit's expression.
Nose and Mouth
The rabbit's nose can be a simple triangle, and the mouth a soft curve.
To prevent the embroidery from showing through on lighter felt, weave the ends and cut after each feature.
By carefully drafting a pattern and stitching with precision, one can create an adorable, lifelike bunny with rich details and personality.
Crafting Process
In crafting rabbit felt figures from kitchen scraps, one approaches the process with a variety of techniques, ranging from simple sewing to no-sew options, all suitable for different skill levels and ages.
Sewing Basics
When starting with sewing, one should prepare their materials – scraps of fabric, ideally felt for its non-fraying properties, a suitable needle, and strong thread. The basic steps involve:
Cutting the fabric into the desired bunny shape, often in pairs for each body part.
Stitching the pieces together with a basic running stitch, leaving a small opening for stuffing.
Filling the shape with stuffing material before closing the seam.
These steps provide a foundation for older kids and adults to create with minimal assistance, instilling confidence in their crafting abilities.
Advanced Sewing Techniques
For those looking to elevate their felt rabbit creation, advanced sewing techniques come into play. A more intricate approach can include:
Backstitching, particularly useful for sturdy seams.
Adding embroidery details, such as facial features with embroidery floss.
Utilizing various types of stitches like blanket stitches for a decorative edge.
These methods demand more precision and are suitable for crafters seeking a challenge or those with more experience.
No-Sew Options
Crafters of all ages, including younger kids, can still enjoy making rabbit felt figures without handling needles and threads. No-sew options offer simplicity and safety while still fostering creativity:
Hot glue or craft glue can be used to bond fabric edges together.
String and other embellishments can be adhered to add personality to the rabbit.
No-sew tutorials guide crafters through each step, ensuring they can complete their project with success and ease.
Adding Character

When crafting a rabbit from kitchen scraps, the personality of the piece comes to life with thoughtful embellishments and customization. These details can transform a simple felt creation into a character with charm and individuality.
Choosing Embellishments
To add visual interest and texture to a felt rabbit, crafters can incorporate a variety of materials. Buttons can serve as eyes, offering a classic, homespun look, while googly eyes add a playful, whimsical vibe. For the nose, a pom-pom creates a soft, tactile detail. Ribbons tied around the neck or used as accessories provide a touch of elegance or color coordination. To craft a fluffy tail, a larger pom-pom can be adhered to the rabbit's rear.
Eyes:
Buttons
Googly eyes
Nose:
Pom-pom
Tail:
Large pom-pom
Additional Accents:
Ribbon (around neck or as an accessory)
Personalizing Your Rabbit
Personalizing the rabbit can involve adding features that reflect desired personalities or characteristics. A permanent marker is useful for drawing delicate facial expressions that convey a range of emotions from joy to curiosity. When choosing to personalize with button eyes or a pom-pom nose, selecting these in colors that match or contrast with the rabbit's "fur" can underscore its character.
Crafters should consider adding affiliate links when sharing their creations online to direct viewers to the specific materials used, which supports both the creator and helps others replicate the design.
Facial Features:
Permanent marker for expressions
Button eyes
Pom-pom nose
Personality Touches:
Color choice for buttons and pom-poms
Placement of embellishments to reflect personalities
Finishing Touches
Once the rabbit's felt body is assembled, the final steps ensure it looks polished and presentable. These additions refine the craft, transforming a simple felt shape into an adorable bunny with character and texture.
Stuffing and Shaping
The bunny gains dimension and softness by carefully inserting stuffing material into its felt form. Typically, poly-fil is used for its hypoallergenic properties and ability to maintain shape. While feeding poly-fil into the rabbit, evenly distribute it to avoid lumps and provide a consistent look. For areas requiring more precise shaping, like the ears or feet, use a smaller amount and sculpt with gentle pressure.
Begin with larger body parts
Use a chopstick or pencil for corners
Ensure even distribution
Applying Final Decorations
With the bunny stuffed and shaped, one uses an embroidery needle to add defining features. Back stitch is often employed for the eyes and mouth due to its sturdy and precise line. For securing edges or attaching limbs, the blanket stitch provides both strength and decoration. If one has a bunny template, it offers guidance for placement and proportion of facial features and additional decorations. As a playful touch, one might even create a tiny fluffle—a group of felt bunnies—to enhance the display and narrative of the creation.
Eyes and mouth: Back stitch with embroidery floss
Edging: Secure with blanket stitch
Detailing: Apply using the bunny template
Presentation Ideas
Crafting with felt scraps is not just an eco-friendly activity, but it also offers a unique opportunity to create charming decorations and gifts. Specifically, rabbit felt crafts can be used to enhance Easter festivities or to present as personalized presents.
Integrating into Easter Decor
Easter is the perfect backdrop for showcasing rabbit felt creations. Felt bunnies can be nestled into an Easter basket to surprise children on Easter morning. Alternatively, crafting a felt bunny garland can breathe life into any room, acting as a festive banner draped across walls or entryways. Here's a simple, yet effective way to integrate rabbit felt crafts into your Easter decor:
Easter Basket:
Nestle a small felt bunny among the traditional treats.
Accent the basket with colorful felt eggs that complement the rabbit's colors.
Felt Bunny Garland:
String together several felt bunnies with pastel-colored ribbon.
Alternate bunnies with felt eggs or carrots to add variety to the garland.
Gifting and Packaging
Felt rabbit crafts make heartfelt gifts, especially when given with special packaging. For a family member or a daughter, presenting a handmade felt bunny as a gift reflects time, effort, and thoughtfulness. Here's how you might package a rabbit felt craft:
For Family:
Place the felt bunny inside a clear bag tied with a jute string and a handwritten gift tag.
Pair the bunny with a DIY Easter card for a personal touch.
For Kids:
Create a crafting kit including precut felt pieces to assemble their own bunny, fostering a love for crafting.
Pack the kit in a reusable container labeled with simple instructions for an engaging activity.
Maintenance and Care
Proper maintenance ensures the longevity of rabbit-felt creations. Owners should regularly clean the felt using a soft-bristled brush to remove dust and debris. When spot cleaning is necessary, a mixture of water and mild soap is recommended; this is particularly crucial for stained areas.
Rabbit Felt Maintenance Tips:
Avoid Harsh Chemicals: Always use gentle products to preserve the fibers.
Cool and Dry Storage: Store felt in a cool, dry place away from direct sunlight to prevent discoloration and degradation.
Spot Cleaning: Apply mild soap with water and blot gently instead of rubbing the stained area.
Regular Brushing: Gently brush the surface with a soft brush to maintain a smooth appearance.
Cleaning Schedule:
Frequency Task Weekly Brush to remove surface dust and lint. Monthly Spot clean with mild soap and water. As Needed Brush more vigorously for matted areas.
Owners should take note that rabbit felt is delicate and may be prone to damage if mishandled. When cleaning, one should make sure the felt is completely dry before storage or use, which might not always align with an exact hour but rather the ambient conditions.
By adhering to these simple care directives, crafters can ensure that their rabbit-felt items remain in prime condition for years.
Engaging With the Crafting Community

The crafting community thrives on sharing creative ideas and learning from each other's experiences. On the journey of turning kitchen scraps into rabbit felt, engagement with fellow enthusiasts can greatly enhance one's skills and enjoyment.
Sharing on Blogs and Social Media
Crafters often turn to blogs to share their own tutorials or to discover new techniques from others. It provides an opportunity for detailed storytelling and step-by-step guides, essential for complex crafts like making rabbit felt. Posting a tutorial can elicit valuable feedback and invite constructive dialogues that can refine the craft.
Social media serves as an interactive platform where images and short videos bring the crafting process to life. Crafting aficionados commonly use:
Instagram for visual inspiration, using hashtags like #RabbitCraft to connect with others.
Pinterest where they pin their own rabbit felt creations and find an array of tutorials.
Facebook groups that cater to felt crafting, providing a space for artists to engage in community interaction and support.
Through sharing, crafters not only contribute knowledge but also gain insights and encouragement, fortifying the social fabric of the crafting realm. Engaging in this way keeps the tradition of homemade rabbit felt alive and appreciated in a contemporary context.
Resources and Further Learning
For those eager to expand their crafting skills, a variety of online resources and publications can provide in-depth knowledge and step-by-step instructions on creating rabbit felt from kitchen scraps. These sources offer a range of tutorials and cover various techniques, ensuring crafters of all levels can find helpful guidance.
Online Tutorials and Guides
Blogs: Crafting enthusiasts often share their expertise through detailed blog posts, complete with vivid photographs and practical tips. For example, blogs specializing in felting projects may provide comprehensive tutorials on transforming kitchen scraps into fuzzy felt rabbits, complete with a list of necessary materials and alternative options for those with sensitivities to certain fibers.
Video Tutorials: Visual learners may appreciate step-by-step video guides available on platforms such as YouTube. These tutorials often demonstrate the felting process in real-time, highlighting techniques like turning a q-tip into miniature rabbit whiskers or crafting a felt garland. Viewers can follow along at their own pace and revisit complex steps as needed.
Crafting Websites: Reputable crafting sites often feature a variety of felting tutorials, ranging from beginner to advanced projects. Some may offer patterns or instructional kits for purchase, occasionally accompanied by affiliate links for recommended supplies.
Crafting Books and Magazines
Books: A curated selection of crafting books can provide extensive knowledge on felting techniques. Titles such as "Felted Rabbits from Scraps: A Sustainable Crafting Guide" often include step-by-step instructions, patterns, and professional advice for creating durable and delicate felt items.
Magazines: Crafting magazines are a treasure trove of inspiration and information. Regular columns or features might focus on sustainable crafting practices, showcasing how to integrate kitchen scraps into felt crafting projects. Seasonal editions could also offer specific projects like Easter-themed rabbit felt decorations.
Health and Safety Considerations

When crafting rabbit felt from kitchen scraps, one must prioritize health and safety for all involved, including the maker and any family members nearby. Proper handling of tools and materials is essential. Here are critical points to consider:
Scissors and Cutting Tools:
Always use sharp scissors to avoid jagged cuts that can weaken the felt structure.
Keep cutting tools away from young family members and store them safely after use.
Glue Guns and Adhesives:
When operating a glue gun, one should work in well-ventilated areas to minimize the inhalation of any fumes.
Hot glue poses a burn risk; hence, one should use a protective silicone mat and avoid touching the glue until it cools.
Keep a bowl of cold water nearby to treat any accidental burns promptly.
Q-Tip Usage:
Q-tips can be helpful for applying small amounts of glue or for cleaning up edges; ensure they are disposed of after use to prevent ingestion by pets or small children.
Time Management:
Limit crafting sessions to about an hour at a time to reduce the risk of repetitive strain injuries or eye strain from meticulous work.
The following table condenses the health and safety measures:
Tool/Process Consideration Precaution Scissors Handling sharp edges Store out of reach; use with care Glue Gun/Hot Glue Burn risk; fume inhalation Work in ventilated area; use heat-resistant mat; first aid Q-tip Small parts; potential choking hazard Dispose of properly; keep out of reach of children Crafting Duration Fatigue; strain Take breaks; manage crafting time
Adhering to these practices ensures a safe and pleasant crafting experience for the creator and their family.
