
How Long Do Chicken Kiev Bites Last?
Storage Tips and Shelf Life

Chicken Kiev bites are a popular appetizer known for their delicious, buttery center and crispy exterior. These tasty morsels can be a fantastic addition to any meal, but it's crucial to know how long they last to ensure they remain safe and flavorful. Chicken Kiev bites last up to 3-4 days when stored in the refrigerator in an airtight container.
Understanding the proper storage of these bites can help maintain their quality. Keeping them sealed tightly helps prevent contamination and keeps them fresh. For longer-term storage, freezing can extend their shelf life to up to two months without losing much of their savory taste.
Food safety is paramount when dealing with any poultry product. Readers seeking to enjoy Chicken Kiev bites without compromising their health should be aware of these storage timelines and practices. With these guidelines, you can savor the rich, garlicky flavor of Chicken Kiev bites anytime with confidence.
Understanding Chicken Kiev

Chicken Kiev is a classic dish, renowned for its delicious combination of crispy coating and flavor-packed filling. It typically involves chicken breasts stuffed with a rich mixture of butter, herbs, and garlic.
History and Origin
Chicken Kiev is believed to have originated in Eastern Europe, with its roots traced back to Ukraine. The name "Kiev" comes from the capital city of Ukraine, although some theories suggest it may have been developed by Russian chefs in the early 20th century. The dish gained widespread popularity after being introduced to Western cuisine, becoming a staple in many households and restaurants. Chicken Kiev shares some similarities with other stuffed chicken dishes, such as Chicken Cordon Bleu, which is filled with ham and cheese instead of butter and herbs.
What Makes a Chicken Kiev
The signature aspect of Chicken Kiev is its stuffed chicken breast. The stuffing typically consists of butter mixed with fresh herbs like parsley and dill, along with garlic for added flavor. The chicken is then coated in breadcrumbs, often panko for extra crunch, and either baked or fried. Achieving the perfect Chicken Kiev involves ensuring that the butter filling remains intact, creating a burst of flavor when cut into. Tactics like sealing the edges of the chicken and using the right cooking techniques help prevent the butter from leaking. Proper cooking also ensures the chicken reaches an internal temperature of 165°F, ensuring it's both safe and tender.
Ingredients and Preparation

Preparing Chicken Kiev bites involves selecting fresh ingredients, making a flavorful garlic butter filling, and correctly preparing and breading the chicken breasts for a perfect, crispy coating.
Selecting Quality Ingredients
Choosing fresh and high-quality ingredients is crucial. The primary ingredient, chicken breast, should be free of blemishes and have a pinkish, moist appearance.
For the garlic butter, use unsalted butter, fresh parsley, and garlic to ensure a rich flavor. Salt and pepper are essential for seasoning. All-purpose flour, beaten egg, and panko breadcrumbs combine for the ideal crispy coating. Ensure each component is at its peak to ensure the best possible dish.
Creating the Garlic Butter Filling
To make the garlic butter filling, start by mixing unsalted butter with minced garlic, finely chopped parsley, salt, and pepper.
A small bowl works best for combining these ingredients. Once the butter mixture is well combined, shape it into small blocks or logs. Wrap these in parchment paper and refrigerate until firm. This step ensures the butter retains its shape inside the chicken during cooking, preventing leakage and enhancing flavor.
Preparing the Chicken Breasts
When preparing the chicken breasts, freshness and cleanliness are paramount. Start by cleaning and drying the chicken.
Using a sharp knife, create a pocket in each breast, being careful not to cut through completely. This pocket will hold the garlic butter. Insert a piece of the previously prepared garlic butter filling into each pocket, ensuring it is well sealed to prevent the butter from escaping during cooking.
Coating and Breading Techniques
For the coating, set up a dredging station with three shallow bowls: one with all-purpose flour, another with beaten egg, and a third with panko breadcrumbs.
Roll each stuffed chicken breast first in flour, then dip it in the egg, and finally coat it with breadcrumbs. Ensure an even coating by pressing lightly but firmly. This will create the crispy, golden exterior that is characteristic of Chicken Kiev. Refrigerate the breaded chicken for at least 30 minutes before cooking to help the coating adhere properly.
Cooking Methods

Different cooking methods can affect the overall taste and texture of Chicken Kiev bites. Here are some common methods to consider, each with its own benefits and nuances.
Baking Chicken Kiev
Baking Chicken Kiev offers a relatively straightforward approach that ensures even cooking. Preheat the oven to 375°F (190°C). Line a baking sheet with parchment paper to prevent sticking.
Place the prepared Chicken Kiev bites on the baking sheet. Bake them for approximately 15-20 minutes. The internal temperature should reach 165°F (74°C) to ensure the chicken is safely cooked. This method helps retain moisture, resulting in tender bites without the excess oil associated with frying.
Frying Chicken Kiev
Frying provides a crispier texture, often preferred for Chicken Kiev. Start by heating vegetable oil in a deep skillet over medium heat.
Coat the Chicken Kiev bites in flour, an egg mixture, and panko crumbs. Fry them for about 2-3 minutes on each side, or until golden brown. It's crucial to monitor the temperature to avoid burning. Finish by transferring them to a preheated oven at 350°F (175°C) for 10 minutes to ensure the chicken is thoroughly cooked.
Healthier Cooking Alternatives
For those seeking healthier methods, consider air frying or grilling Chicken Kiev bites. Air frying mimics traditional frying but uses far less oil.
Preheat the air fryer to 380°F (193°C). Place the Chicken Kiev bites in the fryer basket and cook for 10-12 minutes, shaking halfway through. Another option is grilling over medium-high heat for about 5-7 minutes per side. Both methods reduce fat content while preserving flavor.
Serving and Pairing

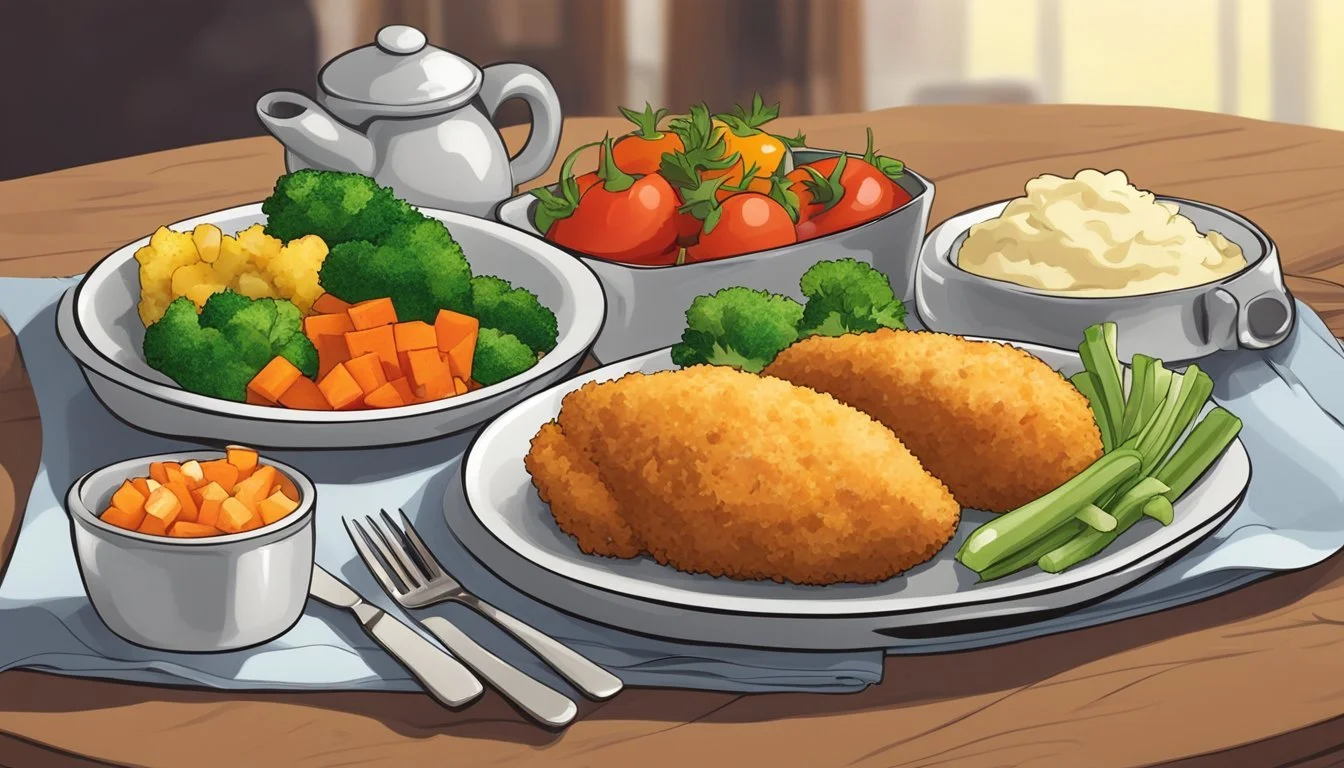
Chicken Kiev bites are a versatile main course, often enriched by the side dishes and the way they are presented. They are typically complemented by a variety of flavorful side dishes and can be enhanced by thoughtful presentation.
Suggested Side Dishes
Mashed potatoes are a classic companion to Chicken Kiev bites. Their creamy texture balances the richness of the dish, especially when enhanced with butter or sour cream.
Rice is another excellent option, providing a neutral base that absorbs the flavors of the Chicken Kiev's buttery filling. For a healthier alternative, consider brown rice.
A fresh green salad adds a crisp, refreshing contrast. Include greens like romaine with a light dressing made of olive oil and lemon juice. This helps cut through the richness of the main dish.
Roasted vegetables such as carrots, zucchini, and Brussels sprouts provide both color and flavor. They add a slight char and sweetness, pairing perfectly with the savory bites.
Presentation Tips
Plating Chicken Kiev bites professionally can elevate the dining experience. Arrange the bites on a large platter, making sure to leave some space between each piece.
Adding a garnish of fresh herbs, like parsley or chives, can make the dish look more appealing and add a fresh aromatic touch.
Place side dishes like mashed potatoes or rice in separate serving bowls. This allows guests to serve themselves, which keeps the dish neat and presents an organized look on the table.
Consider a drizzle of lemon juice over the Chicken Kiev bites just before serving. This not only enhances the flavor but also adds a vibrant color to the dish.
By paying attention to these details, Chicken Kiev bites can be transformed from a simple dish into a meal that is visually appealing and delicious.
Storage and Shelf Life
Chicken Kiev bites need to be refrigerated promptly, checked for signs of spoilage, and reheated carefully to ensure they're safe to eat.
Proper Storage Techniques
Chicken Kiev bites should be stored in the refrigerator at 40°F (4°C) or below. Cooked chicken should be put into airtight containers or wrapped tightly in aluminum foil or plastic wrap. They are safe to eat for 3-4 days when stored correctly. Alternatively, these bites can be frozen at 0°F (-18°C). For best quality, freeze them in heavy-duty freezer bags or wrap in foil followed by plastic wrap. Label each package with the date to track storage times easily, ensuring you consume them within 2-6 months for optimal flavor and safety.
Determining Freshness and Safety
To determine freshness, observe the chicken bites for any unusual smell, change in color, or slimy texture. Spoiled chicken often has a sour or off odor and may turn greyish. If there is any sign of spoilage, it is best to discard the chicken. The safe reheating internal temperature for chicken should reach 165°F (74°C). Use a food thermometer to check this, as undercooked chicken can harbor bacteria. Proper food safety practices are essential to avoid the risk of foodborne illness.
Reheating Leftovers
When reheating Chicken Kiev bites, use the oven or microwave. For the oven, preheat to 375°F (190°C) and place the bites on a baking sheet. Heat for about 15-20 minutes, ensuring they reach an internal temperature of 165°F (74°C). In a microwave, place the bites on a microwave-safe plate and heat on high for 2-3 minutes, checking the temperature until it is safe to eat. Avoid reheating more than once because repeated heating can compromise food safety and quality. Always discard any leftover chicken that has been sitting out for more than 2 hours at room temperature.
Nutritional Profile
Chicken Kiev bites offer a rich and flavorful dining experience, but it's essential to understand their nutritional makeup.
A standard serving size of Chicken Kiev typically contains around 653 calories. This caloric content results primarily from its rich butter and breadcrumb coating.
Macronutrients per serving:
Protein: 45% of the calories. This high protein content makes Chicken Kiev a good source for muscle growth and repair.
Fat: 48% of the calories. The total fat content is approximately 39 grams, with saturated fat constituting around 14 grams.
Carbohydrates: 7% of the calories. This translates to a smaller carbohydrate content, making these bites relatively low in carbs.
Fat Breakdown:
Saturated Fat: 14 grams.
Polyunsaturated Fat: 12 grams.
Monounsaturated Fat: 11 grams.
Chicken Kiev does not contain significant amounts of fiber or sugar. Its main ingredients contribute primarily to its protein and fat content. Given the high fat and calorie content, it's advisable to consume Chicken Kiev bites in moderation.
Here's a table summarizing the nutritional components:
Nutrient Amount per Serving Calories 653 Total Fat 39g Saturated Fat 14g Protein High Carbohydrates Low Fiber Negligible Sugar Negligible
Understanding the nutritional profile can help in making informed dietary choices.
Making Chicken Kiev Ahead

Making Chicken Kiev ahead can save time and effort for busy weeknights or special occasions. The following tips and methods help maintain the quality and flavor of the stuffed chicken.
Tips for Advance Preparation
When preparing Chicken Kiev ahead, first ensure the herb butter filling is fully incorporated into the meat. Use a sharp knife to create a pocket in the chicken and insert the butter mixture, sealing it well.
Coat the chicken thoroughly with breadcrumbs to keep it crunchy later. Place the prepped Chicken Kiev on a baking sheet lined with parchment paper. Cover tightly with plastic wrap and store in the refrigerator for up to 24 hours.
Before baking, remove the chicken from the fridge 15-20 minutes ahead of time to let it come to room temperature. This ensures even cooking.
Freezing and Thawing
Chicken Kiev freezes well, making it a convenient option for make-ahead meals. To freeze, prepare the chicken as per the recipe. Wrap each piece individually in plastic wrap, then place them in a single layer on a baking sheet for initial freezing. Once frozen solid, transfer them to a freezer bag or airtight container. This prevents sticking and helps with portion control.
For thawing, transfer the Chicken Kiev from the freezer to the refrigerator 24 hours before you plan to cook. Slow thawing in the fridge maintains texture and flavor.
If you're short on time, you can cook frozen Chicken Kiev directly by adding 5-10 minutes to the typical baking time. Ensure it reaches an internal temperature of 165°F (74°C) to ensure safety and proper doneness.
Variations and Customizations

There are many creative ways to customize Chicken Kiev bites to suit different tastes. Experimenting with herb and butter combinations or creating stuffed chicken variants can transform this classic dish.
Exploring Different Herb and Butter Combos
Various herbs can be mixed with the butter to create unique flavors. Common choices include garlic cloves, chives, tarragon, and dill. Adding lemon zest can provide a refreshing citrus note that complements the richness of the butter.
For a classic touch, mix softened butter with minced garlic, chopped parsley, and a pinch of salt. Those who prefer a subtle flavor might enjoy butter combined with thyme and a hint of lemon zest. Experimentation is key to finding the perfect blend that matches your palate.
Creating Stuffed Chicken Variants
Another way to vary Chicken Kiev is to create stuffed chicken variants. Instead of traditional chicken breasts, ground chicken can be used to make a similar yet distinct version. Form ground chicken around a frozen herb butter core, ensuring the butter is completely enclosed.
Alternative cooking methods, such as air frying, can provide a different texture. Use panko bread crumbs or traditional breadcrumbs for the coating. Incorporate plain flour and egg washes to ensure a crispy exterior. These adjustments can cater to dietary preferences or simply add a new twist to the original recipe.
Experimenting with various herbs, butters, and preparation methods allows for endless customizations, making Chicken Kiev bites versatile and exciting.
Conclusion

Chicken Kiev bites can be a delicious and convenient snack or meal. Knowing how to store them properly is key to maximizing their shelf life.
Refrigeration: When stored in the fridge, chicken Kiev bites typically last 3-4 days. It's essential to keep them in an airtight container to maintain their freshness.
Freezing: For longer storage, freezing is an excellent option. Properly wrapped in plastic wrap or placed in freezer bags, they can last up to 2 months.
Reheating: Reheat refrigerated or frozen chicken Kiev bites until they reach an internal temperature of 165°F (74°C) to ensure they are safe to eat.
Ensure proper storage and handling practices to enjoy these bites safely for as long as possible.
