
How Long Does Gluten-Free Grilled Corn on the Cob Last?
Shelf Life and Storage Tips
Summer grilling season is upon us, and there’s nothing quite like the taste of fresh, gluten-free grilled corn on the cob. This classic side dish is a favorite for many, providing a delicious complement to any barbecue spread. The real question at hand is, how long does this delectable treat last once it’s been cooked?
Grilled corn on the cob, when stored properly in the refrigerator, can last for up to 3-5 days. After grilling, it’s essential to allow the corn to cool before wrapping it tightly in aluminum foil or placing it in an airtight container. This helps maintain its flavor and juiciness, making it a convenient option for meal prep and leftovers.
Whether you’re hosting a backyard barbecue or just enjoying a casual summer meal, knowing how to store your gluten-free grilled corn on the cob ensures that you can savor its sweet, smoky goodness even days after it comes off the grill.
Selecting The Perfect Corn For Grilling
Choosing the right corn for grilling ensures you'll achieve the best flavor and texture. Focus on identifying fresh corn and understanding why sweet corn is an excellent choice for grilling.
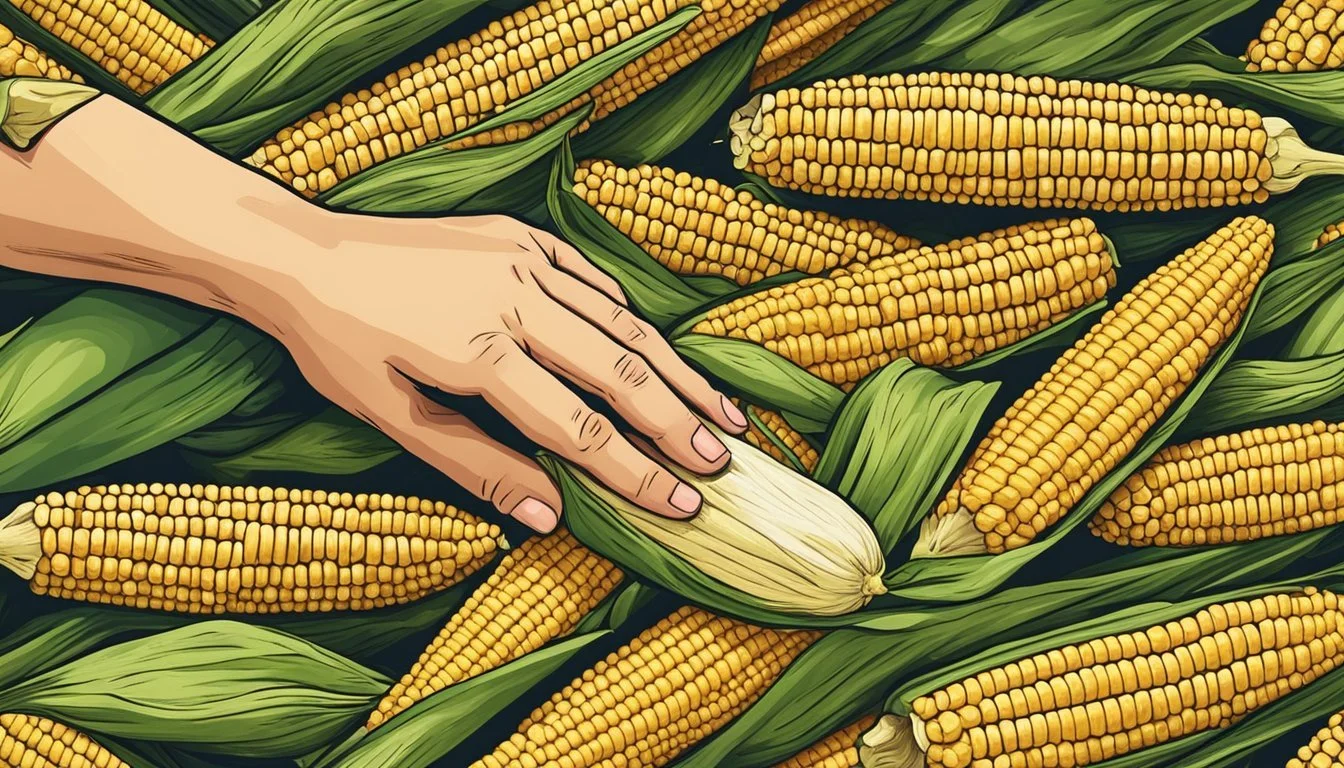
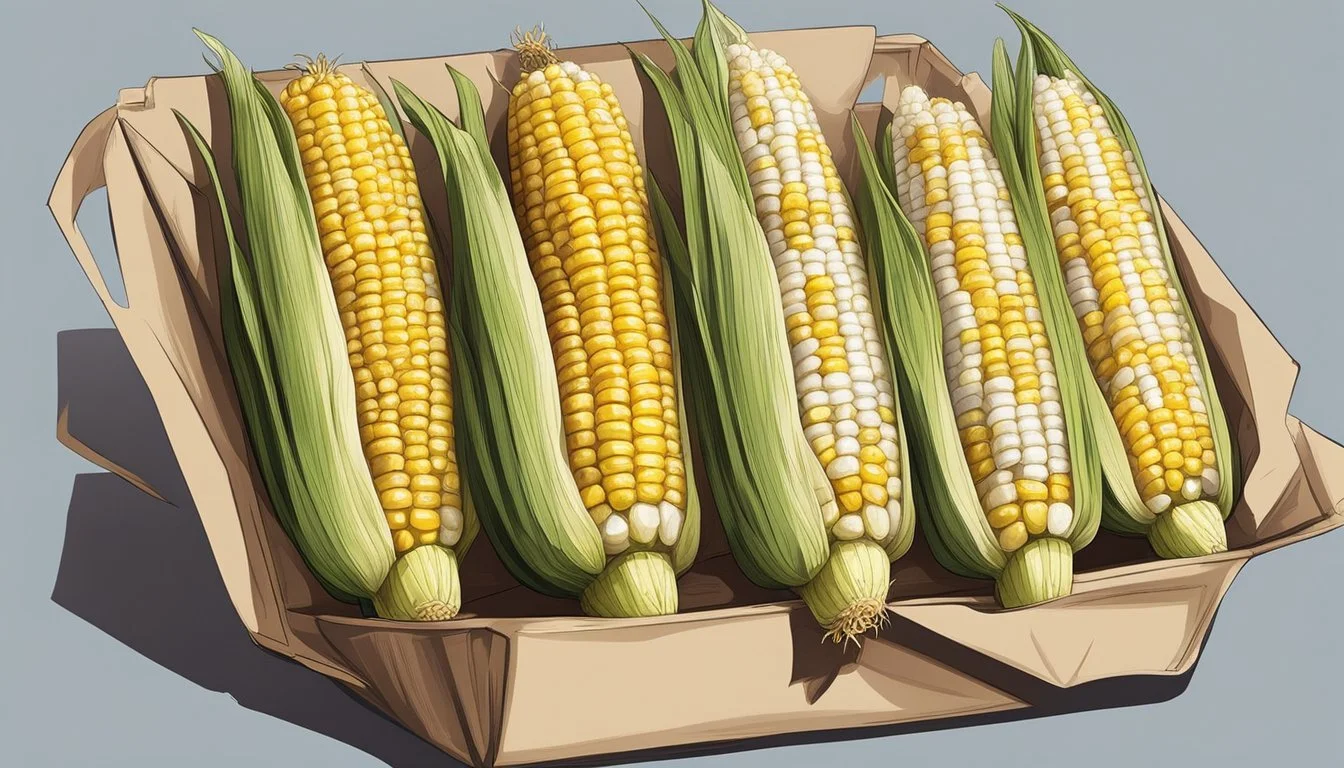
Identifying Fresh Corn
When selecting fresh corn, the husks should be bright green and tightly wrapped around the cob, indicating freshness. Avoid husks that are yellowing or dry. The silk, or corn silk, should be golden brown, slightly sticky, and free of mold.
Feel the corn through the husks to check for plump, evenly distributed kernels. If possible, peel back a small section of the husk to confirm the kernels are tightly packed and free from blemishes.
Benefits of Grilling Sweet Corn
Sweet corn is particularly suitable for grilling due to its high sugar content, which caramelizes when exposed to heat, enhancing the flavor. Grilling sweet corn brings out its natural sweetness and provides a delicious char.
Grilling also helps maintain the corn's tender texture while adding a smoky essence. Additionally, sweet corn's kernels retain moisture well, resulting in a juicier bite. For best results, choose sweet corn varieties known for their tenderness and sweetness. Consider grilling corn in the husk or wrapped in foil to protect the kernels and enhance the flavor.
By selecting fresh, sweet corn with vibrant husks and healthy silk, you'll ensure a delicious grilled corn experience.
Preparation Tips for Grilled Corn
To achieve perfectly grilled corn, it's essential to follow specific steps for preparation, starting with shucking and cleaning, followed by seasoning, and ensuring proper oiling and wrapping.
Shucking and Cleaning
Begin by removing the husks from the corn. Carefully pull back the husks and detach them from the cob. It’s crucial to remove the silk strands as well, as they can burn on the grill. Rinsing the corn under cold water helps eliminate any remaining silk or debris. Dry the cobs thoroughly with a paper towel to ensure the corn is ready for the next steps.
Pre-Grilling Seasoning
Before placing the corn on the grill, seasoning is key to enhancing its flavor. Brush the cobs with melted butter or oil to add moisture and prevent sticking. Season with salt and pepper. Other popular seasoning options include garlic powder, paprika, and herbs. Ensuring the seasonings adhere well to the corn will help achieve a flavorful, tender kernel.
Oiling and Wrapping
Oiling the corn is essential for maintaining moisture during grilling. Using a brush, apply a light coat of oil, such as olive or canola oil, over the corn. Wrapping the corn in aluminum foil can help lock in the flavors and prevent burning. Lay the corn in the center of a large piece of foil, drizzle with butter, and roll to coat the cob. This technique helps in achieving perfectly grilled, juicy corn.
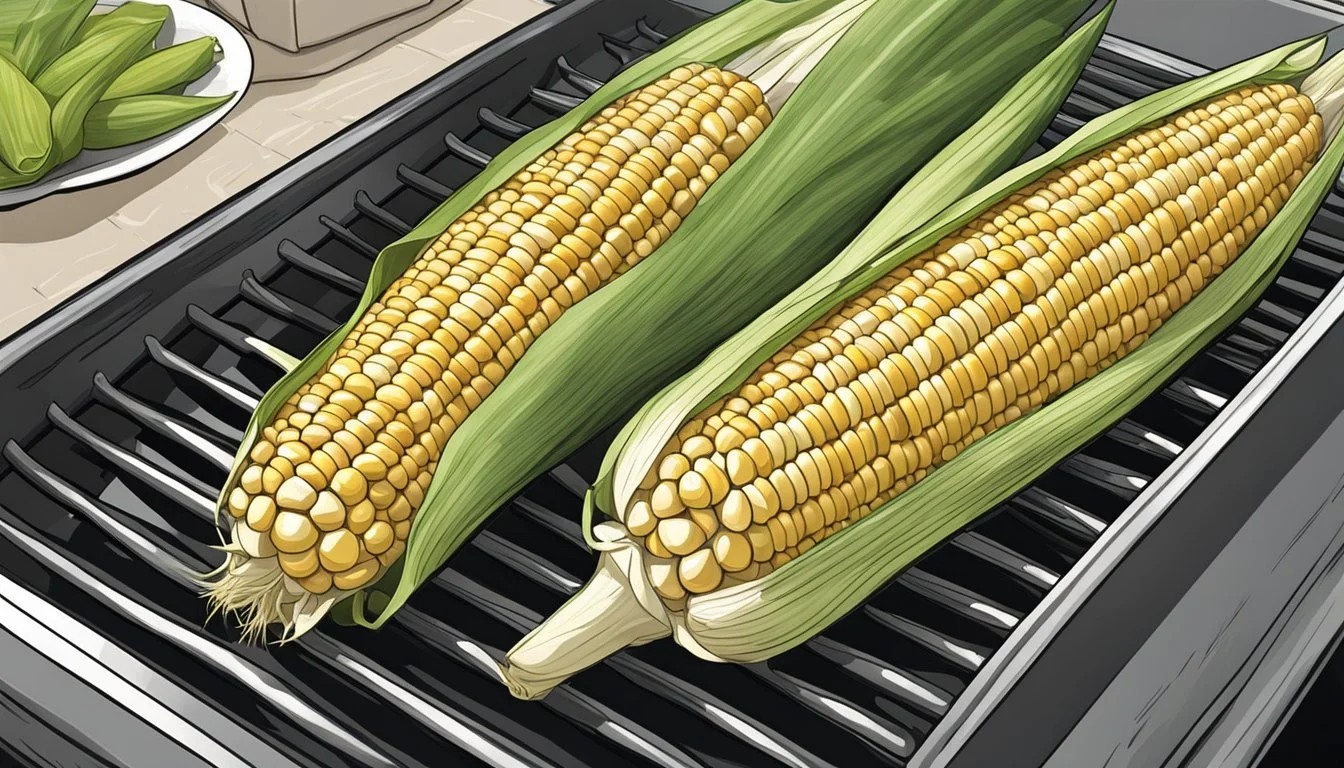
Grilling Techniques
Grilling corn on the cob involves understanding how to properly set up your grill, the difference between direct and indirect grilling, and knowing when the corn is perfectly cooked. Here are some essential techniques to achieve the best results.
Grill Setup for Corn
To grill corn effectively, preheat your grill to medium-high heat (about 375 to 450°F).
Remove the husks and silk from the corn. This can be done using your hands and rinsing off any remaining silks with water. It's helpful to pat the corn dry with a paper towel.
For gas grills, ensure the grates are brushed clean and prepared by spraying or brushing with a light coating of vegetable oil to prevent sticking.
Charcoal grills should have an even layer of coals, ensuring they’re hot and slightly ashed over. Maintain a consistent temperature to avoid fluctuating heat that could unevenly cook the corn.
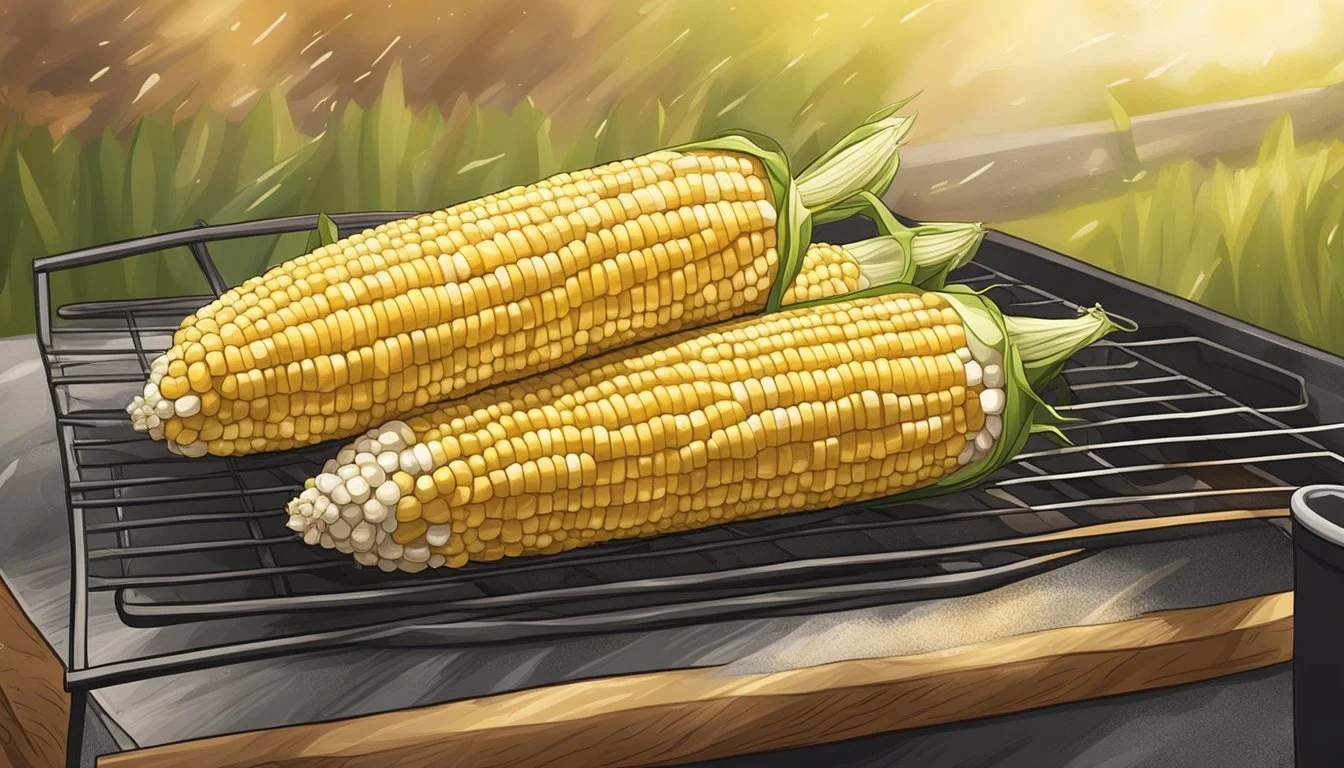
Direct Grilling vs. Indirect Grilling
Direct grilling involves placing the corn directly over the heat source. This method achieves nice grill marks and a charred, smoky flavor. Turn the corn every 5 minutes using tongs to cook it evenly, for a total of about 15-20 minutes.
Indirect grilling means positioning the corn away from the direct flame. This technique allows for slower cooking and prevents burning. It's ideal for thicker cobs or if you prefer a more tender texture. Simply rotate the corn periodically to avoid any hot spots.
Both methods have advantages, but the choice depends on the desired texture and flavor. Direct heat provides a quick cook with more charring, while indirect heat offers a more gradual, even result.
Determining Doneness
Determining the doneness of grilled corn involves several signs. When the kernels become tender and lightly browned, the corn is likely ready.
Pierce a kernel with a fork or knife; it should easily penetrate and release a bit of juice. Taste testing is another reliable method – the corn should be juicy and slightly charred but not mushy.
Grill marks are a good visual indicator. Consistent, dark lines suggest the corn has been grilled evenly. Rotate and check every few minutes to avoid overcooking.
Using these techniques ensures perfectly grilled corn that’s juicy, flavorful, and cooked to perfection every time.
Flavor Enhancements and Variations

Gluten-free grilled corn on the cob can be elevated with a variety of seasonings and toppings. These range from the simple application of butter and salt to more creative and complex flavor pairings inspired by global cuisines.
Classic Butter and Salt Application
A timeless way to enhance grilled corn is by applying butter and salt. Once the corn is hot off the grill, a generous pat of butter will melt beautifully into the kernels. Sprinkle a pinch of salt, adjusting to taste.
For an added kick, consider adding a dash of black pepper or a light sprinkle of garlic powder. These simple additions amplify the corn's natural sweetness without overshadowing its flavor.
Mexican Street Corn Inspiration
Inspired by the beloved Mexican Elote, this variation brings robust flavors to the grilled corn. Start by brushing the hot corn with mayo and then rolling it in crumbled cotija cheese. Add a squeeze of lime juice.
Sprinkle with chili powder and garnish with chopped cilantro for a vibrant and zesty finish. This combination offers a delightful mix of creamy, tangy, and spicy elements that complement the grilled taste.
Innovative Toppings and Pairings
For those looking to experiment, there are numerous innovative toppings to consider. Drizzle the corn with olive oil and sprinkle with parmesan cheese for an Italian twist. Garlic powder and fresh herbs like thyme or rosemary offer a more aromatic profile.
Sweet variations can include a light brushing of honey or a sprinkle of cinnamon sugar. For a unique savory-sweet experience, pair the corn with crumbled bacon bits or a dash of smoky paprika.
These enhancements and variations provide myriad ways to enjoy gluten-free grilled corn, making it a versatile dish suitable for any palate.
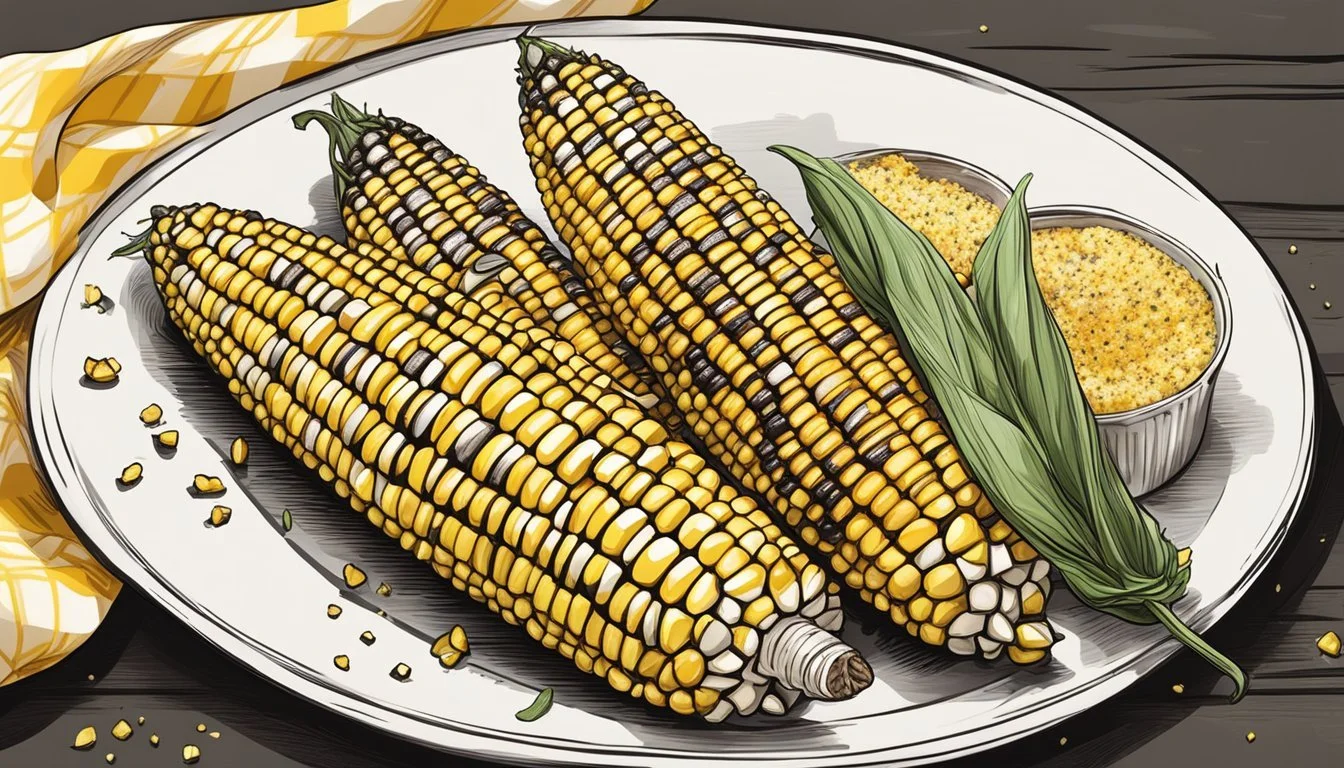
Serving and Presentation
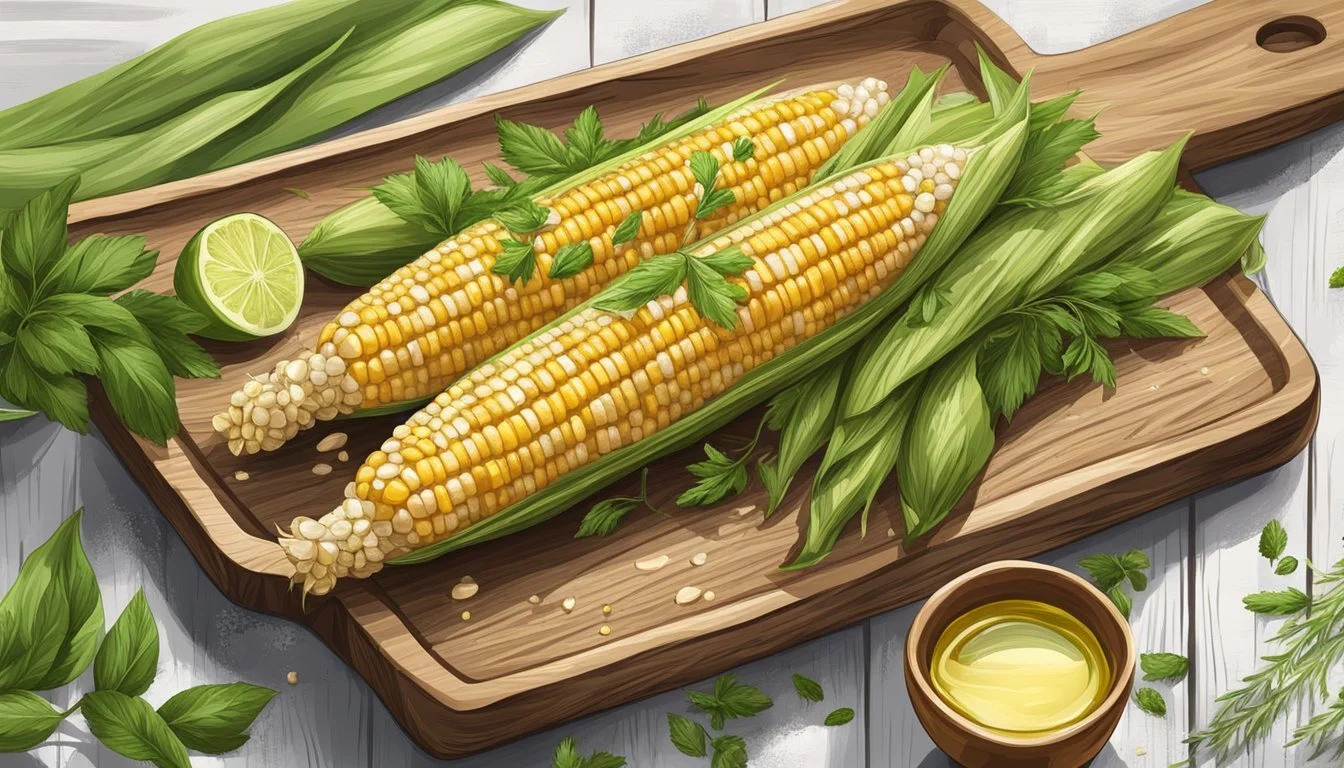
When serving gluten-free grilled corn on the cob, presentation plays an essential role in enhancing the dining experience. Utilizing effective plating techniques and offering complementary side dishes can elevate the meal. Garnishes and final touches add a finishing flourish.
Plating Techniques
Arrange the grilled corn on a large serving platter to create an inviting display. Placing the corn in a linear fashion or in a circular pattern can add a visual appeal. For each serving, consider using trays with individual compartments to keep the corn separate from other dishes. This helps maintain the crispness of the corn.
Using wooden skewers can provide ease of handling, especially at gatherings. For a rustic touch, place the corn on wooden cutting boards. Consider cutting each ear of corn into thirds to offer smaller, manageable portions, ensuring everyone gets a share.
Complementary Side Dishes
Corn on the cob pairs well with classic summer favorites. Serve it alongside grilled burgers, hot dogs, or chicken for a hearty meal. For seafood lovers, grilled shrimp makes an excellent match due to its light and complementary flavor.
Adding a fresh corn salad enhances the meal's theme and provides a variety of textures. An avocado salad offers a creamy contrast, while the addition of lime butter brings a zesty flavor that complements the corn. These sides not only complement the corn but also create a well-rounded plate.
Garnishes and Final Touches
Elevate the grilled corn with thoughtful garnishes. Sprinkle finely chopped cilantro or parsley over the top for a burst of color and freshness. Grated cheese, such as Parmesan or cotija, adds a savory depth that contrasts well with the sweetness of the corn.
Serve with lime wedges on the side, allowing guests to squeeze fresh lime juice over their corn. This can enhance the flavor and provide a tangy zest. For a touch of indulgence, brush the corn with lime butter just before serving, ensuring every bite is flavorful. Adding a sprinkle of chili powder can also introduce a mild kick for those who enjoy a bit of spice.
Storage and Reheating
When storing and reheating gluten-free grilled corn on the cob, it is essential to preserve its flavor and texture. Proper storage prevents bacterial growth, and the right reheating methods ensure the corn remains tasty.
Optimal Storage Conditions
To keep gluten-free grilled corn on the cob fresh, refrigeration is key. Immediately after grilling, wrap the corn cobs in aluminum foil or place them in an airtight container. This helps maintain moisture and prevent drying out.
Refrigerated corn should be consumed within three to four days to ensure the best quality. For longer storage, consider freezing the corn kernels. Remove the kernels from the cob, place them in a zip-lock bag, and freeze them. This method preserves both taste and nutritional value for several months.
Reheating without Quality Loss
Reheating grilled corn on the cob without losing its quality requires careful methods. Microwave reheating is convenient but can dry out the corn. Wrap the corn in a damp paper towel and microwave on medium heat for 1-2 minutes. This helps retain moisture and prevent toughness.
Alternatively, using the oven is effective. Preheat the oven to 350°F. Place the corn on a baking sheet, cover with aluminum foil, and heat for 10-15 minutes. Adding a small amount of water to the baking dish can create steam and maintain the corn's moisture.
For the best results in both microwaving and oven reheating, keep the corn wrapped to trap steam and preserve its tenderness.
Nutrition and Dietary Information

When it comes to nutrition, gluten-free grilled corn on the cob offers a range of benefits. Each medium-sized ear of corn typically contains about 88-100 calories. This makes it a low-calorie option suitable for various diets. Corn is a vegetarian and naturally gluten-free food, accommodating many dietary preferences and restrictions.
Corn is rich in several essential nutrients, including fiber, vitamin C, magnesium, and antioxidants. Its fiber content aids in digestion, while vitamin C boosts the immune system. Magnesium plays a role in muscle function and helps maintain a healthy heart.
Seasoning options for grilled corn can be diverse yet simple. Adding herbs like cilantro or spices such as smoked paprika can boost flavor without drastically altering its nutritional profile. Cotija cheese and bacon crumbles can be used for additional texture and taste.
For those concerned about maintaining a healthy diet, using a small amount of olive oil is a healthier choice compared to butter. Olive oil's healthy fats provide nutritional benefits while keeping the dish light.
Nutritional Breakdown per Medium Ear:
Nutrient Amount Calories 88-100 Protein 3 grams Fat 1.5 grams Carbohydrates 19 grams Dietary Fiber 2 grams Vitamin C 10% DV Magnesium 8% DV
Grilled corn is an excellent choice for those looking for a flavorful, nutritious, and gluten-free option that can easily fit into a vegetarian diet. Incorporating smoky seasonings and diverse toppings can enhance the overall taste while keeping it healthy and enjoyable.
Conclusion

Properly storing gluten-free grilled corn on the cob ensures it lasts for up to 3-5 days in the refrigerator.
To keep the corn fresh, allow it to cool to room temperature, then wrap it tightly in aluminum foil or place it in an airtight container.
For longer storage, corn can be frozen for 6-8 months. Make sure to remove the kernels from the cob before freezing to simplify reheating.
Grilled corn retains much of its flavor and texture, making it a convenient leftover for salads, salsas, or as a side dish.
When reheating, use an oven, microwave, or grill to warm the corn to the desired temperature. This method maintains the corn's original grilled taste and texture.
