
How to Grill Corn on the Cob
Mastering the Art of Perfectly Charred Kernels

Grilling corn (how long does corn last?) on the cob is a summer tradition that combines the sweet taste of corn with the smoky flavor from the grill. The process transforms simple ears of corn into a charred, delectable treat, with a play of textures from the tender kernels to the slightly crisp, caramelized surfaces. Achieving that perfect balance requires a bit of technique, and there are several methods that can be used depending on preference and available equipment.
One effective approach is to grill the corn with the husks on. The husks protect the kernels from direct flames, allowing them to steam to perfection within a charred exterior. This method is often favored for its ability to keep the corn moist while imparting a subtle smokiness. Ears of corn can also be shucked and grilled directly on the grates, producing a more pronounced char. This technique calls for careful attention, turning the corn frequently to ensure an even cook and prevent burning.
It is crucial to start with corn that is fresh and in good condition. Next, medium-high heat on the grill provides the ideal environment, balancing the need for a good sear with the necessity of cooking the corn through without drying it out. Preheating the grill and cleaning the grates can optimize the cooking environment for the corn. As these kernels hit the grill, they begin to showcase a symphony of flavors that epitomize summer grilling. With a measured approach, one can grill corn on the cob to perfection, making it a standout side dish or a complement to any barbeque spread.
Selecting the Perfect Corn
When it comes to grilling corn on the cob, starting with the right ingredients is essential for achieving the most delicious results. Fresh corn is undoubtedly the starting point, and finding it at its peak can guarantee a sweeter, more satisfying side dish. A good rule of thumb for finding the freshest corn is to look for ears with green husks that are snug against their kernels. These green husks are indicative of corn that has been recently picked and has retained moisture, a key component of freshness.
Visiting a farmers market can be a wise choice for acquiring the freshest possible corn. Vendors there typically offer products that have been harvested recently, thus enhancing the likelihood of finding ears with plump kernels, bursting with natural sweetness. While there, take a moment to gently peel back part of the husk to inspect the kernels inside. They should appear plump and uniform, with none missing. The kernels at the very tip may, however, be smaller or absent — this is normal and should not affect the overall quality.
Here's a checklist to guide you through selecting the best corn:
Husks: Look for bright green, tightly wrapped husks
Kernels: Seek out plump, plentiful and juicy-looking kernels
Stalk: Check the stalk; it should be moist, not dry
Tassels: Note the tassels at the top; they should be pale and silky
Sweet corn varieties differ, with some being sweeter than others. If sweetness is a key factor for your grilled corn experience, inquire about the variety to ensure it meets your taste preferences. By meticulously selecting your corn, results on the grill are poised to delight the palate with perfectly charred kernels.
Preparation of Corn for Grilling
Proper preparation is essential for achieving perfectly charred and flavorful corn on the cob. This involves several steps, from husking to heating the grill, each contributing to the final taste and texture.
Husking and Cleaning
The first step is to remove the husks and silk from the corn. They should peel the husks back but not completely off if they plan to grill the corn in the husk. For a cleaner ear of corn, one can use a soft brush or a damp towel to gently remove any remaining silk threads.
Pre-Grilling Treatments
Some prefer to soak the corn in water or in a brine solution for at least 30 minutes prior to grilling. This process hydrates the kernels, reduces the chances of burning, and adds moisture that can steam the corn during grilling. Alternatively, a brief stint in the microwave with the husks on can start the cooking process and ensure even grilling.
Seasoning Corn
Before grilling, it's customary to season the corn. The ear can be rubbed with a combination of butter (how long does butter last?), salt, and oil. Optional additions include lime juice, black pepper, mayonnaise, cayenne pepper, parmesan, and various herbs to enhance flavor. One may also apply flavored butter for a more decadent finish.
Wrapping Methods
If not grilling in the husk, wrapping the ears in foil can protect them and facilitate even cooking. Poke a few holes in the foil to let steam escape. Some may opt for a double layer to avoid punctures from the grill.
Heating the Grill
They should preheat the grill to a medium heat, which typically ranges from 375 to 450 degrees Fahrenheit. A consistent medium heat allows the corn to cook thoroughly without burning the outside. For charcoal grills, they should wait until the coals are covered in ash and radiating a steady heat before placing the corn on the grate.
Grilling Corn on the Cob
Grilled corn on the cob is a summer staple that combines the natural sweetness of corn with the smoky flavor that can only be achieved on the grill. This section provides specific techniques to help you achieve perfectly charred kernels and recommendations for monitoring and turning the corn for even cooking.
Grilling Techniques
When grilling corn on the cob, there are two main methods to consider:
Husk On:
Preparation: Pull back the husk without removing it, remove the silk, and then reposition the husk.
Grilling: Place the corn on the grill with husk. It will protect the kernels while it steams them, contributing to a tender and juicy outcome.
Husk Off (Foil Wrapped):
Preparation: Shuck the corn completely. Optionally, brush the kernels with olive oil and add seasonings such as salt and pepper.
Wrapping: Wrap each ear of corn tightly in aluminum foil to mimic the protective effect of the husk.
Grilling: The wrapped corn is then placed directly on the grill, allowing the foil to steam the kernels.
Direct Grilling:
Preparation: Shuck the corn entirely, removing both husk and silk.
Grilling: Apply olive oil and place the corn directly over the grill for charred and smoky flavor. Grill until the kernels are tender and have some charred spots, suggesting a good rest before serving is beneficial for the flavors to meld.
Monitoring and Turning
Proper monitoring and frequent turning are key to avoid over-charring and ensure even cooking:
Cooking Time: Expect to grill the corn for about 15-20 minutes total.
Turning: Use tongs to rotate the corn every 4-5 minutes to ensure an even char and prevent burning.
Doneness: Check if the kernels are tender to confirm the corn is ready to serve. Tender kernels generally suggest that the corn is properly cooked.
By closely managing the grilling process and turning at consistent intervals, you can serve grilled corn with a perfect balance of tenderness and that desired charred flavor.
Post-Grilling Finishes
After grilling corn on the cob to perfection, a few post-grilling finishes can elevate its taste and presentation. These finishes involve adding flavors or resting the corn to bring out its best qualities.
Adding Flavors
One can enhance the naturally sweet taste of grilled corn by applying flavored butter or a brush of olive oil. For a savory twist, they might consider:
Mixing softened butter with crushed garlic, chopped herbs, or horseradish for a pungent kick.
Combining mayo, lime juice, and chili powder for a Mexican street-style elote.
Sprinkling warm corn with finely grated cheese, sesame seeds, or other spices for added texture and taste.
Resting Corn
Allowing the corn to rest for a few minutes after grilling stabilizes the flavors and juices. Resting should be done by:
Placing the corn on a serving plate or in a warm spot, covered, for about 3-5 minutes.
Serving the corn while it’s still warm with your choice of flavored butter or sauces to ensure the kernels maintain their plumpness and succulence.
Serving and Presentation
After grilling corn to perfection, presenting it in an appetizing manner can elevate the dining experience. Begin by arranging the grilled ears on a serving platter. Providing options for guests to customize their corn is key.
Butter: A staple for grilled corn, melted butter allows guests to brush or drizzle the desired amount on each ear. Keep the butter warm in a small bowl or dish with a brush for easy application.
Salt: Coarse sea salt not only enhances flavor but also adds a pleasant texture. Place it in a shaker or pinch bowl, giving everyone the freedom to season to taste.
Lime: Wedges of lime on the side provide a zesty touch. The brightness of the lime juice can balance the smoky flavor of the corn.
Chili Powder and Mexican Street Corn Inspirations:
Elote: Set out bowls of chili powder, along with crumbled cotija cheese or grated parmesan for guests who appreciate the classic Mexican street corn style. They can sprinkle these toppings on their buttered corn for a spicy, cheesy delight.
Cotija Cheese: A saltier, crumbly cheese offering a distinct flavor compared to parmesan.
Chili Powder: Offer pure chili powder or a blend for those who enjoy a kick of spice.
To serve, provide small plates and napkins beside the corn. This allows everyone to indulge in this classic grilled treat with ease. By offering a range of toppings and maintaining an orderly presentation, hosts ensure a delightful culinary experience for all guests.
Corn-Based Side Dishes
Grilled corn on the cob offers a sweet and smoky flavor that makes it a versatile component in numerous side dishes. These sides can complement a variety of main courses and cater to different tastes.
Corn Salad Variations
One can transform grilled corn into a plethora of corn salad variations. For instance, a Grilled Corn Salad might include kernels sliced from the cob, cherry tomatoes, diced avocado, red onion, and a light vinaigrette. Adding different beans such as black or kidney beans can introduce extra protein and texture. Herbs like cilantro or basil can provide an aromatic lift to these salads.
Ingredients:
Corn kernels
Cherry tomatoes
Avocado
Red onion
Black or kidney beans
Cilantro or basil
Vinaigrette
Street Corn Creations
Mexican street corn, or elote, is a beloved way to enjoy grilled corn. Typically, the grilled ears are slathered with a combination of mayonnaise, lime juice, and spices. Then, they are generously coated with cotija cheese and sprinkled with chile powder. This creates a creamy, tangy, and spicy dish that pairs excellently with a variety of proteins.
Key Components:
Mayonnaise
Lime juice
Cotija cheese
Chile powder
Spices (optional: cumin, garlic powder)
Pairing with Proteins
Grilled corn side dishes can be an excellent complement to proteins like burgers, ribs, and salmon. When creating a corn-based side, consider the balance of flavors. A simple buttered grilled corn with a sprinkle of salt and pepper pairs well with hearty meats like burgers and ribs. For lighter proteins like salmon, a grilled corn salad dressed with a citrusy dressing can provide a refreshing counterpoint.
Protein Pairings:
Burgers: Buttered grilled corn, salt, and pepper
Ribs: Mexican grilled corn with a smoky spice blend
Salmon: Grilled corn salad with a citrusy dressing
Storage and Reheating Tips
After enjoying the distinct flavor of grilled corn on the cob, proper storage ensures its deliciousness can be savored later. To store grilled corn on the cob, one should wrap them tightly in plastic wrap or aluminum foil before placing them in the refrigerator. This helps retain moisture and the natural sweetness provided by the starch within the kernels. Refrigerated corn should be consumed within three to five days for optimal quality.
When it comes to reheating, the objective is to warm the corn without drying it out, as the kernels contain a good amount of starch which can become tough and chewy if overheated. Below are some effective methods to reheat grilled corn that retains its succulence:
Oven method: Preheat the oven to 350°F (175°C). Wrap the corn in aluminum foil and add a drizzle of water to preserve moisture. Heat for about 5-7 minutes.
Microwave method: Place the corn on a microwave-safe dish, add a splash of water, and cover. Heat on high for about 45 seconds, turn the cob, and heat for another 30-45 seconds.
Air Fryer method: Wrap the corn in foil with a teaspoon of water to prevent drying. Heat at 350°F for 3-4 minutes.
For frozen corn on the cob, it's best to thaw it first in the refrigerator and then use any of the above methods to reheat. If time is short, one may directly microwave the corn with added water, increasing the reheating time slightly to ensure thorough warming.
Lastly, if one desires to add a bit more flavor when reheating, brushing the corn with a small amount of neutral oil can help restore its just-grilled taste while providing a pleasing texture to the kernels.
Alternative Grilling Methods
When grilling corn on the cob, traditional BBQs and open flames might not always be an option. But that doesn't limit the quest for that perfectly charred corn. There are other appliances and techniques that can mimic the grilling process to achieve similarly delicious results.
Grilling Corn in Different Appliances
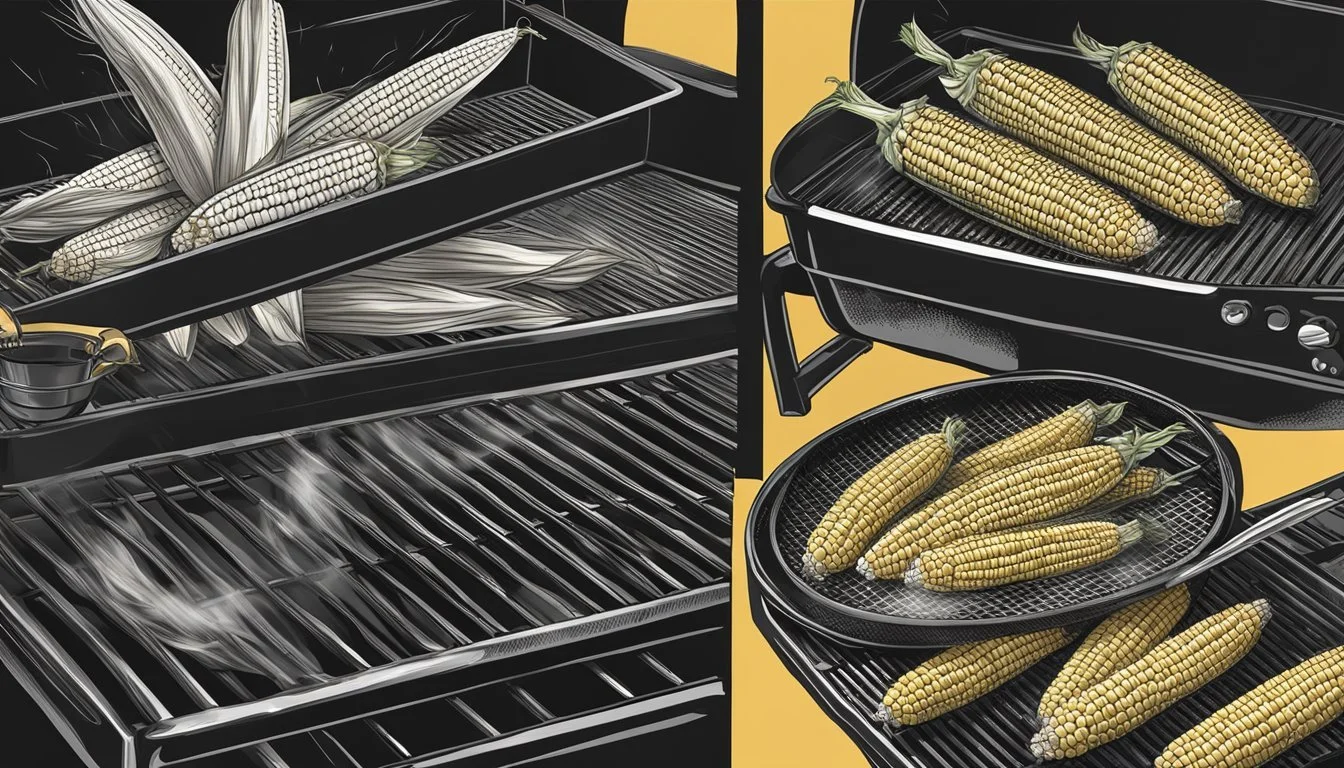
Grill Pan:
Usage: A grill pan provides an indoor solution that mimics the grates of an outdoor grill. When using a grill pan, one treats it as a regular frying pan, placing it over the stovetop, allowing the heat to char the corn. The pan's ridges impart grill marks, while the heat helps to develop a smoky flavor.
Preparation: It’s recommended to lightly oil the corn before placing it on the grill pan to prevent sticking and to enhance the charring.
Air Fryer:
Usage: An air fryer can be used to grill corn on the cob by circulating hot air around the corn, giving a crispy texture and a charred appearance without actual flames.
Preparation: To prepare corn in an air fryer, one should coat the corn lightly with oil, set the air fryer to a high temperature, and turn the corn occasionally to ensure even cooking.
Foil-Wrapped Corn:
Usage: Cooking corn on the cob in foil is an alternative method that allows for grilling on various heat sources. Wrapping the corn in foil can be done on an outdoor grill, in an oven, or even on a stovetop grill pan.
Preparation: Brush the corn with oil and optional seasonings, then wrap it in foil. The foil traps in heat and steam, cooking the corn evenly and preventing it from drying out. Poking a few holes in the foil can release excess steam.
Each of these methods can be paired with various toppings or sauces, such as butter, herbs, or a tangy salsa, to enhance the final dish. By using these alternative methods, one can achieve grilled corn on the cob with that desired charred texture and deepened flavor, even without an outdoor grill.
Grilled Corn as a Summer Staple
Grilled corn on the cob is a quintessential summer dish, often associated with the warm embrace of a backyard barbecue. As families and friends gather, the sight and scent of corn grilling over a smoldering fire sets the stage for a season of enjoyment and leisurely feasts.
Characteristics of Summer Corn:
Peak Seasonality: Summer corn is known for its sweetness and readily available during its peak season.
Variety: Different varieties offer a range of flavors and textures.
Preparation Methods:
Husk On: Some prefer grilling corn with the husk on to retain moisture.
Husk Off: Others grill it without the husk for a smoky, charred flavor.
Grilling Techniques:
Heat the grill to medium-high heat; this usually takes about 10-15 minutes.
For husk-free corn, remove the silks and wash them. For husked corn, soak it in water prior to placing it on the grill.
Place corn on the grill, turning occasionally.
Husk On: 12-15 minutes until husks are charred.
Husk Off: 5-10 minutes, turning frequently for an even char.
The ritual of grilling corn symbolizes the simple pleasures of summer. They serve not just as a side dish but as a conduit for creating memories around the grill. The charred kernels of golden, butter-slathered corn become the centerpiece of a shared culinary moment, be it at a neighborhood potluck or a family dinner under the setting sun.
In summary, whether one wraps it in foil or chars it directly over the coals, grilled corn is adaptable, easy to prepare, and a cherished highlight of summer barbecues.
Enhancing Corn's Natural Sweetness

Grilled corn on the cob is a summer favorite, and bringing out the natural sweetness of the corn is key to achieving the perfect charred kernels. Fresh corn typically has the highest sugar content, meaning selecting the freshest ears will yield the most naturally sweet results.
Pre-grill Preparation:
Select full, plump kernels
Look for moist, bright green husks
Choose ears with golden, sticky silk
Before grilling, the preparation of the corn plays a crucial role in enhancing its sweetness. Corn should be soaked in water for 15 to 30 minutes. The moisture helps steam the corn as it cooks, ensuring it remains juicy and sweet.
Grilling Technique:
Medium-high heat (around 375 to 450 degrees Fahrenheit)
Husk on to retain moisture and flavor
Turn frequently for an even char
During the grilling process, it is essential to not overcook the corn. Cooking it for about 15 to 20 minutes should be sufficient. Overcooking can lead to a loss of corn flavor and moisture, resulting in less sweet and drier kernels.
Final Touches:
Butter (optional)
A pinch of salt (enhances sweetness)
Fresh herbs for added flavor
By carefully selecting fresh ears of corn and employing proper grilling techniques, one can effectively enhance the corn's natural sweetness, creating a delightful, flavor-packed, and sweet corn experience.
Understanding Corn Varieties

When selecting corn for grilling, the variety of corn plays a crucial role in flavor and texture. Sweet corn is the most popular variety for eating fresh, especially for grilling, due to its high sugar content, which enhances its taste.
Sweet corn can further be categorized by its kernel type:
Standard: This is the traditional sweet corn with a creamy texture and a sweet flavor that is best eaten fresh.
Sugar-enhanced: These varieties have a higher sugar content and a more tender kernel.
Supersweet: These are known for an even higher sugar content and crisp texture, extending their shelf life.
When shopping for corn, whether it's at a farmers market or grocery store, look for ears with green husks and plump kernels that are evenly spaced in rows. The husks should be tight and fresh-looking, not dried out, as this indicates the freshest corn. The silk should be golden and slightly sticky, which is another sign of freshness.
Here's how to examine the corn:
Feel the kernels through the husk; they should be plump and plentiful, covering the cob up to the tip.
Check the tassel at the top; it should be brown and sticky, not black or dry.
Look at the color of the husk; it should be a bright green and wrapped tightly around the cob.
Freshness is a vital component to the final grilled product, as fresh corn will yield the juiciest and most flavorful results.
