
How to Make and Use a Salt Brick for Grilling
Unlocking Flavorful Secrets

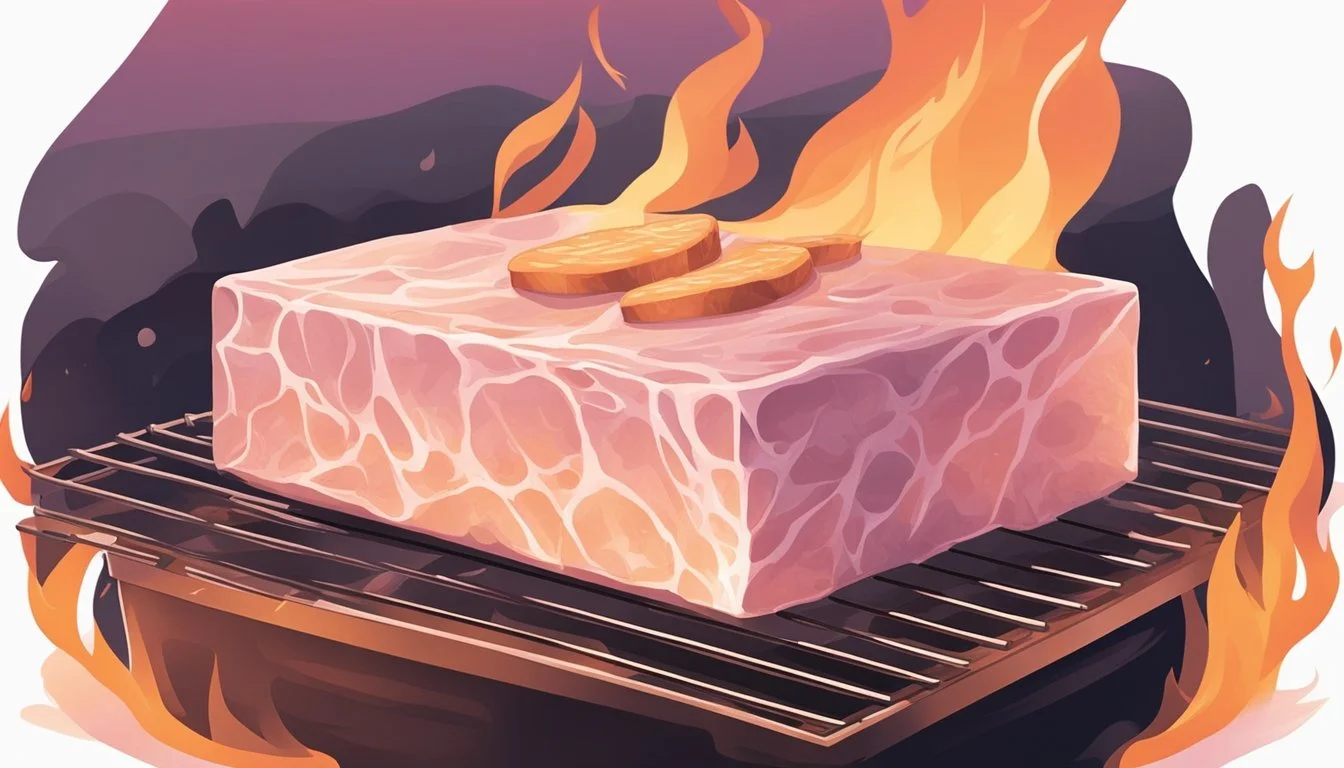
Grilling with a Himalayan salt block has gained popularity among culinary enthusiasts for its ability to infuse natural salty flavors into food. A salt block, which is essentially a slab of pure Himalayan salt, is not only a cooking surface but also a flavorful addition to the grilling process. The dense crystal structure of the block conducts heat efficiently, while the salt's mineral content adds a subtle complexity to a wide variety of grilled foods, from vegetables to meats.
When using a Himalayan salt block for grilling, it's essential to understand the proper heating process, as it ensures both safety and longevity of the block. A gradual warming up of the salt block is crucial to prevent it from cracking due to thermal shock. The block should be heated in stages, starting on a low heat before slowly increasing to a higher temperature. This tempering process creates a robust cooking surface that imparts a delicate saltiness to the items grilled upon it.
Beyond flavor, a salt block provides a naturally anti-microbial surface, requiring less seasoning of the food and simplifying the clean-up afterward. With appropriate care, such as allowing the block to cool completely before cleaning, and avoiding harsh detergents, a salt block can be a durable tool in a grilling arsenal. Cooking with a salt block adds not only a gourmet twist but invites a healthier approach to grilling, making it a method worth exploring for any grill master.
Understanding Salt Blocks
When exploring the world of gourmet cooking, salt blocks, particularly those made from Himalayan pink salt, offer unique benefits in heat distribution and flavoring. They also incorporate a complex mineral composition that can contribute to the culinary experience.
Composition and Varieties
Himalayan pink salt blocks are rich in minerals, primarily sodium chloride. They also contain traces of other minerals, including calcium, potassium, and magnesium, which can infuse food with subtle complexity. The hue can range from soft pink to deep red, indicative of mineral content.
Benefits of Using Himalayan Salt Blocks
Grilling with Himalayan salt blocks enhances food with an even heat distribution and a mild saltiness, which eliminates the need for additional seasoning. The moisture in the food dissolves trace minerals, contributing to the health benefits and complex flavor profiles.
Selecting the Right Salt Block
When choosing a salt block, opt for ones with a clear, uniform color and minimal cracks. Sur La Table and other kitchen specialty stores offer high-quality options in various sizes to suit different culinary needs.
Preparing Your Salt Block
Heating a salt block gradually is crucial. Start on a low heat setting, whether on an oven, stovetop, or grill, and slowly increase to high heat. A typical warm-up period should last about 45 minutes, reaching a temperature suitable for salt block cooking.
Maintenance and Longevity
After cooking, cool the block completely before cleaning. Avoid using soap; instead, scrub with a soft brush and water, and dry thoroughly. Storing the block in a dry place will help prevent cracking and ensure longevity.
Safety Tips and Considerations
To prevent injury or damage to the block, avoid exposure to sudden temperature changes. Use heat-resistant gloves when handling, and ensure your work surface can tolerate the high heat of salt block grilling. Remember that not all salt blocks are created equal, and quality can significantly affect performance and safety.
Cooking with Salt Blocks
When cooking with Himalayan salt blocks, chefs can harness the block’s ability to distribute heat evenly, adding complexity and a delicate salting to a variety of foods from scallops (What wine goes well with scallops?) to fruit.
Heating Techniques
For optimal heat distribution, one must slowly warm the Himalayan salt block, preferably in stages. Begin by placing the block on a stove or oven at a low setting for about 20 minutes. Gradually increase the temperature until the block reaches the desired cooking heat. A gas grill can also be utilized by placing the salt block on the side opposite the lit burners, allowing it progressively to reach up to medium-high heat for grilling.
Cooking Different Foods
A salt block is versatile for cooking a myriad of recipes. It is excellent for searing scallops, grilling vegetables, or even baking bread. The trick is to match the block temperature to the cooking needs of the food – higher heat for searing meats and lower for delicate items like fruit.
Enhancing Flavors
Recipes take on an enhanced flavor profile when cooked on a salt block due to the subtle salting effect. The natural salt deposits within the block gently season the food without overwhelming it, making it important to reduce additional salt in recipes.
Serving and Presentation
For a dramatic serving presentation, transfer the salt block directly to the table after cooking. It serves both as a heat-retaining cooking surface and an impressive presentation platter for dishes like sizzling scallops or chilled appetizers.
Cleaning After Cooking
The non-stick surface created by the high salt content allows for easy cleaning. Once cooled, scrub the block with a little water and a brush or sponge, avoiding any soap. Pat dry and leave it to air dry completely before storing.
Curing and Storing Methods
To cure a new salt block for future use, heat it gradually, increasing the temperature over several uses. This will also extend the lifespan of the block. Store your cooled and fully dried block in a dry, well-ventilated area to prevent any moisture accumulation.
Advanced Techniques
Once comfortable with basic salt block cooking, experiment with advanced techniques such as chilling the block for serving sushi (What wine goes well with sushi?) or cheese, or using it to bake bread which imparts a distinctive crust. With practice, different heat zones can be created for cooking multiple foods at once, showcasing the salt block's full potential.
Through these practices, the art of Himalayan salt block grilling and cooking unfolds, transforming both the taste of dishes and the cooking experience.
Beyond Cooking

While Himalayan salt blocks are known for their use in cooking to infuse natural saltiness into foods, their benefits extend far beyond culinary applications. They offer versatility in home décor, potential health benefits, and various uses in food preservation.
Other Uses for Salt Blocks
Serving: A Himalayan salt block can double as an elegant serving platter. When chilled, it is excellent for presenting cheese, sushi, or fruit, helping to keep these items cool while imparting a subtle salinity.
Chilling: Due to their ability to retain temperature, salt blocks are used to chill beverages or even as a base for serving caviar, ensuring the delicacies stay cold during service.
Building: Salt blocks offer architectural possibilities, such as constructing walls that emit negative ions, creating a soothing ambiance.
Creative Ideas and Decor
Artistic Displays: The vibrant pink hues of Himalayan salt blocks make them an attractive addition to home décor. When lit from behind, their crystalline structure can produce a warm, ambient glow.
Table Centerpieces: Their unique appearance allows salt blocks to serve as striking table centerpieces. Simply clean and position them to create a conversation piece for guests.
Health and Wellness Applications
Air Purification: It's believed by some that salt blocks can release negative ions and potentially purify the air, although scientific evidence to support this is limited.
Sodium Intake Management: For individuals monitoring their sodium intake, using a salt block to cook can offer control over the amount of salt absorbed by the food.
Troubleshooting Common Issues
Moisture Content: Himalayan salt blocks absorb moisture from the air. To avoid deterioration, storage in a dry, well-ventilated area is recommended.
Cleaning: Due to their porosity, salt blocks should be wiped clean with a damp cloth and then thoroughly dried. They should not be submerged in water, as this can dissolve the salt.
Cracking: Preheating a salt block slowly to high temperatures can prevent cracking. If cracks occur, repurpose the block for serving cold dishes or as a decor element.
Conclusion

Grilling with a Himalayan salt block provides an adventurous twist to traditional barbecuing. It infuses a subtle saltiness into food, which can enhance flavors without being overpowering. The process is straightforward, but it requires some attention to detail to ensure both safety and taste are maximized.
Preparation: Heating the salt block gradually is essential to avoid cracking—usually starting on a low heat and slowly increasing to a high temperature over the course of about 40-50 minutes.
Cooking: When the block reaches the optimal temperature range of 450-500 degrees Fahrenheit, it's ready for grilling. The dense block retains heat evenly, making it ideal for a variety of foods like meats, vegetables, and even delicate seafood.
Care: Post-use, allowing the block to cool down fully before cleaning is crucial. Gentle scraping off any food residue and a light scrub with a damp sponge is sufficient, avoiding excessive water which can dissolve the salt.
Benefits: Advocates of this method, including culinary experts like Mark Bitterman, appreciate the added minerals and complex taste profile that comes from salt block cooking. It's also a natural way to reduce the need for additional seasoning, possibly making meals healthier.
Tips for Storage:
Keep the block dry and away from direct moisture.
Wrap in a cloth for protection against humidity.
Store in a cool area to maintain its integrity for future use.
Utilizing a Himalayan salt block for grilling isn't just about flavor. It's an engaging culinary experience that brings innovation to backyard cookouts and offers a fun conversation starter at gatherings. Cooks can revel in the spectacle and savor the results of this centuries-old tradition modernized for contemporary cuisine.
