
How to Make BBQ Jerky
Expert Tips for Smoking Meat on Your Grill

Making BBQ jerky at home is a process that combines the ancient art of meat preservation with the modern love for rich, smoky flavors. Beef jerky is a favorite snack among many, revered for its savory taste, satisfying chew, and long shelf life. The journey to creating this dehydrated delicacy involves selecting the right cuts of meat, marinating it with a blend of flavorful spices, and smoking it to perfection under controlled temperature. It’s an ideal project for outdoor cooking enthusiasts looking to elevate their grilling skills.
The process of smoking beef jerky requires attention to detail, starting with slicing the beef into consistently thin pieces to ensure even dehydration. The choice of marinade, ranging from simple salt and pepper to more complex mixtures, infuses the meat with a desired flavor profile, which can be further enhanced by the type of wood used during the smoking process. Smoking the jerky at a low temperature, typically around 160-180°F, helps to slowly draw out moisture while imparting a smoky aroma that distinguishes BBQ jerky from its commercially available counterparts.
Mastering the art of making beef jerky on a BBQ grill extends beyond just following a recipe; it is about understanding the nuances of heat management, the characteristics of different woods, and the subtle changes in the meat’s texture as it dries. Homemade BBQ jerky offers a personalized snacking experience and the satisfaction of savoring a self-crafted treat that can be shared with friends and family or enjoyed solo on the go.
Choosing the Right Cut of Beef
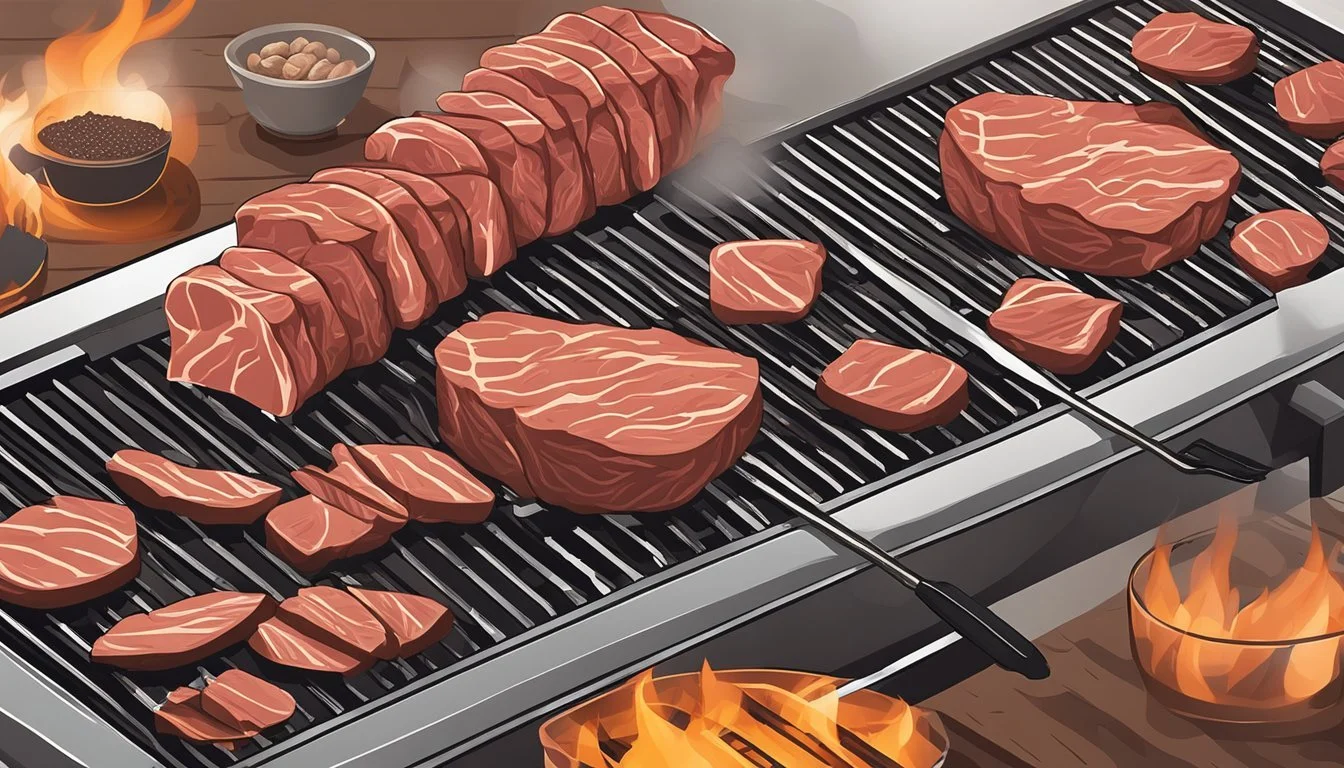
Selecting an appropriate cut of beef is the foundation for creating delicious BBQ jerky. The ideal beef cut for jerky is lean since fat does not dry out and can cause the jerky to spoil faster.
Identifying Lean Cuts
Lean cuts of beef are the best choices for making jerky due to their low fat content. The top round and eye of round are excellent selections because they are lean and flavorful. These cuts not only ensure a more successful drying process but also provide a better texture in the finished product. When buying beef for jerky, these should be the primary cuts to consider:
Top Round: Generally less expensive, yet yields tasty jerky.
Eye of Round: Slightly more expensive, recognized for its uniform shape and tenderness.
Against the Grain: Slicing Techniques
Once a lean cut is selected, precise slicing techniques contribute significantly to the quality of the jerky. Slicing against the grain of the meat results in a tender, easier to chew jerky. Here's how to identify and slice against the grain:
Identify the direction of the muscle fibers in the beef; this is the "grain."
Slice the beef perpendicular to the muscle fibers to achieve slices against the grain.
Aim for slices that are approximately 1/4 inch thick for even drying and good texture.
By slicing the meat against the grain, the final product will better absorb marinades and smoke, enhancing the overall flavor profile of your BBQ jerky.
Creating the Jerky Marinade

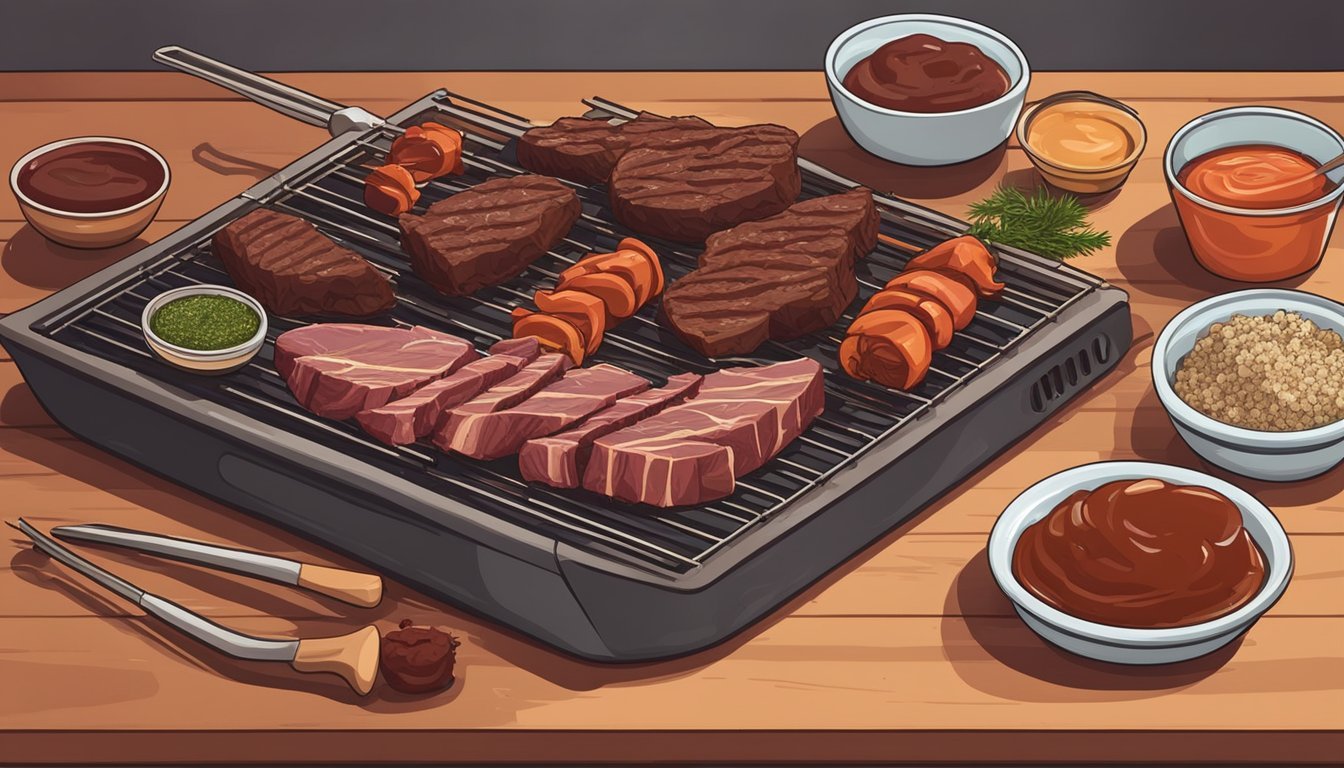
The secret to flavorful jerky lies in its marinade—a well-balanced blend of savory, sweet, and aromatic components that tenderize and infuse the meat with flavor during the marinating process.
Marinade Ingredients
A standard jerky marinade typically includes the following ingredients:
Salt: Essential for flavor and helps preserve the jerky.
Pepper: Adds a slight heat and robust flavor.
Garlic Powder: Lends a pungent, earthy note.
Onion Powder: Offers a subtle sharpness and depth.
Brown Sugar or Honey: Introduces sweetness and assists in caramelization.
Soy Sauce: Provides the umami base and saltiness to the marinade.
Worcestershire Sauce: Contributed a complex, savory taste.
Additional ingredients can vary but may include items like:
Liquid Smoke: For a smokier essence, if not using a smoker.
Red Pepper Flakes: To introduce a spicy kick.
Additional Spices: Such as cumin or paprika, depending on the desired flavor profile.
Marinating Process
To ensure the jerky absorbs the flavors:
In a large mixing bowl, combine all the marinade ingredients, stirring until the sugar dissolves and the mixture is consistent.
Lay the beef strips in a flat dish or a sealable plastic bag.
Pour the marinade over the meat, ensuring each piece is well-coated.
Expel as much air as possible if using a bag, seal it, then place it in the refrigerator.
It is crucial to marinate the beef for at least 12-24 hours, occasionally turning the meat to guarantee even flavoring.
By faithfully following these steps, the jerky marinade imparts a deep, savory, and slightly sweet flavor into the meat that will be further enhanced during the smoking process.
Prepping the Smoker
When making BBQ jerky, the preparation of the smoker is crucial for imparting flavor and achieving optimal texture. The selection of smoke wood and the control of temperature and smoke are fundamental to the smoking process.
Smoke Wood Selection
For BBQ jerky, the choice of wood is a contributor to the end flavor. The most commonly used types of wood for jerky include:
Hickory: Provides a strong traditional smoke flavor particularly suited for beef jerky.
Oak: Imparts a medium to strong flavor, less intense than hickory, which is versatile for various meats.
Mesquite: Offers a robust, earthy flavor, but it should be used sparingly as it can overpower the meat.
Apple: Delivers a sweet, mild smoke flavor that pairs well with pork or wild game.
Pecan: Similar to hickory but milder, pecan lends a rich, sweet flavor to the jerky.
Using a combination of different woods can create a more complex taste profile. For pellet smokers, ensure that you select high-quality food-grade pellets for a cleaner smoke and batch consistency.
Temperature and Smoke Control
Maintaining the right temperature is key for drying out the jerky without cooking it too fast:
Temperature Range: Aim to keep your smoker between 160°F to 180°F. This is the sweet spot for drying without overcooking.
Water Pan: Place a water pan inside the smoker to help stabilize the temperature and add moisture to the smoke, ensuring even drying.
Vent Positioning: Manage the smoke intensity and air circulation by adjusting the vents. Open vents mean more air and heat, and closed vents reduce both.
For specific smokers:
Pellet Smoker: Set the temperature to the lower end of the range and rely on the built-in controls for consistent heat.
Smoker Grill: Monitor more carefully, as temperature fluctuations are more common.
Masterbuilt Electric Smoker: These are excellent for maintaining steady temperatures for extended periods, typically requiring less frequent monitoring.
Consistent monitoring is vital, especially in the initial stages, to ensure that the temperature range is maintained throughout the smoking process.
Smoking the Beef Jerky
Making a batch of smoked beef jerky involves a precise cooking procedure and vigilant monitoring for doneness. Proper smoking temperature and handling are essential for flavor and safety.
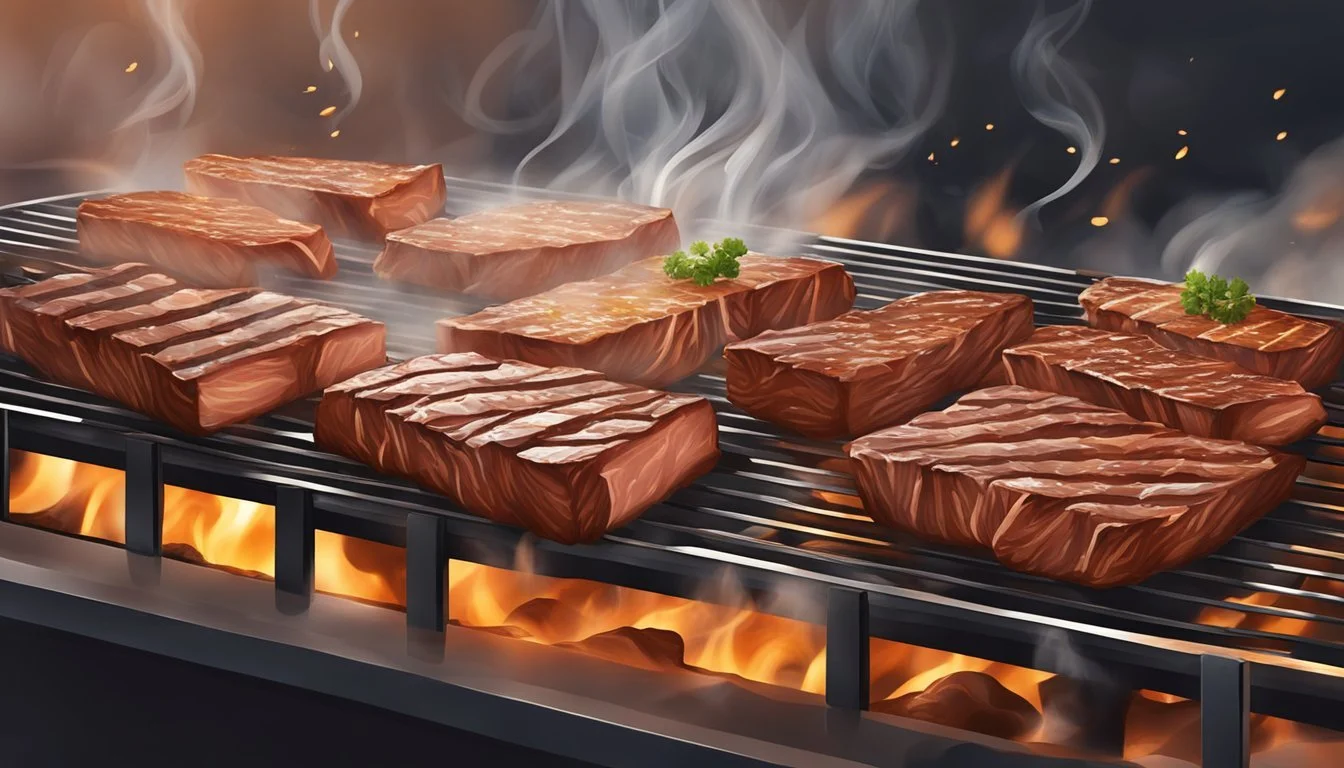
Cooking Procedure
The process begins with the smoker being preheated to a specific internal temperature—typically between 160°F and 180°F. This low cooking temperature allows the beef to dry out slowly, developing a concentrated flavor without cooking the meat excessively. Once the smoker reaches the target temperature, the marinated beef strips are placed on wire racks or grates in a single layer to ensure even exposure to the smoke. Hardwoods such as hickory or mesquite are recommended for an authentic smoked taste. It is crucial to maintain a consistent temperature throughout the smoking process, which can vary from 2 to 5 hours depending on the smoker type and the thickness of the meat.
Checking for Doneness
The texture of the jerky is the best indicator of proper doneness. After the prescribed 3-hour mark, one should start checking the jerky every hour, looking for a firm yet pliable consistency. It should bend without breaking and possess a chewy texture. Using a meat thermometer can assure the internal temperature of the jerky has reached a safe level of 160°F to eliminate any harmful bacteria. As each piece can dry differently, it is important to remove slices that are ready to avoid overcooking, ensuring a consistently high-quality batch of smoked beef jerky.
Post-Smoking Steps
After the jerky has absorbed the smoky flavors, it's crucial to properly cool and dry the meat, and then store it to maintain freshness and extend its shelf life. These post-smoking steps ensure the quality of your BBQ jerky.
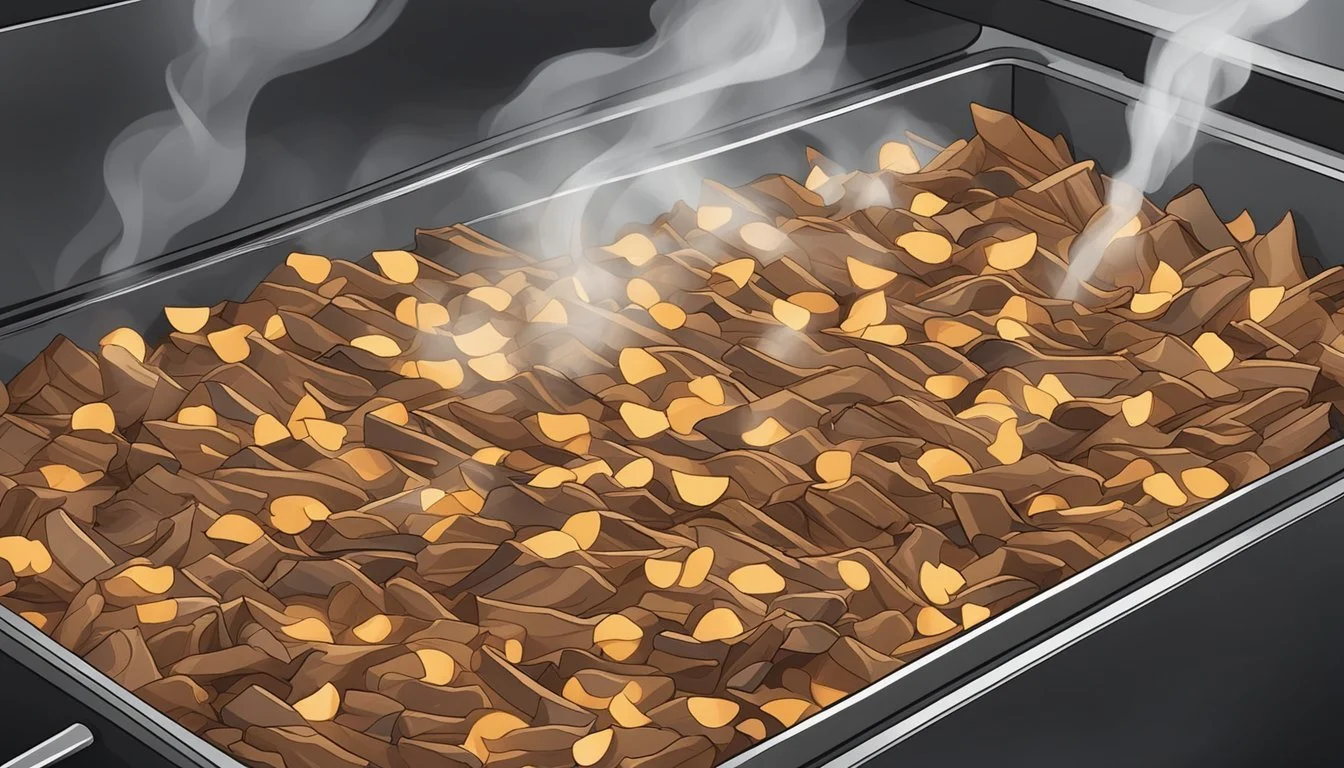
Cooling and Drying
Immediately after the smoking process, one should transfer the jerky onto cooling racks to allow even air circulation around each piece. This helps prevent moisture from being trapped and promotes even cooling. Placing a paper towel under the jerky can absorb any excess grease. The jerky should remain on the racks until completely cooled, which typically takes around 1-2 hours.
Storing for Freshness
Once the jerky is cool, the next step is to store it properly to maintain its freshness. The jerky should be placed in airtight containers or zipper storage bags with as much air removed as possible. If storing in a refrigerator, the jerky can last for 2-3 weeks. For longer storage, placing the jerky in a freezer can extend its life for up to 6 months. It's important to label the containers with the storage date before placing them in the fridge or freezer.
Remember, proper drying and storing are critical in preserving the texture and flavor of your BBQ jerky.
Tips and Techniques for Perfect Jerky
The process of making jerky on a BBQ involves carefully preparing the meat, seasoning it for flavor, and using preservation techniques to ensure a long-lasting snack. Below are specific methods to perfect those steps.
Meat Thickness and Texture
One must prioritize consistent meat thickness for even dehydration. Slicing the beef against the grain results in a tender jerky, while slicing with the grain gives a more chewy texture.
Thickness: Aim for slices approximately 1/4 inch thick.
Texture: A sharp knife helps in achieving neat cuts that dry uniformly.
Membrane removal: It's important to trim away any excess fat or membrane; this prevents the jerky from becoming greasy or going rancid quickly.
Flavor Enhancements
The flavor profile of jerky can range from sweet and savory to boldly spicy. It's essential to balance the ingredients to infuse the meat with your desired flavors.
Sweet: Incorporating ingredients like brown sugar can add a hint of sweetness.
Spicy: Elements such as cayenne pepper and ginger can lend a spicy kick.
Marinade: A rich marinade combining soy sauce, Worcestershire sauce, and various seasonings ensures a deep, complex flavor.
Storage and Preservation
Jerky must be stored properly to maintain its quality and extend shelf life. The two key elements in storage are reducing moisture and sealing effectively.
Drying: Pat the marinated meat dry with paper towels before smoking.
Sealing: Using an airtight container or vacuum sealer will help keep the jerky firm and prevent it from becoming soft or moist.
Curing: Salt and curing salts are often used in the marinade to inhibit bacterial growth.
Alternative Meat Options
While beef is often the go-to choice for jerky, one can explore a variety of other meats for smoking that cater to different preferences and dietary requirements.
Jerky Beyond Beef
Venison (What wine goes well with venison?), a popular alternative for jerky, is recognized for its rich flavor and lean profile. Hunters often make jerky from venison as a method to preserve their harvest, but it's also commercially available for those with adventurous palates seeking a gamey, lean meat option.
Turkey jerky presents a lighter alternative, with its lower fat content making it a favorite amongst those aiming for a healthier snack. It cooks faster due to this leanness, so careful attention should be paid to avoid over-drying.
Pork offers a more succulent jerky, due to its inherently fatty nature. However, when selecting pork for jerky, it's important to choose lean cuts to maintain the classic chewy texture of the snack.
When making jerky with any of these meats, it's crucial to remember that the leanness of the meat is key to achieving the right consistency and shelf life. Excess fat can cause the jerky to spoil faster and can create an undesirable texture.
Understanding the History of Jerky

Jerky is not a modern invention but a timeless method of preserving meat, deeply rooted in cultural traditions across the globe.
Cultural Roots
The term "jerky" is believed to originate from the Quechua word "ch'arki," used by the Quechua, a South American tribe. The Quechua developed a meat curing process that involved slicing meat into thin strips, followed by salting and drying in the sun or over a fire. This technique allowed meat to be preserved for extended periods, essential for survival and sustenance through harsh seasons and long journeys. European explorers who encountered these South American natives adopted and adapted the practice, which spearheaded jerky's spread worldwide.
Each culture infused its own methods and flavors, but the underlying principle of jerky remains consistent—curing meat through dehydration to inhibit bacterial growth and preserve the meat.
Cost-Effective Homemade Jerky
Making jerky at home is not only a satisfying process, it can also be considerably less expensive than store-bought options. Homemade jerky allows for customization in flavor and the assurance of high-quality protein snacks.
DIY Jerky Economics
When considering the cost of homemade jerky, one should account for the initial investment in a quality cut of meat, typically a beef round, and the marinating ingredients. Despite the upfront cost, per batch expense decreases, proving homemade jerky to be more economical in the long term.
Beef Round: Generally less expensive than pre-made jerky
Marinating Ingredients: Common household spices and sauces
Recipe and Instructions: Free online or created at one's discretion
Protein: High-quality, no additive protein source
Snack: Healthier, cost-effective snacking alternative
Variety: Endless, depending on personal spice and flavor preferences
The recipe and instructions for making jerky on a BBQ grill involve slicing the meat, marinating it, and slowly drying it out over low heat. By purchasing ingredients in bulk and using one's own grill, cost per serving is decreased significantly compared to commercial products while at the same time increasing the snack's protein quality and variety.
Whether for personal enjoyment or sharing with friends and family, the economics of DIY jerky reveal that the investment pays off, not just in savings, but also in the enjoyment of crafting a personalized snack.
