
How to Prepare and Cook BBQ Ribs on a Charcoal Grill
Your Ultimate Guide
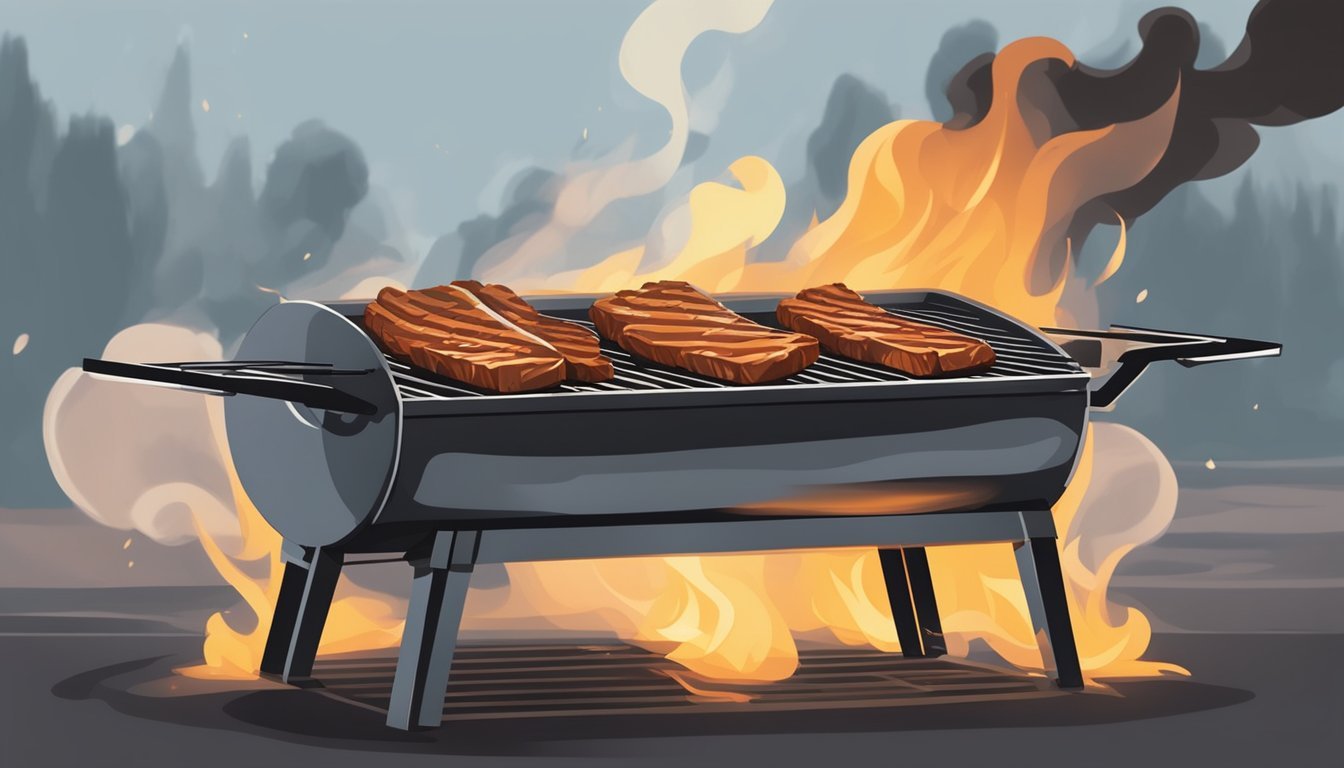
Cooking BBQ ribs on a charcoal grill involves a process that artfully combines slow cooking and smoke to tenderize and flavor the meat. The key to success with this method is maintaining a consistent temperature and leveraging the grill's capability to imbue the ribs with that quintessential smoky taste. Preparing and cooking ribs on a charcoal grill requires patience and attention to detail to achieve that perfect balance of a crispy exterior and juicy, fall-off-the-bone interior.
Barbecue enthusiasts often prefer charcoal grills for their ability to impart a deeper, more authentic smoky flavor compared to their gas counterparts. The process starts with properly setting up the grill for indirect cooking, which means the ribs are not directly over the coals, preventing flare-ups and allowing for a slower cook that's necessary for tenderizing the tough fibers of the ribs. Adding wood chunks or chips to the charcoal can further enhance the smoky flavor—a detail that can make a significant difference in the final taste. Ensuring that the ribs are cooked to perfection necessitates a thermometer to monitor the grill's internal temperature and a basting of BBQ sauce to add layers of flavor during the final stages of grilling.
Choosing the Right Ribs
When preparing BBQ ribs on a charcoal grill, selecting the appropriate type of rib and properly preparing them is crucial for achieving the best flavor and texture.
Types of Ribs
Baby Back Ribs: Coming from the area closer to the backbone, baby back ribs are known for being leaner and smaller than spare ribs. They are often famous for their tender meat and cook relatively quickly due to their size.
Spare Ribs: Spare ribs are cut from the belly side of the ribcage and are larger with more fat, which contributes to their rich flavor. They take longer to cook, but many BBQ enthusiasts prefer them for their full-bodied taste.
St. Louis-Style Ribs: St. Louis-style ribs are spare ribs that have been trimmed to a uniform shape and size, removing the brisket bone and any excess cartilage. They are meatier and flatter than baby back ribs, which makes them easier to brown on the grill.
Preparation Basics
Removing the Membrane: She should always remove the thin membrane from the bone side of the ribs; this ensures that the seasoning penetrates the meat and allows the ribs to become more tender during cooking.
Trimming: They may need to trim any excessively fatty areas or loose meat to help the ribs cook evenly. It is also important to ensure the ribs are not too thick in any one spot for consistent cooking.
Seasoning:
Salt and Black Pepper: A simple yet essential part of any rib rub, kosher salt and freshly ground black pepper form the base of most seasonings.
Garlic Powder and Onion Powder: These enhance the ribs' flavor without overpowering the meat's natural taste.
Dry Rub: A dry rub typically includes a blend of salt, black pepper, garlic powder, onion powder, and often smoked paprika and cayenne pepper for a bit of kick. The spices should be mixed thoroughly before being applied to the ribs.
Rib Rub Variations: One might tailor their rib rub by adjusting the levels of each ingredient to taste or by adding additional seasonings like cumin or brown sugar for a richer flavor profile.
Applying the rub should be done liberally, covering all surfaces of the ribs, and done at least 20 minutes before cooking to allow the flavors to meld with the meat.
Setting Up Your Charcoal Grill
Properly setting up a charcoal grill ensures that the ribs cook evenly without burning. The key is to create an area of indirect heat and to maintain a stable temperature throughout the cooking process.
Arranging Charcoal for Indirect Cooking
To prepare the grill for indirect cooking, one should start by arranging charcoal briquettes on one side of the grill, creating a direct heat zone. On the opposite side, leave the space empty—this will serve as the indirect heat zone where the ribs will be placed. To light the charcoal, a chimney starter is the preferred method, as it negates the need for lighter fluid, which can impart an unwanted chemical flavor to the food.
Steps to Arrange Charcoal:
Place an even layer of charcoal briquettes on one side of the grill.
Use a charcoal chimney to ignite the charcoal. Fill the chimney with the necessary amount of charcoal, and place a couple of lighter cubes under it.
Once the charcoal in the chimney starter is lit and the briquettes are covered in a layer of ash, carefully pour them onto the designated area of the grill.
Maintaining Temperature
Controlling the temperature is crucial for cooking ribs to perfection. One should aim to maintain a consistent temperature between 225-250°F (107-121°C) for cooking ribs. An oven thermometer placed on the grill grate can help monitor the temperature. Adjusting the air vents on the grill controls the oxygen flow, which in turn can increase or decrease the heat. Open the vents to raise the temperature and close them slightly to lower it.
Temperature Control Tips:
Always keep the lid closed to maintain a consistent temperature.
Check the temperature every 30 minutes and adjust air vents as necessary.
Place a water pan under the grill grates on the indirect heat side to help stabilize the temperature and add moisture.
By arranging the charcoal for indirect cooking and attentively maintaining the grill's temperature, one creates the ideal environment for BBQ ribs that turn out tender and flavorful.
Seasoning and Marinating Ribs
Proper preparation of ribs involves a balance of seasoning and marinating to enhance the meat's natural flavors and ensure tenderness. A well-crafted spice rub and marinade injects layers of flavor that complement the smoky BBQ essence.
Creating a Flavorful Rub
Ingredients for the rub might include:
1/4 cup brown sugar
2 tablespoons smoked paprika
1 tablespoon onion powder
1 tablespoon garlic powder
1 tablespoon coarse salt
1 teaspoon ground black pepper
Cayenne pepper to taste (optional)
To create a spice rub that will provide a robust flavor for barbecue (What wine goes well with barbecue?) ribs (What wine goes well with barbecue ribs?), one should begin by thoroughly mixing brown sugar, smoked paprika, garlic powder, onion powder, salt, and black pepper. The addition of cayenne provides a spicy kick that can be tailored to one's preference. The sugar in the mixture will caramelize on the grill, adding a subtle sweetness that pairs well with the smokiness of BBQ sauce and the natural savoriness of the ribs.
Applying Marinades
Marinade mixture might contain:
1 cup apple cider or apple cider vinegar
1/2 cup BBQ sauce of choice
1/4 cup olive oil
Additional seasonings to match the dry rub
Marinating ribs imbues them with flavors that penetrate deep into the meat. Create a marinade by whisking together apple cider or apple cider vinegar, their choice of BBQ sauce, and olive oil. Then, incorporate a selection of seasonings that echo those used in the rub for a cohesive taste profile. Ribs should marinate for several hours, or ideally overnight, inside a sealed plastic bag or covered container to absorb these flavors fully. Regularly turning the ribs ensures even flavor distribution. The acidic components of the marinade, such as vinegar or citrus, can also tenderize the ribs, enhancing their texture upon grilling.
The Cooking Process
Properly managing heat is crucial when cooking ribs on a charcoal grill. The ribs should start over direct heat to achieve a good sear and then slowly cook through with indirect heat before adding sauce for the final glaze.
Starting the Cook with Direct Heat
To begin, one must preheat the grill to approximately 300°F. Once the desired temperature is reached, the ribs are placed over the charcoal side of the grill to sear. This direct heat application should last around 10 minutes, allowing the ribs to gain a caramelized exterior. Care should be taken not to burn them; a good indicator is when grill marks form and the surface has a little bit of char.
Transitioning to Indirect Cooking
After searing, the ribs are moved to the side of the grill with no charcoal beneath it, initiating the indirect cooking process. The grill's temperature should be maintained at a steady 275°F to 300°F. To facilitate this method, it's advisable to wrap the ribs in aluminum foil to lock in moisture and ensure even cooking. The ribs should remain here, turning occasionally, for about 1 to 2 hours, depending on their size and thickness.
Finishing with Sauce
In the final stage, barbecue sauce is applied to the ribs. It's ideal to apply a thin layer of BBQ sauce on the ribs, then place them back on the grill for about 5 minutes over indirect heat. This step should be repeated, glazing both sides of the ribs multiple times to build up a rich, sticky coating. The sauce caramelizes during this process, giving the ribs their classic barbecue finish.
Monitoring and Managing Doneness

Properly monitoring and managing doneness is crucial to ensuring perfectly cooked BBQ ribs. A meat thermometer is an essential tool for checking the internal temperature, and several tactile tests can gauge tenderness.
Checking Temperature
To ensure that ribs are cooked safely and to the desired level of doneness, one should check the internal temperature using a reliable meat thermometer. For pork ribs, (What wine goes well with pork ribs?) the USDA recommends an internal temperature of 145°F, but for ribs that are tender and falling off the bone, aim for an internal temperature between 190°F to 203°F. It's essential to insert the thermometer into the thickest part of the meat without touching the bone for an accurate reading.
Ideal Rib Doneness Temperature Range: 190°F - 203°F
Minimum Safe Temperature: 145°F (USDA Recommendation)
Testing for Tenderness
While temperature is a solid indicator of doneness, testing for tenderness provides the final verdict on whether the BBQ ribs are ready to be served.
Bend Test: Lift the ribs with tongs; the rack should bend easily and the meat should start to crack on the surface.
Toothpick Test: Insert a toothpick into the meat between the bones. It should penetrate with little resistance.
Appearance: The meat should have shrunk back from the bones by about 1/4 inch, and the outside should have a caramelized appearance.
By combining temperature checks with these methods, one can confidently determine when the ribs are perfectly cooked and ready to enjoy.
Resting and Serving
Once the ribs are cooked, the next vital steps are resting and serving. Proper rest allows the juices to redistribute, while the right serving suggestions can enhance the overall dining experience.
Allowing Ribs to Rest
After removing ribs from the grill, it is essential to allow them to rest. This relaxes the meat, ensuring that the internal moisture redistributes evenly. Rest time usually ranges from 10 to 15 minutes. During this phase, wrapping the ribs in aluminum foil can create a gentle steaming environment. Steaming helps by softening the meat further and integrating the flavors.
Steps for resting ribs:
Transfer the ribs to a serving platter.
Tent them loosely with aluminum foil.
Leave them to rest (but not cool) for 10 to 15 minutes.
Serving Suggestions
When presenting ribs, they pair wonderfully with traditional BBQ sides. Coleslaw offers a crisp, tangy contrast to the rich ribs, while corn on the cob provides a sweet and smoky bite. For a heartier option, potato salad and baked beans complement the ribs' savoriness and add a comforting element to the plate.
Recommended sides:
Coleslaw: A crunchy slaw adds freshness and balance.
Corn on the Cob: Its sweetness offsets the smoky flavors. (What wine goes well with smoky flavors?)
Potato Salad: Creaminess that contrasts the meat's texture.
Baked Beans: A savory side that echoes the BBQ theme.
For serving, cut between the rib bones and present them on a warm platter alongside these delicious sides for an enjoyable BBQ experience.
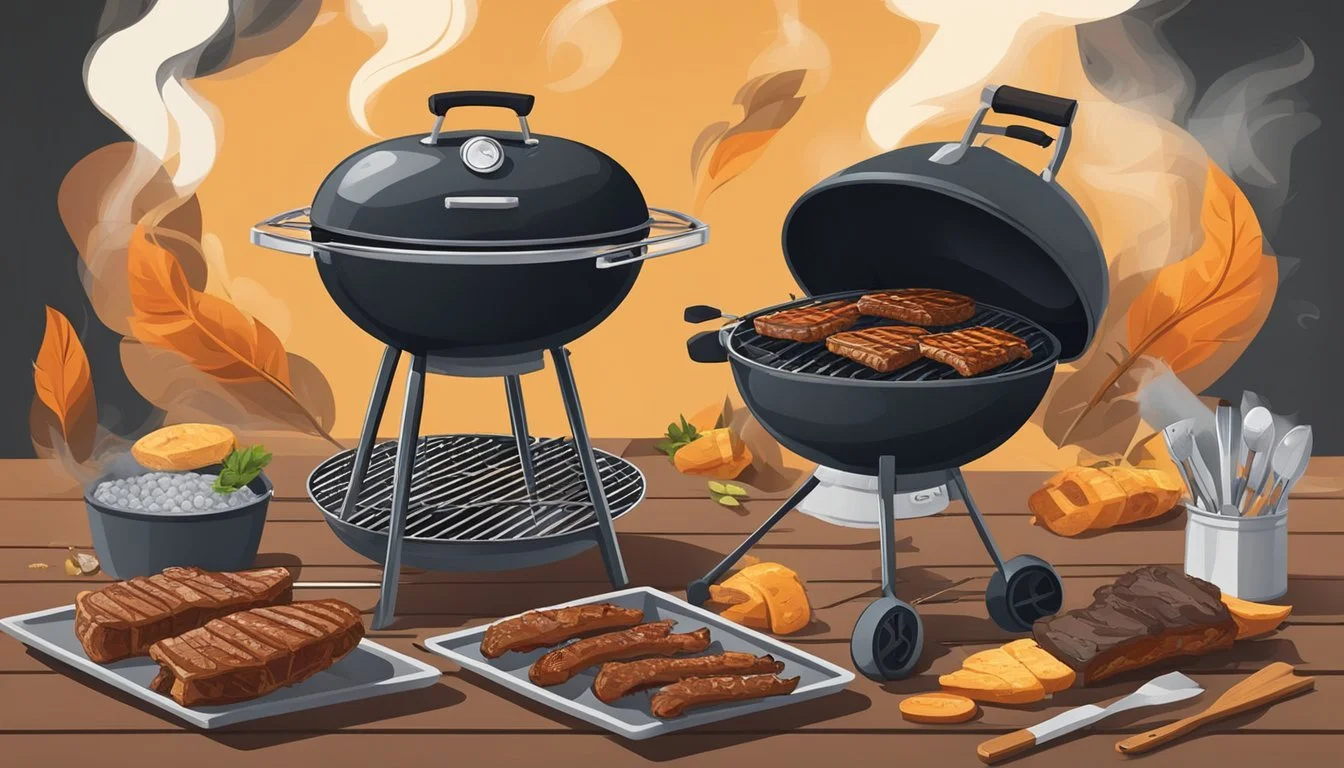
Alternative Cooking Methods
When preparing BBQ ribs, it's useful to consider alternative cooking methods beyond the traditional charcoal grill. Each method offers unique advantages in convenience and flavor.
Using a Gas Grill
One can leverage a gas grill for cooking ribs by maintaining a consistent temperature and employing indirect heating. Set the ribs on the side of the gas grill without a direct flame underneath, thus mimicking the indirect heat method of a smoker. They should carefully monitor the temperature to stay around 225°F, which is ideal for slow-cooking ribs to succulence. The use of a gas grill provides the chef with precise control over the internal temperature, allowing for a more predictable cooking process.
Finishing Ribs in the Oven
Another method involves wrapping the ribs in foil and transferring them to an oven preheated to 275°F. This process steams the ribs in their own juices, which can tenderize them further. After baking in the oven for an additional period, typically 1 to 2 hours depending upon the desired tenderness, the chef then removes the foil. For a final touch, they can broil the ribs for a few minutes on each side to achieve a caramelized exterior. This technique is especially useful in inclement weather or for those who don't have access to a grill.
Tips and Tricks for Best Results
Achieving the best results when grilling ribs on a charcoal grill involves a meticulous process that can elevate the flavor, tenderness, and juiciness. The following tips and tricks draw from pitmaster techniques to ensure flavorful and succulent ribs.
Using Wood Chunks for Smoke
Incorporating hardwood chunks into your charcoal grill can impart a rich, smoky flavor to ribs, emulating a true smoker experience. Choose wood chunks that complement the meat, such as hickory or mesquite for a stronger taste, or applewood for a sweeter, milder profile. Scatter pre-soaked wood chunks directly onto the charcoal to enhance the flavor of the ribs throughout the cooking process. Pre-soaking the wood in water for at least 1 hour before grilling will help them to smolder and produce smoke longer, rather than burning up quickly.
Enhancing Juiciness
To retain moisture and enhance the juiciness, a few techniques are key:
Water pan: Position a water pan under the ribs while they cook. This will assist in maintaining a steady temperature in the grill and the water will evaporate, adding moisture to the air and creating steam that helps keep the ribs juicy.
Foil: Wrapping ribs in aluminum foil, sometimes referred to as the 'Texas crutch,' can significantly help in keeping the ribs moist by trapping in steam. After the ribs have absorbed enough smoke, wrap them in foil and continue to cook until tender.
Low and slow: Maintain a consistent low temperature on the grill, aiming for around 225-250°F, and allow the ribs to cook slowly to achieve a succulent texture.
Recipes for Homemade BBQ Sauce
A tantalizing BBQ sauce can accentuate the natural flavors of the ribs. Here's a basic recipe to create a homemade barbecue sauce that is both easy and adjustable to taste:
Ingredients:
1 cup ketchup
1/2 cup cider vinegar
1/2 cup brown sugar
1/4 cup honey
1 tablespoon Worcestershire sauce
1 tablespoon lemon juice
1 teaspoon smoked paprika
1/2 teaspoon garlic powder
1/2 teaspoon onion powder
Salt and pepper to taste
Preparation: Mix all the ingredients in a saucepan and simmer over medium heat, stirring occasionally until the sauce thickens and flavors meld, about 15-20 minutes. Adjust the ingredients to suit your taste, adding more sweetness, tanginess, or heat as desired. Once the ribs are almost done, apply the sauce in the last 30 minutes of cooking to prevent burning and to develop a sticky, caramelized coating.
Cleanup and Grill Maintenance
After the enjoyment of a BBQ comes the necessary task of cleanup and maintenance to ensure the longevity and readiness of the grill for the next cookout.
Disposing of Ashes Safely
Once the charcoal grill has completely cooled, typically several hours after use, one should begin by carefully removing the ashes. Ashes should be disposed of in a metal container with a tight-fitting lid to prevent any potential fire risks. After transferring the ashes, one must place the container away from any flammable surfaces until it can be safely discarded.
Cleaning Grates and Grill Surfaces
Grill grates require regular cleaning to prevent food buildup and potential contamination. Begin by brushing the grates with a grill brush to remove any food debris. If necessary, one may soak the grates in soapy water before scrubbing. After brushing, grates and grill surfaces should be wiped down with a damp cloth to pick up any lingering particles. Once dry, applying a light coat of vegetable oil to the grates can help prevent rusting and food from sticking during the next use.
Maintaining the grill’s surfaces involves removing grease and soot buildup. They should wipe the interior surfaces with a grill-safe cleaning agent and a sponge or cloth. Regular cleaning and maintenance of one's charcoal grill will contribute to consistent performance and delicious BBQ results.
