
How to Use a Grill Press for Perfectly Cooked BBQ Meats
A Simple Guide
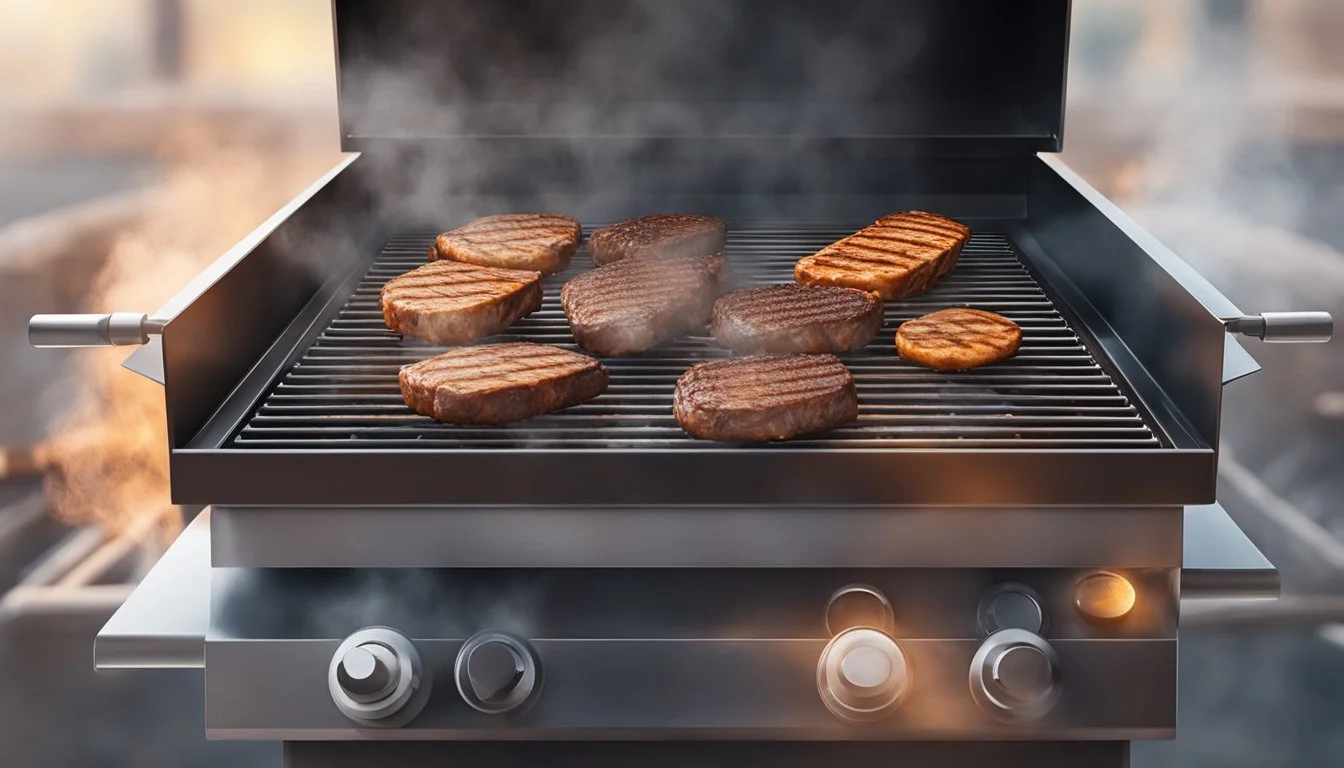
A grill press, also known as a steak weight or burger press, is a useful tool in the grilling arsenal for any BBQ enthusiast looking to elevate their grilling game. Its heavy, flat surface is key for achieving evenly cooked meats with desirable textures and flavors. Using a grill press ensures consistent contact between the meat and the heat source, promoting uniform heat distribution throughout the cooking process.
While the concept is simple, mastering the grill press technique requires understanding the balance of pressure and heat. It's important for grillers to apply the right amount of weight to the meats. This balance helps in achieving a perfectly seared exterior while retaining the natural juices, leading to succulent and tasty BBQ dishes.
Adding a grill press to one's grilling arsenal opens the door to a range of possibilities, from perfectly flattened paninis to well-seared steaks. It's more than just a tool for pressing down food; it's an instrument to enhance flavor and improve cooking efficiency. By preheating the press, grillers can make use of its retained heat to cook food from the top and bottom simultaneously, reducing cooking time and resulting in a well-caramelized crust.
Understanding the Grill Press
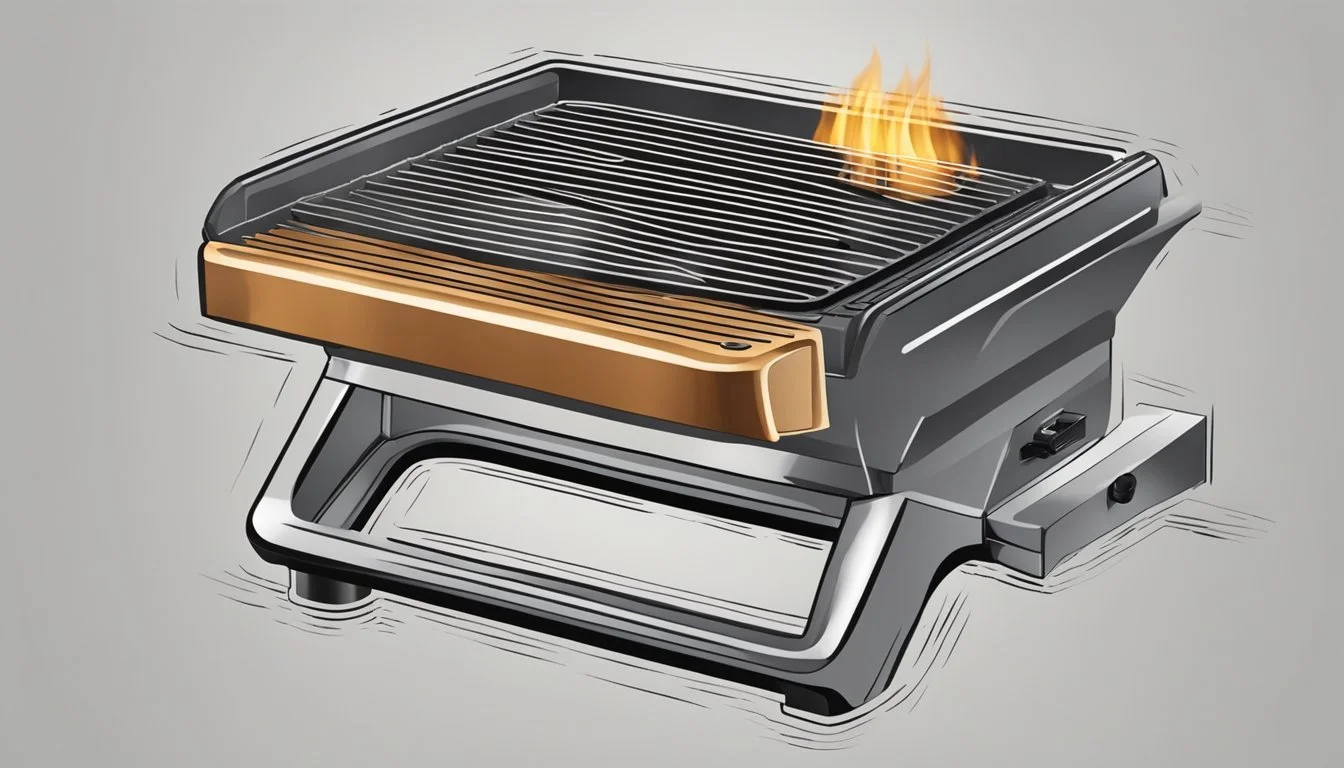
A grill press is a kitchen tool utilized to promote even cooking and browning of meats on a grill or stovetop. They are especially useful for preventing meat from curling and ensuring that heat is distributed uniformly.
Types of Grill Presses
Grill presses come in various materials and shapes, each with its own set of attributes suitable for different uses:
Cast Iron: Known for its excellent heat retention and even heating, heavy cast iron presses are a popular choice among BBQ enthusiasts.
Aluminum: Lighter than cast iron, aluminum presses heat up quickly and are easier to handle.
Stainless Steel: Durable and rust-resistant, stainless steel variants provide a balance between weight and practicality.
The shape of a grill press can also vary, with options like rectangular or circular to fit different foods, such as steak weights for larger cuts of meat or bacon (how long does bacon last?)presses for flat rashers.
Benefits of Using a Grill Press
Employing a grill press during cooking can deliver a number of advantages:
Uniform Cooking: It applies consistent pressure across the food, which helps in cooking meats like steaks and chicken breasts (What wine goes well with chicken breast?) evenly.
Sealing in Juices: By minimizing the escape of natural juices, it ensures meat remains moist and flavorful.
Reducing Cooking Time: The weight of the press increases contact between the food and heat source, potentially shortening cooking times.
Preventing Curling: A grill press keeps bacon from curling and provides a flat sear on other meats.
Selecting the Right Grill Press
When choosing a grill press, consider the following to ensure it satisfies your BBQ needs:
Weight: Opt for a heavy cast iron press for denser meats. For lighter fare or if you prefer a tool that’s easier to maneuver, a less heavy press, such as aluminum, might be adequate.
Size and Shape: The press should match the size of your cooking surface and the food you typically prepare.
Handle Material: Look for a press with a heat-resistant handle to avoid burns and ensure safe use.
Surface: Some presses come with a ridged or flat surface. A ridged surface can impart grill marks, while a flat surface will provide a more even sear.
Preparation for Grilling
Before heating up the grill for that perfect barbecue, a grill master ensures the grill and press are clean, preheated, and ready to go. Proper seasoning of the meats and vegetables is also crucial for exceptional flavor and texture.
Cleaning Your Grill and Press
A clean grill and press are the foundations of excellent grilling. Remove any leftover food particles and rust from the grill grates with a grill brush, ensuring a smooth surface perfect for cooking. For the grill press, one should wipe it down with a damp cloth to ensure no residue remains. If there's stuck-on food, gently scrub it off with soapy water, rinse thoroughly, and dry completely to prevent rust formation.
Preheating the Grill and Press
Preheating is a step one shouldn't skip. One should ignite the grill and set it to a medium-high heat, allowing it to reach the desired temperature for cooking—usually around 400°F for a standard grill. While the grill warms up, place the grill press on the grates to heat simultaneously. This ensures that when the food is pressed, it receives uniform heat from both sides, speeding up the cooking process and helping to achieve those coveted grill marks.
Seasoning Meat and Vegetables
Before the food touches the grill, a generous seasoning is key. One can rub steaks and burgers with salt and pepper or a preferred spice blend to enhance flavor. For chicken and fish, marinating for a few hours prior to grilling keeps them moist and infuses them with flavor. Vegetables like asparagus and peppers can be tossed in olive or vegetable oil with a pinch of salt before grilling. A well-seasoned piece of meat or vegetable not only tastes better but also develops a delicious crust when pressed on the hot grill.
Grilling Techniques
A grill press can revolutionize backyard barbecues, ensuring even cooking and perfect sear marks on various meats.
Grilling with the Press
Using a grill press during the grilling process is essential for even cooking and maintaining the juices in meats such as steaks, chicken, and burgers. It works through exerting consistent pressure on the food, which ensures every part makes contact with the grill, resulting in uniform heat distribution. For example:
Steaks: The press facilitates even searing and prevents curling.
Burgers: A press keeps burgers flat, ensuring the entire surface develops a delectable crust.
Achieving Perfect Sear Marks
A grill press contributes to the coveted grill marks that signify a well-cooked steak or sandwich. To obtain these:
Preheat the grill and the press.
Place the meat on the grill.
Press down briefly to imprint the marks, creating a visually appealing and flavorful crust.
Controlling Cooking Times
Using a press can speed up the cooking process, as it increases surface contact with the heat. This is especially beneficial for items like bacon, which can arch away from the grill, resulting in uneven cooking. When using a press:
Thin cuts: Grill for less time to avoid overcooking.
Thicker cuts: Apply the press intermittently to maintain texture without losing moisture.
Grilling Delicate Foods
The grill press also shines with delicate foods like fish or grilled sandwiches (What wine goes well with sandwiches?). These items require careful handling to avoid falling apart or uneven cooking.
Fish: Gentle pressure helps cook evenly without breaking the fillet.
Grilled Sandwiches: The press ensures the sandwich heats through while creating a crisp, golden exterior.
A proper technique with a grill press is a game-changer, transforming simple meats into expertly grilled delicacies.
Specialty Uses and Recipes
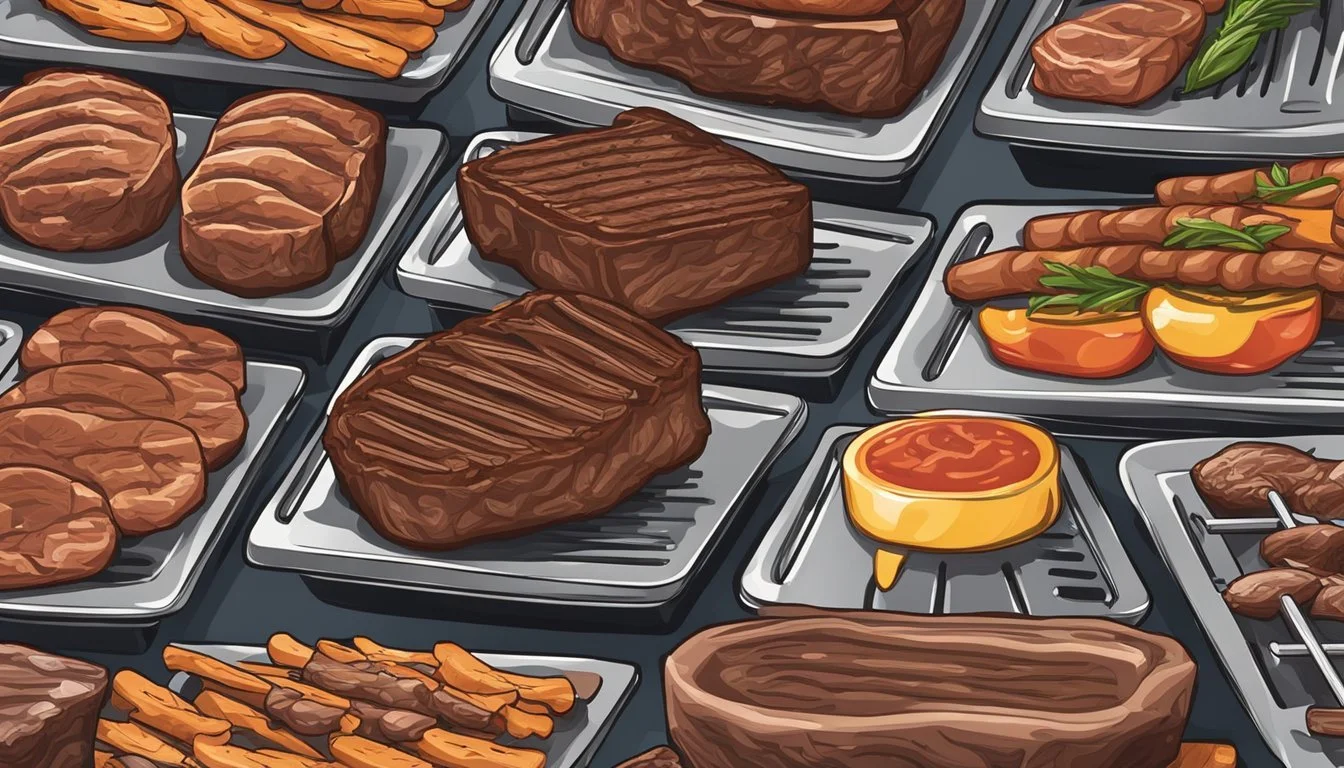
A grill press, often utilized by chefs, can revolutionize the way one cooks BBQ meats and other items. This tool allows for versatility in cooking, providing an even and consistent heat that's perfect for smash burgers, gourmet sandwiches, and roasted vegetables. (What wine goes well with roasted vegetables?) Below are specific uses and recipes that showcase the effectiveness of a grill press.
Creating Smash Burgers
To prepare a smash burger, one requires ground beef with a high fat content for flavor and juiciness. The process involves:
Forming balls of beef (about a quarter pound each).
Preheating the grill press on a skillet over medium heat.
Placing a beef ball on the hot skillet and smashing it with the press into a thin patty.
Cooking until the edges are brown and crispy, then flipping to cook through.
The result is a caramelized exterior with a juicy interior, a hallmark of the smash burger.
Crafting Grilled Sandwiches
Grill presses can transform an ordinary sandwich into a panini or a grilled cheese sandwich:
Panini: Begin with sturdy bread like ciabatta, add desired fillings—cheese, meats, vegetables—and brush the outside with oil. Compress with a grill press for even grilling until the bread is toasted and the cheese melted.
Grilled Cheese Sandwich: Choose a melty cheese like cheddar or gouda, place between slices of bread, and apply butter or mayonnaise on the outside. Grill with the press until each side is golden brown.
The press ensures that the ingredients meld delectably with a crisp exterior.
Roasting Vegetables
A grill press can also be used to roast vegetables such as:
Bacon-wrapped asparagus: Wrap asparagus spears with bacon and use the press to keep them flat on the grill for even cooking.
Sliced veggies: For vegetables like zucchini or eggplant, thinly slice them, season, and apply a light coat of oil. Place them on the grill and use the press for a quick and even roast.
The weight of the press facilitates uniform cooking and can reduce the cooking time, delivering perfectly tender vegetables with a slight char.
Grill Press Maintenance
Proper maintenance of a grill press ensures its longevity and effectiveness in producing evenly cooked BBQ meats. A well-maintained grill press prevents rust, avoids damage and remains a valuable tool in any grilling arsenal.
Cleaning After Use
Immediately after use, one should allow the grill press to cool down to a manageable temperature. Then, it should be cleaned with warm, soapy water and a sponge or brush to remove food particles and residue. For stubborn bits, soaking in hot water often helps. After washing, the grill press needs to be thoroughly dried with a dish towel to prevent rusting.
Preventing Rust and Damage
To prevent rust, it is crucial to ensure the grill press is completely dry after cleaning. Applying a light coat of cooking oil protects the surface from moisture and keeps it in optimal condition. If rust spots appear, they can be removed by scrubbing with steel wool and re-seasoned as needed to restore the non-stick surface.
Storage Tips
Storing the grill press in a dry place shields it from environmental factors that may encourage rusting. It is advisable to wrap the grill press in a dish towel or place it inside a breathable bag before storing it in a cabinet or pantry. This ensures it remains clean and undamaged until its next use.
Safety and Additional Tips

Using a grill press properly can make grilling safer, speed up cooking times, and produce healthier results. This section provides essential guidelines for handling, skill enhancement, and recommended accessories.
Handling and Safety
When operating a grill press, one should always ensure it has a secure, heat-resistant handle to prevent burns. Heat-resistant gloves are also advised to protect hands from high temperatures. Grill presses should be handled with care to maintain safety:
Always use tongs or a spatula to adjust food under the press.
Do not leave a heated press unattended on the grill.
Enhancing Grilling Skills
Whether one is a beginner or a grilling enthusiast, mastering the grill press can lead to perfectly grilled meats (What wine goes well with grilled meats?) with faster cooking times. Here are a few tips:
Preheat the press for even heat distribution.
Apply firm but gentle pressure to ensure good contact with the grill.
Accessories for the Grill Press
Regular maintenance is key to the longevity of any kitchen tool. To preserve the press and assist in its use, consider investing in the following items:
Heat-resistant gloves: For safe handling.
Quality tongs and spatulas: To complement the press and maneuver meats on the grill.
Conclusion
A grill press can be an indispensable tool in one's grilling arsenal, offering a pathway to uniformly cooked meats with improved texture and flavor. When used correctly, it assures consistent contact with the heat source, enhancing the cooking process. To achieve this, one should preheat the press, handle it safely with protection like a kitchen mitt, and apply the right amount of pressure to the meat.
The correct use of a grill press involves:
Preheating: Ensure the grill press is heated thoroughly for more even cooking.
Pressure: Apply enough force to ensure good contact with the grill but avoid excessive pressure that could dry out the meat.
Utilizing a grill press, cooks should follow these practices for best results:
Choose appropriate meats for pressing, such as chicken breasts or thin steaks.
Preheat the grill and the grill press to the desired temperature.
Place the meat on the grill and set the press on top, using gentle but firm pressure.
Incorporating a grill press into grilling techniques will likely elevate one's culinary results, producing perfectly grilled meats that delight in both taste and presentation. Professional chefs and home cooks alike find a grill press a valuable addition to their culinary tools, benefiting from its ability to provide heat directly and weight evenly.
Remember, mastery of the grill press comes with practice and experience. Each use is a learning opportunity, aiming to perfect the art of grilling.
