
How to Cook Bacon
5 Methods for Crispy, Perfect Results
Bacon, that beloved breakfast staple, can be prepared in various ways to achieve crispy, smoky perfection. While pan-frying remains popular, cooking bacon in the oven offers a hands-off approach that yields consistently delicious results. The oven method allows for even cooking, minimal mess, and the ability to prepare large batches at once.
This versatile technique accommodates different preferences, from extra crispy to slightly chewy. By adjusting the cooking time and temperature, home cooks can customize their bacon to suit individual tastes. The oven method also helps render fat more effectively, resulting in leaner strips without sacrificing flavor.
Mastering oven-baked bacon opens up a world of culinary possibilities. From classic BLTs to gourmet salad toppings, perfectly cooked bacon enhances countless dishes. With a few simple tips and tricks, anyone can elevate their bacon game and impress family and friends with restaurant-quality results.
Selecting the Right Bacon
Choosing the right bacon is crucial for achieving the perfect flavor and texture in your dishes. The type, thickness, and curing process all play important roles in the final result.
Types of Bacon
Several varieties of bacon are available, each offering unique characteristics. Regular bacon, cut from the pork belly, is the most common type. It has alternating layers of fat and meat, providing a balanced flavor.
Thick-cut bacon is a popular choice for those who prefer a meatier texture. It holds up well during cooking and is less likely to become overly crispy.
Canadian bacon, made from pork loin, is leaner and has a ham-like taste. Pancetta, an Italian-style bacon, is cured but not smoked, offering a subtle flavor profile.
Thickness and Cut
Bacon thickness significantly impacts cooking time and texture. Standard bacon slices are typically 1/16 inch thick, while thick-cut bacon can be up to 1/4 inch thick.
Thicker slices are ideal for recipes that require longer cooking times or when bacon is the star ingredient. They're less likely to burn and provide a satisfying chew.
Thinner slices crisp up quickly, making them perfect for wrapping around other foods or crumbling as a topping.
Curing and Seasoning
The curing process affects bacon's flavor and shelf life. Dry-cured bacon has a more concentrated taste and firmer texture. Wet-cured bacon, the most common type, has a milder flavor and softer texture.
Uncured bacon, despite its name, is cured using natural nitrates from celery juice or sea salt. It often has a shorter shelf life but appeals to those seeking fewer preservatives.
Seasoned bacon varieties, such as peppered or maple-flavored, can add extra depth to your dishes. Consider how these additional flavors will complement your recipe when selecting bacon.
Preparation Techniques
Proper bacon preparation begins before cooking. Key techniques include careful handling, storage, slicing, and portioning to ensure the best flavor and texture. These steps lay the foundation for delicious bacon dishes.
Handling and Storing
Bacon requires careful handling to maintain its quality. Store bacon in the refrigerator at 40°F or below. Keep unopened packages in their original wrapping. Once opened, wrap tightly in plastic or store in an airtight container. Use within 7 days for optimal freshness.
For longer storage, freeze bacon for up to 1 month. Separate slices with wax paper before freezing to prevent sticking. Thaw frozen bacon in the refrigerator overnight before use.
Handle raw bacon with clean hands or utensils. Avoid cross-contamination by washing hands, surfaces, and tools after contact with raw bacon.
Slicing and Portioning
Pre-sliced bacon offers convenience, but slicing bacon at home allows for customized thickness. Use a sharp knife to slice evenly through partially frozen bacon for easier cutting.
Standard bacon slices are typically 1/16 inch thick. For thicker slices, aim for 1/8 inch. Thinner slices crisp up more quickly, while thicker slices remain chewier.
Portion bacon based on recipe requirements or serving sizes. A typical serving is 2-3 slices per person. For recipes, measure by weight rather than slice count for accuracy.
To separate frozen bacon slices, use the dull edge of a butter knife. Gently pry slices apart, being careful not to tear the meat.
Cooking Equipment
Selecting the right equipment can significantly impact your bacon cooking results. Different methods and tools offer unique advantages for achieving your desired texture and flavor.
Oven and Baking Sheets
Oven cooking bacon provides even heat distribution and allows for larger batches. A rimmed baking sheet is essential to catch grease and prevent spills. Line the sheet with parchment paper or aluminum foil for easy cleanup.
A wire rack placed on the baking sheet elevates the bacon, allowing fat to drip away for crispier results. For best results, preheat the oven to 400°F (200°C).
Some specialized bacon cookers designed for oven use feature ridged surfaces to separate the bacon from rendered fat. These can produce crispier bacon with less mess.
Skillet and Stovetop
A large skillet, particularly cast iron, excels at stovetop bacon cooking. Cast iron retains heat well and develops a non-stick surface over time, ideal for bacon.
Start with a cold pan and cook bacon over medium-low heat for even cooking and to prevent burning. Use tongs to flip bacon slices for uniform crispness.
For easier cleanup, consider a bacon press. This tool flattens bacon, reducing curling and promoting even cooking.
Microwave and Special Utensils
Microwave bacon cookers offer quick results and easy cleanup. These plastic trays have ridged surfaces to elevate bacon above rendered fat.
Most microwave bacon cookers come with vented lids to prevent splattering. Cook times vary based on bacon thickness and desired crispness.
Some models can cook up to six slices at once in as little as three minutes. The clear lids allow monitoring during cooking.
Grill and Air-Fryer
Grilling bacon adds a smoky flavor. Use a two-zone fire setup, with coals on one side. Place bacon on the cooler side to prevent flare-ups from dripping fat.
A grill basket or aluminum foil can help contain bacon and make flipping easier. Watch closely to prevent burning.
Air fryers offer a healthier cooking method. The circulating hot air crisps bacon while allowing fat to drip away. Most air fryers can cook 4-6 slices at a time.
Use the air fryer's basket or a special air fryer bacon rack for best results. Cook at 350°F (175°C) for 8-12 minutes, checking regularly for desired crispness.
Oven Method for Bacon
Cooking bacon in the oven offers a hands-off approach that yields consistently crispy results. This method allows for even cooking and easy cleanup.
Preheating and Temperature
Set the oven to 400 degrees F for optimal bacon cooking. Some recipes suggest starting with a cold oven and letting it heat up with the bacon inside. This can work well for thicker cuts.
For standard bacon, 18-20 minutes usually suffices. Thicker slices may need up to 30 minutes. Keep a close eye on the bacon as it approaches doneness to achieve your desired level of crispiness.
Adjust cooking time based on bacon thickness and personal preference. Some cooks prefer a lower temperature of 350 degrees F for more control, especially with unevenly cut bacon or bacon ends and pieces.
Using Parchment Paper
Lining a rimmed baking sheet with parchment paper makes for easy bacon removal and cleanup. Ensure the parchment extends over all sides of the pan to catch grease.
Arrange bacon strips in a single layer on the parchment, avoiding overlap. This allows for even cooking and maximum crispiness. For extra crispy bacon, use a wire rack on top of the parchment-lined sheet.
After cooking, let the bacon cool slightly on paper towels to absorb excess grease. The used parchment can be discarded, simplifying cleanup.
Lining with Aluminum Foil
Aluminum foil is an alternative to parchment paper for lining baking sheets. It effectively contains bacon grease and makes cleanup a breeze.
Crimp the edges of the foil to create a lip that prevents grease from spilling. This technique is particularly useful for cooking larger batches of bacon.
Once cooled, the foil can be carefully folded to contain the grease for easy disposal. Be cautious when handling hot foil and grease to avoid burns.
For best results, use heavy-duty foil that won't tear easily. Some cooks prefer to crumple the foil slightly before lining the pan, creating texture that allows grease to drain away from the bacon.
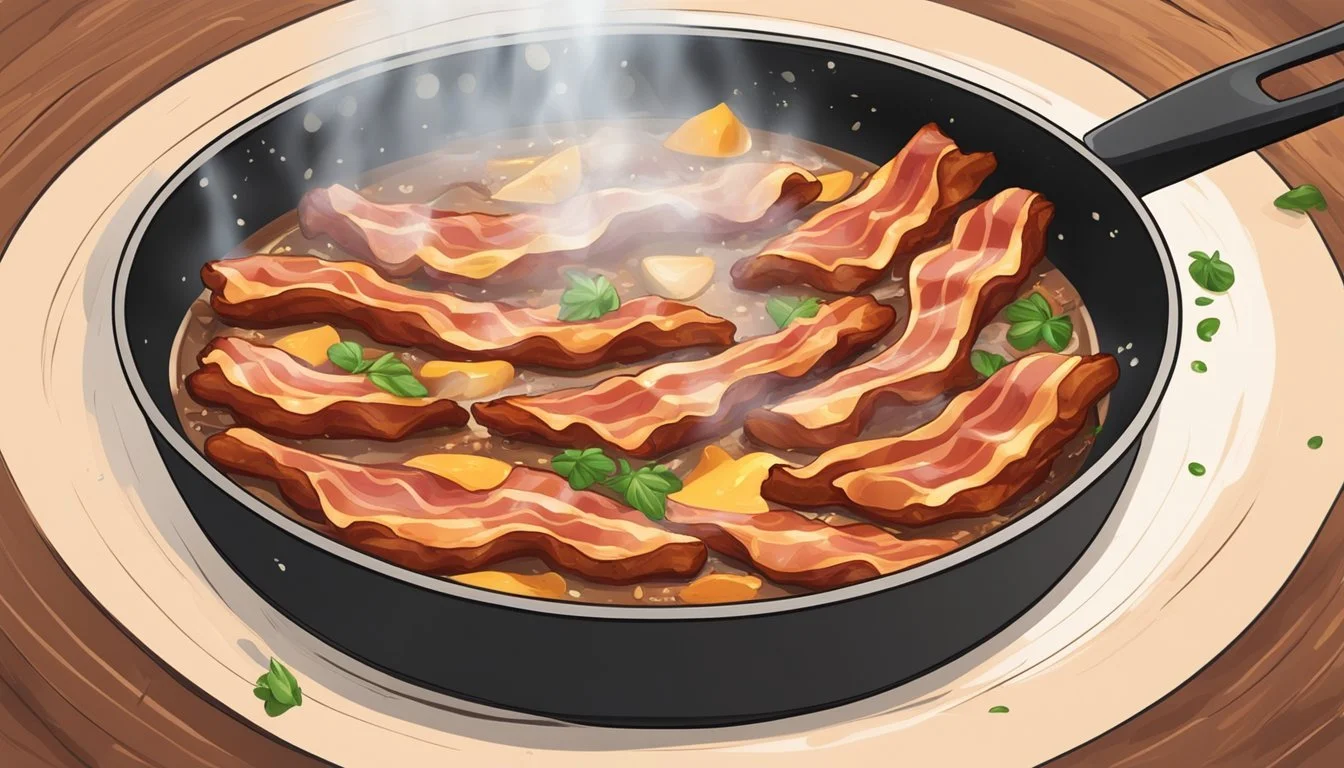
Stovetop Technique
Cooking bacon on the stove requires attention to detail and the right approach. Mastering this technique ensures crispy, evenly cooked bacon every time.
Choosing the Right Skillet
A heavy-bottomed skillet is ideal for frying bacon. Cast iron or stainless steel pans distribute heat evenly, preventing hot spots. These pans also retain heat well, maintaining consistent temperature throughout cooking.
Choose a skillet large enough to accommodate the bacon strips without overcrowding. This allows proper air circulation and even cooking. A 12-inch skillet typically fits 6-8 slices of bacon comfortably.
Non-stick pans can be used but may not produce the same level of crispiness. They also don't allow for easy collection of bacon fat for later use.
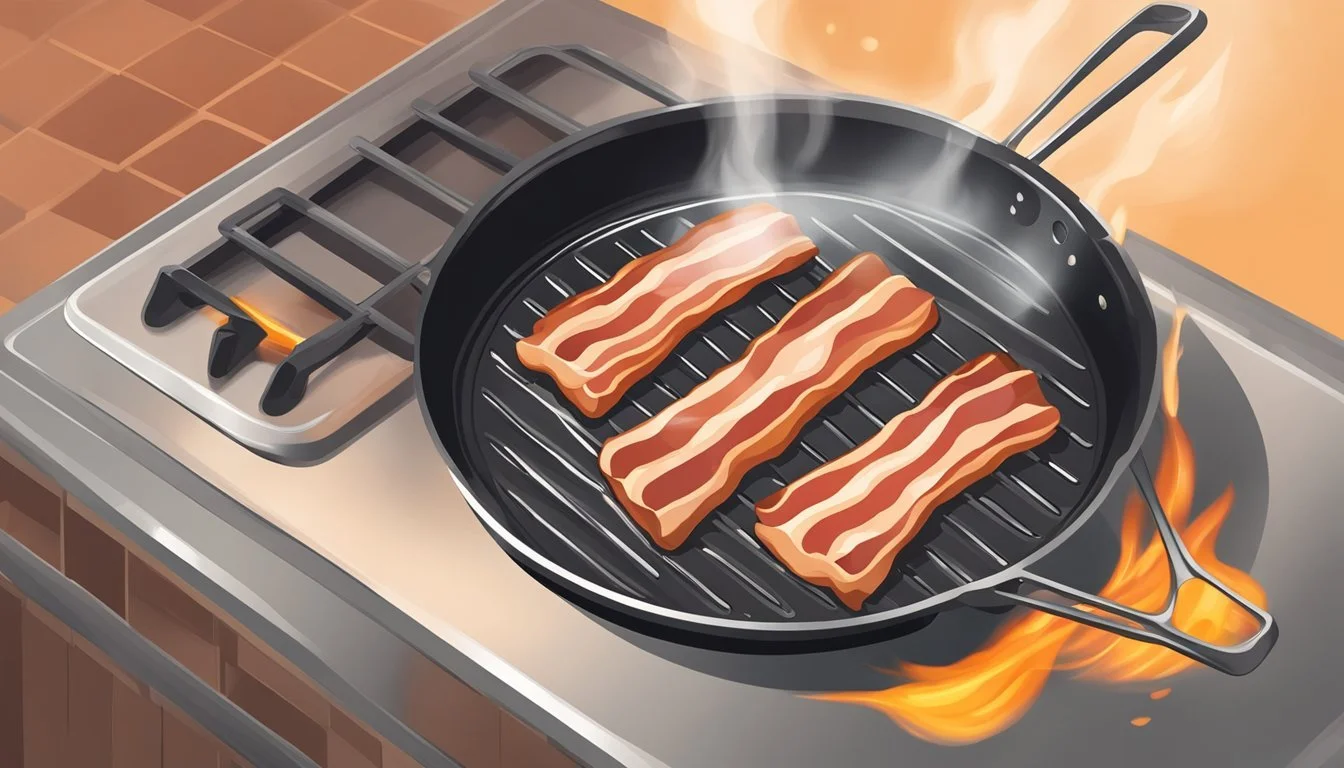
Managing Heat and Splatters
Start with a cold pan to prevent bacon from sticking and burning. Place bacon strips in a single layer and turn the heat to medium. This gradual heating allows fat to render slowly, resulting in crispier bacon.
As the bacon cooks, it will release fat and moisture, causing splatters. Use a splatter screen to minimize mess and prevent burns. Alternatively, partially cover the pan with a lid, leaving space for steam to escape.
Cook bacon for 8-10 minutes, flipping occasionally with tongs. Adjust heat as needed to maintain steady cooking without burning. Remove bacon when it reaches desired crispiness and drain on paper towels.
Utilizing Fat
Bacon fat is a flavorful byproduct of stovetop cooking. As bacon cooks, it releases fat into the pan. This fat can be used to enhance the flavor of other dishes.
To collect bacon fat, carefully pour it from the pan into a heat-resistant container once it has cooled slightly. Strain through a fine-mesh sieve to remove any solid bits. Store in the refrigerator for future use.
Use bacon fat to fry eggs, sauté vegetables, or add flavor to soups and stews. It can also be used as a spread or to make savory pie crusts. Remember that a little goes a long way due to its rich flavor.
Alternative Cooking Methods
Bacon can be prepared using various techniques beyond traditional pan-frying. These methods offer unique flavors and textures while often simplifying the cooking process.
Grilling Bacon
Grilling bacon imparts a smoky flavor and crispy texture. Place bacon strips directly on a preheated grill grate over medium heat. Cook for 5-7 minutes per side, watching carefully to prevent flare-ups from dripping fat.
Use long tongs to flip and remove the bacon. A foil-lined drip pan placed under the grates catches excess grease, reducing mess and fire risk.
For easier handling, thread bacon onto metal skewers before grilling. This method works well for thick-cut bacon.
Microwave Method
Microwaving bacon is quick and reduces greasy cleanup. Line a microwave-safe plate with paper towels. Arrange bacon strips in a single layer, not overlapping.
Cover with another paper towel to prevent splattering. Cook on high for about 1 minute per slice, adjusting time based on bacon thickness and desired crispness.
Blot excess grease with paper towels after cooking. This method produces evenly cooked bacon with minimal effort.
Air-Fryer Technique
Air-fryers create crispy bacon with less mess. Preheat the air fryer to 350°F (175°C). Lay bacon strips in a single layer in the basket, avoiding overlap.
Cook for 8-10 minutes, shaking the basket halfway through. Cooking time varies based on bacon thickness and desired crispness.
Use tongs to remove bacon and place on a paper towel-lined plate to absorb excess grease. The air-fryer method reduces fat content compared to pan-frying while maintaining a satisfying crunch.
Finishing and Serving

Properly finishing and serving bacon enhances its flavor and texture. The final steps ensure crispy perfection and optimal enjoyment.
Achieving Desired Crispiness
For extra-crispy bacon, cook it longer on lower heat. Use the oven method at 375°F for 15-20 minutes, flipping once. A wire rack on a sheet pan allows air circulation, promoting even crispiness.
Nonstick surfaces help prevent sticking and tearing. For chewier bacon, remove it from heat slightly earlier. Thickness affects cooking time; adjust accordingly.
Brown sugar can be sprinkled on bacon during the last few minutes for a sweet-savory crunch. Watch closely to prevent burning.
Draining and Degreasing
Place cooked bacon on a paper towel-lined plate to absorb excess grease. Alternatively, use a metal cooling rack over a sheet pan to let fat drip away.
Gently pat bacon with paper towels to remove surface oil. This step reduces greasiness and enhances crispiness.
Save bacon grease for future cooking. Strain it through a fine-mesh sieve and store in a glass container in the refrigerator.
Pairing with Other Foods
Crispy bacon complements many dishes. Crumble it over salads or baked potatoes for added flavor and texture.
Wrap bacon around asparagus or dates for appetizers. Layer it in sandwiches or burgers for a savory boost.
Pair bacon with eggs for a classic breakfast. Try it with poached eggs and hollandaise for Eggs Benedict. Crispy bacon bits elevate omelets and frittatas.
Use bacon in pasta dishes like carbonara or add to quiches for depth. Experiment with bacon jam or candied bacon for unique flavor profiles.
Cleanup and Storage
Proper cleanup and storage techniques are essential for preserving bacon's quality and flavor. Dealing with residual grease, storing cooked bacon correctly, and utilizing bacon fat can enhance your culinary experience.
Dealing with Residual Grease
After cooking bacon, allow the grease to cool slightly. Pour excess grease into a heat-resistant container for later use or disposal. Line a plate with paper towels and transfer the bacon onto it to absorb excess oil. For easier cleanup, consider cooking bacon on aluminum foil or a nonstick surface. Wipe down cooking surfaces with paper towels to remove residual grease before washing.
Dispose of cooled bacon grease in the trash, not down the drain, to prevent plumbing issues. For stubborn grease on pans, sprinkle with baking soda and let sit before scrubbing. A mixture of dish soap and hot water can help cut through remaining grease on cookware.
Storing Cooked Bacon
To maintain crispness, allow cooked bacon to cool completely on a wire rack. Once cooled, place bacon strips in an airtight container or resealable plastic bag. Store in the refrigerator and consume within 4-5 days for optimal quality.
For longer storage, freeze cooked bacon:
Lay strips on a wax paper-lined baking sheet
Freeze for 2-24 hours
Transfer frozen strips to a freezer bag
Store in the freezer for up to 3 months
When reheating, crisp bacon in a skillet or microwave between paper towels to absorb excess moisture.
Bacon Fat Utilization
Bacon fat is a flavorful cooking medium. To store:
Strain cooled grease through a fine-mesh sieve
Pour into a clean glass jar
Refrigerate for up to 3 months or freeze for 6 months
Use bacon fat to:
Sauté vegetables
Fry eggs
Make salad dressings
Bake cookies or biscuits
Season cast iron pans
When cooking with bacon fat, use it sparingly as a flavor enhancer. A little goes a long way in adding depth to dishes. Always refrigerate or freeze bacon fat to prevent rancidity and ensure food safety.
