
How to Cook a 5 lb Chicken in the Oven
Juicy and Flavorful Results
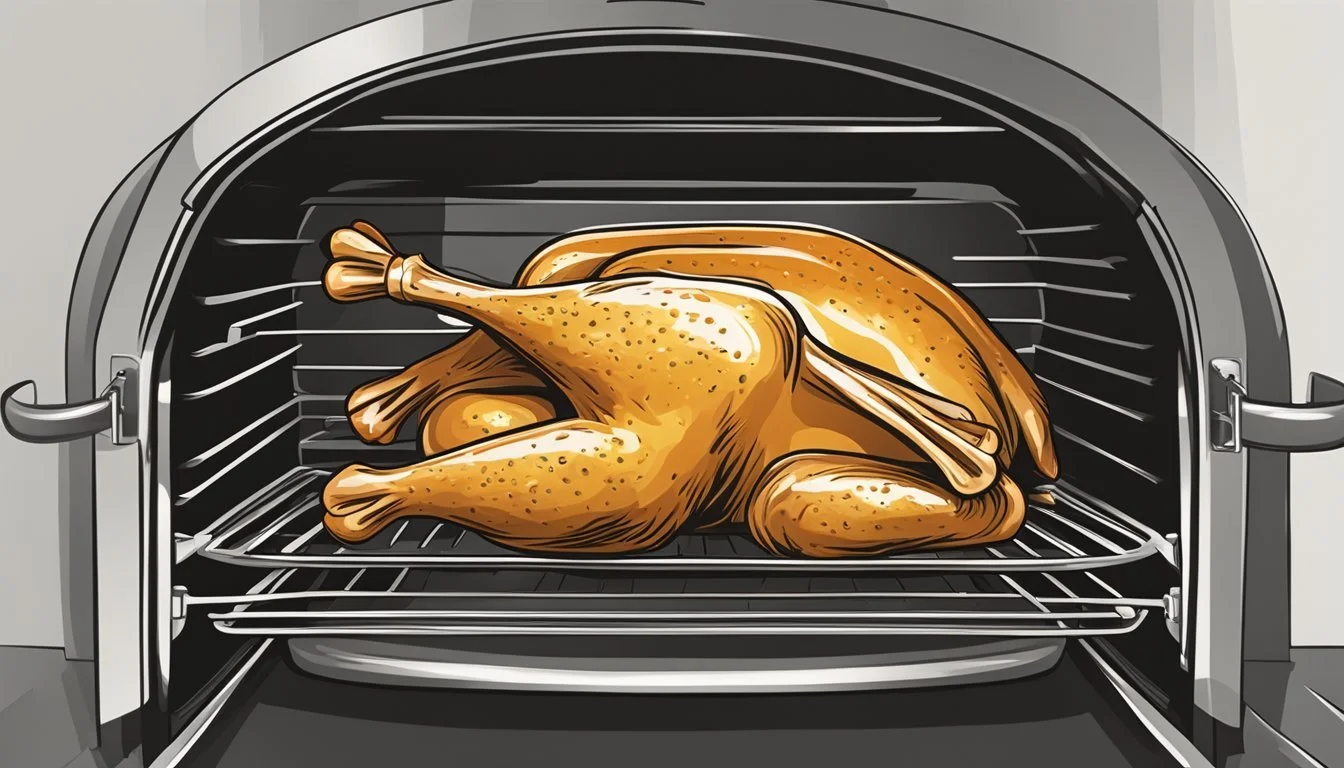
Cooking a 5-pound chicken in the oven is a simple yet rewarding culinary endeavor. The process yields a tender, juicy bird that can serve as the centerpiece for a delicious meal. To roast a 5-pound chicken, preheat the oven to 375°F (190°C) and cook for approximately 1 hour and 45 minutes to 2 hours.
Preparing the chicken involves a few key steps. Removing the giblets, patting the bird dry, and seasoning it thoroughly enhances the flavor. Some cooks prefer to truss the chicken, tying the legs together to ensure even cooking. Placing the seasoned chicken in a roasting pan breast-side up allows the skin to crisp beautifully.
The aroma of a whole chicken roasting in the oven fills the home with an inviting scent. As it cooks, the skin turns golden brown and crispy while the meat remains moist. Basting the chicken occasionally with its own juices or a mixture of butter and herbs can further enhance its flavor and texture.
Preparation Basics
Proper preparation is key to achieving a perfectly roasted 5-pound chicken. Selecting the right bird and using proper techniques will ensure a flavorful and juicy result.
Choosing the Right Chicken
When selecting a chicken for roasting, opt for a 5-pound bird that is fresh and of high quality. Look for chickens with plump breasts and smooth, unblemished skin. Organic or free-range chickens often offer superior flavor and texture. Avoid chickens with a strong odor or discolored patches on the skin.
Check the sell-by date to ensure freshness. If possible, choose a chicken that has been air-chilled rather than water-chilled, as this can result in better flavor and crispier skin when roasted.
Preparation Techniques
Start by removing the chicken from its packaging and patting it dry thoroughly with paper towels. This step is crucial for achieving crispy skin. Remove any giblets from the cavity.
Season the chicken generously with kosher salt and freshly ground black pepper, both inside and out. For added flavor, stuff the cavity with fresh herbs like rosemary, thyme, and sage, along with lemon wedges and garlic cloves.
Truss the chicken using kitchen twine to ensure even cooking. This involves tying the legs together and tucking the wing tips under the body. Brush the skin with olive oil or melted butter for extra crispiness.
Let the seasoned chicken sit at room temperature for 30 minutes before roasting. This allows for more even cooking.
Seasoning and Flavoring
Proper seasoning and flavoring are crucial for a delicious 5 lb chicken. The right combination of herbs, spices, and marinades can elevate the dish from ordinary to extraordinary.
Herbs and Spices
Salt and black pepper form the foundation of chicken seasoning. Add garlic powder and onion powder for depth. Paprika or smoked paprika provides color and a subtle smoky flavor.
Fresh herbs like thyme, rosemary, and parsley impart aromatic qualities. Chop and mix them with softened butter to create a flavorful compound butter. Gently spread this under the chicken skin before roasting.
Dried herbs work well too. Mix them with olive oil to create a rub. Popular combinations include:
Italian blend: oregano, basil, thyme
Provençal: herbes de Provence, lavender
Mediterranean: za'atar, sumac
Lemon zest adds brightness. Mix it with salt and rub over the chicken skin for a zesty flavor boost.
Marinating Tips
Marinating infuses flavor deep into the chicken meat. A basic marinade consists of oil, acid, and seasonings.
Extra-virgin olive oil acts as a flavor carrier. Lemon juice or vinegar tenderizes the meat. Add crushed garlic cloves and fresh herbs for aromatics.
Marinate the chicken for 2-8 hours in the refrigerator. Avoid marinating longer, as acidic ingredients can break down the meat texture.
For a quick flavor boost, make a wet rub. Mix olive oil with seasonings and rub it all over the chicken just before roasting.
Consider brining for extra juiciness. Submerge the chicken in a saltwater solution with herbs for 2-4 hours before cooking.
Cooking the Chicken
Proper cooking techniques ensure a juicy, flavorful roast chicken with crispy skin. Follow these steps for perfect oven-roasted results.
Oven Preparation
Preheat the oven to 425°F (218°C) for a crispy exterior, or 375°F (190°C) for softer meat. Position the oven rack in the lower third of the oven to allow even heat circulation. Place a roasting pan on the rack.
For easier cleanup, line the pan with aluminum foil. Add a roasting rack to elevate the chicken, promoting air circulation and even cooking. This setup helps achieve crispy skin all around.
Roasting Techniques
Place the seasoned chicken breast-side up on the roasting rack. Tuck the wings behind the back to prevent burning. For added flavor, stuff the cavity with lemon wedges or herbs.
Roast the chicken uncovered for the first hour. This allows the skin to crisp up nicely. After an hour, cover loosely with foil to prevent over-browning.
Baste the chicken with pan juices every 30 minutes for extra moisture and flavor. This step is optional but can enhance the final result.
Ensuring Doneness
A 5-pound chicken typically takes about 1 hour and 45 minutes to 2 hours to cook thoroughly. However, cooking time can vary based on oven accuracy and chicken size.
The most reliable method to check doneness is using a meat thermometer. Insert it into the thickest part of the thigh, avoiding bone. The internal temperature should reach 165°F (74°C).
Once done, remove the chicken from the oven. Let it stand for 10-15 minutes before carving. This resting period allows juices to redistribute, resulting in tender, juicy meat.
Accompaniments and Sides

A perfectly roasted 5 lb chicken pairs wonderfully with various sides. The right accompaniments complement the savory flavors of the chicken while providing a balanced meal.
Selecting Vegetables
Roasted vegetables are an excellent choice to serve alongside chicken. Cut carrots, potatoes, and onions into similar-sized pieces for even cooking. Toss them with olive oil, salt, and pepper before arranging around the chicken in the roasting pan. This allows the vegetables to absorb the flavorful drippings.
For a lighter option, consider steamed green beans or broccoli. These vegetables retain their vibrant color and crisp texture. A quick sauté of zucchini and yellow squash with garlic adds a fresh element to the plate.
Mashed potatoes are a classic side dish. Prepare them with butter, milk, and a pinch of salt for creamy comfort food. For a twist, try roasted garlic mashed potatoes to enhance the flavor profile.
Rice and Pasta Pairings
Rice makes an excellent base for soaking up chicken juices. Fluffy white rice or aromatic basmati rice complement the roasted chicken well. For added nutrition, consider brown rice or wild rice blends.
Pasta offers versatile pairing options. Serve the chicken over buttered egg noodles for a simple yet satisfying meal. Orzo, a rice-shaped pasta, can be prepared with herbs and lemon zest for a light Mediterranean flair.
For a heartier option, consider a creamy pasta dish like fettuccine Alfredo. The rich sauce balances nicely with the lean chicken meat. Whole wheat pasta provides extra fiber and nutty flavor.
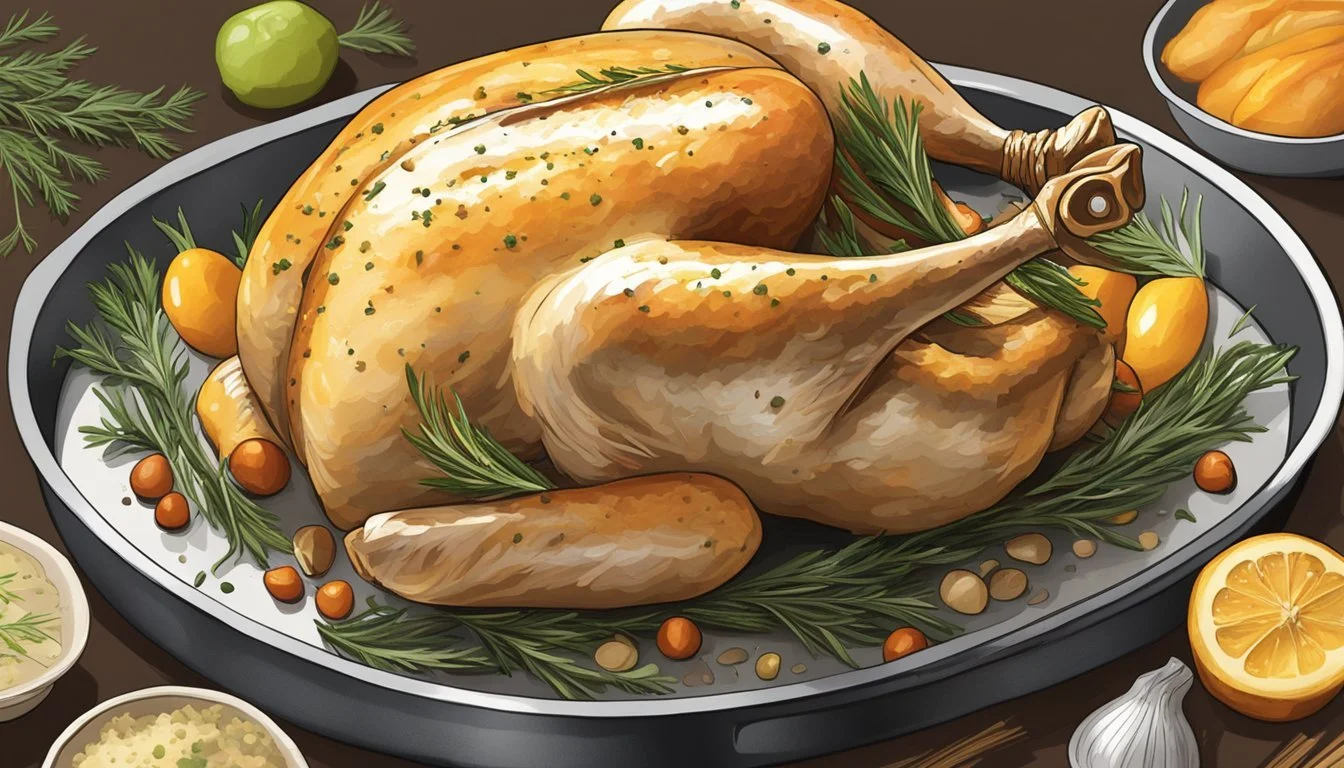
Finishing and Serving

After roasting your 5 lb chicken to perfection, the final steps are crucial for optimal taste and presentation. Proper resting and carving techniques ensure a juicy, flavorful meal.
Resting the Chicken
Remove the chicken from the oven when it reaches an internal temperature of 160°F (71°C). Place it on a cutting board and let it stand for 10-15 minutes. This resting period allows the juices to redistribute throughout the meat.
Tent the chicken loosely with foil to keep it warm. During this time, the internal temperature will continue to rise, reaching the safe temperature of 165°F (74°C).
Use a spoon to baste the chicken with pan juices or melted butter. This adds extra flavor and keeps the skin crispy.
Carving Techniques
Start by removing the legs. Cut through the skin between the thigh and body. Gently pull the leg away and cut through the joint.
Next, separate the drumstick from the thigh by cutting through the joint connecting them.
For the breast meat, locate the breastbone and make a deep cut along one side. Continue cutting downward, following the rib cage to remove the entire breast.
Slice the breast meat against the grain for tender pieces. Repeat on the other side.
Serve the carved chicken on a platter with roasted aromatics from the pan. Drizzle with remaining pan juices for added flavor.
Post-Cooking Tips

After roasting your 5-pound chicken, proper handling ensures food safety and maximizes enjoyment of leftovers. Follow these guidelines to store and reheat your delicious meal effectively.
Handling Leftovers
Let the cooked chicken cool for 15-20 minutes before handling. Use clean utensils to carve the meat, separating it from bones. Refrigerate leftover chicken within 2 hours of cooking to prevent bacterial growth.
Store carved meat in airtight containers or wrap tightly in foil. Label containers with the date to track freshness. Use refrigerated chicken within 3-4 days for best quality.
Transform leftovers into new meals. Shred chicken for tacos, sandwiches, or salads. Dice it for chicken noodle soup or casseroles. Mix with mayonnaise, celery, and seasonings for a quick chicken salad.
Storage and Reheating
Refrigerate leftover chicken at 40°F or below. For longer storage, freeze chicken in airtight containers or freezer bags for up to 4 months. Remove as much air as possible to prevent freezer burn.
Thaw frozen chicken in the refrigerator overnight. Never thaw at room temperature. Use thawed chicken within 1-2 days.
Reheat chicken to an internal temperature of 165°F. Use a food thermometer to ensure safety. Microwave small portions, covering to retain moisture. For larger amounts, reheat in a 350°F oven until hot throughout.
Add a splash of broth or water when reheating to keep the meat moist. Avoid reheating chicken more than once to maintain quality and safety.
