
How to Eat a Roast Chicken
A Step-by-Step Guide
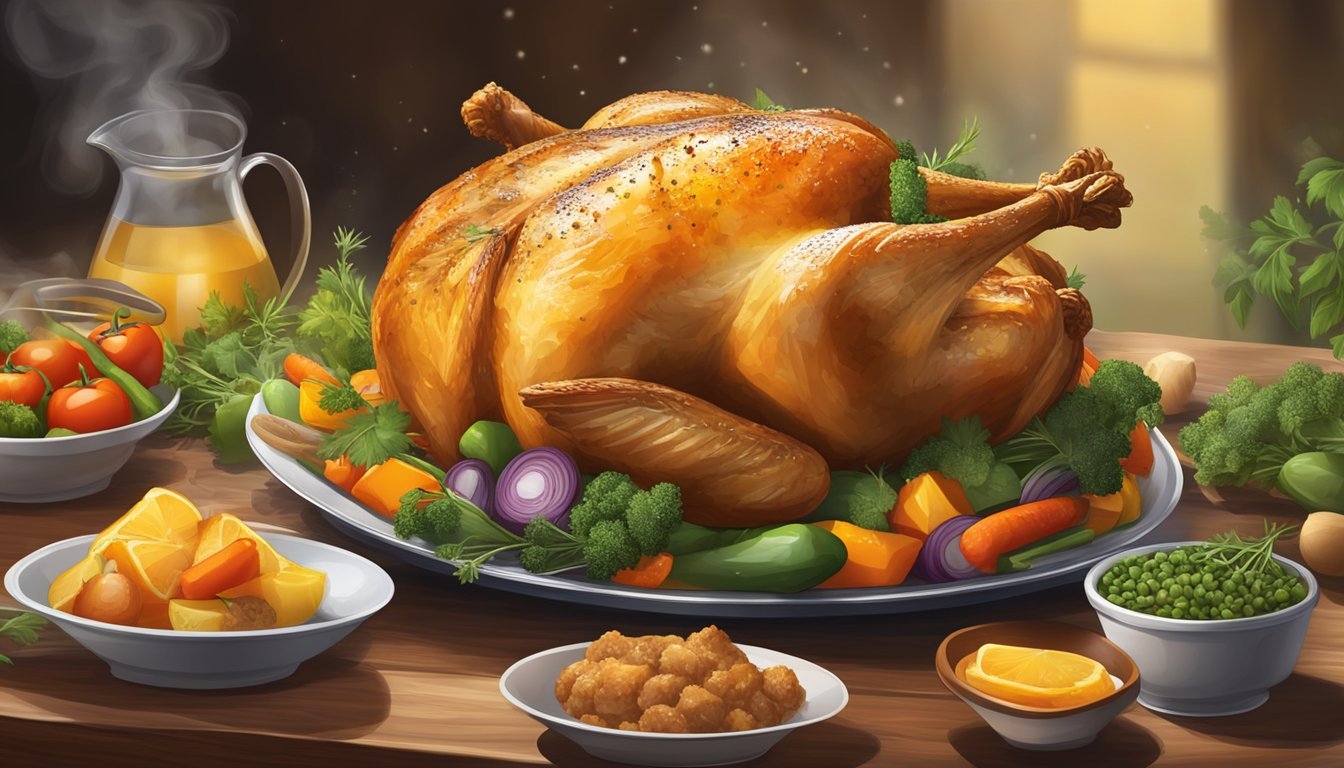
Roast chicken (how long does chicken last?) is a culinary classic, beloved for its succulent meat and golden, crispy skin. This dish is so revered in the world of home cooking because it embodies simplicity while offering complex flavors, which can be achieved through various cooking techniques and seasonings. The key to a perfect oven-roasted chicken lies in the preparation and cooking method. A whole chicken, properly seasoned and cooked at the right temperature, transforms into a sumptuous meal that can be served on countless occasions.
When preparing a roast chicken, attention to detail can make all the difference. The chicken should be thawed thoroughly if frozen and patted dry to ensure the skin achieves maximum crispness. Properly tying the chicken, also known as trussing, encourages even cooking and helps retain the bird's shape during roasting. The temperature and time in the oven play pivotal roles in the outcome: a properly roasted chicken emerges with juicy, tender meat and crisp skin.
Eating a roast chicken is as much an art as it is a delight. Whether consumed as a protein-packed centerpiece during a family dinner or as the highlight of a festive gathering, it can be served directly after carving or saved for multiple meal-prep options throughout the week. To partake is simple; having been cooked whole, the chicken is cut into sections such as breasts, thighs, wings, and drumsticks, accommodating a range of preferences and yielding a variety of textures and flavors, each subtly infused by the choice of herbs, spices, and aromatics used in the recipe.
Preparing the Chicken
Proper preparation of the roast chicken involves cleaning and drying the bird meticulously before seasoning it to enhance its flavor. This ensures that the chicken will not only cook properly but will also have a delectable taste and texture.
Cleaning and Drying
First, the chicken should be thoroughly cleaned. If there are any giblets inside the cavity, they must be removed. After that, the chicken is rinsed briefly inside and out with cold water. It is paramount to pat the chicken dry using paper towels to remove excess moisture. This step is crucial as it helps achieve a crispy skin during roasting.
Remove giblets: Check the cavity and discard them.
Rinse: Briefly wash chicken inside and out with cold water.
Dry: Pat the chicken thoroughly with paper towels.
Seasoning the Chicken
Seasoning the chicken is all about personal preference and creating layers of flavor. A basic rub for a roast chicken would include kosher salt and black pepper. For added flavor, various herbs like thyme, rosemary, and other fresh herbs can be used. Softened butter or olive oil should be rubbed all over the chicken's skin. This not only adds flavor but helps the skin to brown nicely. The cavity can be stuffed with aromatics such as lemon, garlic, onion, and additional herbs to infuse the chicken with these flavors from the inside out. Before roasting, it's advisable to tie the legs together with kitchen twine to ensure even cooking.
Herbs and Spices: Rub chicken with salt, pepper, and choice of herbs.
Butter or Olive Oil: Coat the chicken skin for better flavor and crisping.
Cavity Aromatics: Place lemon, garlic, onion, and more herbs inside.
Tie the Legs: Use kitchen twine to secure for even cooking.
Preheating and Setting Up the Oven
Proper preheating and pan preparation are essential first steps to ensure the roast chicken cooks evenly and acquires the desired crispiness.
Oven Temperature
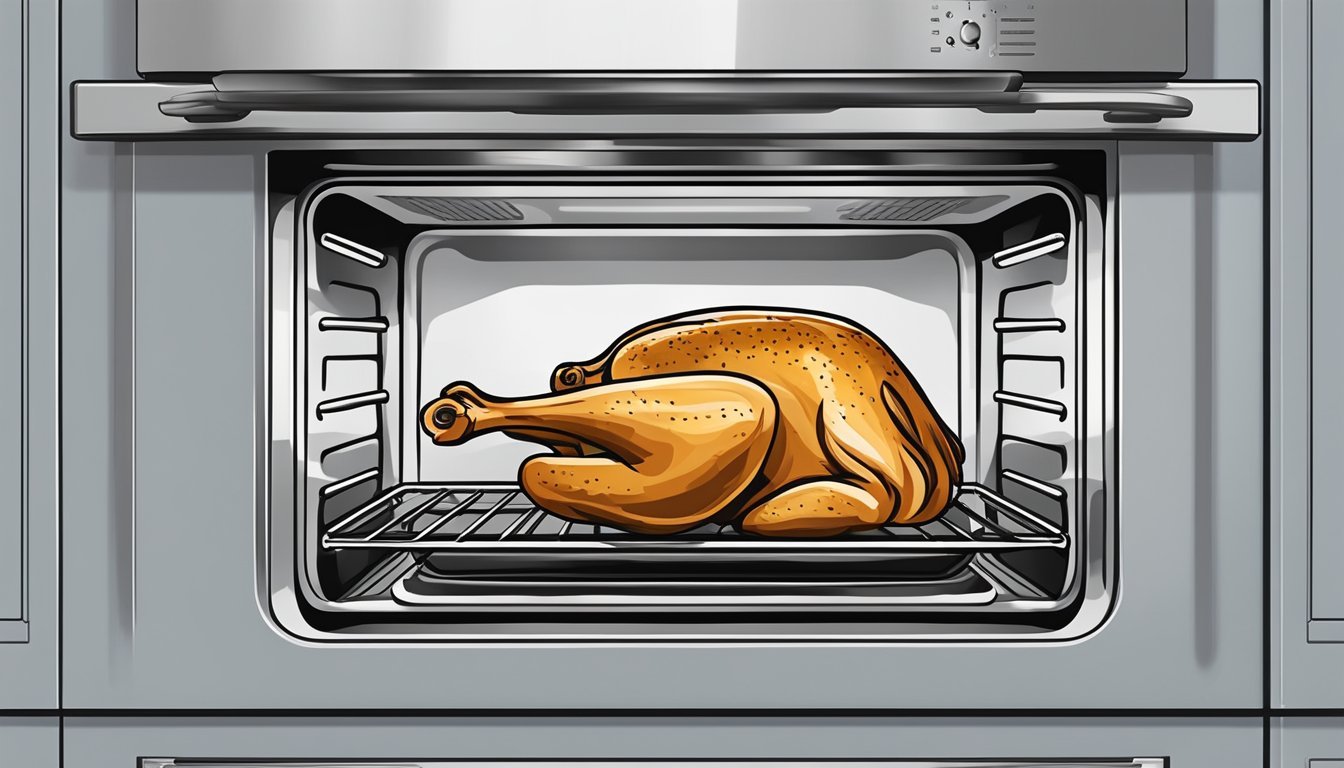
A roast chicken requires a high and consistent heat to achieve a golden, crispy skin while keeping the inside juicy. Preheat the oven to a temperature between 425°F and 450°F (220°C and 230°C), depending on the recipe and oven quirks. An accurate oven temperature is crucial, so if one's oven runs hot or cold, an oven thermometer can provide a precise reading. It generally takes about 20 to 30 minutes for an oven to reach the correct temperature.
Roasting Pan Setup
For roasting a chicken, one should use a sturdy roasting pan. A heavy-duty, ovenproof skillet or a roasting pan with a rack facilitates even cooking and allows heat to circulate around the chicken. A roasting rack within the pan helps prevent the chicken from sitting directly in its juices, which can cause the skin on the bottom to become soggy rather than crisp.
If one doesn't have a roasting rack, a makeshift one can be created by crumpling aluminum foil into coils or using roughly chopped vegetables to elevate the chicken.
Make sure to dry the chicken thoroughly with paper towels before placing it breast-side up in the pan. This aids in achieving crispier skin.
Cooking Method
Cooking a roast chicken involves the right balance of temperature and time to create a tender, flavorful dish with irresistibly crispy skin. Attention to detail at each step ensures the meat is juicy and expertly cooked.
Roasting the Chicken
To begin roasting a chicken, one must first preheat their oven. A common temperature for roasting is 350°F (175°C), but alternatively, a higher initial heat can be used to achieve a crisper skin, typically 450°F (230°C). Place the chicken in a roasting pan, ensuring it's been patted dry to promote even browning. Some recipes recommend starting with high heat to brown the skin, then reducing it to allow the meat to cook through adequately without drying out. For ovens with a convection feature, consider lowering the temperature by about 25°F, as convection circulates hot air, potentially speeding up the cooking process.
Basting and Crisping
Basting involves spooning the juices from the bottom of the roasting pan over the surface of the chicken during cooking. This can enhance the flavor and help achieve a golden and crispy skin. Basting should be done periodically, but with restraint, as opening the oven too often can lead to heat loss and potentially alter the cooking time. For those desiring an especially crispy skin, cooking at higher heat unbothered, and then basting with butter and herbs towards the end can yield that result.
Checking for Doneness
The surest way to check for doneness is by using an instant-read or meat thermometer. The internal temperature at the thickest part of the thigh should read 165°F (74°C). One should also check that the juices run clear when the meat is pierced. Different chickens can vary in cooking time; generally, it's about 20 minutes per pound, with an additional 15 minutes added. It's critical to allow the chicken to rest after removal from the oven, as this lets the meat reabsorb juices that redistribute for optimal tenderness and flavor.
Resting and Carving
After roasting, one must let the chicken rest and then proceed with the correct carving technique to ensure the meat remains tender and the skin crisp.
Resting the Meat
It is important to allow the roast chicken to rest for approximately 15 minutes after cooking. This time lets the juices redistribute throughout the meat, which helps maintain a tender and moist eating experience. The chicken should be placed on a cutting board in a warm area, away from drafts, to rest uncovered. Covering it might steam the skin, compromising its crispiness.
Carving Techniques
When ready to carve the chicken, one should start with the legs. Cut through the skin between the thigh and the breast to separate the leg. Then, maneuver the knife through the hip joint to remove the leg completely. This can be repeated on the other side.
To separate the drumstick from the thigh, place the leg skin-side down and locate the joint between them. Slicing through this joint should be effortless when done correctly. For the breast meat, initiate the cut with the knife tip along one side of the breastbone, guiding along the bone. As the breast is sliced, it can be gently pulled away with the other hand or a carving fork.
By using these techniques, one can skillfully carve a roast chicken, preserving the crispness of the skin and the tenderness of the meat.
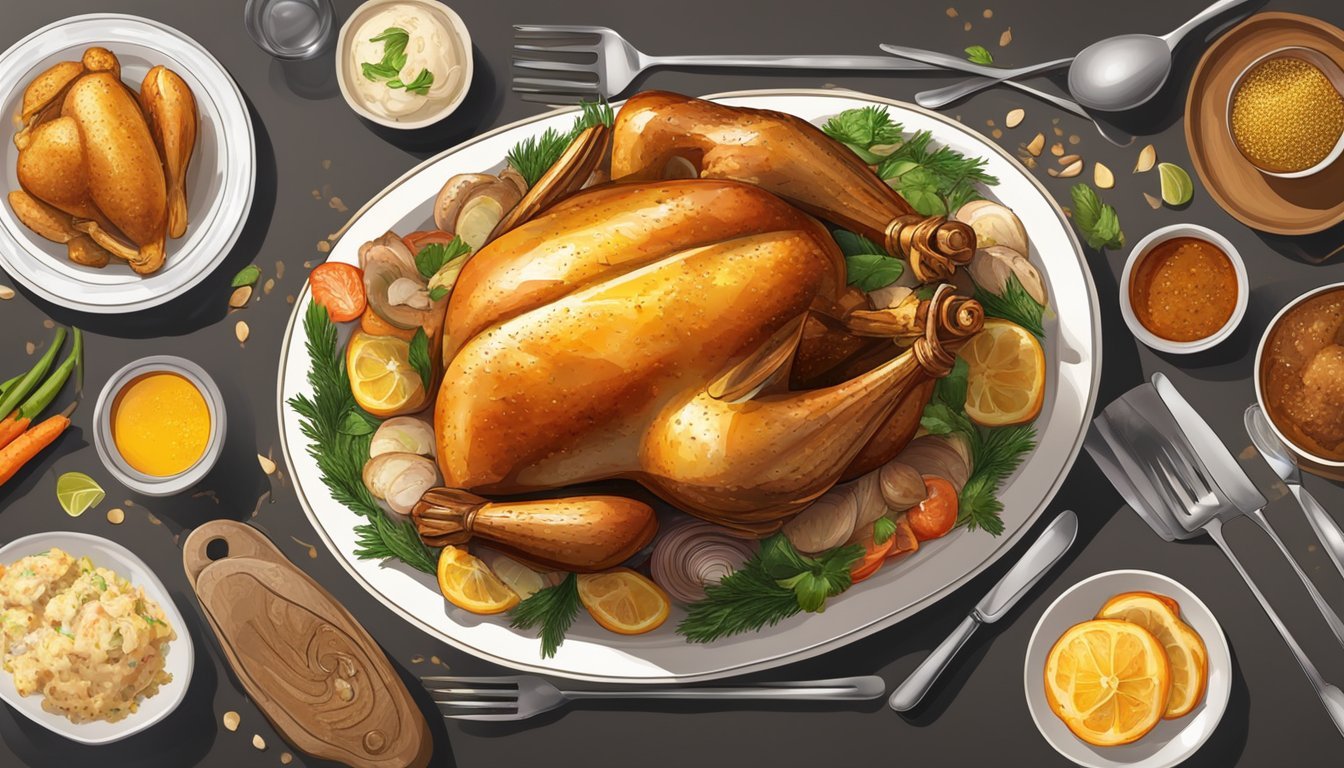
Serving Suggestions

When presenting roast chicken, the accompaniments and the gravy are pivotal for enhancing its flavor. Here's how they can be prepared and served for the best dining experience.
Accompaniments
Roast chicken pairs splendidly with a variety of sides that complement its rich flavors. For a balanced meal, roasted vegetables such as carrots, Brussels sprouts (how long do brussels sprouts last?), or a mix of seasonal offerings can be seasoned and cooked to golden perfection in the oven. Potatoes are a traditional choice; one can serve them pan-fried with herbs, or as roasted potatoes with a crisp exterior and fluffy interior. Stuffing, incorporating herbs and perhaps some dried fruit for sweetness, acts as a great absorber for chicken juices.
Vegetable Pairings:
Roasted Carrots
Brussels Sprouts
Sheet Pan Roasted Tomatoes & Mushrooms
Potato Pairings:
Herb-infused Pan Fried Potatoes
Parmesan Duchess Potatoes
Other Sides:
Herb Stuffing
Dinner Rolls
Making Gravy
The secret to outstanding gravy lies in utilizing the pan drippings from the roast chicken. One begins by separating fat from the juices and whisking in some flour, creating a roux that forms the gravy's base. The addition of chicken stock enriches the flavor, and for added depth, one can incorporate finely chopped giblets that have been sautéed until cooked through. The mixture should be simmered until it reaches the desired consistency, making a chicken gravy that's the perfect companion for both the chicken and the sides.
Gravy Steps:
Separate pan drippings and make a roux with flour.
Add chicken stock and simmer.
Optional: Include chopped giblets for enhanced flavor.
Simmer until thickened.
Post-Roasting Tips

Once the roast chicken is enjoyed, proper storage of leftovers and utilization of the carcass can extend the benefits of the meal. These steps ensure that the roast chicken's value continues beyond the initial serving.
Storing Leftovers
When storing leftover roast chicken, it is crucial to do so within two hours of cooking to prevent bacterial growth. The leftovers should be:
Cooled: Allow the chicken to reach room temperature.
Separated: Remove meat from the bones if not consumed immediately.
Packaged: Place leftovers in airtight containers.
Refrigerated: Store in the refrigerator at or below 40°F (4°C).
These leftovers can be safely consumed for up to three to four days. Using them in salads, sandwiches, or reheating for a quick meal can be both convenient and delicious.
Using the Carcass
The carcass of a roast chicken is full of potential:
Collect all the bones and scraps of meat.
Rinse the bones if there are excessive seasonings or char.
The carcass can be transformed into:
Chicken stock: Simmer it with water, vegetables, and herbs.
Ingredients Quantity Carcass 1 whole Water Enough to cover Onion 1, quartered Carrots 2, roughly chopped Celery (how long does celery last?) 2 stalks, chopped Salt To taste
Simmer for 4–6 hours, skimming any impurities.
Chicken noodle soup: The stock serves as a base for a hearty chicken noodle soup. Just add:
Cooked noodles
Leftover chicken meat
Additional vegetables and seasonings
These uses reduce waste, add value, and contribute to sustainable consumption practices.
Variations and Advanced Techniques
Exploring different flavor profiles and cooking techniques can elevate the simple roast chicken into a gourmet meal. Whether infusing the bird with unique herbs and spices or employing alternative methods of cooking, each variation enhances the dining experience.
Flavor Variations
Integrating diverse herbs and spices is a pivotal aspect of customizing your roast chicken recipe. A juicy roast chicken can be transformed with a rub of olive oil, thyme, rosemary, and paprika for an earthy and slightly smoky flavor. Incorporating slivers of garlic cloves under the skin, along with a squeeze of lemon and a sprinkle of pepper, adds a zesty and aromatic character.
Stuffing the cavity with aromatics such as onion, garlic, and additional herbs like rosemary or lemon slices contributes to the chicken's moistness and infuses subtle flavors throughout the meat. For a richer option, a herb butter comprising softened butter, minced garlic, and finely chopped herbs massaged under the skin ensures a decadently moist interior and crispy skin.
Alternative Cooking Methods
Shifting away from traditional roasting pans, placing the chicken on a baking sheet can enhance browning and crispness. The spatchcock method, which involves removing the backbone and flattening the chicken, allows for a more even cook and shorter cooking time in a hot oven.
The slow cooker offers a no-fuss method that results in a tender and juicy chicken, although it typically lacks the crispy skin that oven roasting provides. However, finishing the chicken under a broiler can add that desired textural contrast.
For those seeking to perfect juiciness, dry-brining, the process of salting the chicken and letting it sit uncovered in the refrigerator for several hours, before roasting, can yield a more moist and flavorful bird. This technique also allows for a crispier skin compared to traditional brining methods which involve water.
Remember that trussing the bird with kitchen twine not only contributes to a more uniform shape and presentation but also promotes even cooking. Culinary icon Thomas Keller advocates for simplicity in cooking a crispy roast chicken, emphasizing the importance of a hot oven and good technique over complex preparations, ensuring that the roast chicken remains a staple for Sunday supper.
Shopping and Preparation Tips

Before roasting a chicken to perfection, one must select the best ingredients and ensure they have the right equipment. This will make the cooking process smoother and the results reliably delicious.
Selecting the Right Chicken
One should opt for a whole chicken that is fresh and of high quality. Organic, free-range chickens are often recommended for the best flavor. A chicken weighing between 3 to 4 pounds is ideal for roasting as it will cook evenly and provide a good amount of meat. Check for a firm texture, a healthy color, and no unpleasant odor.
Tools and Equipment Needed
For a succulent roast chicken, certain tools and equipment are essential:
Roasting Pan: A sturdy roasting pan that can accommodate the size of the chicken along with vegetables is crucial. It should also have handles for easy removal from the oven.
Meat Thermometer: An accurate meat thermometer is necessary to ensure the chicken is cooked to the correct internal temperature of 165°F (75°C).
Kitchen Twine: Kitchen twine is used to truss the chicken, keeping it in a compact shape that promotes even cooking.
Paper Towels: These are necessary for patting the chicken dry, which is a vital step for achieving crispy skin.
Optional but recommended items for enhancing the flavor include garlic, lemon, and fresh herbs such as thyme and rosemary. One might also prepare vegetables like potatoes, carrots, and celery to roast alongside the chicken. Baby red potatoes may particularly complement the chicken if tossed with olive oil and herbs. When ready to roast, covering the breast of the chicken with aluminum foil can prevent excess browning.
