
How to Cook the Perfect Turkey Each and Every Time
Discover > Texas Home Cooking > How to Cook the Perfect Turkey Each and Every Time
Cooking turkey (What wine goes well with turkey?) is an American tradition. From the early recorded domestication of wild turkeys in Western Texas to the practice of the early colonists, turkey has figured into our cuisine. Perhaps in the past, people may have been thinking of ways to cook the perfect turkey.
A Short History of Turkey as Food
The wild turkey is a large bird native to North America. It was domesticated around 10 B.C. to 10 A.D. by Aztecs who ate its meat and used its feathers as ornaments. By the time the Spanish conquistadors arrived, it had become a staple food for the Aztecs, the Mayans, and the Incas.
When the conquistadores tasted Turkey, they found the meat to be tasty. They then shipped several of these large birds back to Europe. Soon turkey became popular among the European aristocracy as it had a less stringy texture compared to peacocks and pheasants which have stringy flesh.

The popularity of turkey meat in Europe spread. And during the initial voyage of colonialists to the New World, they brought a variety of domesticated turkeys with them, not knowing that along the forests of North America lived their original wild cousins.
Native Americans in West Texas have domesticated Turkeys before the Europeans arrived. Recent research has pointed to it as the second domestication of the bird separate from the domestication of the Aztecs. However, it was the Mexican stock of domesticated turkey which is considered the ancestor of the present-day domestic turkey.
Why Turkey Meat?
Turkey meat provides an important source of B vitamins (B3, B6, and B12) which help our body in energy production, proper brain function, and the production of red blood cells. It is also richer in protein than chicken. For those looking to reduce their fat intake, Turkey meat is recommended by nutritionists as it is low-fat meat.
It is also a rich source of important minerals such as selenium, zinc, iron, and phosphorus which are needed by our human bodies for thyroid function, bone health, energy production, and stronger immunity.
Turkey Cheat Sheet
Turkey has been the centerpiece of every American thanksgiving. In our household, we would prep up a 15-pound fowl during the big day. It entails a lot of work, particularly around the oven. Fortunately, you can find a Turkey Cheatsheet to help you in preparing for the big day.
Step 1: Choose A Good Turkey
The first thing to consider is the size of the turkey fit for your thanksgiving dinner and it will depend on your preference. You might want to try out this formula:
If you want zero leftovers: Number of People x 1.25 pound = X pound turkey
In our household, during thanksgiving, we usually expect 10 adult guests plus two hosts (me and my wife). So with 12 people multiplied by 1.25 you would need a 15-pound Turkey.
If you would want some leftovers: Number of People x 1.5 or 1.75= X pound turkey
So the second consideration is what kind of turkey one would choose. There are so many turkeys sold in the market, many with labels and jargon. To help you find that perfect Turkey here is a glossary of several labels or jargon in the market:
Fresh - If it is labeled as fresh, that turkey must never be chilled at a temperature approaching 26°F.
Frozen - Turkeys frozen 0°F must be labeled “frozen”. If they were defrosted you might see “previously frozen” on the label. Freezing adversely affects the taste and quality of the fowl.
Hard-chilled - Turkeys that have been chilled below 26°F but not below 0°F cannot be labeled as fresh but they don’t have to be labeled as frozen either. This type of turkey is labeled “hard-chilled” or “not previously frozen”
Organic - According to the United States Department of Agriculture (USDA) turkeys labeled as organic must be certified as such by a USDA accredited certifying agency. Organic labeled turkeys are those that have been raised on 100% organic feed, with access to the outdoors, and were never given antibiotics or hormones. (the use of hormones in poultry is prohibited)
Kosher - These are poultry processed under rabbinical supervision. These turkeys are grain-fed with no antibiotics and are allowed to roam freely. Kosher turkeys are soaked in salt brine, giving their meat a distinctive savory character. (If your turkey isn’t kosher, you can brine it for extra-moist, flavorful meat.)
Premium brands - These are branded turkeys that are sold based on reputation or brand. Murray’s, Bell & Evans, Jaindl, Maple Lawn Farms, Koch’s, Willie Bird, Eberly’s, Empire Kosher, and Diestel, are among the premium Turkey brands. They may differ in their feeds (no animal by-product), no antibiotics, not caged, and lack of animal fat in the diet, due to their being raised free-range these birds have richer flavor and denser texture.
Heritage turkeys - Almost all turkeys sold in the market are from the Broad-Breasted White breed. There are some breeders who have raised heritage breeds such as Narragansett, the Bourbon Red, and the Jersey Buff; their meat is characterized by being darker and more flavorful.
Free-Range - According to the USDA definition, free-range means having access to the outdoors. But what affects the meat quality is how crowded are these turkeys being raised, not their access to the outdoors. Some of the best turkeys are not technically free-ranging fowls.
Natural - These are birds without any artificial ingredient or color added and are minimally processed. Natural does not refer to the raising of these fowls.
Basted or “Self-basted” - Turkey has been injected or marinated with a solution containing butter or other edible fat plus broth, stock, spices, flavor enhancers, and other approved food additives.
I recommend choosing a fresh turkey without any added ingredients. organic, Kosher, and Premium brand turkeys are great options.
Now we might base our purchase on the size and labels. We might also consider the turkey’s appearance we might see in the market.
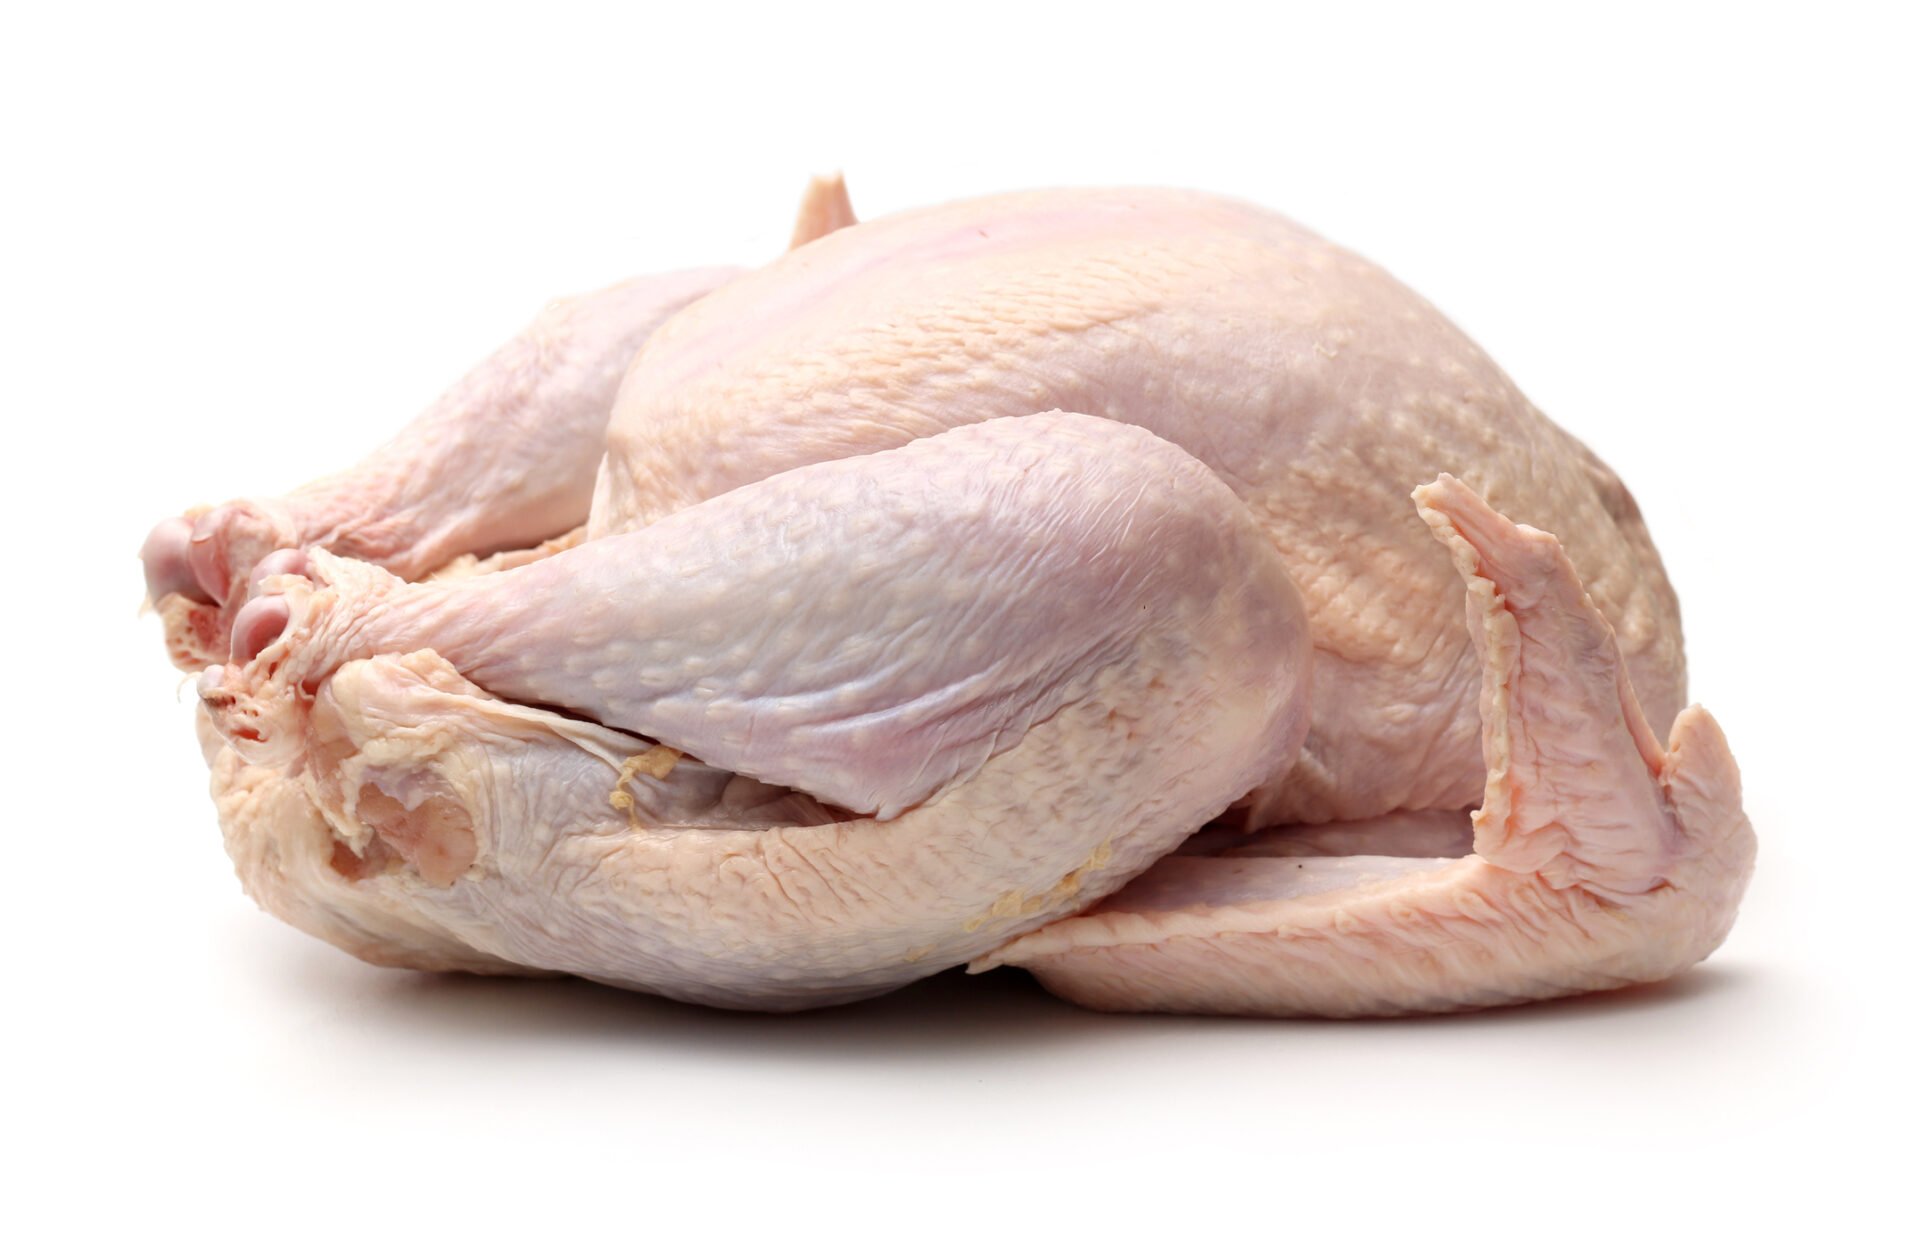
Check the shape
Look for a turkey with a well-rounded breast, it is juicier. Beware of flat spots that are indicative of freezing and thawing which increases the risk of food-borne diseases.
Size

Smaller turkeys tend to be more tender. You might want to explore the idea of cooking two small turkeys instead of a large one.
Don‘t go for the mega turkeys
The 18 to 20-pounder birds are more likely to have been injected with chemicals to make them bigger.
Step 2: Prepare Your House
Since it is a fowl, the turkey is prone to contamination by disease-causing germs and bacteria such as Salmonella and Campylobacter.
Prepare storage for your turkey and minimize the risk of contamination. For frozen turkey prepare a freezer that has a freezing temperature of 0°F and below. If you have a fresh turkey you can store it inside a refrigerator for one to two days before cooking. Don't store it in areas where you cannot monitor the temperature.
Storing turkey before cooking must be in these two places: freezer (for frozen turkey) and refrigerator (for fresh).
During brining clear some refrigerator space so you can place the brine pot inside.
Cleaning the oven and getting the necessary utensils for cooking the turkey are some of the preparations in the house. You would need a roasting rack that allows hot air in the oven to circulate around the bottom of your turkey. A roasting pan is necessary so that juices will be contained within the pan while being roasted.
Step 3: Prepare the Turkey
Now it's a few days before Thanksgiving and we’d be preparing the turkey for cooking.

How to Safely Thaw a Frozen Turkey
If you are preparing a frozen turkey there are three methods where you can safely thaw the meat.
Thaw in the refrigerator
Keep the turkey in the original wrapper and place it in a container, then put it inside the refrigerator. The container will catch the turkey’s juices preventing them from spilling onto the other contents of the refrigerator. Allow 24 hours of thawing for every 4 to 5 pounds of turkey, A turkey thawed in the refrigerator can safely remain 1 to 2 days there.
Thawing in cold water
Put the turkey in the leak-proof bag before placing it in the sink. The bag will prevent turkey juice from spreading over. The leak-proof bag will also help prevent the turkey from absorbing water which can make your cooked turkey runny.
The turkey must be fully covered in cold water. Change the water every 30 minutes. Allow 30 minutes of thawing for every pound of turkey. After thawing in cold water the turkey must be cooked immediately
Thawing in Microwave
Follow the microwave manual on thawing turkey. Usually, the manual will indicate the size of the turkey that will fit in the microwave. It will also indicate the minutes per pound and the approximate power level for thawing a turkey.
If the turkey is ready to be thawed in the microwave. Remove all outside wrapping and place the turkey in the microwave-safe dish. The dish will help prevent the juices from spreading around the microwave. Use the defrost function based on height. Allow six minutes per pound when thawing. Rotate the turkey several times or flip it during thawing.
If the turkey starts to cook instead of being defrosted. Let the machine rest for five minutes before resuming the thawing. It is suggested that you cover the wings and drumsticks during microwave thawing to prevent them from being cooked.
After thawing, wash the inside of your microwave to prevent cross-contamination.
Remember any thawing method that doesn't involve refrigerator, freezer, or microwave, is not a recommended thawing method. You will risk contaminating your turkey with foodborne bacteria such as salmonella.
How Long to Thaw a Turkey
A 10- to 18-pound turkey takes about 2 to 3 ½ days to thaw in a refrigerator. In cold water, thawing takes about 5 to 9 hours.
An 18 to 22-pound turkey would take about 3 ½ to 4 ½ days to thaw in a refrigerator. In cold water, thawing will take about 9 to 11 hours.
A 22 to 24-pound turkey would take about 4 ½ to 5 days to thaw in a refrigerator. In cold water, thawing will take 11 to 12 hours.
A 24 to 29-pound turkey would take about 5 to 6 days to thaw in a refrigerator while it would take about 12 to 15 hours to thaw in cold water.
For microwave thawing The USDA recommends thawing for 6 minutes per pound, a 15-pound turkey would take an hour and a half to thaw.
Food safety is a primary concern during thawing. It is very important to keep the turkey at a safe temperature throughout the thawing process to prevent the growth of harmful bacteria. That is why you should never attempt to thaw turkey in room temperature or in hot water.
What to Do If Your Turkey is Frozen
It's nearing Thanksgiving day and your turkey is still in a frozen state. Don’t panic. You can still cook your turkey while it is still frozen though it would take a much longer cooking time.
A solid frozen turkey will take at least 50% longer cooking time. Use your food thermometer to gauge if your turkey is ready. If the internal temperature reads 165˚F in the innermost part of the thigh, the innermost part of the wing and the thickest part of the breast then your turkey is ready to be served.
How to Brine a Turkey
Brining a turkey would make it tender. (Kosher turkeys are already brined). Since turkey is a lean bird it does not have a lot of fat to keep the meat from becoming dry and tough.
Brine is a solution of salt and water. Brining brings out the turkey’s moisture and flavor before it is put to roast. Do not brine Kosher, basted, and enhanced turkeys.
Ingredients:
Turkey
Four quarts of cold water divided
1 cup kosher salt or ¾ table salt
Aromatic options like bayleaf, peppercorns, orange
peels, lemon peels
Equipment
1 large pot with lid or cover
Measuring cup and spoons
Paper towels
Preparation
Find a pot or bucket The pot must be large enough to submerge the entire turkey. The larger the turkey the larger the pot.
Clear some refrigerator space to place your brine pot.
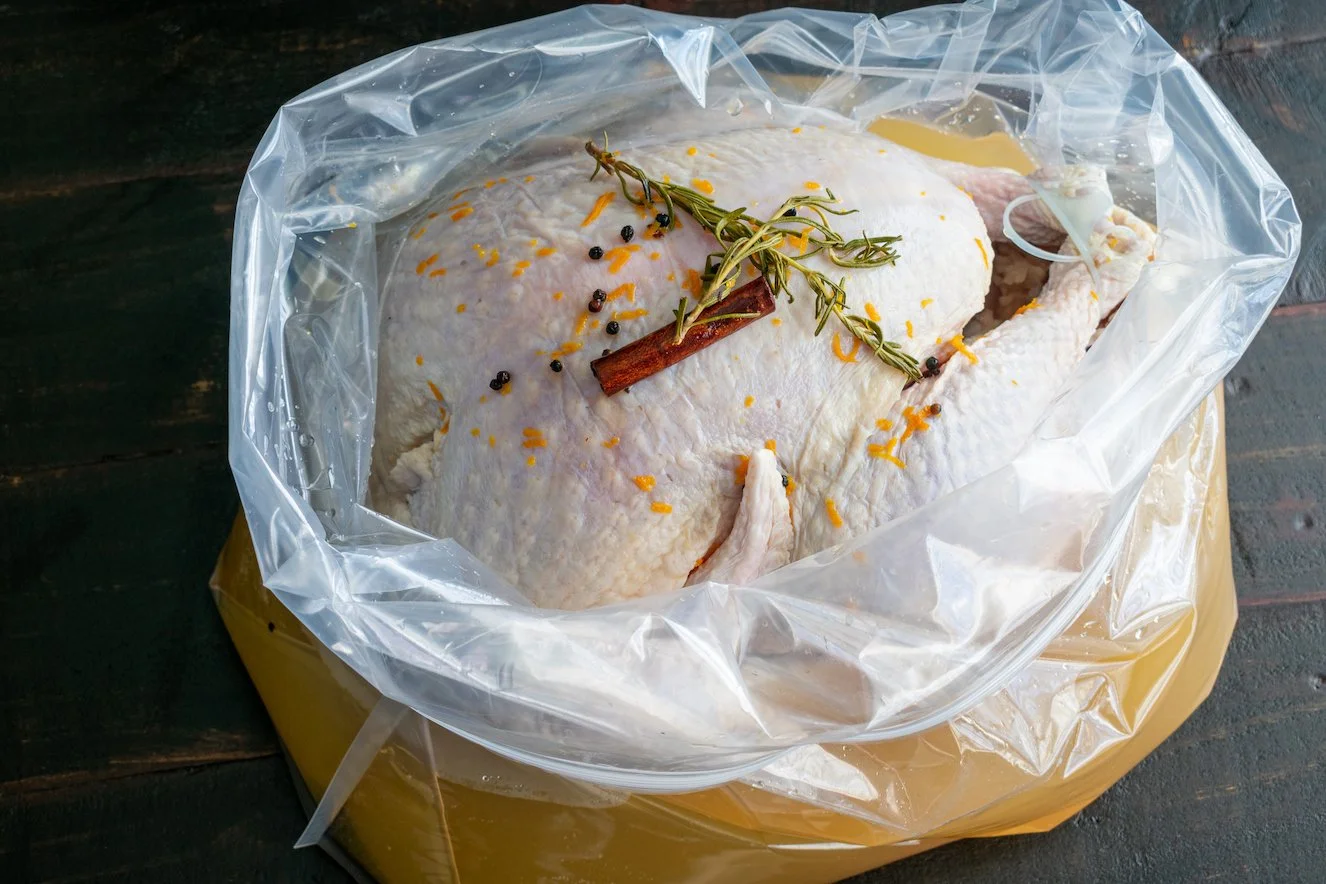
1. Unwrap the turkey, remove the giblets and place it in the pot. You can put in some aromatic ingredients if you want.
2. This is where you create the brine solution. Heat one quart of water in the microwave until it is warm. No need to boil the water just warm enough to dissolve the salt. Add the salt, stir until the salt dissolves. Let the liquid cool slightly.
3. Pour the brine over the turkey
4. Pour the remaining 3 quarts of water over the turkey. This will dilute the salt solution to the best ratio for brining. It will also help cool the brine solution.
5. The turkey must be completely submerged. If necessary make more brine solution at a ratio of ¼ cup salt per quart of water to fully submerged the turkey.
6. If the turkey floats, weigh it down with plates. Cover the pot and place it in the fridge.
7. Brine the turkey for 12 to 24 hours.
8. Remove the turkey from the brine. Rinse using cold running water. Use paper towels to pat the turkey dry. For food safety, clean the sink after use to avoid cross-contamination.
If you have the time and if you want to have crispier skin let the turkey air dry in the refrigerator for another 24 hours. Do this by placing the turkey on a roasting rack over a roasting pan and cover with plastic wrap to avoid contamination
Preparing the Turkey for Roasting
Now after brining the turkey, it is time to roast the fowl. There are steps to prepare before the roasting proper. For those new to roasting turkey, it's just roasting a large chicken (a very large one)
Half an hour to an hour before you are going to roast the turkey. Take the fowl out of the refrigerator. Remove the packaging and check the neck and body cavity for the bag of giblets and remove it (if there is any). The giblets consist of internal organs such as the liver, heart, and gizzard which are removed before the turkey is cooked. Butchers would often seal it in the bag and place it within the bird’s body cavity.
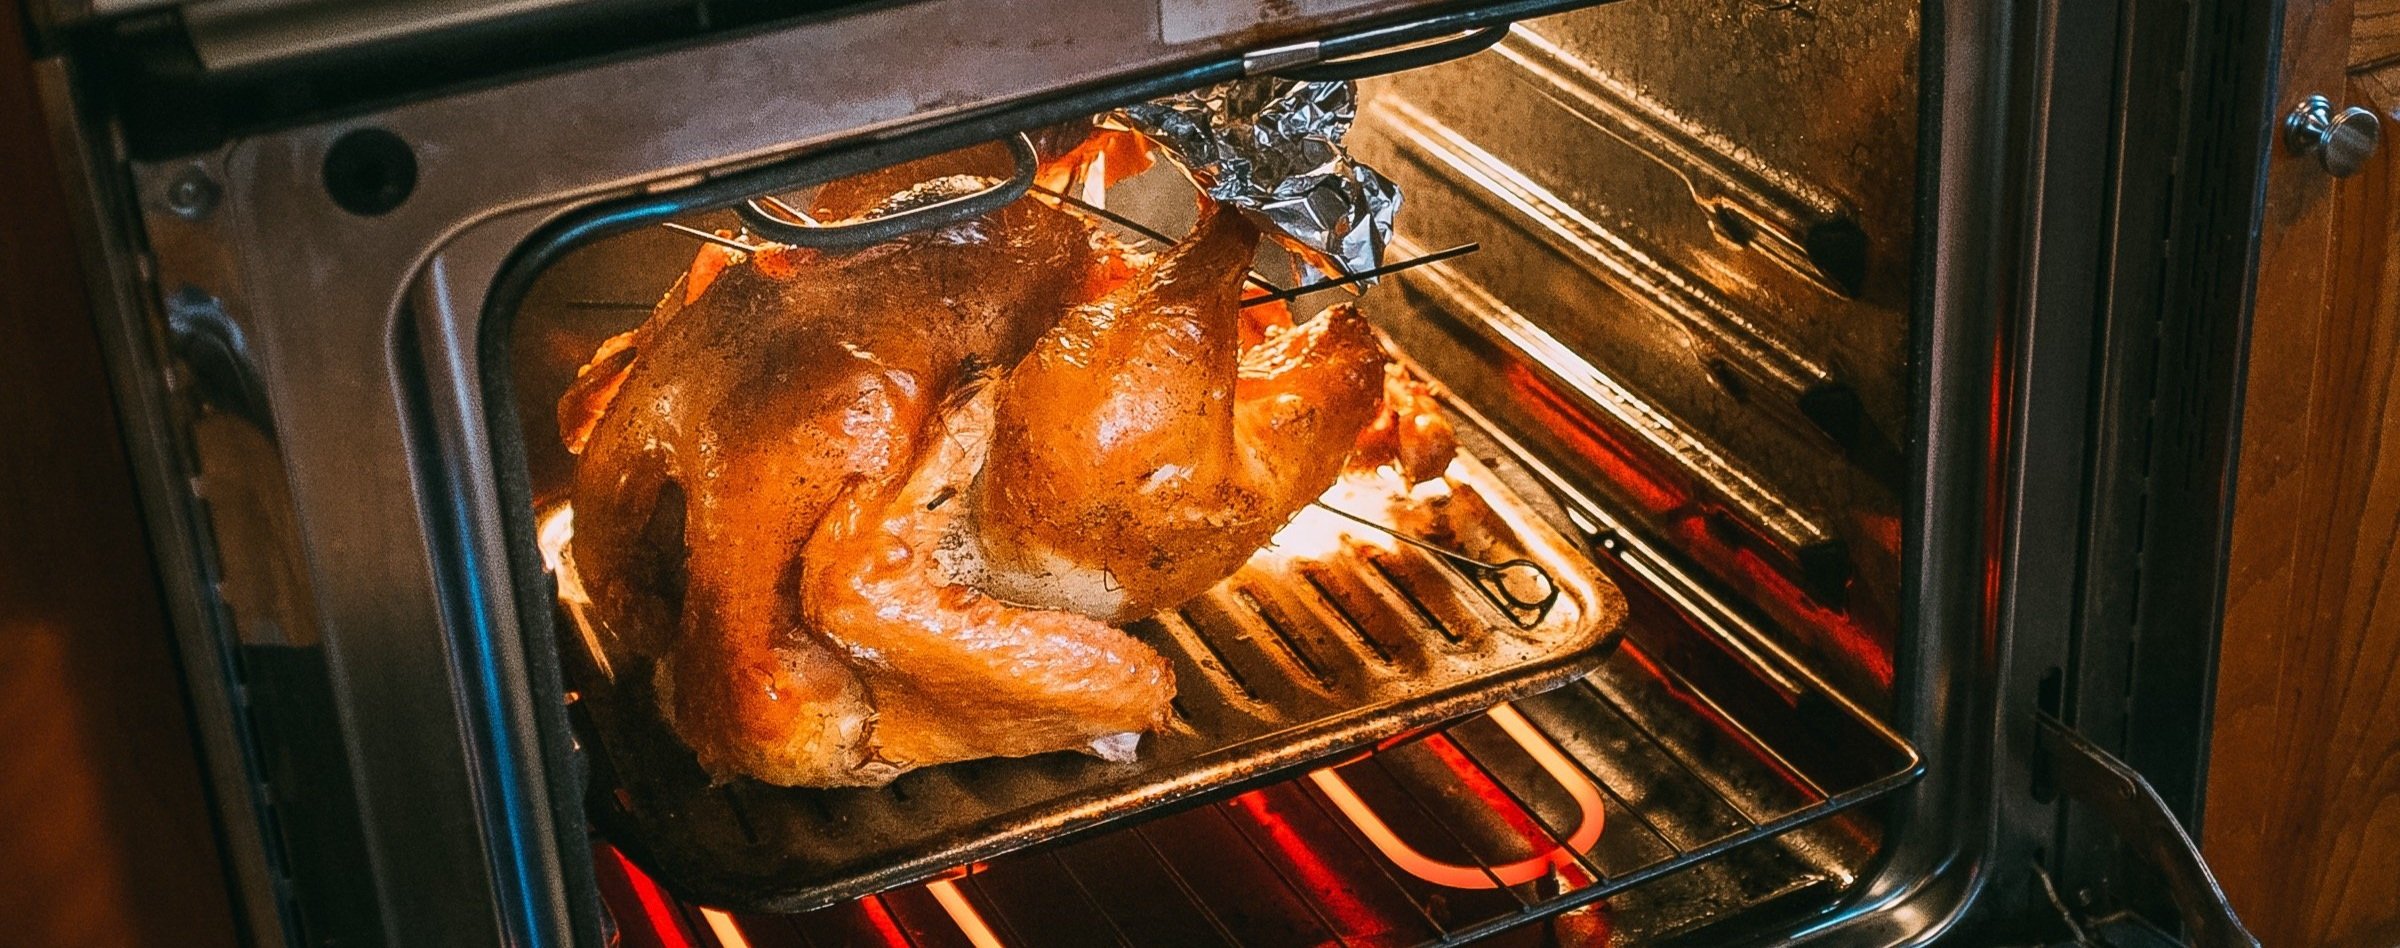
Set the turkey breast side up on the roasting rack which is set on a roasting pan. Let it sit while the oven preheats. The room temperature takes the chill off the turkey meat making the cooking faster and even. This will also promote crisping and browning as the skin is given time to dry out.
Preheat the oven to 450°F. Position an oven rack at the bottom third of the oven. Remove any other oven rack which you would not be using.
When you are ready to roast, pour water into the roasting pan. Now place the turkey into the oven and turn the temperature of the oven to 350°F.
Step 4: What is the Temperature Ideal for Cooking the Turkey
I usually set my oven to 350°F, while I read in some cookbooks it should be 325°F, while others say it is ideal at 400°F.
The ideal temperature would depend on the cooking recipes or methods which sometimes give contradicting information on how you would roast a turkey.
Now let us see what are the effects of cooking at 325°F and cooking at 350°F
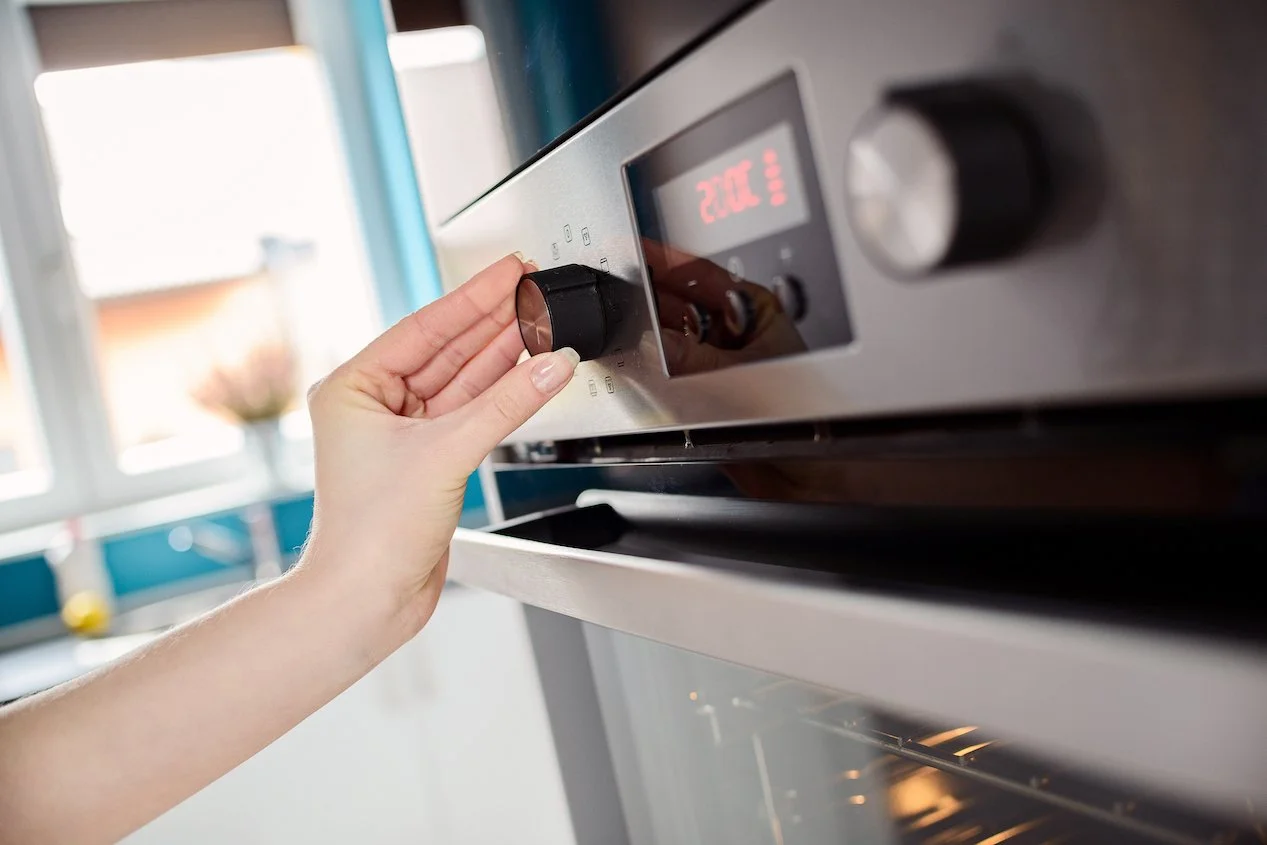
For those preferring to roast their turkey at a temperature of 325°F your turkey would take a longer time to cook. According to the USDA Food Safety and Inspection Service, those who roast their turkey at 325°F will have one and half time slower cooking time as compared to those cooked at 350 °F. The cooking temperature produces smoother skin and tender meat.
Cooking at 350°F is advised when you are roasting a large turkey like an 18 to 20-pound bird.
The higher temperature will cause the skin to brown faster which gives the bird a crispy outer appearance. This cooking temperature will have crispy skin and a meatier taste.
Use a meat thermometer to measure the internal temperature of the meat. The innermost part of the turkey meat must at least be 165°F in order for it to be safely considered cooked.
How to Make Turkey Gravy
Gravy at its most basic is a thickened sauce consisting of meat drippings, stock, and seasoning.
The best turkey gravy are those with turkey drippings ( don’t consider them as kitchen waste please!) This turkey fat is what makes turkey gravy so delicious. Also, those drippings are packed with flavors.

While waiting for the turkey in the oven to be cooked. Put a sieve into another bowl. When the turkey is cooked, get the roasting pan used in the cooking. Pour the contents of the roasting pan into the sieve or a strainer. The drippings will be strained into the bowl.
Here is a recipe for a simple yet tasty turkey gravy
Ingredients
¼ cup turkey drippings
¼ cup all-purpose flour
2 cups liquid (juices from roasted turkey, broth, and water)
½ teaspoon salt (reduce the amount if using turkey dripping)
½ teaspoon pepper.
With the ¼ cup turkey drippings, stir in ¼ cup flour. Cook over medium heat, stirring constantly. Stir in liquid. Heat to boiling, keep stirring. Boil and stir for one minute. Add salt and pepper, and stir constantly.
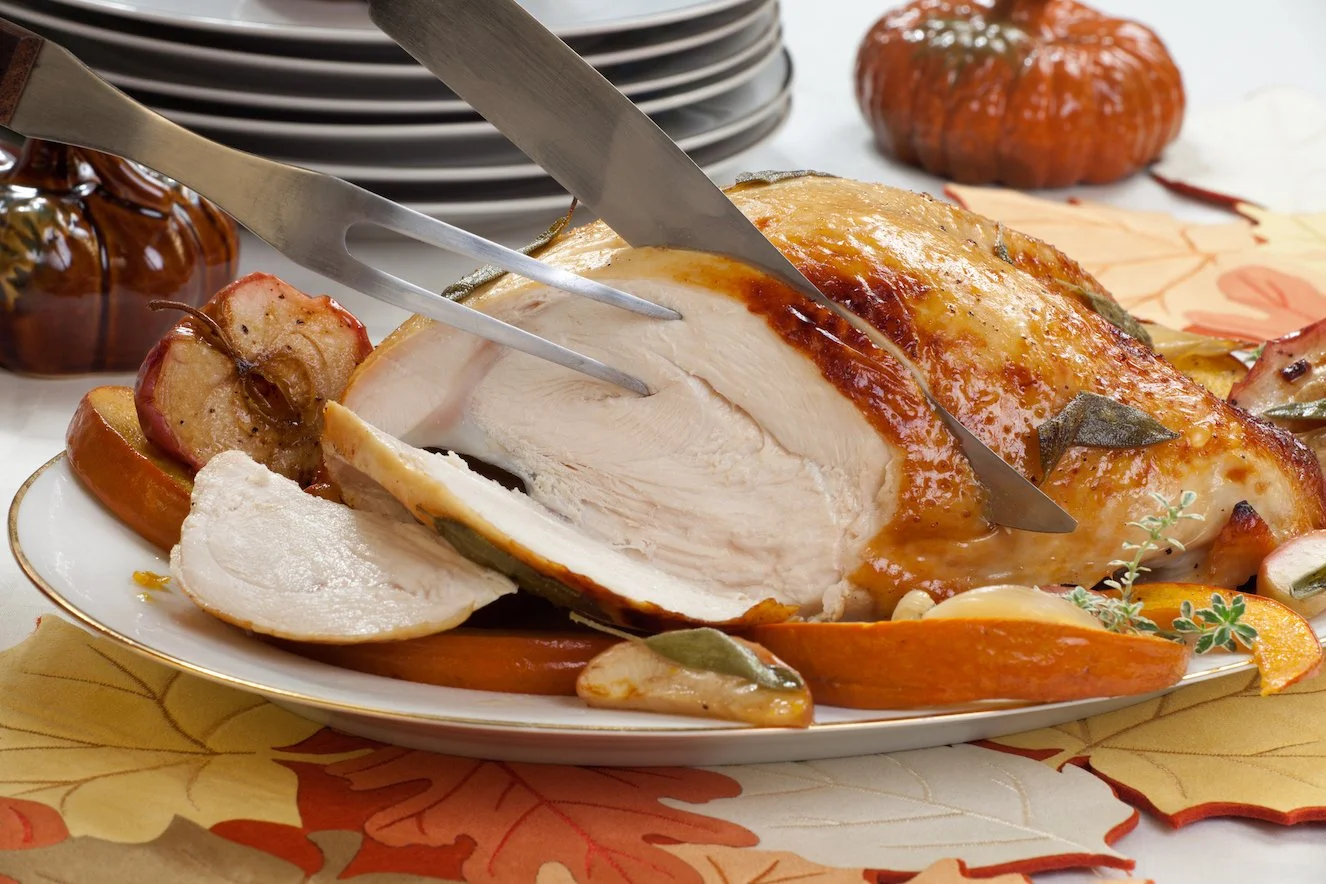
How to Carve a Turkey
Carving a turkey is easy. You just need a large and very sharp chef’s knife (you do not need any specialty knives such as a boning knife or a carving knife. You just simply need a sharp knife). You also need paper towels, a platter, and a big cutting board.
The first thing you are going to do is to rest the turkey after getting it out of the oven. You can rest it for 15-30 minutes depending on the size. Resting the turkey will settle the juices in the meat. They won't spill anywhere when you carve. The juice will be reabsorbed by the meat during resting so your turkey will be extra juice. Also resting will cool down the turkey a bit so you can handle it comfortably.
1. Place the turkey on the cutting board. The bird’s cavity should face you. Remove any twine that is trussing the leg together.
2, Separate the leg from the body by slicing the skin near the thigh.
3. Cut through the joint and along the body. The angle of the knife must be directed to the bone.
4. Hold the thigh, and bend it back until it pops, exposing the joint.
5. Slice through the joint and the rest of the thigh the backbone from the thigh and the leg.
6. Repeat this to the second leg and thigh.
7. Remove the wings. Pull the wings back until you hear a pop. Slice through the joints.
8. Remove the breasts. To do this make a long deep cut on one side of the breastbone. Follow the curve of the bone, with the long strokes of the tip of your knife slowly pulling them away as you slice through the curve. Repeat this on the other side of the breast. Juices might be accumulating on your chopping board. You can wipe down your board with paper towels.
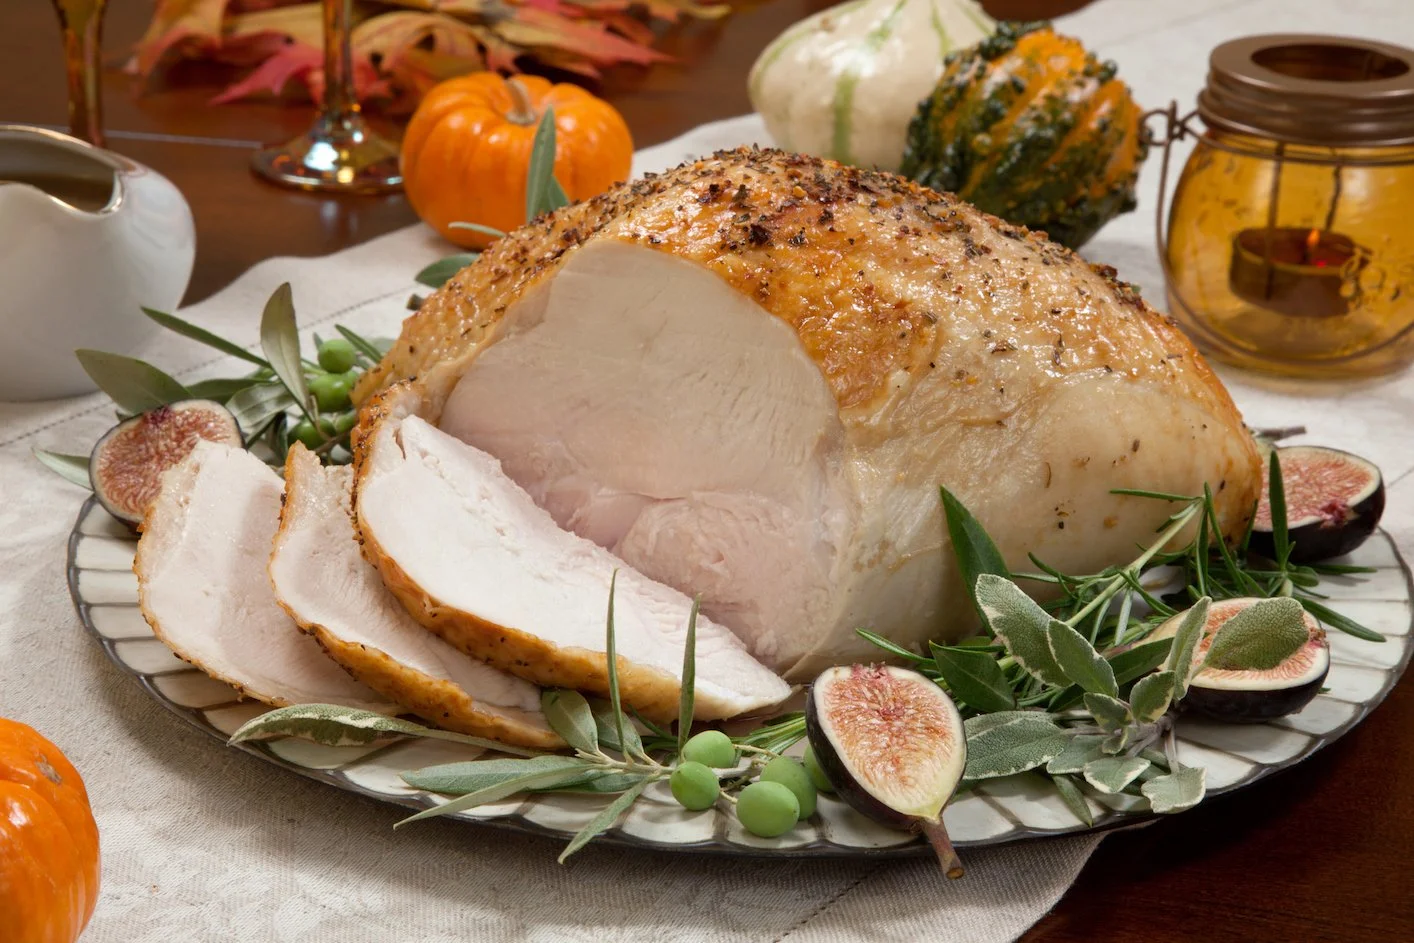
9. Slicing the white meat: (What wine goes well with white meat?) Place the breasts skin side-up and cut across the breast into ½-inch thick slices for serving. For neat slices use long cutting strokes. Cut the wing in half. Put the white meat onto a serving platter.
10. Slicing the dark meat: Cut the thigh from the drumstick by wiggling your knife towards the joint until you grasp the sweet spot. Put the drumsticks on the platter. Remove the bone from the thigh. You can slice the boneless thigh skin and transfer it to the platter.
11. Now your turkey is carved up. You can garnish by adding fresh fruit such as apples, oranges, lemons or pears. You can put fresh herbs on the outer edge of the platter.
Step 5: Making a Log
You can make a log or a journal about the process of choosing your turkey, a list of materials and utensils, and also ingredients (brining, gravy, garnish). You can also record temperatures for storing your turkey (freezing and refrigeration), and roasting.
You can also list which stores you bought your turkey from or which stores to recommend.

You can also put the recipes for gravy and brining. You can also log problems or issues which cropped up during the preparation and cooking process and the solutions you utilized.
You can also solicit and list the reviews of the guests who have eaten your prepared turkey. An honest-to-goodness appraisal of the dish would be very much preferred as it would help you keep, modify or refine the process of making that dish. Cooking a turkey perfectly is a culinary art apart from being an application of science, there is a constant motive for improvement. This is what creates the perfect culinary recipes.
The log will be useful when you will be preparing another turkey for another dinner or for friends and family who would want a cheat sheet.
Storing and Reheating Leftover Turkey
After dinner, you might have some leftover turkey meat. You can store it and reheat it if you would want it for the next meal.
Food safety is very important as we need to prevent the meat from being contaminated with illness-causing bacteria.
Leftovers should be stored within two hours after cooking. You can divide the leftovers into smaller portions, put it into food-grade containers and refrigerate them. Use small and shallow containers so they can cool quickly. A large container or a large leftover portion will take a longer cooling time enabling bacteria to multiply.
Don't let the leftover rest at room temperature. Put them immediately into the fridge. Leftovers can be kept in the fridge for three to four days. If you store your leftovers in the freezer, they can be good for 2 to 6 months.
If you want to eat the leftovers, use a thermometer. Be sure the meat’s internal temperature would reach 165°F. Cover the leftovers while reheating this will ensure that the meat will retain the moisture and will be evenly heated.
For those frozen leftovers it is safe to reheat these leftovers without thawing.
Tips to Cooking Turkey Perfectly Every Single Time
Cooking turkey, they say, is an art. But it is not as difficult as you expected it to be. Here are some of the tips I could share to help you prepare and cook a turkey perfectly every single time.

1. Browse around the internet for turkey cheat sheets and recipes for brining, making gravy, roasting, and carving. There is a plethora of information on how to cook great turkey dishes. From blogs to YouTube videos these online resources are very useful.
2. When choosing a turkey, look for a bird with a well-rounded breast, it is juicier. As for quality I would recommend organic, kosher, or premium brand turkeys.
3. Brine your turkey. It brings out the moisture and flavor before it is put to roast. (kosher turkeys are already brined).
4. Always bear in mind food safety. Thaw your turkey in either cold water, refrigerator or microwave. It is very important that during thawing the bird must be kept at a safe temperature to prevent bacteria from contaminating and multiplying.
5. The ideal roasting temperature would be 325°F or 350°F. Though I prefer a roasting temperature of 350°F as it would have crispy skin and a meatier taste.
6. The turkey is ready when the innermost meat reaches 165°F in temperature.
7. Use sharp knives during carving.
8. Turkey drippings are what make turkey gravy delicious and addicting.
9. Record a log of your cooking process as a future reference or guide.
10. Put fresh fruits and herbs as garnish when you serve your turkey on a platter.
Too busy to prepare your own thanksgiving turkey? Get Your Thanksgiving Turkey From These Texan Farms!
