
How to Cook Chicken Breast in the Oven
Juicy and Flavorful Results Every Time
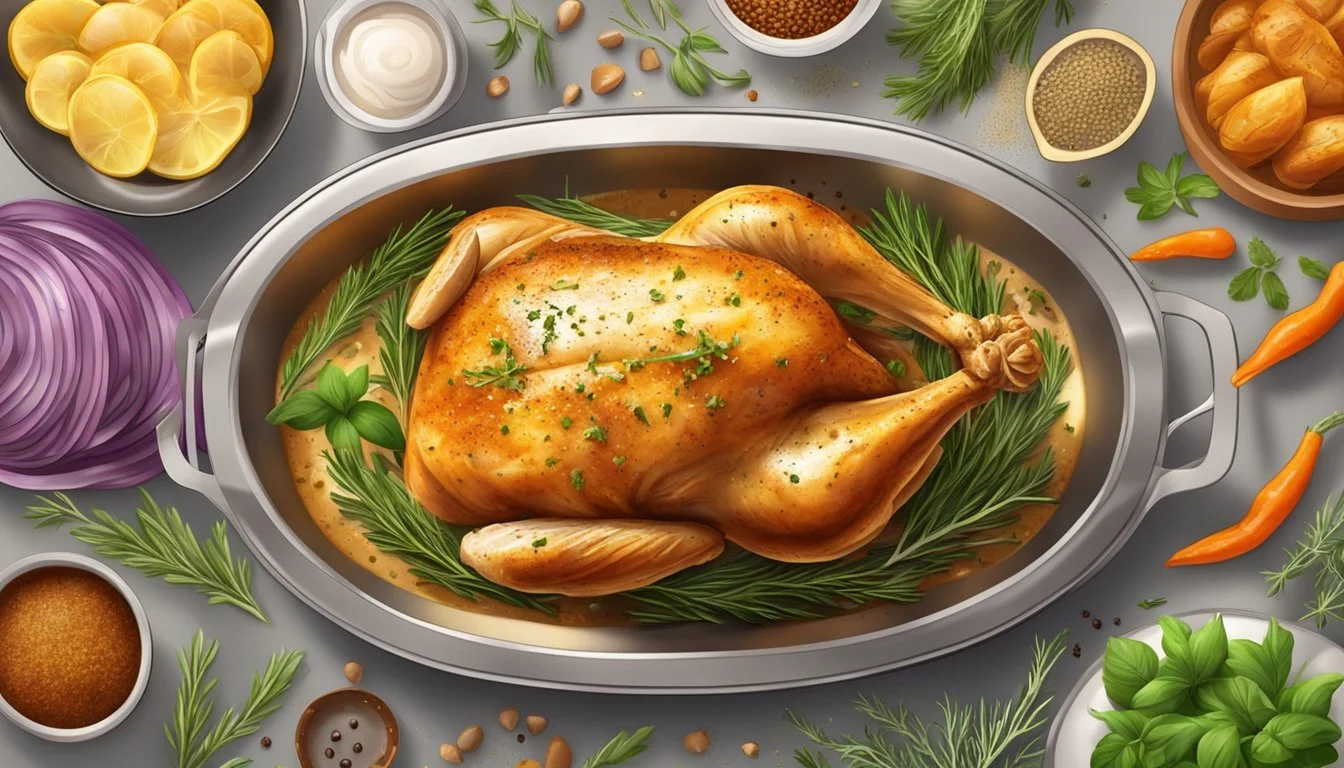
Cooking chicken breast in the oven is a simple yet effective way to prepare a healthy and delicious meal. Many home cooks struggle with achieving juicy, flavorful results when baking chicken. The key to perfectly baked chicken breasts lies in proper preparation, temperature control, and cooking time.
Oven-baked chicken offers versatility and convenience for busy households. With the right techniques, even novice cooks can produce restaurant-quality chicken dishes at home. Mastering this cooking method opens up a world of possibilities for quick weeknight dinners and impressive entertaining options.
Learning to bake chicken breasts properly ensures tender, moist meat every time. By following expert tips on seasoning, adding moisture, and using the correct baking temperature, anyone can elevate their chicken game. This skill allows for easy meal prep and provides a nutritious protein source for various recipes.
Choosing the Right Chicken Breast
Selecting the appropriate chicken breast is crucial for achieving a delicious oven-baked dish. The type and quality of chicken you choose can significantly impact the flavor and texture of your meal.
Boneless vs. Skinless
Boneless, skinless chicken breasts are a popular choice for oven baking. They cook quickly and evenly, making them ideal for busy weeknight meals. These cuts are lean and versatile, easily absorbing marinades and seasonings.
Bone-in chicken breasts with skin can offer more flavor and moisture. The skin helps protect the meat from drying out during cooking. However, they take longer to cook and may require more attention to ensure even doneness.
For a balance of convenience and flavor, consider removing the skin before cooking but leaving the bone in. This method can help retain moisture while reducing fat content.
Organic and Free-Range Options
Organic chicken breasts come from birds raised without antibiotics or growth hormones. These chickens are fed organic feed and have access to the outdoors. Many consumers prefer organic options for their perceived health benefits and ethical farming practices.
Free-range chickens have access to outdoor areas, which can result in more flavorful meat. These birds often have a diverse diet, contributing to a richer taste profile.
When selecting organic or free-range options, look for reputable certifications on the packaging. These choices may be more expensive but can offer superior flavor and quality for your oven-baked chicken breast recipes.
Preparing the Chicken Breast
Proper preparation is key to achieving juicy, flavorful chicken breasts. The following steps will help ensure your chicken turns out perfectly cooked and delicious.
Trimming and Tenderizing
Start by removing any excess fat or connective tissue from the chicken breasts. This improves texture and allows for more even cooking.
Use kitchen shears or a sharp knife to trim away any visible fat or gristly bits. Pat the chicken dry with paper towels to remove excess moisture.
To tenderize, place the chicken between two sheets of plastic wrap. Gently pound it with a meat mallet or rolling pin, focusing on the thicker parts. This breaks down tough muscle fibers and creates a more uniform thickness.
Achieving Even Thickness
Even thickness is crucial for consistent cooking. Without it, some parts may overcook while others remain undercooked.
If you don't have a meat mallet, use the flat side of a heavy skillet or rolling pin. Apply firm, even pressure across the chicken breast.
Aim for a thickness of about 1/2 to 3/4 inch throughout. This allows the chicken to cook evenly without drying out.
For very thick breasts, consider butterflying them. Slice horizontally through the middle, stopping just short of cutting all the way through. Open the breast like a book to create two thinner pieces.
Marinating for Flavor
Marinating adds flavor and helps keep the chicken moist during cooking. Plan for at least 30 minutes of marinating time, or up to 8 hours for deeper flavor.
Create a simple marinade with oil, acid (like lemon juice or vinegar), herbs, and spices. Avoid using too much salt, as it can dry out the meat.
Place the chicken and marinade in a resealable plastic bag or covered dish. Refrigerate and turn occasionally to ensure even coating.
For a quick option, use a dry rub instead. Mix your favorite herbs and spices, then massage them into the chicken just before cooking.
Remove the chicken from the marinade and pat dry before cooking. This helps achieve better browning in the oven.
Seasoning Your Chicken Breast

Proper seasoning is crucial for creating flavorful baked chicken breasts. The right blend of spices and fats can elevate a simple cut of meat into a delicious meal.
Salt, Pepper, and Spices
Salt and pepper form the foundation of chicken seasoning. Use kosher salt for better control over the amount. Freshly ground black pepper adds a subtle heat and depth of flavor.
Garlic powder is a popular choice, providing savory notes without the risk of burning that fresh garlic has. Paprika contributes a mild sweetness and vibrant color.
For a Mediterranean flair, add dried oregano. Chili powder and cumin bring warmth and earthiness, perfect for a Southwestern-inspired dish.
Experiment with different combinations to find your preferred flavor profile. Start with about 1/2 teaspoon of each spice per chicken breast, adjusting to taste.
Homemade vs. Store-Bought Blends
Creating your own spice blend allows for customization and freshness. Mix equal parts garlic powder, paprika, and dried oregano for a versatile homemade seasoning.
Store-bought blends offer convenience and consistent flavor. Cajun seasoning is a popular choice, featuring a mix of paprika, garlic powder, oregano, and cayenne.
When using pre-made blends, check the salt content. Many contain salt, so adjust additional seasoning accordingly to avoid over-salting your chicken.
Consider the expiration dates of spices. Whole spices last longer than ground ones. Replace old spices to ensure maximum flavor in your dishes.
Oil and Butter Usage
A light coating of oil or melted butter helps seasonings adhere to the chicken and promotes browning. Olive oil is a healthy option with a mild flavor that complements most seasonings.
For a richer taste, use melted butter. It adds flavor and helps create a golden crust. Mix butter with herbs for a compound butter to place under the skin before baking.
Apply oil or butter sparingly, about 1 teaspoon per chicken breast. Too much can make the chicken greasy and prevent proper browning.
For a lower-fat option, use cooking spray instead. It provides a light coating that helps seasonings stick without adding significant calories.
Oven Preparation
Proper oven preparation is crucial for achieving perfectly cooked chicken breasts. Three key factors contribute to success: setting the right temperature, selecting an appropriate baking vessel, and using protective coverings.
Preheating and Baking Temperatures
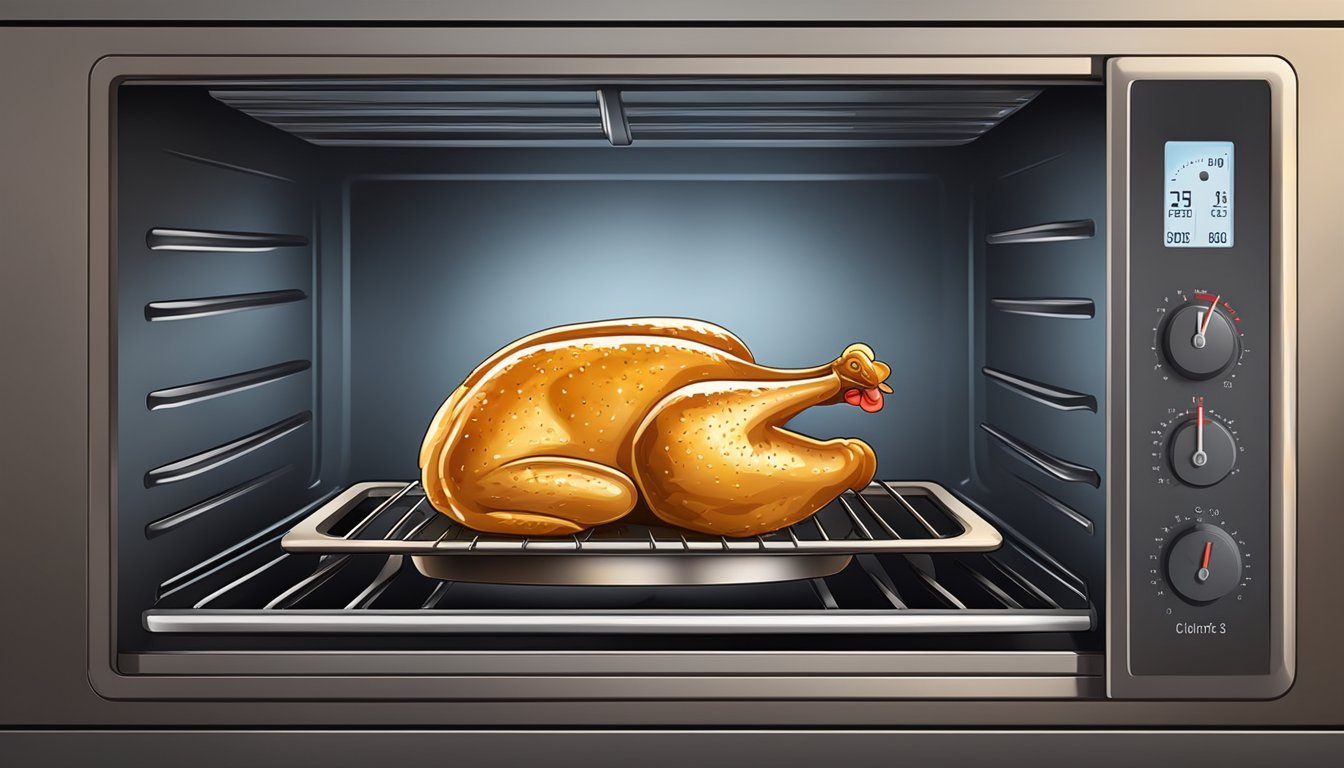
Preheating the oven is essential for even cooking. Most recipes recommend setting the temperature between 375°F and 425°F for chicken breasts. A higher temperature of 425°F promotes faster cooking and browning, ideal for crispy exteriors. For more tender results, 375°F allows for gentler cooking.
Consistency is key. Once the desired temperature is reached, place the chicken in the oven promptly. Cooking times vary based on breast thickness, typically ranging from 20-30 minutes at 425°F or 25-35 minutes at 375°F.
Always use a meat thermometer to ensure the internal temperature reaches 165°F for food safety.
Choosing the Right Baking Dish or Sheet
The baking vessel impacts cooking results. Rimmed baking sheets offer excellent heat circulation, promoting even browning. They work well for high-temperature cooking.
Baking dishes with higher sides are suitable for recipes involving liquids or when a moist cooking environment is desired. Glass or ceramic dishes retain heat well, while metal pans conduct heat quickly.
For easy cleanup, consider lining the baking dish or sheet with parchment paper or foil. This also prevents sticking.
Using Foil or Parchment
Foil and parchment paper serve different purposes in oven-baked chicken preparation. Parchment paper creates a non-stick surface and allows for easy cleanup. It's ideal for recipes that don't require browning.
Foil can be used to cover the chicken, creating a moist cooking environment. This method is particularly useful for preventing dryness in lean chicken breasts.
For crispy skin, avoid covering the chicken. If browning occurs too quickly, loosely tent foil over the dish to slow the process while allowing the chicken to finish cooking.
Cooking the Chicken Breast
Properly cooking chicken breast in the oven requires attention to temperature, timing, and internal doneness. These factors ensure juicy, flavorful results while maintaining food safety.
Determining Cook Time and Temperature
Bake chicken breasts at 425°F for optimal results. This high temperature locks in moisture and cooks the chicken quickly. Typical cooking times range from 15-25 minutes, depending on breast thickness. Thinner breasts may only need 15 minutes, while thicker cuts can take up to 25 minutes.
Preheat the oven before adding the chicken. Place seasoned breasts on a baking sheet or in an oven-safe dish. Arrange them in a single layer with space between each piece for even cooking.
For bone-in chicken breasts, increase cooking time to 30-40 minutes. The bone slows heat transfer, requiring additional time to reach the proper internal temperature.
Utilizing a Meat Thermometer
A meat thermometer is essential for perfectly cooked chicken. Insert it into the thickest part of the breast, avoiding bones or fat. The safe internal temperature for chicken is 165°F.
Check the temperature a few minutes before the expected cook time ends. If it reads below 165°F, continue cooking and check again in 2-3 minute intervals.
Some cooks prefer to remove chicken at 160°F and let it rest. Carryover cooking will raise the temperature to 165°F as it sits.
• Chicken breast safe temperature: 165°F • Recommended check points:
160°F: Remove and rest
165°F: Immediately safe to eat
Avoiding Overcooking
Overcooked chicken becomes dry and tough. To prevent this, monitor cooking time closely and use a meat thermometer.
Start checking doneness a few minutes early, especially with smaller or thinner breasts. Remove chicken from the oven as soon as it reaches the target temperature.
Let the chicken rest for 3-5 minutes after cooking. This allows juices to redistribute, resulting in more tender meat. Cover with foil to keep warm during resting.
If cooking multiple breasts, arrange larger pieces toward the outside of the baking dish and smaller ones in the center. This helps ensure even cooking across all pieces.
After-Cooking Tips
Properly handling chicken breasts after cooking is crucial for optimal taste and texture. These techniques help retain moisture and enhance the overall eating experience.
Resting for Juiciness
Allow cooked chicken breasts to rest for 5-10 minutes before cutting. This pause lets the juices redistribute throughout the meat, resulting in a more succulent bite. Cover the chicken loosely with foil to keep it warm during this time.
For larger batches, transfer the chicken to a cutting board and tent with foil. The internal temperature will continue to rise slightly, ensuring the meat is fully cooked without drying out.
Avoid cutting into the chicken immediately after removing it from the oven. Premature slicing causes the juices to escape, leaving the meat drier than desired.
Slicing Against the Grain
Identify the direction of the muscle fibers in the chicken breast. These lines indicate the "grain" of the meat. Cut perpendicular to these fibers to create shorter muscle strands, resulting in a more tender bite.
Use a sharp knife to make clean, even slices. This technique prevents tearing and helps maintain the chicken's moisture. Aim for slices about 1/4 to 1/2 inch thick for most applications.
For shredded chicken, let the meat cool slightly, then use two forks to pull the breast apart along the grain. This method works well for tacos, salads, and sandwiches.
Serving Suggestions
Pair sliced chicken breast with a variety of sides to create balanced meals. Serve it over white rice or pasta for a simple, satisfying dish. Add a side of steamed vegetables for extra nutrition.
Incorporate the chicken into salads for a protein-rich meal. Toss it with Caesar salad for a classic option, or try a Greek salad with feta and olives. For a trendy twist, add it to a kale salad with a tangy vinaigrette.
Use the sliced chicken in sandwiches or wraps. Layer it with fresh vegetables and spreads on whole grain bread for a quick lunch. For a Mexican-inspired meal, stuff the chicken into soft tacos with avocado and salsa.
Storing and Reheating Leftovers
Proper storage and reheating techniques are crucial for maintaining the quality and safety of leftover chicken breast. These methods help preserve flavor, texture, and moisture while preventing foodborne illness.
Proper Storage for Freshness
Store leftover chicken breast in airtight containers or resealable plastic bags. Remove as much air as possible to prevent freezer burn. Place the containers in the refrigerator within two hours of cooking. Refrigerated chicken breast stays fresh for 3-4 days.
For longer storage, freeze the chicken. Wrap individual portions tightly in plastic wrap, then place in freezer bags. Label with the date and use within 4-6 months for best quality. Thaw frozen chicken in the refrigerator overnight before reheating.
Reheating Without Drying Out
Microwave reheating is quick but can dry out chicken. Place chicken on a microwave-safe plate, add a tablespoon of water or broth, and cover with a damp paper towel. Heat in 30-second intervals, turning occasionally, until warmed through.
For juicy results, reheat chicken breast in a 350°F oven. Place the chicken in a baking dish with a splash of broth. Cover with foil and heat for 10-15 minutes or until the internal temperature reaches 165°F.
Alternatively, use a skillet on medium-low heat. Add a small amount of oil or butter, place the chicken in the pan, and cover. Heat for 5-7 minutes, flipping once, until warmed through.
Using Leftovers in Other Dishes
Transform leftover chicken breast into new meals. Shred or dice the chicken for use in salads, sandwiches, or wraps. Add it to soups, stews, or casseroles for a protein boost.
Create a quick stir-fry by sautéing the chicken with vegetables and your favorite sauce. Use it as a topping for pizzas or mix into pasta dishes for added flavor and texture.
Make a chicken salad by combining diced chicken with mayonnaise, celery, and seasonings. Serve on bread or over greens for a light meal. Leftover chicken also works well in quesadillas, enchiladas, or tacos for a Mexican-inspired dish.
Creative Recipe Ideas
Oven-baked chicken breasts are incredibly versatile and can be transformed into numerous delicious dishes. With the right seasonings and cooking techniques, you can create flavorful, healthy meals that cater to various tastes and dietary needs.
Oven-Baked Chicken Variations
Spice up your chicken breasts with a variety of rubs and coatings. Try a Cajun-inspired blend of paprika, garlic powder, and cayenne for a kick of heat. For a Mediterranean twist, coat the chicken with a mixture of dried oregano, lemon zest, and olive oil before baking.
Create a crispy crust by dipping the chicken in beaten egg and rolling it in seasoned breadcrumbs. Bake until golden brown for a satisfying crunch. Alternatively, wrap the chicken in prosciutto or bacon for added flavor and moisture.
Experiment with different marinades to infuse flavor. A balsamic and honey mixture adds sweetness, while a yogurt-based marinade tenderizes the meat.
Chicken for Salads and Main Dishes
Baked chicken breasts are perfect for salads and main dishes. Slice cooled chicken and toss with mixed greens, cherry tomatoes, and a light vinaigrette for a refreshing salad.
For a heartier meal, top baked chicken with marinara sauce and mozzarella cheese to make a quick chicken parmesan. Serve over pasta or with roasted vegetables.
Create a sheet pan dinner by surrounding the chicken with cubed potatoes and seasonal vegetables. Season everything with herbs and olive oil for an easy, complete meal.
Healthy and Gluten-Free Options
For a low-carb option, coat chicken breasts with almond flour instead of breadcrumbs. Season with smoked paprika and onion powder for extra flavor.
Try stuffing chicken breasts with spinach and feta cheese for a protein-packed, gluten-free meal. Secure with toothpicks before baking.
Make a lighter version of chicken fajitas by slicing baked chicken and serving with bell peppers, onions, and corn tortillas. This dish is naturally gluten-free and can be customized with various toppings.
For a paleo-friendly option, season chicken with dried herbs and bake alongside roasted sweet potatoes and Brussels sprouts.
