
How to Cook a 6 Pound Chicken
Juicy and Flavorful Results
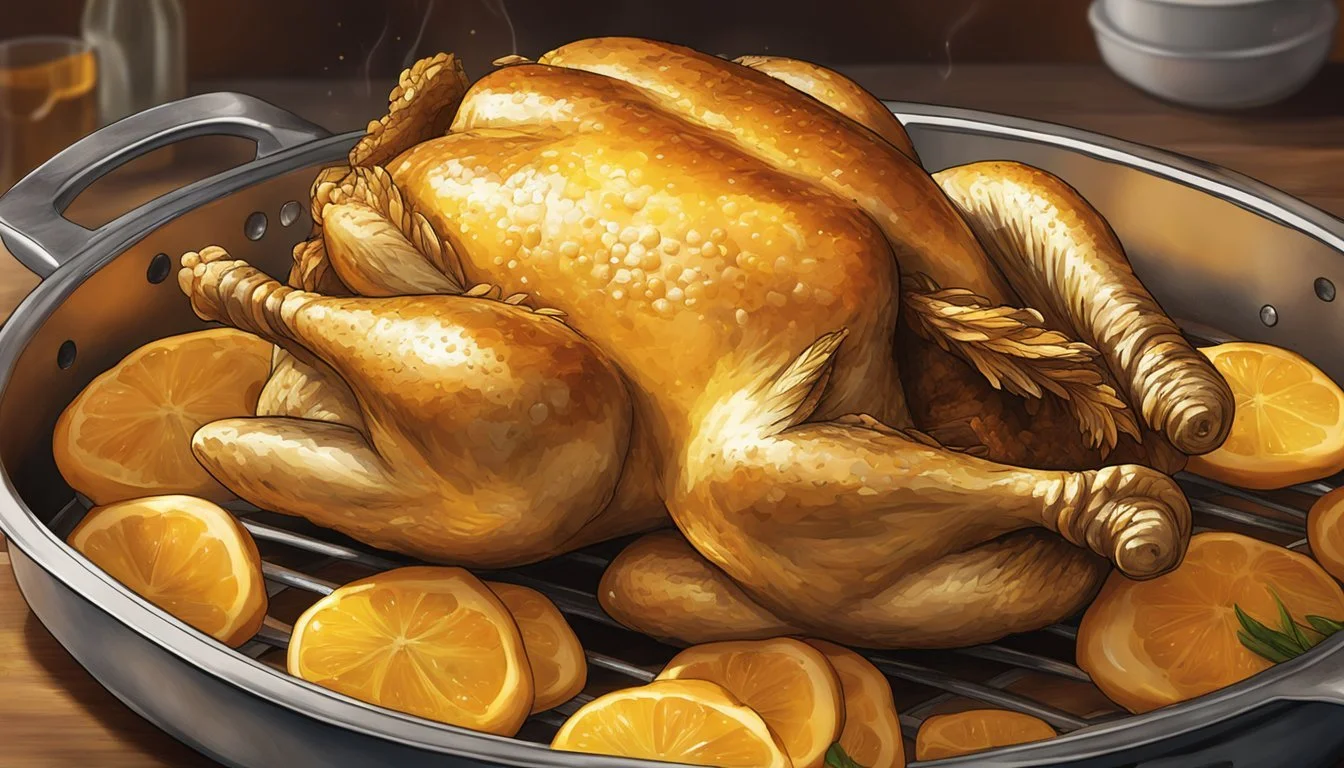
Cooking a 6-pound chicken can seem daunting, but with the right techniques, it becomes an achievable and rewarding culinary endeavor. A 6-pound chicken typically requires about 2 hours and 15 minutes of roasting time in a 350°F (175°C) oven, calculated at approximately 20 minutes per pound plus an additional 15 minutes. This cooking time ensures the meat is thoroughly cooked while remaining juicy and flavorful.
Preparation is key to achieving the perfect roast chicken. Preheating the oven, seasoning the bird inside and out, and placing it in a suitable roasting pan are essential steps. Some cooks prefer to stuff the cavity with aromatics like lemon halves or herbs to enhance the flavor. Basting the chicken halfway through cooking helps maintain moisture and develops a golden, crispy skin.
After roasting, allowing the chicken to rest for 10-15 minutes before carving is crucial. This resting period allows the juices to redistribute throughout the meat, resulting in a more succulent and enjoyable dining experience. With these guidelines, even novice cooks can confidently tackle the task of roasting a 6-pound chicken to perfection.
Selecting the Chicken
When preparing a 6-pound chicken recipe, choosing the right bird is crucial. Look for a whole chicken that weighs approximately 6 pounds (2.7 kg) for optimal results.
Select a fresh chicken from a reputable source. Check for firm, pinkish-white skin without blemishes or discoloration. Avoid chickens with a strong odor or slimy texture.
Consider the chicken's age and type. Younger birds tend to be more tender, while older ones have more flavor. Free-range or organic chickens often offer better taste and texture.
Examine the packaging date if buying from a store. Choose the most recent date available to ensure freshness. If possible, purchase from a butcher who can provide information on the chicken's origin and quality.
When selecting a 6-pound chicken, ensure it fits comfortably in your roasting pan. Allow for proper air circulation around the bird during cooking. This size is ideal for feeding 6-8 people, depending on portion sizes.
Remember to check that the whole chicken is fully thawed before cooking if using a frozen bird. This ensures even cooking throughout the meat.
Preparing the Chicken
Proper preparation is key to achieving a delicious roasted chicken. This involves cleaning, trussing, seasoning, and stuffing the bird for optimal flavor and even cooking.
Cleaning and Trussing
Begin by removing the giblets from the cavity of the 6-pound chicken. Rinse the bird inside and out with cold water, then pat it dry thoroughly with paper towels. This step ensures a crispy skin during roasting.
Trussing helps the chicken cook evenly. To truss, tie the legs together with kitchen twine. Then, tuck the wing tips under the body. This compact shape promotes even cooking and prevents the extremities from burning.
Seasoning the Chicken
Season the chicken generously with kosher salt and freshly ground black pepper. Rub the seasonings all over the skin and inside the cavity. For added flavor, mix herbs like thyme, rosemary, or sage with softened butter. Gently separate the skin from the meat and spread this herb butter mixture underneath.
Apply seasoning at least an hour before cooking to allow the flavors to penetrate the meat. For best results, season the chicken the night before and refrigerate uncovered. This allows the skin to dry out, resulting in a crispier texture when roasted.
Stuffing the Cavity
Stuffing the cavity adds flavor and aroma to the chicken. Popular options include:
Garlic cloves
Fresh herbs (thyme, rosemary, sage)
Quartered onions
Insert these ingredients loosely into the cavity. Avoid overstuffing, as this can increase cooking time and lead to uneven cooking. The stuffing should complement the seasoning used on the skin.
Remember to discard any stuffing after cooking, as it may not reach a safe temperature. For a simple yet flavorful option, stuff the cavity with a halved lemon and a few sprigs of fresh herbs.
Choosing the Right Equipment
Selecting the proper tools is crucial for successfully cooking a 6-pound chicken. The right equipment ensures even cooking, accurate temperature monitoring, and easy handling.
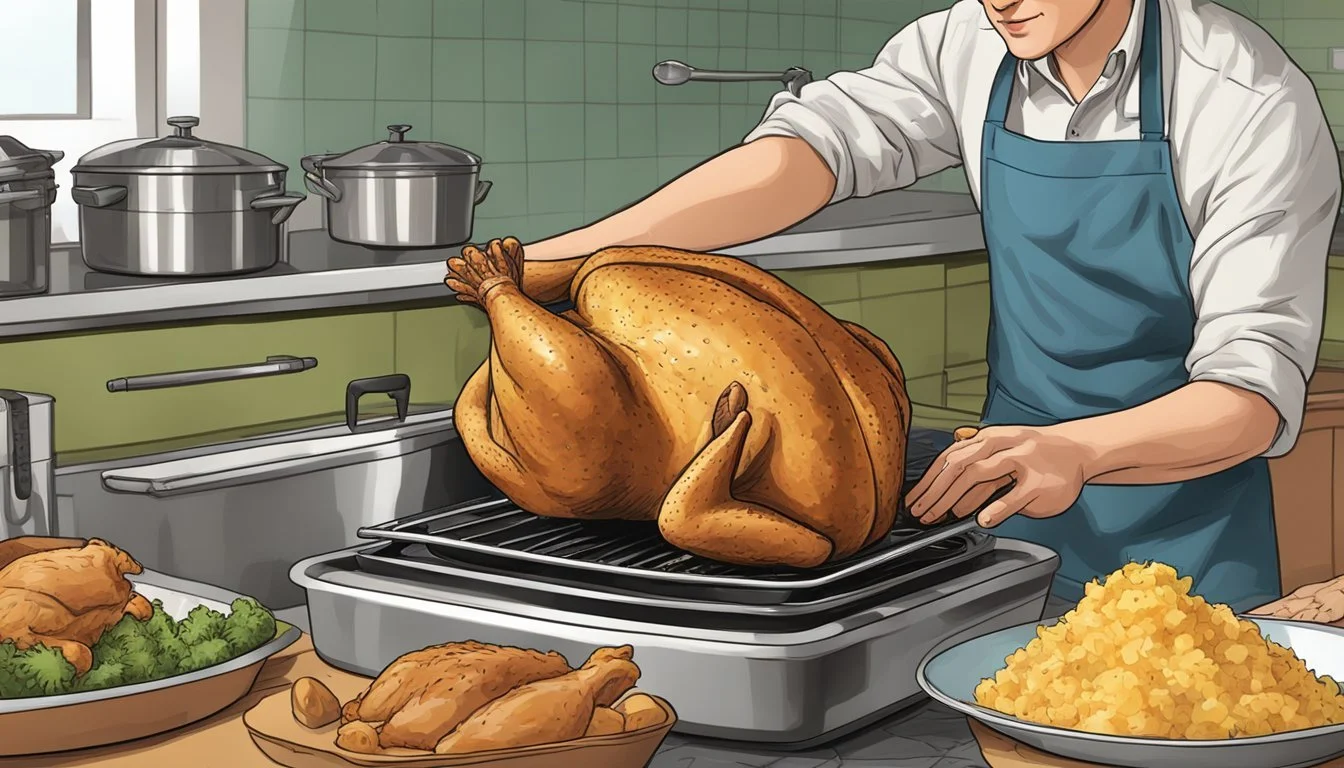
Selecting a Roasting Pan
A sturdy roasting pan is essential for cooking a 6-pound chicken. Choose a pan with low sides to allow air circulation around the bird. Stainless steel or heavy-duty aluminum pans work well.
Look for a pan that's about 16 x 13 inches to accommodate the chicken comfortably. Ensure it has handles for safe removal from the oven.
A rack inside the pan elevates the chicken, promoting even cooking and crispy skin. If your pan doesn't include a rack, create a makeshift one using aluminum foil rolled into logs.
For those without a roasting pan, a large, rimmed baking sheet can substitute. Line it with foil for easier cleanup.
Utilizing a Meat Thermometer
A reliable meat thermometer is indispensable for cooking poultry safely. Digital instant-read thermometers offer quick, accurate readings.
Insert the thermometer into the thickest part of the thigh, avoiding bones. The chicken is fully cooked when it reaches 165°F (74°C).
Some thermometers feature alarms, alerting you when the desired temperature is reached. This prevents overcooking and ensures juicy meat.
For convenience, consider an oven-safe probe thermometer. It remains in the chicken throughout cooking, allowing you to monitor the temperature without opening the oven door.
Clean the thermometer thoroughly after each use to prevent cross-contamination.
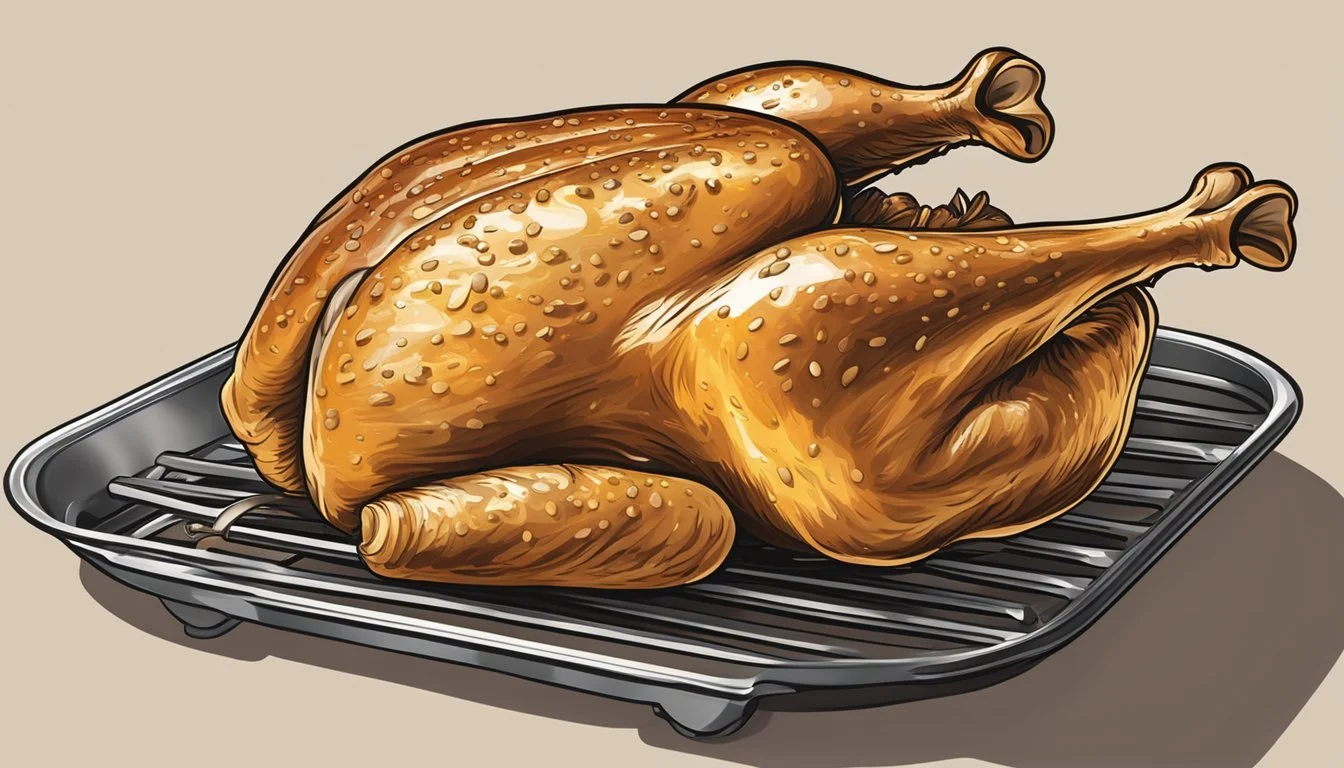
Roasting the Chicken
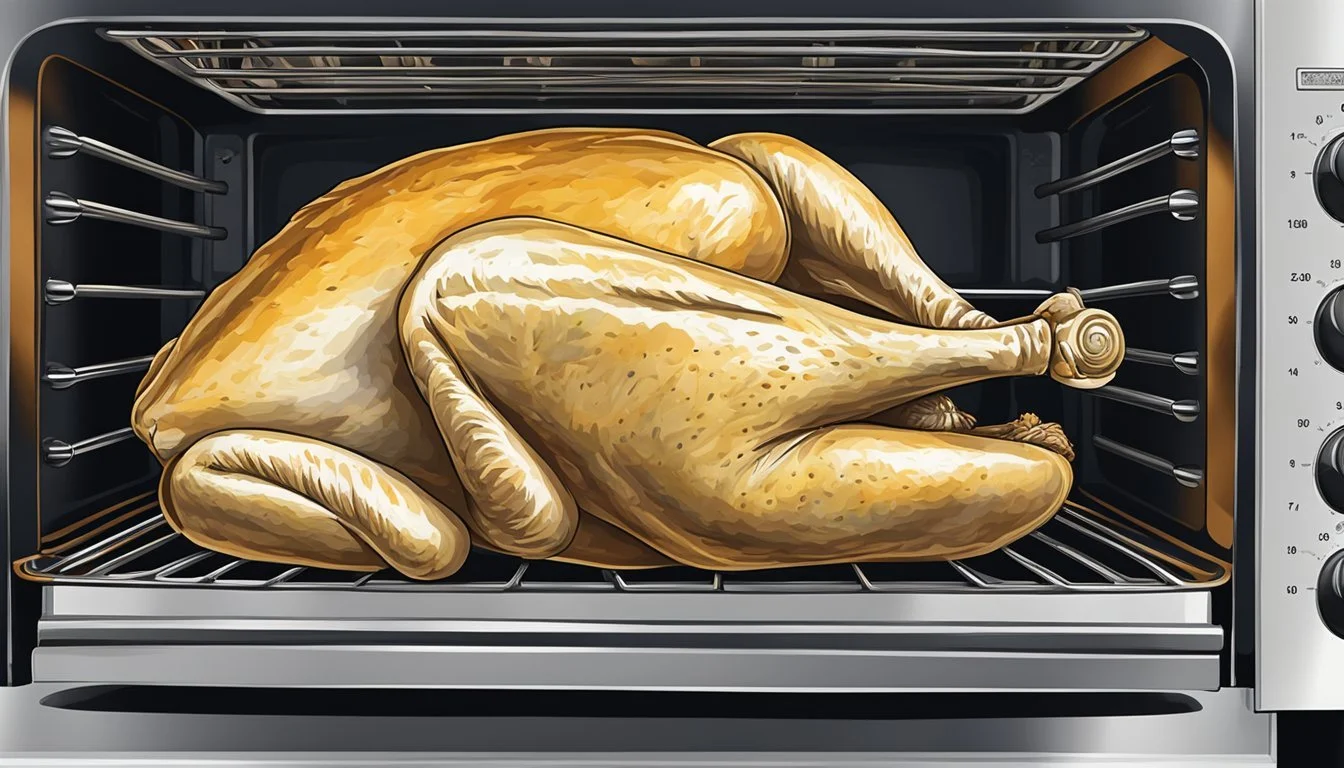
Proper roasting technique is crucial for achieving a perfectly cooked chicken with crispy skin and juicy meat. Careful attention to oven temperature and cooking time ensures optimal results.
Oven Preheating
Preheating the oven is essential for even cooking and crispy skin. Set the oven temperature to 425°F (218°C) for a standard roast. Allow 15-20 minutes for the oven to fully preheat before placing the chicken inside.
For a softer, more tender result, some cooks prefer a lower temperature of 325°F (165°C). This gentler heat can produce moister meat but may require a longer cooking time.
Ensure the oven rack is positioned in the center for balanced heat distribution.
Cooking Time and Temperature
A 6-pound chicken typically requires about 20 minutes of roasting time per pound. At 425°F, this translates to approximately 2 hours of total cooking time.
For best results, use a meat thermometer to check the internal temperature. Insert it into the thickest part of the thigh, avoiding bone. The chicken is done when it reaches 165°F (74°C).
To achieve golden brown skin, maintain the high heat throughout cooking. Some cooks baste the chicken every 20-30 minutes with pan juices or melted butter for extra flavor and color.
Let the roasted chicken rest for 10-15 minutes before carving. This allows juices to redistribute, ensuring moist meat.
Creating Flavor and Aroma
Enhancing the taste and aroma of a 6-pound chicken involves strategic use of herbs, spices, and aromatics. These additions infuse the meat with delicious flavors and create an enticing scent that fills the kitchen.
Using Fresh Herbs and Aromatics
Fresh herbs play a crucial role in flavoring a roast chicken. Thyme, rosemary, and sage are classic choices that pair well with poultry. Chop these herbs finely and mix with softened butter to create a flavorful rub for under the skin.
Garlic cloves, whole or minced, add depth to the chicken's taste. Insert them into small slits cut in the meat or stuff them into the cavity.
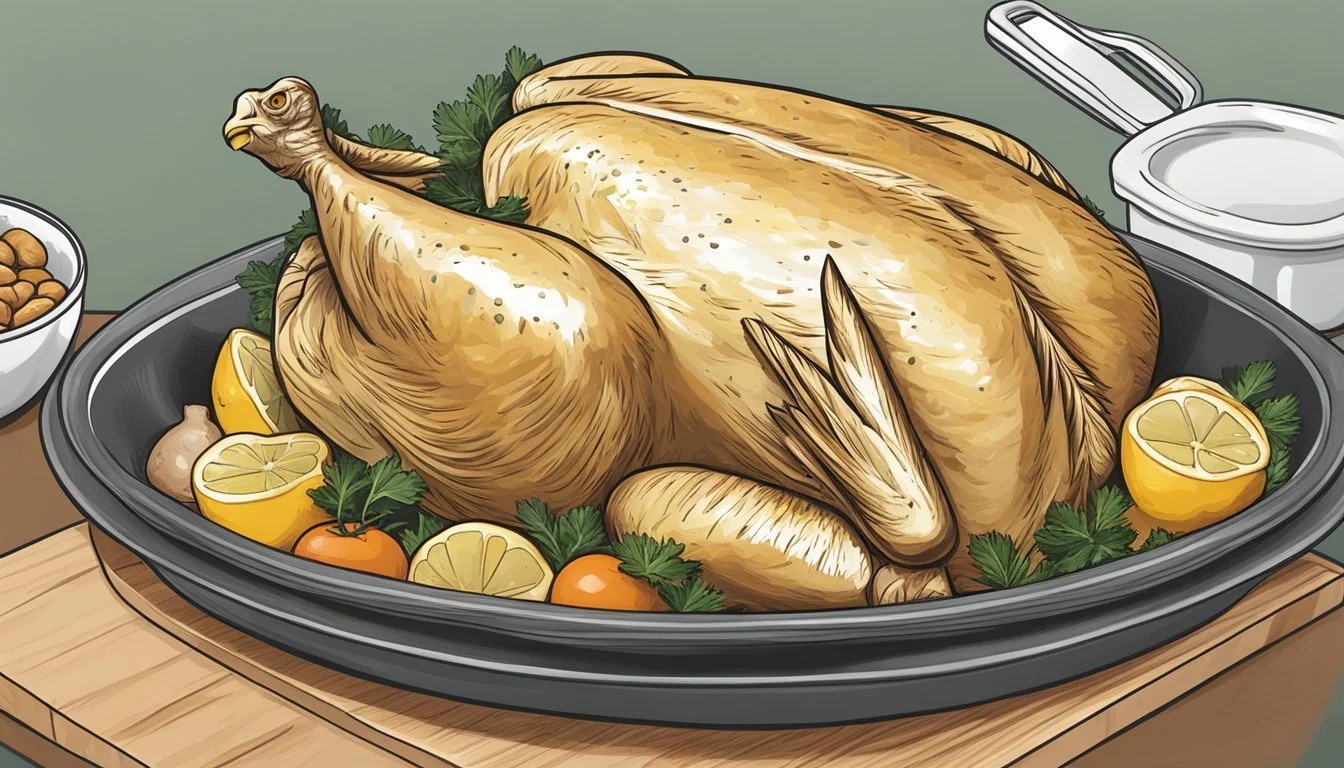
Lemon halves placed inside the chicken impart a subtle citrus note and help keep the meat moist during cooking. For added zest, grate some lemon peel into the herb butter mixture.
Aromatics like bay leaves and peppercorns can be added to the cavity for additional flavor complexity.
Enhancing Flavors with Vegetables
Vegetables not only complement the chicken but also contribute to its overall taste and aroma. Onions, particularly yellow onions, release a sweet flavor as they cook.
Slice fennel bulbs and place them in the roasting pan. Their mild licorice-like taste adds an interesting dimension to the dish.
Carrots and celery, roughly chopped, create a flavorful base for the chicken to rest on while cooking. These vegetables absorb the chicken juices and become deliciously tender.
For a Mediterranean twist, add halved cherry tomatoes and sliced bell peppers to the roasting pan. Their natural sugars caramelize during cooking, enhancing the overall flavor profile.
Brush the chicken and vegetables with olive oil seasoned with salt, pepper, and dried herbs like marjoram or parsley for an extra layer of taste.
Making Accompaniments

Complementary side dishes elevate a roast chicken dinner. Flavorful vegetables and rich gravy provide the perfect accompaniments to enhance the meal.
Preparing Roasted Vegetables
Roasted vegetables offer a delicious and nutritious side dish. Choose a mix of carrots, potatoes, and other root vegetables. Cut them into evenly-sized pieces for consistent cooking.
Toss the vegetables with olive oil, salt, and pepper. Add herbs like rosemary or thyme for extra flavor.
Spread the vegetables in a single layer on a baking sheet. Roast at 425°F (218°C) for about 25-30 minutes, stirring halfway through.
For crispy potatoes, parboil them for 5 minutes before roasting. This creates a fluffy interior and crisp exterior.
Crafting Homemade Gravy
Homemade gravy adds richness to roast chicken. Start by collecting the pan drippings after the chicken is done.
Skim off excess fat, leaving about 2 tablespoons in the pan. Add 2 tablespoons of flour and whisk over medium heat to form a roux.
Gradually pour in 1-2 cups of chicken broth, stirring constantly to prevent lumps. Simmer for 5-10 minutes until thickened.
Season with salt and pepper to taste. For extra flavor, add a splash of white wine or a squeeze of lemon juice.
Strain the gravy through a fine-mesh sieve for a smooth texture. Serve hot alongside the roasted chicken and vegetables.
Finishing and Serving
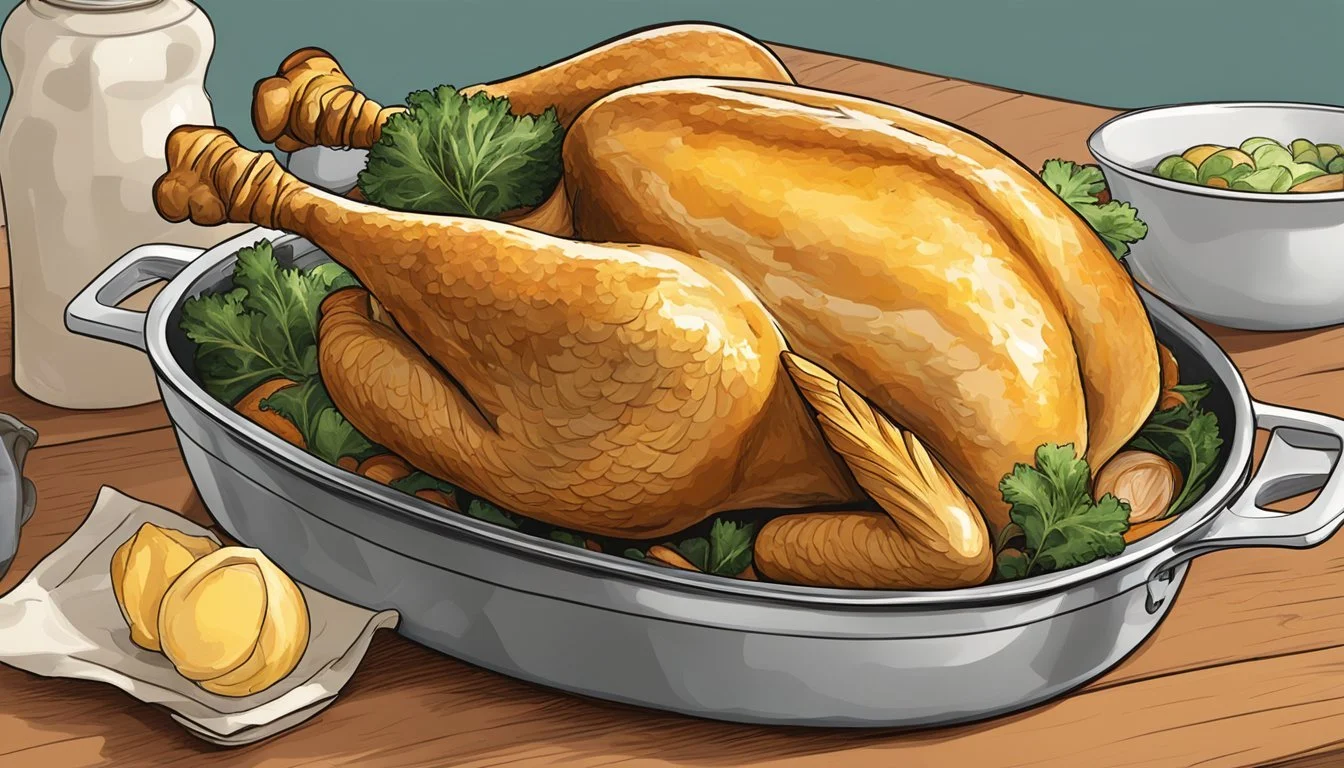
Properly finishing and serving a roasted chicken ensures the best flavor and texture. Follow these key steps to achieve a perfect result.
Resting the Chicken
After removing the chicken from the oven, let it rest for 10-15 minutes. This crucial step allows the juices to redistribute throughout the meat, resulting in a more tender and juicy bird.
Place the chicken on a cutting board or serving platter. Loosely tent it with foil to keep it warm without trapping steam, which can soften the crispy skin.
During the resting period, the internal temperature will continue to rise slightly, ensuring the chicken is fully cooked.
Carving the Chicken
Start by removing the legs. Cut through the skin between the leg and body, then gently pull the leg away to expose the joint. Cut through the joint to separate the leg.
Next, remove the wings by cutting through the joint where they meet the body.
To carve the breast, make a horizontal cut along the breastbone. Then, slice downward to create even portions of white meat.
Arrange the carved pieces on a serving platter, ensuring each portion has some crispy skin. Garnish with fresh herbs or lemon wedges for an appealing presentation.
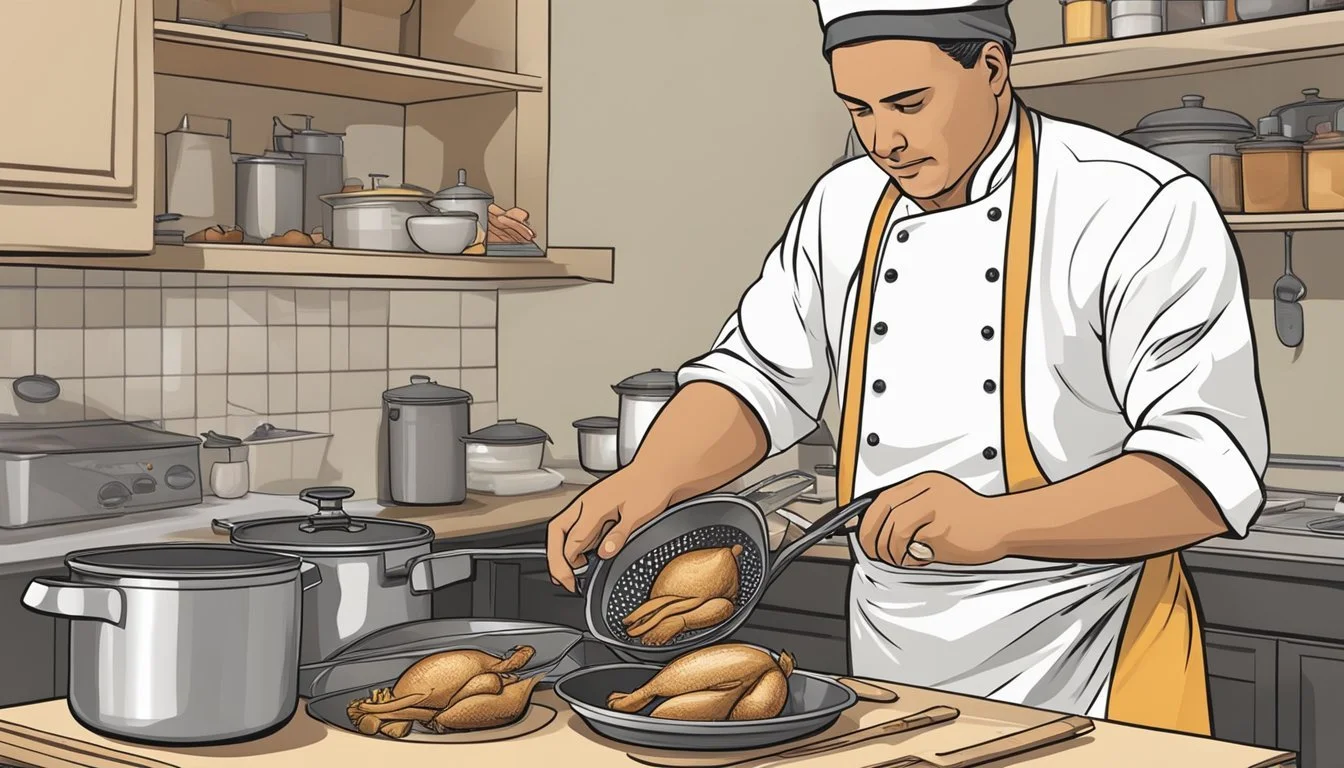
Storing and Reusing Leftovers

Proper storage of leftover chicken ensures food safety and maintains quality. Refrigeration preserves short-term freshness, while freezing extends shelf life for months. Creative repurposing transforms leftovers into delicious new meals.
Storing for Short-Term
Refrigerate cooked chicken within 2 hours of cooking. Place leftovers in airtight containers or wrap tightly with aluminum foil. Store in the coldest part of the fridge, typically the back. Consume refrigerated chicken within 3-4 days.
For optimal freshness, remove bones before storing. This reduces bacterial growth and saves space. Label containers with the date to track freshness.
Reheat leftovers to 165°F (74°C) to ensure safety. Use a food thermometer to check internal temperature. Microwaving is quick, but can dry out chicken. For juicier results, reheat in a covered skillet with a splash of broth.
Freezing for Long-Term
Freeze leftover chicken for extended storage up to 4 months. Cool chicken completely before freezing to prevent ice crystals. Divide into portion-sized amounts for easier thawing.
Wrap tightly in plastic wrap, then place in freezer bags. Remove as much air as possible to prevent freezer burn. Label bags with contents and date.
For best quality, use frozen chicken within 4 months. Thaw in the refrigerator overnight. Never thaw at room temperature, as this promotes bacterial growth.
Frozen chicken is ideal for soups, casseroles, and other dishes where texture changes are less noticeable.
Repurposing in New Dishes
Transform leftover chicken into exciting new meals. Shred for tacos, enchiladas, or BBQ sandwiches. Dice for quick chicken salad or add to green salads for protein.
Use bones and scraps to make homemade chicken stock. Simmer with vegetables and herbs for a flavorful base for soups and gravies.
Leftover roast chicken works well in pot pies, pasta dishes, and stir-fries. Combine with vegetables and sauce for easy weeknight meals.
For a comforting meal, make chicken noodle soup. Simmer leftover chicken with vegetables, noodles, and broth for a hearty, satisfying dish.
