
Saving Burnt Chocolate
Tips for Salvaging and Keeping Desserts Tasty
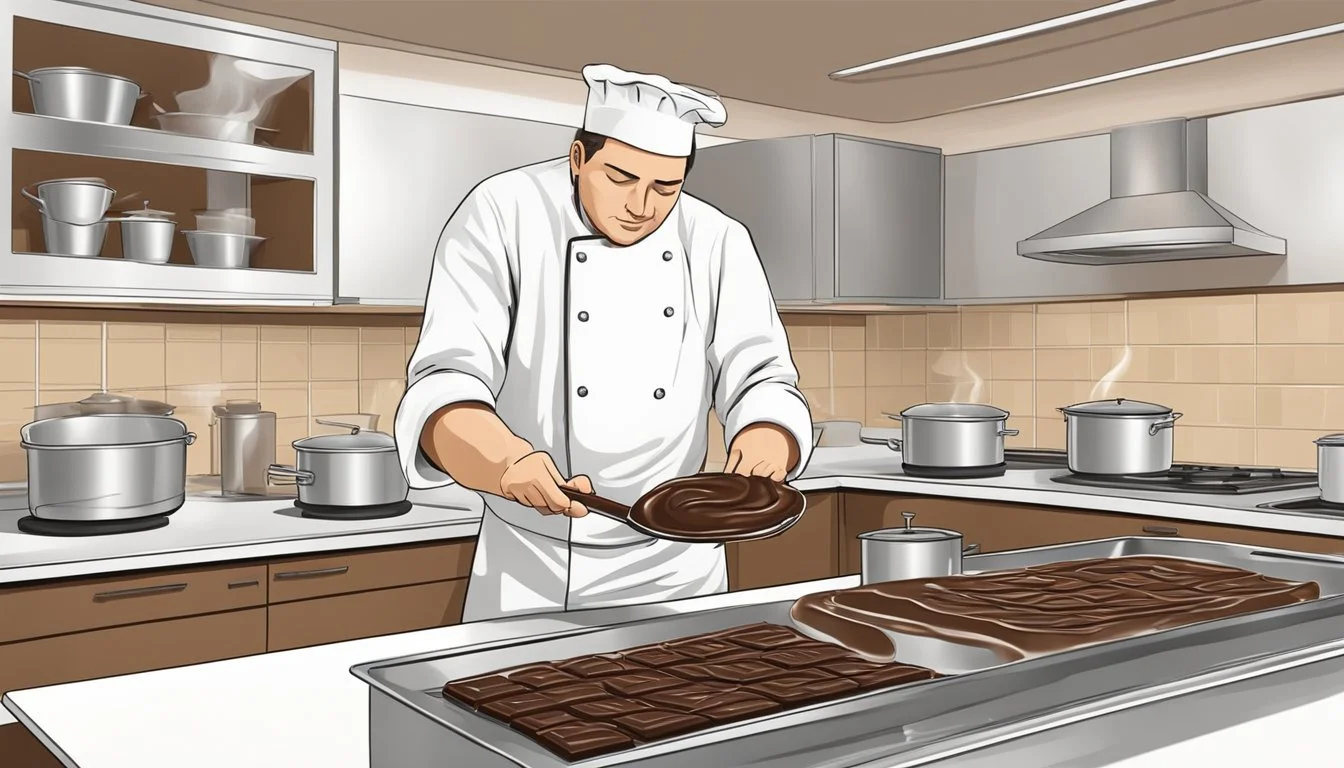
Chocolate (What wine goes well with chocolate?) is a beloved ingredient in countless desserts (What wine goes well with desserts?), but even the most experienced cooks can sometimes face the challenge of burnt chocolate. When chocolate burns, it typically undergoes a phase of separation, where the smooth, glossy amalgamation of cocoa solids, cocoa butter, and sugar splits into a grainy and dull mixture. This not only affects the texture but also introduces a bitter, unpleasant flavor that can spoil any sweet creation. Understanding the delicate nature of chocolate and learning how to handle it with care can ensure that desserts retain their intended richness and depth of flavor.
To avoid burning chocolate, it's crucial to melt it at a low temperature. Chocolate begins to scorch around 115°F to 120°F; exceeding this temperature will likely compromise its quality. Utilizing indirect methods, such as a double boiler, can help maintain control over the heat and prevent the chocolate from reaching its burning point. Should chocolate seize or burn slightly, there are techniques to rescue it. Adding a small amount of boiling water and mixing vigorously can help restore some of its smoothness, especially if the chocolate will be used as a drizzle or sauce.
Understanding Chocolate

Chocolate, the confection enjoyed worldwide, has a complexity that begins with its primary ingredients. The base of chocolate consists of cocoa solids and cocoa butter, the latter being the fat component derived from the cocoa bean. These two elements are foundational to determining the chocolate's variety, quality, and flavor profile. Cocoa solids contribute to the chocolate's intensity and bitterness, a desirable trait in dark chocolate.
Milk solids are added to create milk chocolate, bringing a creamy texture and lighter hue. The presence of cocoa butter, aside from providing a subtle flavor, imparts a melt-in-the-mouth quality due to its ability to solidify at room temperature and melt at body temperature.
In the manufacturing process, lecithin, often derived from soy, is used as an emulsifier. It ensures that the chocolate ingredients, which include both water-attracting and fat-attracting components, blend smoothly without separating. While not a flavoring agent, lecithin plays a critical role in the texture and consistency of the final product.
To summarize the roles of each chocolate component:
Cocoa solids: Provide flavor intensity and color
Cocoa butter: Offers texture and melting qualities
Milk solids: Contribute to creaminess (in milk chocolate)
Lecithin: Acts as an emulsifier for a smooth mixture
Chocolatiers aim to balance these ingredients carefully, as the ratio influences not just taste, but also how prone the chocolate is to issues such as burning, seizing, or becoming grainy during preparation. Proper temperature control is crucial because chocolate burns at approximately 115°F to 120°F (46°C to 49°C), which can result in bitterness and an undesirable taste. Therefore, understanding these components is key in both chocolate production and culinary use.
Causes of Burnt Chocolate

When melting chocolate, it's crucial to understand the common pitfalls that can lead to an overheated and burnt batch. Managing temperature carefully and using the proper techniques can help ensure smooth, velvety chocolate.
Overheating Chocolate
Chocolate burns because it's sensitive to high temperatures. The burning point for most chocolate varieties ranges between 115°F to 120°F (46°C to 49°C). Surpassing this temperature threshold can cause chocolate to scorch, transforming its rich flavor into an acrid, burnt taste. Attention to heat is imperative to avoid reaching these critical temperatures.
Improper Melting Techniques
The technique chosen for melting chocolate impacts its susceptibility to burning. One should generally avoid direct heat. Instead, a double boiler functions effectively by using steam to melt chocolate, maintaining a more consistent and gentle heat source. The chocolate should be stirred consistently to ensure even melting and to avoid hotspots that can occur, especially if melting in a microwave. Using low-power bursts of 30 seconds in a microwave can help control the temperature more precisely if a double boiler is not available.
Heat Source Mistakes
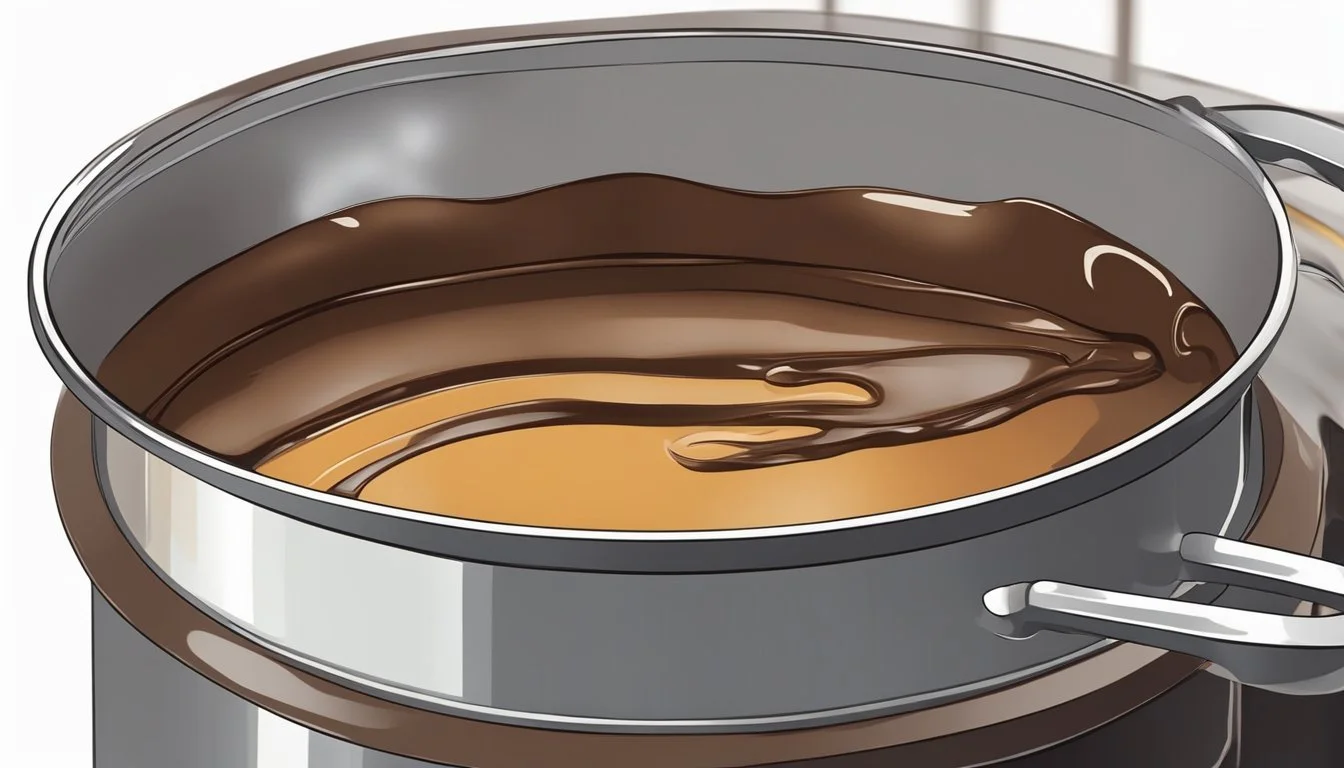
The choice of heat source is a significant factor in the outcome of melted chocolate. A stove's direct heat can be too intense and uneven, which is why a water bath, or double boiler, is the recommended method. By indirectly melting chocolate over simmering water, one ensures the heat envelops the chocolate gently, never allowing it to rise above 100° C, the temperature at which water boils, thereby protecting the chocolate from burning.
Preventing Burnt Chocolate

To achieve perfectly melted chocolate, one needs to focus on technique and precision. Meticulous attention to the tools used, temperature settings, and the addition of fats can significantly reduce the risk of burning chocolate.
Using Correct Tools
For successful melting, it's imperative to use the right equipment. A double boiler—a pot filled with a few inches of water with another heatproof bowl on top—is the ideal tool. The indirect heat provided by the double boiler ensures that the chocolate melts evenly without direct contact with heat sources that could lead to burning. Additionally, one should use a wooden spoon or a heatproof spatula for stirring, as these do not conduct heat and are less likely to cause overheating.
Temperature Control
Controlling the heat is crucial when melting chocolate. Chocolate should be melted gradually, using low to medium heat to avoid scorching. It's vital to avoid temperatures above 120°F (49°C), as chocolate can start to burn beyond this point. A kitchen thermometer can be used to monitor the temperature closely. One can also melt chocolate using a microwave on low power, in 30-second bursts, stirring between each to ensure even heating.
Adding Fat Content
Incorporating fats like butter, cream, or oil can help to stabilize the temperature and texture of melting chocolate, reducing the likelihood of burning. Fats can also help to rescue slightly overheated chocolate by lowering its overall temperature and preventing the chocolate from seizing. Here's how to effectively blend fats into chocolate:
Butter: Mix in a small piece of cold butter until it's fully incorporated and the chocolate regains a smooth consistency.
Cream: A splash of room-temperature cream stirred gently can help to smooth out overheated chocolate.
Oil: A teaspoon of neutral oil mixed in slowly can assist in evenly distributing heat throughout the chocolate mixture.
By adhering to these specific methods, one can prevent chocolate from burning and ensure a high-quality result in their desserts.
Salvaging Burnt Chocolate

Recognizing that burnt chocolate can become grainy and bitter, this section discusses how one can salvage the flavor and texture of the chocolate to make the most out of a culinary mishap.
Adjusting Texture
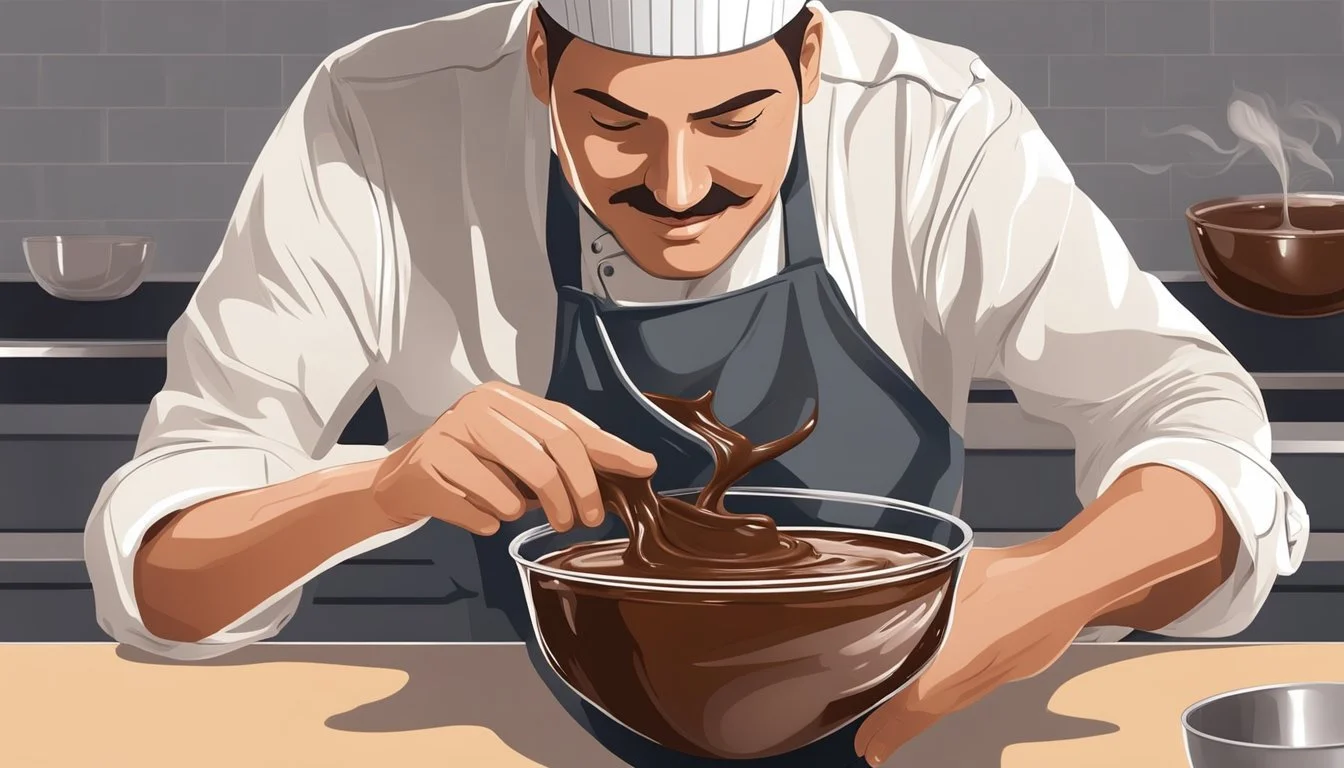
When chocolate burns, it may seize, becoming lumpy and grainy. To adjust the texture of seized chocolate, one should gently reintroduce heat. Placing the chocolate in a bowl over a pot of simmering water can evenly distribute the heat without raising the temperature too high. Should the chocolate remain grainy, adding a small amount of boiling water—a teaspoon at a time and stirring continuously—may help in smoothing it out. It's crucial to mix vigorously to reincorporate any separated cocoa butter and to restore a glossy, uniform consistency.
Balancing Flavors
Once the texture is addressed, the next step is to tackle the burnt flavor, which can overwhelm the palate. The addition of dairy, such as milk or cream, can mitigate the bitterness and bring back some of the chocolate's richness. One should add the dairy in small increments, tasting as they go, to avoid diluting the chocolate too much. If sugar has contributed to burning, one can blend the burnt chocolate with unburnt chocolate to even out the overall flavor. One must taste and adjust accordingly to achieve the desired sweetness without exacerbating the issue.
Alternative Uses for Burnt Chocolate
If the burnt chocolate cannot be completely restored to its original state, there are alternative uses that can disguise its imperfections:
Baking: Incorporate burnt chocolate into brownie or cookie batter, where other ingredients can help conceal any minor burnt taste.
Garnishes: Use it to create chocolate shavings or dust, which, when used sparingly atop desserts, can add visual appeal without significantly impacting flavor.
Sauces: Transform it into a chocolate sauce with the addition of heavy cream and flavored syrups, which can help mask the burnt taste while still providing a chocolatey undertone to desserts.
Flavor Pairings and Combinations

When rescuing burnt chocolate, the right flavor pairings can mask bitterness and enhance the dessert's overall taste. Selecting complementary and contrasting flavors is crucial to achieving a balanced and pleasurable taste experience.
Complementing Sweetness
Burnt chocolate's bitterness can be countered with ingredients that complement its inherent sweetness. Vanilla is a classic addition, offering a rich aroma that melds seamlessly with chocolate. Similarly, the introduction of sweeteners like sugar, honey, or maple syrup can revive the intended sweet profile of a chocolate-based dessert.
Key Sweetness Complementors:
Vanilla
Sugar
Honey
Maple Syrup
Balancing Bitterness
The bitterness of burnt chocolate requires careful balancing. Sea salt, sprinkled in moderation, brings out the chocolate's depth while mitigating bitterness. Moreover, integrating fruits high in acidity like oranges or raspberries, contributes a tart contrast that can refresh the palate.
Primary Bitterness Balancers:
Sea Salt
Acidic Fruits (e.g., Oranges, Raspberries)
Pairing with Foods and Drinks
Pairing chocolate with various foods and drinks can enhance its flavor profile and divert attention away from any burnt notes. Nuts like almonds and macadamia nuts add a crunchy texture and rich flavor that works well with chocolate's complexity. Furthermore, pairing with beverages such as wine or coffee can elevate the experience, with the tannins in wine and the bitterness of coffee offering a robust backdrop that complements chocolate's rich flavor.
Suggested Food and Drink Pairings:
Nuts: Almonds, Macadamia Nuts
Beverages: Wine, Coffee
Recipes for Avoiding Bitterness in Desserts
When crafting chocolate desserts (What wine goes well with chocolate desserts?), the goal is to enhance the chocolate's richness without letting bitterness dominate. Techniques in preparation and choice of ingredients are key to achieving a balanced flavor profile in ganaches, chocolate sauces, brownies, and cakes.
Chocolatier's Tips for Smooth Ganache
To avoid bitterness and ensure a smooth ganache, chocolatiers recommend using high-quality dark chocolate with a moderate percentage of cocoa. They often combine it with heavy cream and sometimes add a small amount of butter to create a glossy finish. Regulating the temperature as the chocolate melts is crucial; it should be warmed gently to prevent scorching.
Ratio: Use a 1:1 ratio of chocolate to cream for a standard ganache.
Technique: Heat the cream just to a boil, then pour over finely chopped chocolate to melt evenly.
Creating Luscious Chocolate Sauces
For a chocolate sauce that is luscious and not bitter, using a combination of cocoa powder and sweetened chocolate can help balance flavors. Incorporate milk or cream to add richness, and consider a pinch of salt to enhance sweetness and depth.
Sweeteners: Use a touch of honey or maple syrup for a smoother sweetness.
Thickening: A cornstarch slurry can be added for a thicker sauce if desired.
Baking Perfectly Moist Brownies and Cakes
The key to baking moist brownies and cakes lies in the correct ratio of wet to dry ingredients and ensuring not to overbake. Butter should be at room temperature to blend seamlessly, and the inclusion of milk or buttermilk can contribute to a tender crumb.
Ingredients: For brownies, use less flour to favor fudginess over cake-like texture.
Technique: Test with a toothpick; it should come out with a few moist crumbs clinging to it.
By adhering to these methods and tips, the bitterness often associated with chocolate desserts can be mitigated, resulting in indulgent, flavorful treats that are sure to please any palate.
Additional Tips for Melting Chocolate
The process of melting chocolate can be finicky, with the risk of seizing if not done correctly. These targeted techniques help ensure a smooth, glossy finish without compromising the chocolate's flavor or texture.
Avoiding Water and Moisture
Chocolate's enemy is water. Even a small droplet can cause melted chocolate to seize, becoming grainy and stiff. To prevent this, one should make sure that all utensils, such as bowls and whisks, are completely dry before use. Bowls should be water-resistant like glass or stainless steel. When using a double boiler, the bowl containing the chocolate must not touch the water, and the steam should not be allowed to condense into the chocolate.
Stirring Techniques and Consistency
Consistent, gentle stirring is key in achieving a uniform texture in melted chocolate. A dry rubber spatula is the ideal tool for stirring as it helps emulsify the chocolate without introducing moisture. It's crucial to stir the chocolate often, especially when using indirect heat sources like a double boiler, to maintain even melting and prevent scorching.
Maintaining Chocolate Quality
The quality of the final product heavily depends on the initial quality of the chocolate and the melting method. One should opt for high-quality chocolate as it melts more smoothly and has better flavor profiles. When melting, the use of low, gradual heat is recommended, whether one is using a microwave or double boiler. In a microwave, it's important to heat the chocolate in short bursts, stirring in between, and using a 50% power setting to have more control over the melting process. After melting, chocolate should be poured onto parchment paper to cool if it will be used later for molding or coating.
Finishing Touches for Chocolate Desserts

The final touches on chocolate desserts are pivotal in enhancing flavor and visual appeal. Skillful decoration and the right choice of toppings can differentiate an ordinary chocolate dessert from a remarkable one.
Decorating with Chocolate
Chocolate can be tempered and molded into various shapes to adorn desserts. For tarts and cakes, chocolate shavings add a delicate aesthetic and a melt-in-the-mouth texture. Techniques such as using a piping bag for precision or a palette knife for swirling can deepen the dessert's allure. When decorating ice creams or puddings, chocolate can be drizzled in a zigzag pattern for a professional finish.
Tools Needed:
Piping bag
Palette knife
Grater or vegetable peeler
Decoration Ideas:
Shavings
Drizzled chocolate
Chocolate curls or discs
Enhancing Chocolate Desserts with Toppings
Complementing chocolate desserts with the right toppings can intensify flavors and provide a contrasting texture. Frosting, whether it’s a buttercream or a glaze that hardens, should complement the main dessert without overpowering it. Sprinkles of sea salt or crushed nuts can add a savory crunch that contrasts with the smoothness of chocolate puddings or ice cream. Meanwhile, dipping fruit or marshmallows in chocolate provides a balanced and engaging experience.
Topping Suggestions:
For Tarts/Cakes:
Sea salt
Crushed nuts or cacao nibs
For Ice Cream/Pudding:
Whipped cream
Fresh berries
Dipping Delights:
Sliced fruit (strawberries, bananas)
Marshmallows
Troubleshooting Common Chocolate Problems
When chocolate is heated improperly, it can seize, creating a grainy, thick mass. This occurs when moisture—often as little as a single drop of water—comes into contact with the melting chocolate. However, seized chocolate is not a waste; it can still be saved.
To rescue seized chocolate:
Add a teaspoon of boiling water at a time to the chocolate while stirring vigorously. This method can dilute the chocolate slightly but is useful for creating sauces or drizzle.
For burnt chocolate, which typically happens at temperatures above 115°F to 120°F, there are fewer recovery options due to the bitter and unpleasant taste it develops.
Precautionary steps to prevent burning include:
Melting chocolate using a double boiler, which provides gentle, indirect heat.
Using low-power bursts in the microwave and stirring between each burst.
If chocolate becomes dry and crumbly, often due to overheat, it is not ideal for coating or molding. To remedy this, one can attempt to add a small amount of fat, such as cocoa butter or vegetable oil, and stir it into the melted chocolate to restore some fluidity.
Maintaining a neutral kitchen environment, avoiding water contact, and carefully controlling heat can mitigate common chocolate problems and prevent the unnecessary wasting of ingredients. The chef's knowledge and attention are crucial in ensuring the quality of chocolate remains intact for delightful desserts.
Exploring Chocolate Varieties

When embarking on chocolate dessert creation, it’s essential to understand the diverse flavor profiles of different chocolate types to prevent bitterness from overshadowing the desired taste.
Working with Different Chocolate Types
Dark Chocolate: Renowned for its robust flavor, dark chocolate consists of at least 50% cocoa and often includes less sugar than other types, which accentuates its bitterness. For dessert enthusiasts aiming to mitigate this potential harshness, a careful balance of sweet and savory components is key.
Flavor Profile: Intense, less sweet, can add depth
Common Uses: Ganaches, mousses, truffles (What wine goes well with truffles?)
Pairing Suggestions: Vanilla or coffee to enhance richness; chili or sea salt to contrast flavor
Milk Chocolate: A smoother, milder chocolate, milk chocolate must contain at least 10% cocoa and typically includes milk powder or condensed milk, making it creamier and less bitter than dark chocolate.
Flavor Profile: Creamy, sweet, less complex
Common Uses: Chocolate bars, sauces, baked goods
Pairing Suggestions: Nuts, caramel, or fruit to complement its sweetness
White Chocolate: White chocolate's buttery consistency stems from the cocoa butter without the cocoa solids, contributing to its delicate sweetness and reducing the risk of burnt, bitter flavors in desserts.
Flavor Profile: Sweet, buttery, mild cocoa
Common Uses: Frostings, confections, glazes
Pairing Suggestions: Citrus, berries, or spices like cinnamon to balance sweetness
Innovative Uses of Chocolate in Cooking
Chocolate, traditionally reserved for sweet confections, has made a bold leap into the realm of savory cooking. Chefs have discovered that its complex flavor profile can enhance and transform a variety of dishes. By applying chocolate judiciously, it can lend a rich intensity to meats or create a savory balance when paired with certain vegetables.
Flavor Pairings and Contrasts:
Sour: Chocolate, with its bittersweet nature, can counteract sourness and add depth. A hint of dark chocolate in a citrus salad dressing can tame the tartness.
Salty: The inherent sweetness of chocolate balances dishes with salty components. A dark chocolate shave on a salty caramel can offer a gourmet experience in desserts.
Sweet: To avoid an overpowering sweetness, using bittersweet or unsweetened chocolate can add sophistication to sweet desserts.
Savory Dishes:
Meats: Chocolate pairs well with robust meats like pork or lamb, where just a hint in a rub or sauce can deepen flavors without overwhelming the dish.
Vegetarian Options: It can also offer complexity to vegetarian dishes (What wine goes well with vegetarian dishes?), like dark chocolate grated over roasted arugula and tomatoes.
By considering the intensity of the chocolate used—one must not overpower but complement the main ingredients—chefs can create dishes with a balanced and intriguing palate.
To wholly incorporate chocolate into cooking, one should respect the ingredient, understanding that its contribution is as much about the flavor dynamics as the novelty. When used with care, chocolate can be a versatile component in both sweet and savory culinary creations.
The Science Behind Chocolate and Taste

The flavor profile of chocolate is a delicate balance of bitterness, sweetness, sourness, and occasionally, saltiness. These tastes originate from the compounds present in cacao beans and the processes they undergo to become chocolate.
Bitterness in chocolate is attributed to compounds such as theobromine and phenolics. It's a natural characteristic of cacao beans which can be intensified by over-roasting or burning. Contrarily, sweetness is introduced by adding sugar, which counteracts the inherent bitterness and appeals to the palate.
During fermentation, microbes play a crucial role in developing the flavor. They initiate the conversion of cacao seeds into a less bitter and more chocolatey flavor profile. This is where sourness can come into play, as the fermentation process may produce acidic compounds that add to the complexity of the taste.
Salt can be used sparingly in chocolate production to enhance other flavors and reduce perceived bitterness. However, it's not a common ingredient in traditional chocolate-making.
Temperature control is imperative; overheating chocolate can cause it to burn, creating an unpleasantly bitter flavor that overshadows any sweetness or other complexities. Proper tempering ensures a smooth texture and preserves the desirable balance of flavors.
Taste Origin Impact on Chocolate Bitterness Theobromine and Phenolics Intensity control Sweetness Added sugar Balances bitterness Sour Fermentation by-products Adds complexity Salt Selective addition Enhances flavors
To maintain the quality of chocolate's taste, it's critical to avoid burning by using gentle heat and considering the unique properties of the cocoa used.
