How Long Do Gluten-Free Pierogies Last?
Shelf Life and Storage Tips
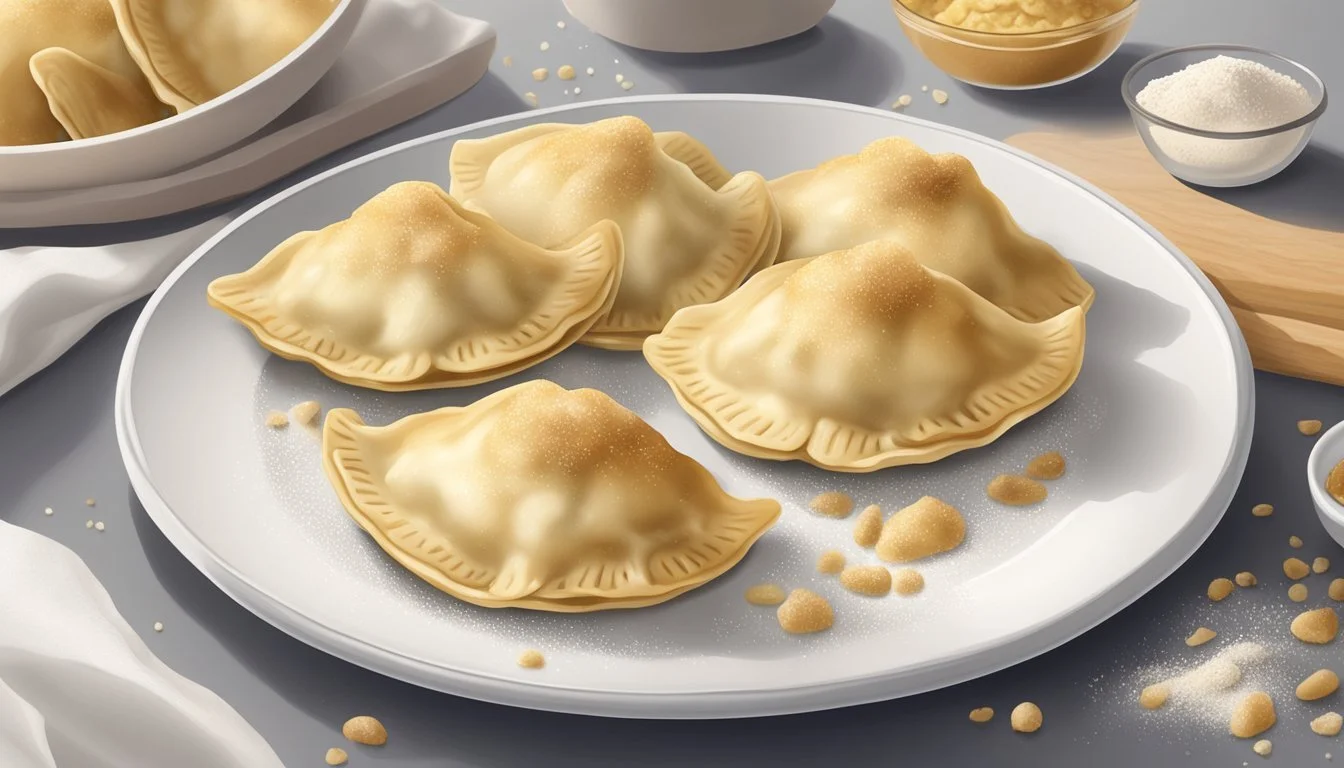
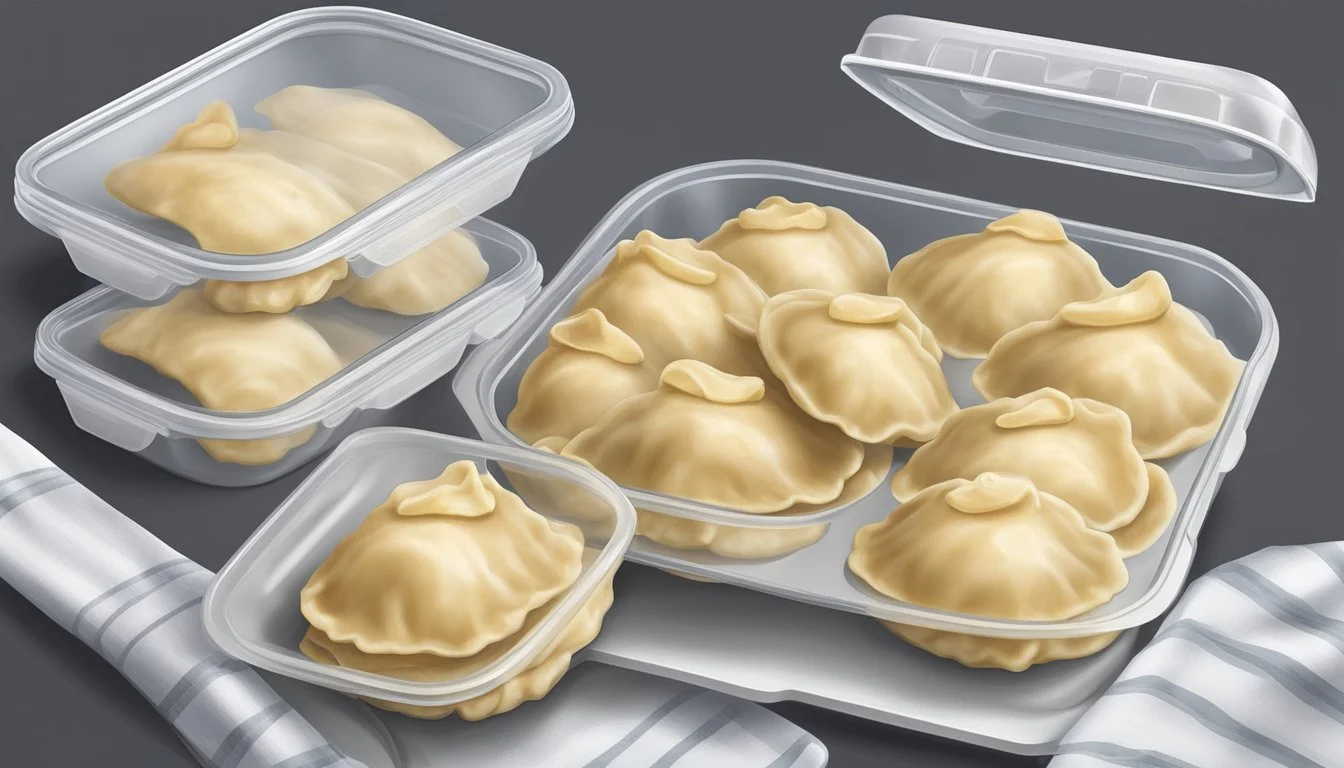
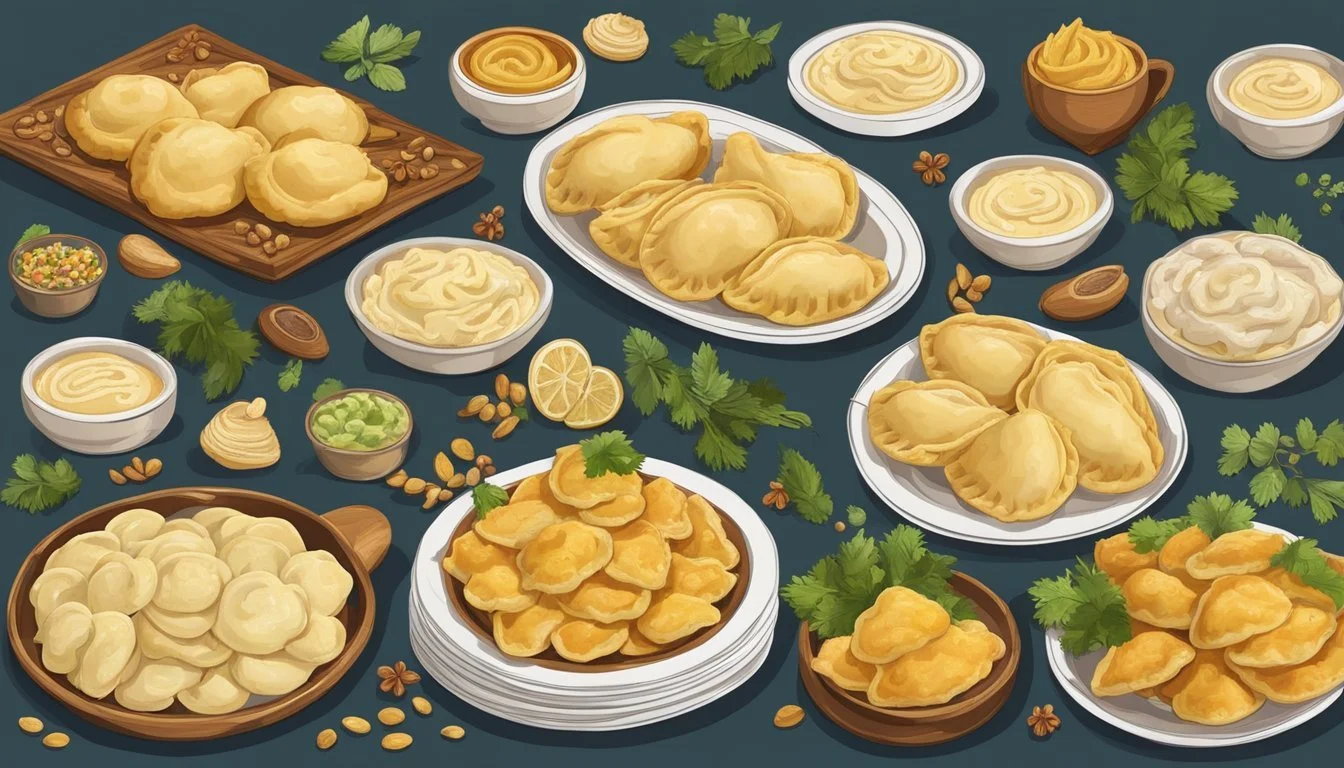
When it comes to preserving gluten-free pierogies, understanding their shelf life and storage methods can ensure they remain delicious and safe to eat for an extended period. Gluten-free pierogies can generally last up to 3-4 days when stored in the refrigerator in an airtight container. This time frame helps maintain their texture and flavor, making them a convenient main dish for meal planning.
If you intend to keep gluten-free pierogies for a longer period, freezing is an excellent option. Properly stored in a freezer-safe container, they can last for up to two months. Ensuring the pierogies are not exposed to air will prevent freezer burn and preserve their quality. When ready to enjoy, simply reheat them by boiling or sautéing in a pan.
Different ingredients and preparation methods can slightly affect the shelf life of gluten-free pierogies. Those made with dairy products or without preservatives may have a shorter lifespan, so it's crucial to monitor their condition and ensure they are stored correctly.
Understanding Gluten-Free Pierogi
Gluten-free pierogi are specialized dumplings crafted to cater to dietary restrictions without sacrificing flavor or texture. This section explores the fundamentals of gluten-free pierogi, including their definition, dough basics, and popular fillings.
Defining Gluten-Free
Gluten-free pierogi are designed for those who cannot consume gluten, a protein found in wheat, barley, and rye. Preparing these dumplings requires substituting traditional wheat-based flours with gluten-free varieties such as rice flour, tapioca starch, and psyllium husk. These ingredients help mimic the elasticity and texture of regular dough, making the pierogi both delicious and safe for those with celiac disease or gluten intolerance.
The Basics of Pierogi Dough
Creating gluten-free pierogi dough involves combining ingredients like gluten-free flour blends, water, eggs, and sometimes xanthan gum to provide structure. The dough should be stretchy yet firm enough to hold various fillings without breaking apart. It's essential to mix the ingredients thoroughly to achieve a smooth, consistent dough. Key to this process is the right balance of flours and binding agents, such as psyllium husk, which help the dough to stretch without tearing.
A simple recipe might include:
2 cups of gluten-free flour (a blend of brown rice flour, white rice flour, and tapioca starch)
1-2 teaspoons of xanthan gum
1-2 eggs
1 cup of water
1 tablespoon of oil
Common Fillings and Variations
Gluten-free pierogi offer a versatile base for various fillings, catering to both savory and sweet preferences. Traditional fillings include mashed potatoes, cheddar cheese, and sautéed onions, creating a creamy potato mixture. Other popular ingredients include sauerkraut, mushrooms, cottage cheese, and sweet potatoes for a more diverse flavor profile.
Sweet variations might incorporate fruits or sweetened cheeses, providing a delicious dessert option. These fillings not only add flavor but also help define the pierogi's texture, making them a unique culinary experience. The choice of filling can significantly enhance the overall taste and enjoyment of gluten-free pierogi, ensuring everyone finds a variation they love.
Making Gluten-Free Pierogi
Gluten-free pierogi require special attention to the dough, filling, and cooking techniques to ensure they match the taste and texture of traditional varieties. This guide covers the key steps for creating perfect gluten-free pierogi.
Preparing the Dough
Start by gathering ingredients like gluten-free all-purpose flour, xanthan gum, psyllium husk, eggs, milk, and salt.
Combine water with psyllium husk in a bowl and whisk until it forms a gel. In a large mixing bowl, beat together sour cream, eggs, milk, and oil using a food processor or stand mixer.
Whisk the dry ingredients together, then gradually add them to the wet ingredients. Knead the dough until it’s sticky but well combined, ensuring there are no lumps. If the dough feels too sticky, adjust with small amounts of flour.
Assembling the Pierogies
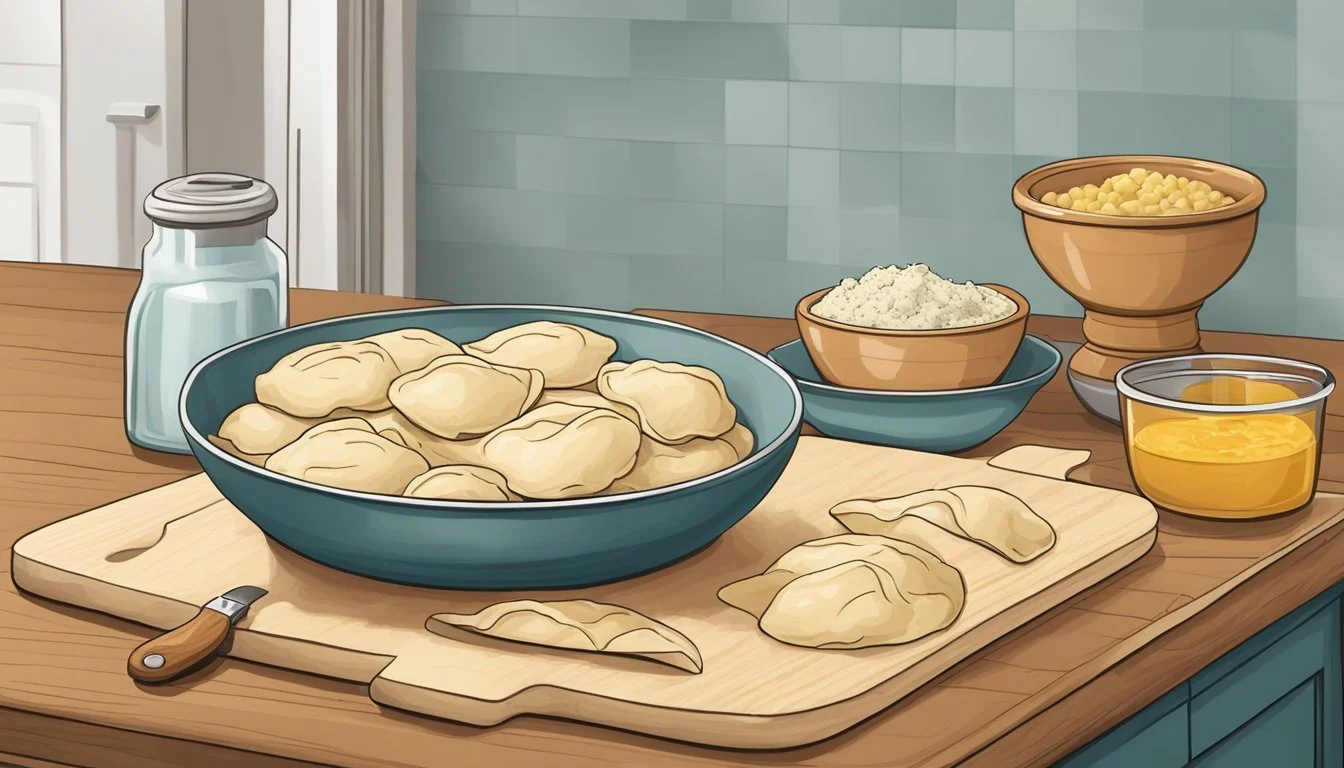
Roll out the gluten-free dough on a lightly floured surface to about 1/8 inch thickness. Use a round cutter or a small bowl with a sharp edge to cut the dough into circles.
Place a spoonful of your chosen filling, such as mashed potatoes or cheese, in the center of each circle. Fold the dough over to form a semi-circle and press the edges together.
Seal by pinching with fingers or pressing with a fork, ensuring there are no gaps for filling to escape.
Cooking Techniques
Boil a large pot of salted water. Drop the assembled pierogies into the boiling water, cook until they float to the surface, and then continue boiling for an additional 2-3 minutes.
For a crispier texture, heat a frying pan with a drizzle of olive oil over medium heat. Fry the pierogies until golden brown on both sides, flipping midway through.
Alternatively, bake the pierogies by placing them on a parchment-lined baking sheet and brushing with melted butter. Bake in a preheated oven at 375°F for 15-20 minutes until golden.
Storing and Preserving Pierogi
When considering how to maintain the freshness and quality of gluten-free pierogi, it's important to understand the best short-term and long-term storage methods, as well as proper thawing and reheating techniques.
Short-Term Storage
For short-term storage, keeping cooked gluten-free pierogi refrigerated ensures they remain safe and tasty for consumption within 3 to 5 days. To do this, place the pierogi in an airtight container or wrap them tightly in plastic wrap. Always use a lid to keep the container sealed, preserving the pierogi's moisture and preventing contamination.
A clean refrigerator is crucial to avoid any potential cross-contamination with gluten-containing foods. Labeling the container with the date can also help track freshness.
Freezing and Long-Term Preservation
Freezing gluten-free pierogi is the best method for long-term preservation. To freeze, prepare the pierogi ahead of time and arrange them in a single layer on a baking sheet lined with plastic wrap. Freeze until solid, then transfer the frozen pierogi to a freezer-safe container or bag. Removing as much air as possible from the bag helps prevent freezer burn.
Proper packaging is key. Double-wrapping the pierogi in plastic wrap before placing them in a container ensures they stay protected in the freezer. Frozen gluten-free pierogi can last several months while maintaining their quality.
Thawing and Reheating
When ready to eat, thaw the frozen pierogi in the refrigerator overnight. This gradual thawing method helps retain their texture and flavor. For a quicker option, they can be thawed using a microwave's defrost setting, but care should be taken to avoid cooking them unevenly.
Reheat the thawed pierogi by either boiling, frying, or baking. To boil, add them to a pot of boiling water until they float. For frying, use a hot skillet with a bit of oil until they achieve a golden-brown color. Baking in an oven preheated to 350°F ensures even reheating, but covering with foil can prevent them from drying out.
By following these steps, gluten-free pierogi can be enjoyed fresh and tasty whether stored for days or months.
Serving Gluten-Free Pierogi
Gluten-free pierogi can be a delightful addition to any meal, offering versatility in how they are served. They can be enjoyed with traditional toppings, creative sauces, or paired with savory side dishes.
Traditional Serving Suggestions
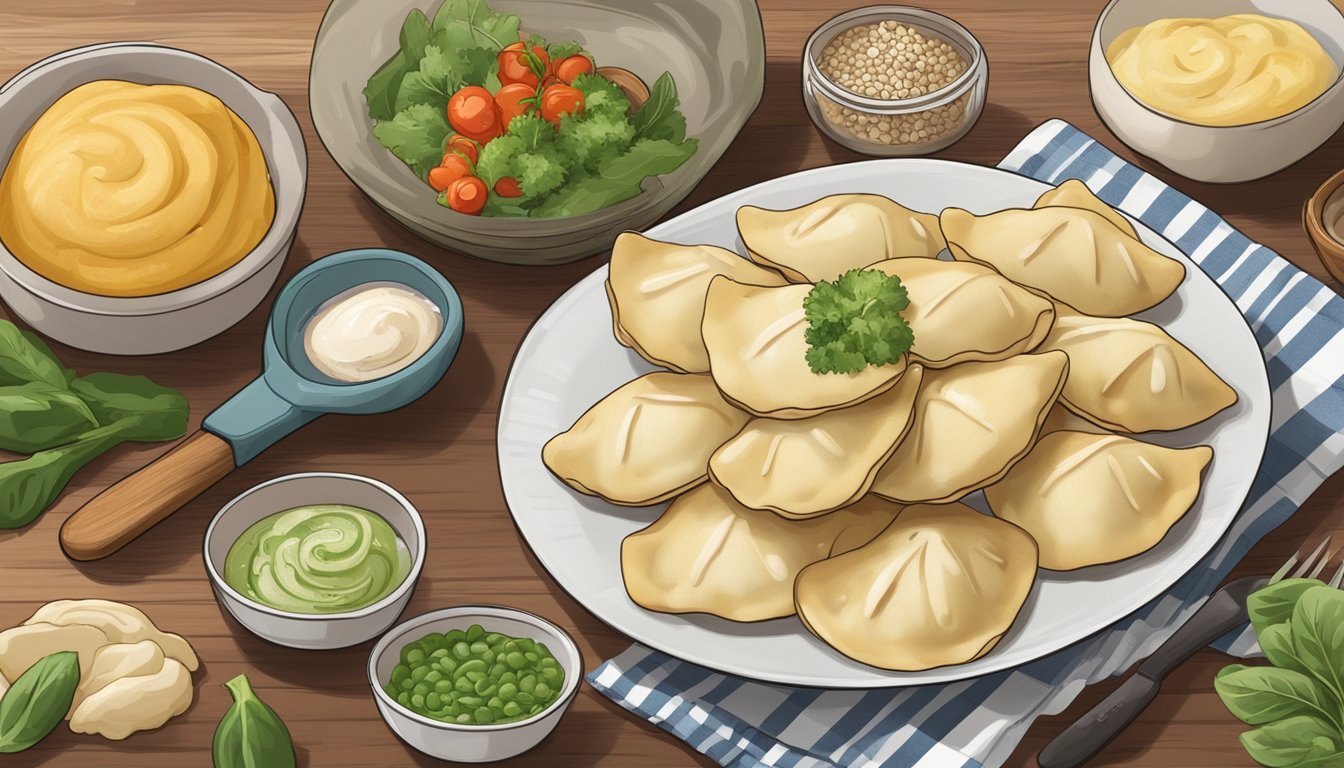
Traditionally, pierogi are often served with a dollop of sour cream on the side, which complements their flavors nicely. Caramelized onions and butter are also classic accompaniments that enhance the texture and taste.
Bacon bits can add a deliciously smoky flavor, while a sprinkle of green onions adds a fresh, crisp element. These toppings are usually added after boiling the pierogi until they float and then frying them in a bit of olive oil or butter until golden.
Creative Toppings and Sauces
For those looking to elevate their gluten-free pierogi experience, exploring various toppings and sauces can make a significant difference. Creamy cheese sauces or a spicy pepper sauce can add a rich and bold flavor.
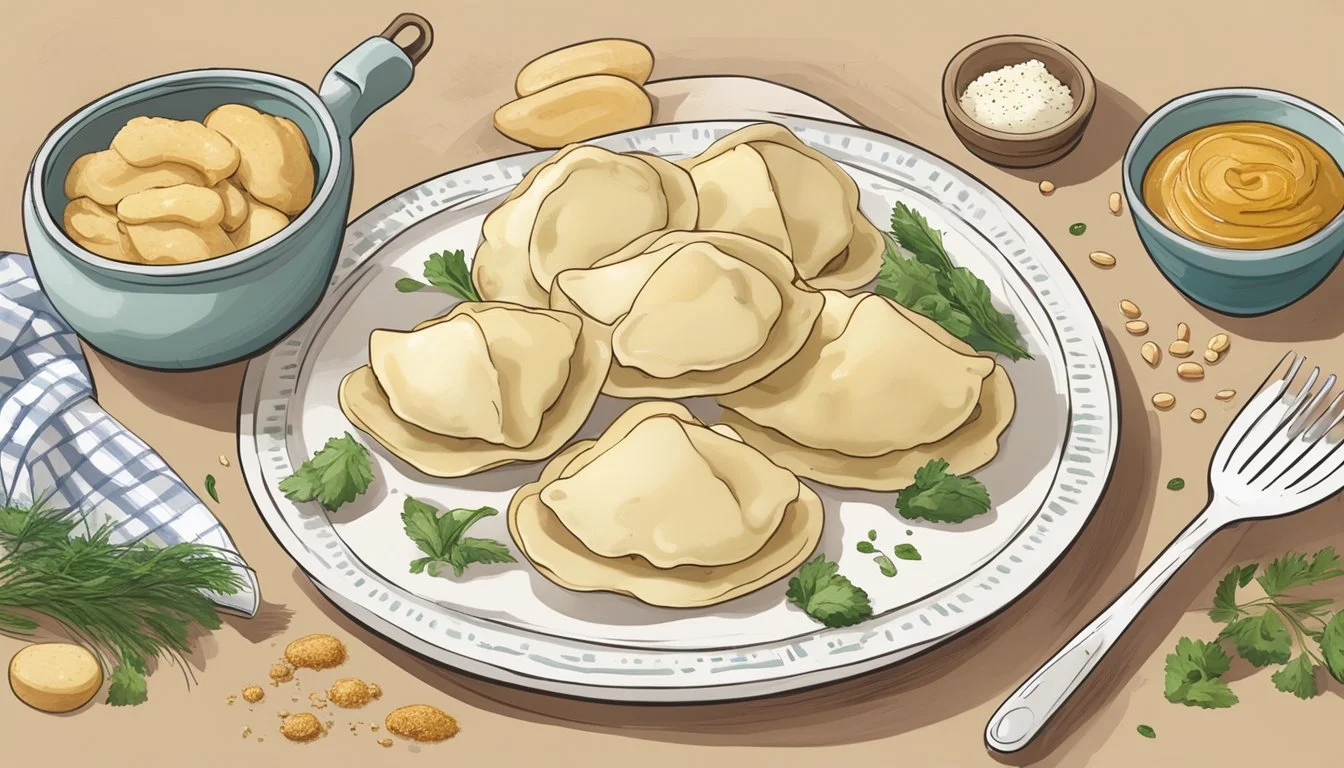
Pierogi can also be served with unique toppings like sautéed mushrooms or roasted red pepper sauce for a gourmet twist. Garnishing with fresh herbs such as parsley or dill can provide an aromatic finish.
Pairing with Side Dishes
When considering side dishes, salads and steamed vegetables are excellent options. A crisp green salad with a light vinaigrette balances the richness of the pierogi. Roasted root vegetables, like carrots and parsnips, add a hearty element to the meal.
For a more filling option, consider serving them alongside grilled meats or a hearty soup, creating a well-rounded and satisfying meal. Whether served as an appetizer or a main course, gluten-free pierogi pair well with a variety of sides, enhancing the dining experience.
Health and Dietary Considerations
When making gluten-free pierogies, it's important to consider their caloric and nutritional content, potential allergens, and suitable substitutions for various diet restrictions.
Caloric and Nutritional Info
Gluten-free pierogies can vary in nutritional content based on ingredients. Common fillings like potatoes and cheese are calorie-dense and may contain significant fat and protein.
To provide a clearer picture, here's a nutritional snapshot:
Calories: Approximately 200-250 per serving (3-4 pierogies)
Protein: 5-8 grams
Fat: 6-12 grams
Carbohydrates: 30-40 grams
Fiber: 2-4 grams
Salt content may range from moderate to high due to fillings and dough seasoning. Adding vegetables can increase fiber and vitamin intake.
Gluten Intolerance and Sensitivities
Individuals with celiac disease or gluten sensitivity must strictly avoid gluten. Gluten-free pierogies cater to this need, crafted using gluten-free flours like rice, potato, or tapioca flour. These flours offer safe alternatives while maintaining dough consistency.
Ensuring cross-contamination is minimized during preparation is critical. All utensils, equipment, and surfaces should be thoroughly cleaned to prevent gluten traces from contaminating the food.
Substitutions for Special Diets
For those on specific diets, including vegan, dairy-free, or egg-free:
Dairy-Free: Substitute regular cheese with vegan cheese or use mashed potatoes without dairy.
Egg-Free: Many gluten-free pierogi recipes can be adapted by omitting eggs or using flaxseed or chia seed meal as a binder.
Vegan: Use plant-based fillings such as mushrooms, tofu, or lentils instead of meat or cheese.
These substitutions ensure the pierogies remain inclusive for various dietary restrictions without compromising on taste and texture.
Tips and Tricks for Perfect Gluten-Free Pierogi
Mastering gluten-free pierogi involves ensuring the right dough consistency, avoiding common mistakes, and planning the preparation to enhance their flavor and texture.
Achieving the Right Texture
The key to perfect gluten-free pierogi is a balanced dough. Use a combination of gluten-free flours and xanthan gum to achieve the elasticity needed. Adding psyllium husk helps create a gel-like consistency that binds the dough together, making it moist and pliable.
Knead the dough for about 5 minutes to develop its structure but avoid overworking it. The dough should be smooth and not sticky. Cover it with a damp towel and let it rest for at least 30 minutes to relax the proteins and improve its workability.
Mistakes to Avoid
Overworking the dough can lead to toughness and make rolling challenging. Knead just enough to combine the ingredients. Keeping the dough covered prevents it from drying out. Tearing or leaking pierogi can be a problem; ensure edges are sealed well by pressing firmly.
When boiling, use a large pot with enough space to keep pierogi from sticking. Transfer quickly from water to a hot skillet to avoid mushiness. These proactive measures prevent common issues.
Making Pierogi Ahead of Time
Planning and batch cooking can save time, especially for larger gatherings. Prepare the dough and filling in advance. The dough can rest in the fridge for up to 24 hours, but make sure to bring it back to room temperature before rolling.
Fully assembled pierogi can be frozen before boiling. Lay them on a baking sheet in a single layer to freeze, and then transfer to a sealed container or freezer bag. When ready to cook, boil them directly from frozen for a slightly longer time than fresh pierogi. Proper scheduling ensures that pierogi maintain their intended texture and flavor when prepared ahead of time.
Cultural Significance of Pierogi
Pierogi hold a special place in many cultures, especially in Eastern Europe. These dumplings have transcended their regional roots to become beloved worldwide, often adapted into countless fusion variations. They also serve as a sentimental connection to family, heritage, and holiday traditions.
Pierogi in Eastern European Cuisine
In Eastern European countries like Poland and Ukraine, pierogi are more than just food. They are a cherished part of cultural heritage. Traditionally, pierogi are made with fillings such as potatoes, cheese, meat, and sauerkraut. These dumplings are often prepared and enjoyed during important holidays like Christmas and Easter. Families gather to make and share pierogi, reinforcing cultural traditions and familial bonds.
Global Popularity and Fusion Variations
Pierogi have gained international recognition and are now enjoyed worldwide. Global popularity has led to innovative fusion variations. In American cuisine, pierogi are sometimes stuffed with diverse ingredients, from spinach and feta to smoked salmon. Fusion and modern interpretations are common in restaurants and home kitchens alike. You can even find pierogi-inspired dishes that use wonton wrappers or puff pastry, showcasing their versatility and universal appeal.
Pierogi as Comfort Food
Pierogi serve as comfort food for many, evoking memories of home cooking and family gatherings. This emotional connection makes them a popular dish for various occasions. The act of preparing and eating pierogi can be a nostalgic experience, transporting individuals back to their family kitchens. This sentimental value adds to the cultural and psychological importance of pierogi, cementing their status as a comforting, familiar food.
Tools and Equipment
Making gluten-free pierogies requires specific kitchen tools and equipment to ensure they turn out perfectly. From essential kitchenware to advanced gadgets and proper maintenance, each item plays a crucial role in the preparation process.
Essential Kitchenware for Pierogi Making
To make gluten-free pierogies, certain kitchen tools are indispensable. A mixing bowl is essential for combining the dough ingredients, whether manually or with a mixer.
Rolling pins are crucial to achieve the right dough thickness. A rolling pin with adjustable rings can help maintain consistent thickness.
A sharp knife or dough cutter is necessary to cut the dough into uniform shapes. For sealing, a fork can be used to crimp the edges.
A large pot is required for boiling the pierogies before frying or serving.
Finally, a slotted spoon is useful for removing the pierogies from boiling water without tearing them.
Advanced Gadgets for Pros
For those looking to streamline the process, advanced gadgets can offer efficiency and consistency. A pasta machine is invaluable for rolling out dough evenly and can save a lot of manual effort.
Pierogi molds or presses provide uniform shapes and seals, ensuring each piece is consistent in size. These tools can be a game-changer for making large batches.
An electric mixer with dough hooks can simplify the kneading process, ensuring thorough and consistent mixing of ingredients.
For those who want to add a professional touch, a kitchen scale ensures precise measurements, critical in gluten-free baking where ingredient ratios are key to success.
Maintaining Your Equipment
Proper maintenance of your kitchen tools ensures longevity and food safety. Always clean tools like the mixing bowls, rolling pins, and dough cutters immediately after use to prevent dough from hardening on them.
Pasta machines and pierogi molds should be wiped down with a damp cloth and dried thoroughly to prevent rust and maintain functionality.
Regularly check electric gadgets such as mixers for any build-up or wear and perform any recommended maintenance.
Ensure all cutting tools are kept sharp and stored safely. Proper storage helps in maintaining the integrity and functionality of the equipment. Regular maintenance ensures that your tools are always ready for the next batch of pierogies.


