
The Best Gluten-Free Options for Frying
Safe and Delicious Alternatives

Choosing the best gluten-free flour for frying can elevate the culinary experience for those with gluten sensitivities or anyone looking to explore alternative frying methods. The key to a satisfying, less greasy fried dish lies in selecting a flour with a lower oil absorption rate. This selection ensures that the final product not only tastes great but also has a pleasing texture. Different gluten-free flours offer varying levels of crispiness and can substantially affect the dish's end result.
Texture and crispiness are paramount in fried foods (What wine goes well with fried foods?), and gluten-free flours such as rice flour and almond flour have proven to be excellent options. Rice flour is often lauded for its ability to create a crispy coating that rivals traditional wheat flour, making it an ideal choice for fried chicken. On the other hand, almond flour, with its inherent protein and fat content, can provide a satisfying fullness, much like conventional fried fare.
While experimenting with these flour alternatives, attention to batter preparation and frying techniques is crucial. A well-mixed batter, combined with maintaining the correct oil temperature, is a recipe for gluten-free frying success. Incorporating the right gluten-free flour not only addresses dietary needs but also opens up a world of flavors and textures, transforming the simple act of frying into a delightful culinary exploration.
Understanding Gluten-Free Frying
When frying gluten-free, several factors are crucial to achieve a product comparable to its traditional counterparts. The quality of the flour substitute plays a pivotal role. Flours with a lower propensity for oil absorption lead to a less greasy end product. Rice flour shines in this aspect, especially for items like fried chicken, providing a good texture without gluten. Alternatively, almond flour may be used for a richer taste and fullness, and it contains beneficial fats and proteins.
A key concern in any frying process is the smoke point of the oil; this is the temperature at which oil begins to break down and smoke, affecting flavor and quality. When deep frying gluten-free, one must ensure the oil can achieve and maintain a high temperature without surpassing its smoke point. Oils with high smoke points, such as canola oil, are recommended.
For deep frying, maintaining consistent oil temperature is paramount. When the oil reaches the desired temperature, typically around 400°F, one should manage the heat to keep it stable. It's important not to overcrowd the fryer to avoid drastic temperature drops.
Here are some gluten-free flour options:
Rice Flour: Best for mimicking traditional fried chicken.
Almond Flour: Good for breading with additional protein and fat.
Bean Flours: Suitable for savory applications.
Tapioca Starch: Often used for a crispy coating.
When preparing batter or breading, mixing dry ingredients thoroughly before adding wet components or food items is essential. Doing so ensures an even coat for a consistent fry. Gluten-free frying can yield delightful results with attentive ingredient selection and careful temperature control.
Selecting Gluten-Free Ingredients
Choosing the right gluten-free ingredients is essential for achieving delicious and crisp fried foods without the use of traditional wheat flour. This section guides you through various gluten-free flour alternatives, recommended oils that ensure a safe and tasty frying experience, additional components vital to frying, and herbs to enhance flavor.
Gluten-Free Flour Alternatives
For successful gluten-free frying, it is important to select the appropriate flour alternative. Different flours can alter the taste and texture of the final product:
Rice Flour: A versatile choice, rice flour provides a light and crispy texture.
Almond Flour: Offers a rich, nutty flavor and tends to add moisture to dishes.
Coconut Flour: Imparts subtle sweetness and absorbs a lot of moisture, so it should be used sparingly.
Chickpea Flour: Gives a slightly earthy taste and is high in protein.
Cornstarch: Commonly used as a coating for its ability to provide a crunchy texture.
Cassava Flour: A neutral flavor that resembles that of wheat flour and is good for dredging.
Potato Starch: Works well as a component in gluten-free flour blends due to its light and airy qualities.
A well-balanced all-purpose gluten-free flour blend can also be a convenient option.
Safe Oils for Gluten-Free Frying
The choice of oil can impact health, taste, and the gluten-free integrity of the dish:
Vegetable Oil: A common, versatile frying medium with a neutral flavor.
Canola Oil: Known for its light texture and suitable for high-temperature cooking.
Avocado Oil: High smoke point and imparts a subtle flavor.
Coconut Oil: Provides a hint of sweetness and is solid at room temperature.
Peanut Oil: Popular for deep-frying and adds a distinctive taste.
Olive Oil: Best reserved for low to medium-heat frying due to its lower smoke point.
Additional Gluten-Free Ingredients
When creating a gluten-free batter or breading, certain additional ingredients are utilized to complement the flour alternatives:
Buttermilk, Egg, or Milk: These bind the coating to the main ingredient.
Gluten-Free Baking Powder: Helps in leavening batters.
Lemon Juice: Adds brightness and can tenderize the main ingredient.
Using a flour blend sometimes eliminates the need for separate binders, as they often include xanthan gum or guar gum.
Herbs and Spices for Flavor
Herbs and spices play a pivotal role in adding flavor to gluten-free fried foods:
Salt and Pepper: Fundamental seasoning for enhancing the natural flavors.
Garlic Powder and Paprika: Provide depth to the taste profile.
Black Pepper and Cayenne Pepper: Offer a range of heat levels.
Dried Thyme: Adds a subtle, earthy tone.
These spices can be tailored to suit the specific dish being prepared, ensuring a flavorful result.
Prepping and Marinating Chicken
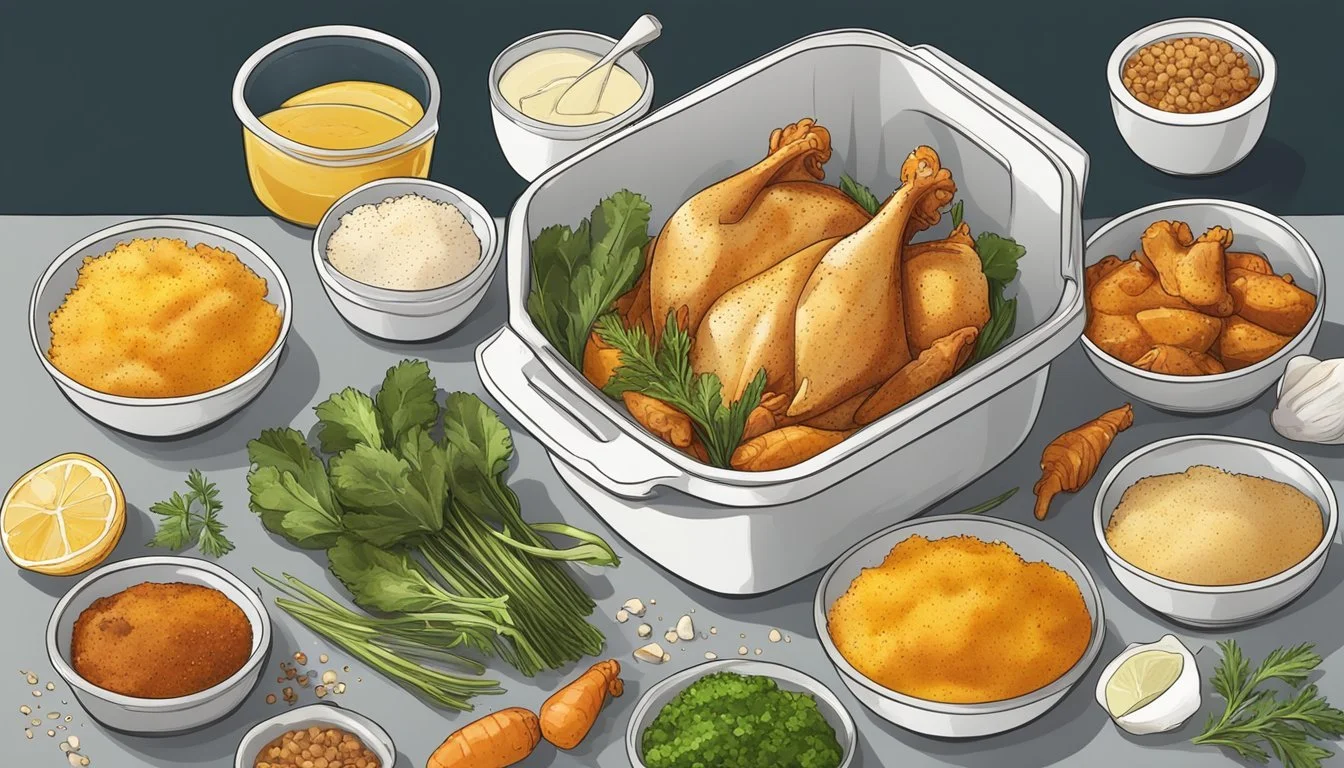
Before frying, preparing and marinating the chicken is crucial for achieving juicy, flavorful gluten-free fried chicken. The process involves a buttermilk marinade, known for tenderizing the meat and enhancing flavor.
Prep Time: The preparation for marinating should be quick, taking approximately 15 minutes. However, the marinating time itself is essential—chicken pieces should be left to marinate for at least 2 hours or, if time allows, up to 12 hours.
Creating the Buttermilk Marinade: To begin, they will need a large bowl. Here, they'll combine buttermilk with seasoning like salt, black pepper, paprika, and sometimes a dash of hot sauce for a kick.
Marinating Process:
Step Description 1 Mix buttermilk and spices in a large bowl. 2 Add chicken pieces—drumsticks, thighs, or tenders—to the mixture. 3 Ensure all chicken is submerged and coated properly. 4 Cover with plastic wrap or seal in a bag. 5 Refrigerate to let the chicken marinate.
It's important to note that bone-in chicken, such as drumsticks and thighs, often benefit the most from marination due to their denser texture. Chicken tenders will marinate quicker due to their smaller size and tenderness.
Lastly, they will want to ensure the chicken is marinated evenly. Proper marination results in a crisp, flavorful crust and a perfectly cooked interior once fried. Following these steps will set the foundation for delicious gluten-free fried chicken.
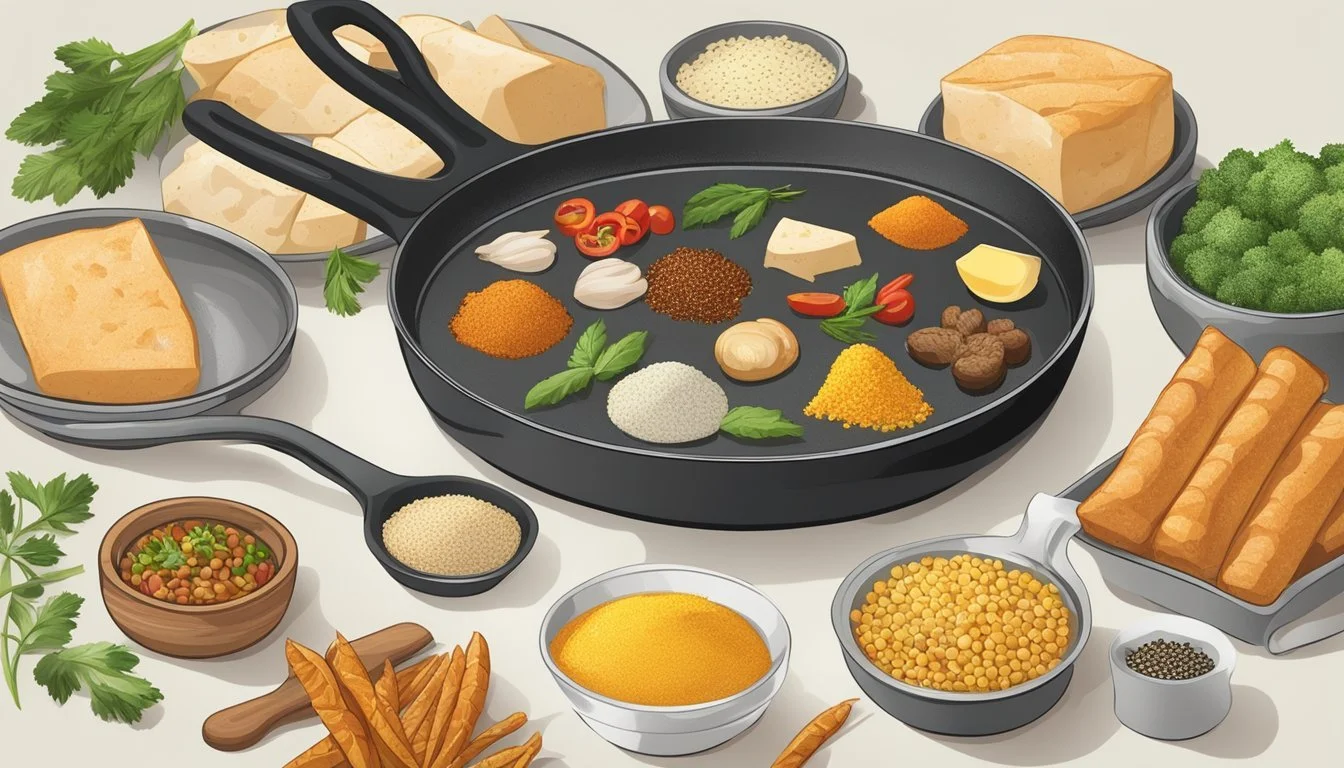
Breading Techniques for Gluten-Free Frying
For gluten-free fried chicken, the key lies in selecting the right coating to achieve a crispy, satisfying texture. The following breading techniques can enhance the frying experience for those following a gluten-free diet.
Preparing the Chicken: Begin by seasoning chicken pieces and let them sit for at least 15 minutes. An egg mixture can act as a perfect adhesive for the breading.
Breading Mix: A fine crumb from gluten-free bread or even ground rice cakes can create an even, crispy coating. To the breadcrumb mix, chefs can add desired seasonings to suit individual tastes.
Gluten-Free Flour Options Properties Rice flour Light, crispy Almond flour Hefty, filling Gluten-Free Baking Mix Convenient, tested
Breading Method:
Dry-Wet-Dry: Coat the chicken in the gluten-free flour first, dip it into the egg mixture, and then back into the flour. This method ensures a thick, even coating.
Double Breading: For extra crispiness, repeat the breading process twice.
Resting: After breading, let the chicken pieces rest on a wire rack for a few minutes. This step helps the coating stick better during frying.
Frying: Heat an adequate amount of oil in a heavy-bottom skillet to ensure a good frying temperature. Be attentive to the heat level to avoid burning the gluten-free breading.
These techniques can help achieve a gluten-free fried chicken with a delectably crispy coating while maintaining the desired flavors and textures. Remember to allow the chicken to rest after breading and monitor the frying process closely for the best results.
Cooking Methods Compared
When considering gluten-free options for cooking fried chicken, the method chosen has a significant impact on texture, flavor, and the nutritional profile of the final dish.
Deep Frying Method
Deep frying gluten-free chicken involves submerging the chicken pieces in hot oil using a deep fryer. A precise thermometer is integral to monitor the oil temperature, which is typically kept around 350°F to 375°F. This ensures that the chicken reaches the proper internal temperature for safety and doneness without absorbing excessive oil. It's crucial to use tongs to carefully place and remove the chicken from the oil and to let it rest on paper towels to remove excess oil. Deep frying can provide a golden and crispy exterior while keeping the interior juicy.
Baked Gluten-Free Chicken Options
Baked gluten-free chicken offers a lower-calorie alternative to traditional frying. To achieve a crispy texture, the chicken can be coated with a gluten-free flour blend and then placed on a baking sheet. The oven temperature should be high enough, typically around 425°F, to help crisp the coating. Baking results in a different texture than deep frying and may require experimentation with coating blends and baking times to achieve the desired crispiness.
Using an Air Fryer
Cooking with an air fryer has become a popular method for making crispy chicken with significantly fewer calories than deep frying. In an air fryer, hot air circulates around the gluten-free coated chicken in an air fryer basket, cooking it evenly and creating a crispy exterior. The texture is similar to fried chicken, and using an air fryer eliminates the need for large amounts of oil, making it a healthier option. It's vital to ensure the chicken pieces do not overlap in the basket for the best results.
Safety Considerations

When frying with gluten-free flours, maintaining a safe kitchen environment is crucial. One should always be vigilant around hot oil. It's essential to use a thermometer to monitor the oil temperature, as overheating can lead to a fire hazard, while too low a temperature may result in soggy, oil-saturated food.
For safety, keep a lid nearby to cover the pan in case of a grease fire. Do not douse the fire with water, as this will spread the flame. Instead, turn off the heat and cover the pan to smother the flames.
Additionally, certain gluten-free flours like tapioca flour have specific properties affecting oil temperature and crispiness. Users must understand these characteristics to maintain food safety and achieve the desired result. Here's how:
Temperature Control: Always bring the oil to the right temperature, typically between 350-375°F (175-190°C), and ensure it does not drop significantly when adding food.
Cook Time: Gluten-free flours might cook differently than traditional flour; monitor closely to achieve the correct internal temperature without overcooking.
Handling Tips:
Use separate utensils and fryers for gluten-free items to avoid cross-contamination.
Do not place gluten-free items on surfaces where gluten-containing products were prepared.
Following these guidelines not only ensures a safe cooking environment but also guarantees the integrity of gluten-free meals, keeping them safe and enjoyable for individuals with gluten sensitivities or celiac disease.
Serving and Accompaniments
The best gluten-free fried chicken deserves the right sides and sauces. To ensure a balanced and enjoyable meal, consider adding delightful sides that complement the golden crispiness of the chicken and dipping sauces that add an extra zing.
Sides to Complement Gluten-Free Fried Chicken
For those enjoying gluten-free fried chicken, pairing it with the right sides can elevate the dining experience. Consider the following options:
Mashed Potatoes: A classic choice, creamy mashed potatoes make for a comforting side that pairs wonderfully with the crispy texture of fried chicken.
Potato Salad: For a cold alternative, a tangy potato salad can provide a refreshing contrast to the warmth of the chicken.
Gravy: Gluten-free gravy can be drizzled over the chicken or on the side for dipping, enhancing flavors and adding moisture.
Rest: Allow the chicken to rest on a wire rack to maintain its crispness. While it rests, prepare the sides to be served fresh.
Recommended Dipping Sauces
The right sauce can be the perfect complement to gluten-free fried chicken by adding layers of flavor.
Honey: Pure honey is a natural, sweet option that brings out the savory notes of the chicken.
Gluten-Free Gravy: A classic thickened gravy can be made gluten-free and used as a rich dipping sauce.
By choosing the appropriate sides and sauces, one can create a well-rounded meal that highlights the best qualities of gluten-free fried chicken.
Gluten-Free Frying Tips and Tricks
When preparing gluten-free fried chicken, selecting a suitable gluten-free flour blend is essential for a crispy fried chicken outcome. One must consider the flour's oil absorption rate, as lower absorption yields a less greasy product.
Pre-Frying Preparation:
Prep time: Allocate sufficient prep time to ensure your chicken is marinated properly, ideally for at least 2 hours, to enhance flavors.
Drying: Post-marination, pat the chicken dry with paper towels to remove excess moisture which can affect crispiness.
Frying Technique:
Temperature: Maintain the oil temperature around 350° Fahrenheit for consistent cooking.
Batch Size: Fry in small batches to prevent oil temperature drops and ensure each piece cooks evenly.
Post-Frying Handling:
Resting: Post-frying, rest the chicken on a wire rack instead of paper towels. This prevents steam buildup and soggy bottoms, keeping the chicken crisp.
Cook time: Monitor the cook time closely; overcooking can dry out the chicken and burn the coating.
Remember to always conduct a thorough ingredient review to verify that all components are truly gluten-free, safeguarding those with celiac disease or gluten intolerance. It's beneficial to consult reputable blogs or food websites dedicated to gluten-free cooking for further tips and recipes.
Food Pairings and Dietary Considerations
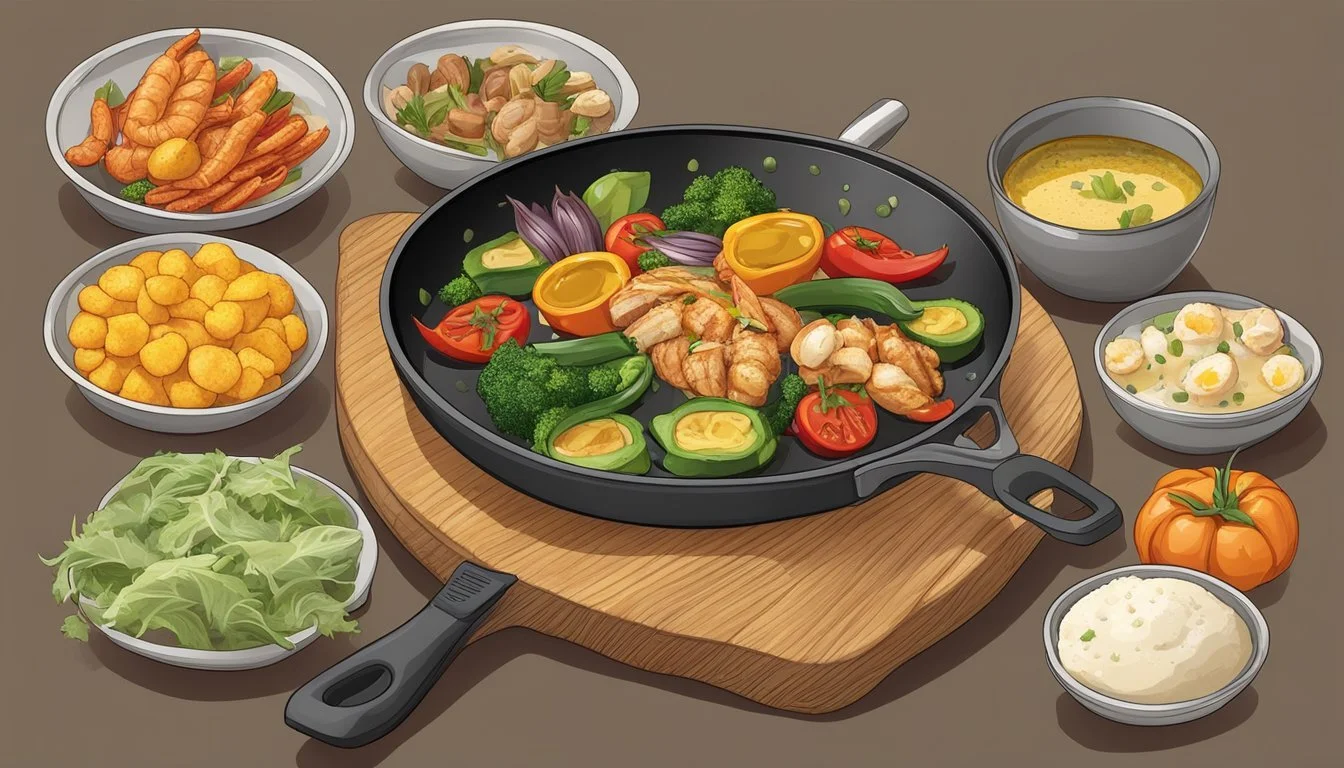
When choosing gluten-free options for frying, one must consider the dietary needs and complementing sides to create a balanced meal.
For a well-rounded meal that adheres to gluten-free standards, diners can pair their fried entrees with a variety of side dishes. Steamed vegetables, such as broccoli and carrots, offer a colorful and nutritious contrast, while roasted sweet potatoes add a subtly sweet note. For those seeking a lighter option, a fresh garden salad with a gluten-free dressing can serve as an excellent accompaniment.
In terms of dietary considerations, some individuals may follow a paleo diet, which often overlaps with gluten-free requirements. Paleo-friendly fried foods require using non-grain-based flours, such as almond or coconut flour, which are inherently gluten-free.
Here is a concise table of gluten-free flour options and their paleo status:
Gluten-Free Flour Paleo-Friendly Rice Flour No Cornstarch No Almond Flour Yes Coconut Flour Yes Tapioca Starch Yes
When preparing gluten-free fried foods, it is essential to consider the potential for cross-contamination. One must use dedicated gluten-free utensils and fryers to ensure the safety of those with celiac disease or non-celiac gluten sensitivity.
By being mindful of these dietary considerations and thoughtful in pairing sides, individuals on gluten-free or paleo diets can enjoy a variety of delicious and satisfying meals.
Storing and Reheating Advice
When it comes to gluten-free fried foods such as chicken, proper storing and reheating are crucial to maintaining taste and texture. They should take special care to ensure that the crispiness is preserved.
Storing Gluten-Free Fried Chicken
For short-term storage, gluten-free fried chicken can be kept in the refrigerator. Here's how one should store it:
Cool Down: Allow the chicken to cool to room temperature to prevent condensation inside the container.
Airtight Container: Place the chicken in an airtight container, separating layers with parchment paper to prevent sticking.
Refrigerate: The chicken can be refrigerated for up to 3 days.
Reheating Gluten-Free Fried Chicken
Reheating should be done in a way that restores the chicken's original crispness as much as possible:
Oven Method (Recommended):
Preheat oven to 375°F.
Place chicken on a wire rack over a baking sheet.
Reheat for 10-15 minutes or until the internal temperature reaches 165°F.
Air Fryer Method:
Preheat air fryer to 350°F.
Reheat chicken for about 5 minutes, checking for crispness.
Microwave Method (Not recommended, as it can make the chicken soggy):
If necessary, use the microwave on a low-power setting in 30-second intervals, checking regularly.
Gluten-free fried foods handle reheating differently than their gluten-containing counterparts due to the unique properties of gluten-free breading. One should keep a close eye on the chicken during reheating to avoid drying it out.
