
How Long Does Chicken Kiev Last?
Storage Tips and Shelf Life

Chicken Kiev, a beloved dish originating from Eastern Europe, especially Ukraine and Russia, brings a rich blend of flavorful garlic butter and perfectly cooked chicken to the table. This dish has become popular worldwide, showcasing the culinary traditions of Slavic cuisine. But for those who make Chicken Kiev at home, a key question often comes up: How long does Chicken Kiev last?
Properly stored in the refrigerator, cooked Chicken Kiev can last for about 3-4 days. Ensuring it is kept in an airtight container can help maintain its quality and prevent any foodborne illnesses. If frozen, it can remain safe to eat for up to 2-3 months, making it a convenient dish to prepare in bulk and enjoy later.
Understanding the shelf life of Chicken Kiev is essential for enjoying it safely and deliciously. By knowing how to store it properly, you can savor this Eastern European classic without worry. This blog post will delve deeper into the best practices for storing, reheating, and preserving the taste and texture of Chicken Kiev.
Understanding Chicken Kiev

Chicken Kiev, a dish known for its delightful garlic butter filling and crispy exterior, has a rich history and specific set of ingredients that make it unique.
Origins and Cultural Significance
Chicken Kiev is believed to have originated in Eastern Europe, particularly in Ukraine. The name "Kiev" references the capital city of Ukraine, suggesting a deep-rooted cultural significance.
The dish became popular in the mid-20th century and is often associated with fine dining. It has also made appearances on menus in various countries, further solidifying its global presence. Historical anecdotes hint that its creation may involve a blend of French culinary techniques and Eastern European flavors.
Traditional Ingredients
A classic Chicken Kiev recipe requires a combination of core ingredients. Chicken breasts are flattened and filled with a mixture of butter, parsley, garlic, and sometimes tarragon or dill.
The stuffed chicken is then coated in all-purpose flour, dipped in eggs, and finally rolled in bread crumbs or panko breadcrumbs. This meticulous layering results in a crispy exterior that complements the soft, flavorful butter filling inside.
Salt and black pepper are commonly used to season the dish, ensuring each bite is savory and well-balanced. The choice of fresh herbs adds aromatic qualities that enhance the overall taste profile.
Preparation Techniques
Pounding and tenderizing the chicken, stuffing it with herb butter, and then breading and rolling are critical steps for a delicious Chicken Kiev. Each step has its nuance to ensure a crispy exterior and a juicy, flavorful interior.
Pounding and Tenderizing
Pounding chicken breasts is essential to achieve uniform thickness. This helps in even cooking and ensures the meat remains juicy. Place each chicken breast between two sheets of plastic wrap.
Using a meat mallet, gently pound the chicken to about 1/4-inch thickness. This process not only flattens the meat but also tenderizes it, making it easier to roll later. Be careful not to tear the meat; gentle, even strokes work best. Skinless chicken breasts or tenderloins are both suitable for this method.
Stuffing with Herb Butter
Creating a flavorful herb butter is crucial for Chicken Kiev. Blend softened butter with minced garlic, fresh parsley, and other herbs like dill or tarragon. The combination of these ingredients forms a compound butter that melts beautifully inside the chicken, releasing flavors with each bite.
Cut a small pocket into the thickest part of the breast without slicing all the way through. Place a small log of herb butter inside the pocket. Seal the opening by pressing it together, helping to keep the butter from leaking out during cooking. Refrigerate the stuffed chicken for about 15-20 minutes to firm up the butter before the next step.
Breading and Rolling
The next step involves breading the chicken, which provides the signature crispy coating. Set up a dredging station with three shallow dishes: one for flour seasoned with salt and pepper, one for whisked eggs with a little mustard, and one for breadcrumbs seasoned with additional salt and pepper.
First, coat the stuffed chicken in flour, then dip it in the egg mixture and finally roll it in the breadcrumbs, ensuring an even coating. For extra crunch, use Panko breadcrumbs.
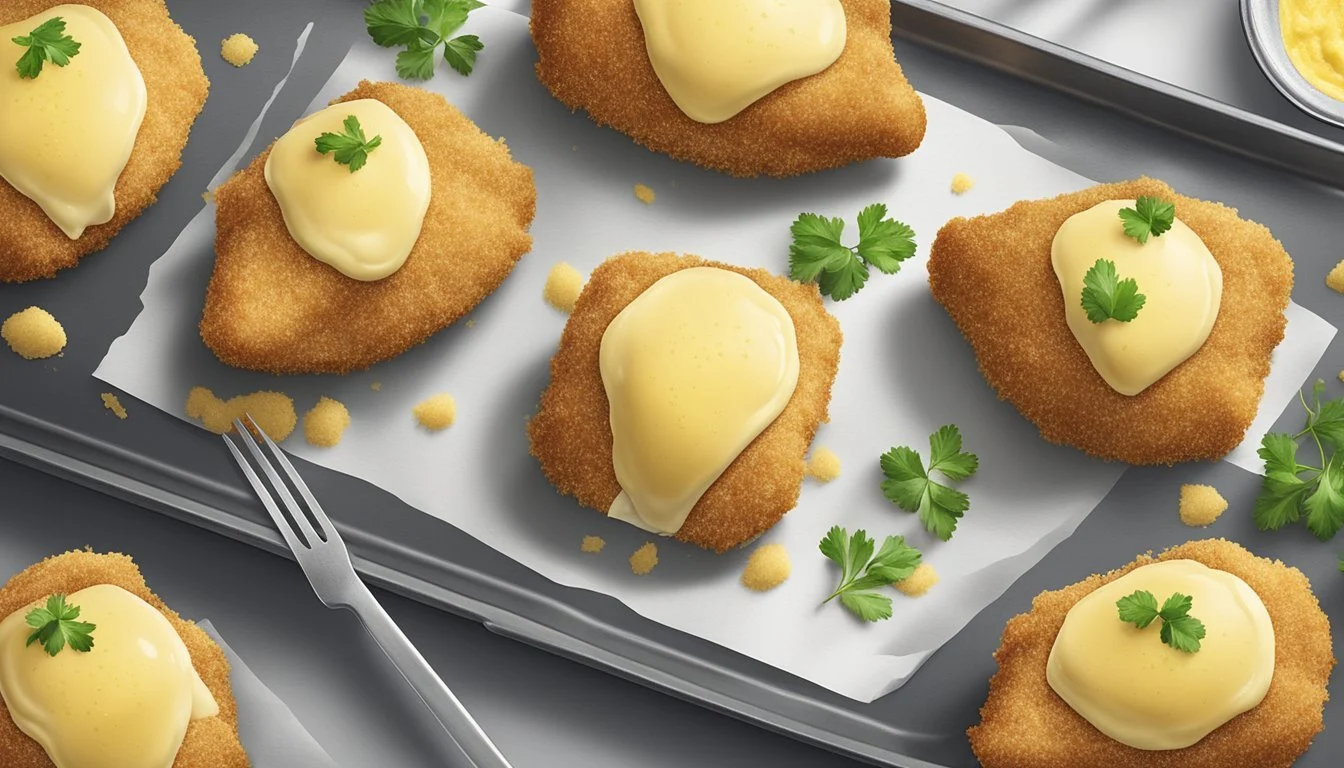
Once breaded, gently roll each chicken breast into a log shape, tucking in the sides to encase the butter completely. Secure with toothpicks if necessary. Place the rolled chicken on a baking sheet lined with parchment paper and refrigerate for 30 minutes before cooking to help the coating adhere.
By mastering these preparation techniques, you set the foundation for perfectly cooked Chicken Kiev, ensuring the butter stays inside while the exterior gets crisp and golden.
Cooking Methods
Cooking Chicken Kiev involves multiple methods that ensure the ideal crispy exterior and a succulent interior. Each method detailed below caters to achieving a golden brown crust and thoroughly cooked chicken.
Baking in the Oven
Baking provides an even cook and helps maintain the integrity of the chicken. Preheat the oven to 375°F (190°C) and line a baking sheet with parchment paper.
Prepare the chicken by cutting pockets carefully into the breasts. Fill these pockets with the butter mixture before coating the chicken in seasoned panko breadcrumbs. Place the chicken on the baking sheet and bake for about 30 minutes or until it reaches an internal temperature of 165°F.
To avoid overly browning, tent the chicken with foil halfway through. This method ensures a less greasy finish while achieving a crispy outer layer.
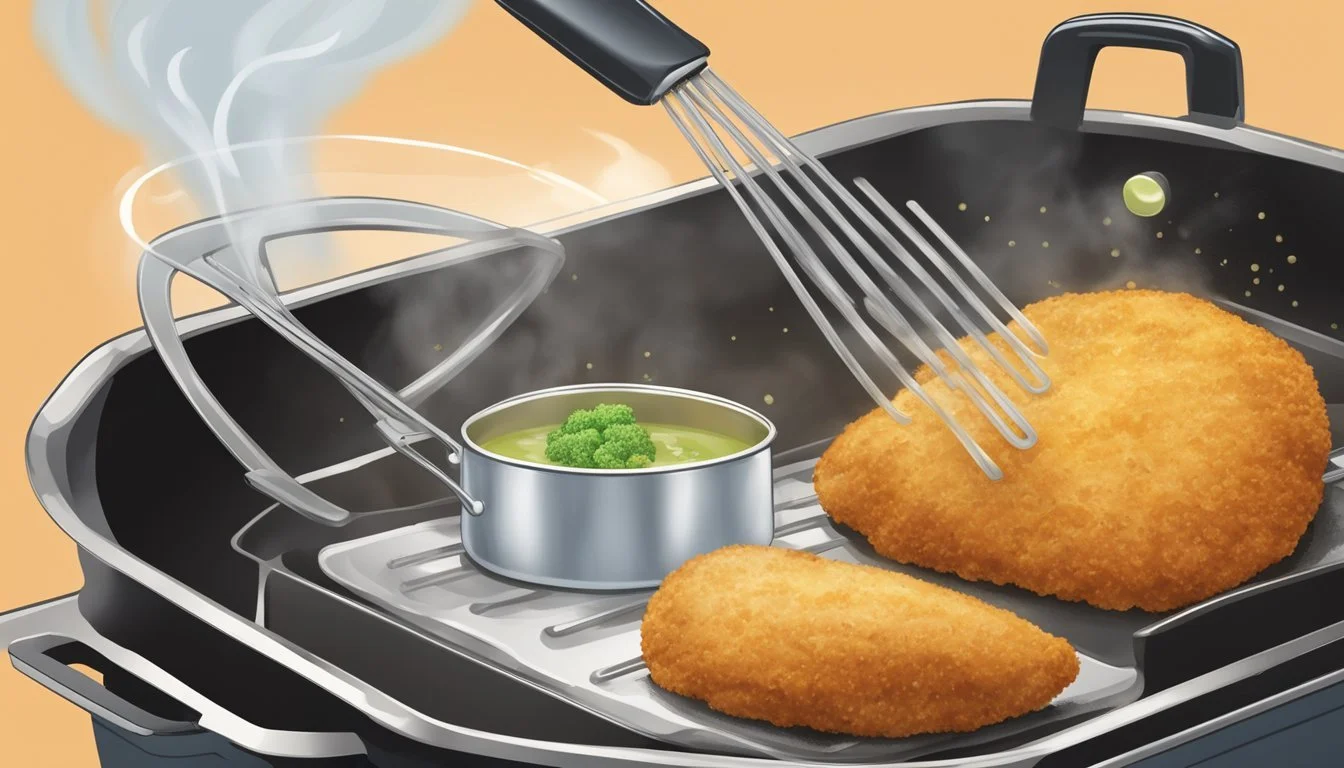
Pan-Frying to Golden Brown
Pan-Frying delivers an initial sear that locks in juices and creates a golden brown, crispy exterior. Heat a generous amount of vegetable oil in a skillet over medium heat.
Carefully place the breaded chicken breasts into the hot oil. Fry each side for about 2-3 minutes until they turn a deep golden brown. Avoid overcrowding the pan to ensure even cooking and crispiness.
Removing the chicken at this stage means it is not fully cooked inside but achieves the desired texture on the exterior. This method provides a rich and tasty crust but requires careful attention to avoid burning.
Combination Cooking
Combination Cooking merges the benefits of both baking and frying, offering a balance of texture and moistness. Start by shallow frying the stuffed, breaded chicken in vegetable oil for about 5 minutes on each side until the crust is golden brown.
Once the crust is set, place the chicken on a baking sheet lined with foil and transfer it to a preheated oven at 350°F (175°C). Bake for an additional 10-15 minutes until the chicken reaches an internal temperature of 165°F. This hybrid method ensures a crispy exterior with a thoroughly cooked and juicy interior.
Combination cooking is particularly useful for those desiring a restaurant-quality finish without compromising on either texture or flavor.
Storing Chicken Kiev

Chicken Kiev can be safely stored for extended periods by following proper refrigeration and freezing guidelines. Adhering to these steps ensures the dish maintains its quality and remains safe for consumption.
Refrigeration Guidelines
Chicken Kiev, whether homemade or store-bought, should be stored in the fridge at or below 40°F (4°C). Uncooked Chicken Kiev can last up to 2 days, while cooked Chicken Kiev can be kept for 2 to 3 days. For best results, place it in an airtight container or wrap it tightly with plastic wrap. Labeling the container with the date helps keep track of freshness.
If you have leftovers, cool them quickly and refrigerate within 2 hours of cooking. Reheat leftovers until the internal temperature reaches 165°F (74°C) to ensure safety.
Freezing and Thawing
For longer storage, freezing Chicken Kiev is a great option. Uncooked Chicken Kiev freezes best. Wrap each piece tightly in plastic wrap, then place them in a freezer bag to prevent freezer burn. Label the bag with the date.
Chicken Kiev can be kept in the freezer for up to 3 months. To cook frozen Chicken Kiev, you can bake it directly from frozen in a 375°F (190°C) oven for about 45-50 minutes.
Thawing in the fridge takes about 24 hours. Avoid thawing at room temperature to prevent bacterial growth.
When freezing cooked Chicken Kiev, ensure it's cooled completely before wrapping and freezing, and reheat from frozen until it reaches a safe internal temperature of 165°F (74°C).
Serving Suggestions

Chicken Kiev pairs wonderfully with a variety of side dishes and garnishes, enhancing its flavors and creating a balanced meal. Proper presentation and thoughtful accompaniments can elevate the dining experience.
Accompaniments and Sides
One of the classic sides to serve with Chicken Kiev is mashed potatoes. The creaminess of the potatoes complements the crisp breadcrumb coating. Alternatively, fingerling potatoes roasted with herbs provide a delightful contrast in texture.
For a fresh element, consider a Greek salad with tomatoes, olives, and feta cheese. Roasted vegetables, such as asparagus, green beans, and carrots, add color and nutrients to the plate.
Rice pilaf or butter parmesan orzo are also great options, offering a light and flavorful base. Crusty bread or garlic butter grilled corn can provide additional flavors and textures. A side of creamy coleslaw or a three bean salad can further diversify the meal.
Presentation and Garnishing
Presentation plays a crucial role in ensuring Chicken Kiev is both visually appealing and appetizing. Arrange the chicken on a plate and spoon extra garlic butter sauce over it for added flavor and moisture.
Garnish with a sprinkle of fresh dill or chives to add a pop of color and a subtle herby aroma. Lemon wedges can be placed on the side to provide an optional tangy burst when squeezed over the chicken.
For a final touch, a small salad with mixed greens and a light drizzle of lemon juice adds freshness. Serving with fresh bread in a basket can enhance the meal and offer guests a delightful complement to the rich Chicken Kiev.
Variations of Chicken Kiev

There are many diverse styles to prepare Chicken Kiev, including alternate fillings and coatings, as well as adaptations inspired by different cuisines. These variations offer unique tastes and cater to different dietary preferences and cultural traditions.
Alternate Fillings and Coatings
While the classic Chicken Kiev features a buttery garlic filling, inventive cooks have experimented with a variety of alternatives. Ham and cheese is a notable filling, similar to Chicken Cordon Bleu. This combination adds a savory, salty layer that complements the chicken.
Some chefs prefer to use different herbs beyond parsley, such as dill or thyme, to bring fresh flavors. Cheesier versions might incorporate sharp cheddar or blue cheese for a tangy kick.
In terms of coatings, traditional bread crumbs can be swapped with panko crumbs for extra crunch. Some variations even employ crushed nuts or seeds to enhance the texture and nutritional content. Whether baked or fried, these alternative fillings and coatings bring new life to this Ukrainian classic.
Cuisine Adaptations
Chicken Kiev has also been adapted to fit different culinary traditions. In Italy, a version akin to Chicken Parmesan may be served with marinara and mozzarella, bridging the flavors of Kyiv and Italian classics.
Adaptations also include using chicken thighs instead of breast for a juicier bite, appealing to those who prefer dark meat.
Asian-inspired variations might include ginger and soy sauce in the butter stuffing, creating a fusion dish that melds Eastern flavor profiles with Western techniques. Using boneless chicken makes it easier to handle while still delivering a flavorful punch.
These adaptations ensure Chicken Kiev retains its beloved status while appealing to diverse palates globally.
Health and Nutrition

Chicken Kiev, while delicious, contains a variety of nutrients and calories that are essential to be aware of for a balanced diet. Understanding the caloric content and nutrient considerations can help in making informed dietary choices.
Caloric Content
A typical serving of Chicken Kiev, which is about one whole breast, can contain roughly 653 calories. This dish is relatively high in calories due to the combination of chicken, garlic butter, and breading.
The butter used in the stuffing contributes significantly to the calorie count. Depending on the recipe, oils like olive oil or canola oil may be used to prepare the breadcrumb coating. These oils also add to the total calories, though they provide healthier fats compared to butter.
Nutrient Considerations
Chicken Kiev is rich in protein, offering essential amino acids needed for muscle repair and growth. Each serving typically includes nutrients such as calcium, iron, and magnesium.
The garlic butter provides a dose of Vitamin A, while the breading adds carbohydrates and some fiber. Using olive oil or canola oil in the preparation can increase the content of monounsaturated fats, which are beneficial for heart health.
However, because of its high fat and sodium content, it's best to consume Chicken Kiev in moderation, especially for those managing cholesterol and blood pressure levels. Adjusting recipes to include whole grain breadcrumbs and using less butter can help make this dish slightly healthier.
Kitchen Utensils and Equipment
Having the right kitchen utensils and equipment is crucial for preparing Chicken Kiev efficiently. From preparation to cooking and serving, each step requires specific tools to ensure the dish is made to perfection.
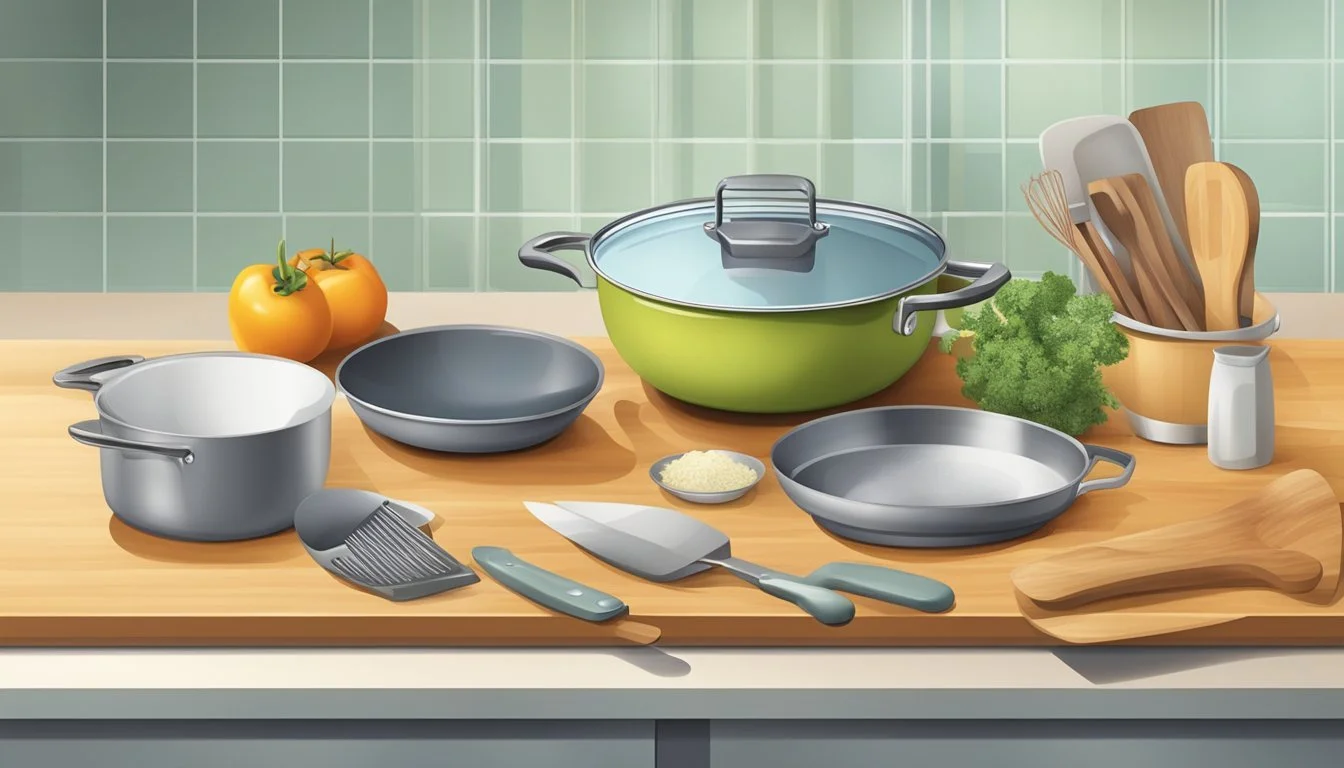
Essential Tools for Preparation
For preparing Chicken Kiev, a cutting board is necessary for slicing the chicken breasts. A sharp knife will ensure clean cuts.
A meat mallet or rolling pin is essential for pounding the chicken to an even thinness, which helps in the rolling process.
Plastic wrap or parchment paper is useful to place over the chicken while pounding to prevent mess.
Measuring spoons and cups are needed for ensuring accurate quantities of ingredients, especially for the herbed butter filling.
Cooking and Serving Implements
Once the chicken is prepared, a frying pan is needed for searing.
An oven-safe dish or baking sheet, preferably with a wire rack, is useful for baking.
Paper towels are invaluable for absorbing excess oil after frying.
For serving, a pair of tongs allows for easy transfer of the Chicken Kiev to the plate without losing the crispy coating.
A good-quality chef's knife is useful for slicing the chicken to serve.
Serving spoons will help in dishing out accompaniments like vegetables or rice.
Having these tools on hand ensures that each step of the Chicken Kiev preparation is smooth and efficient, resulting in a delicious and well-presentation.
