
How Long Do Vanilla Wafers Last?
Shelf Life and Storage Tips

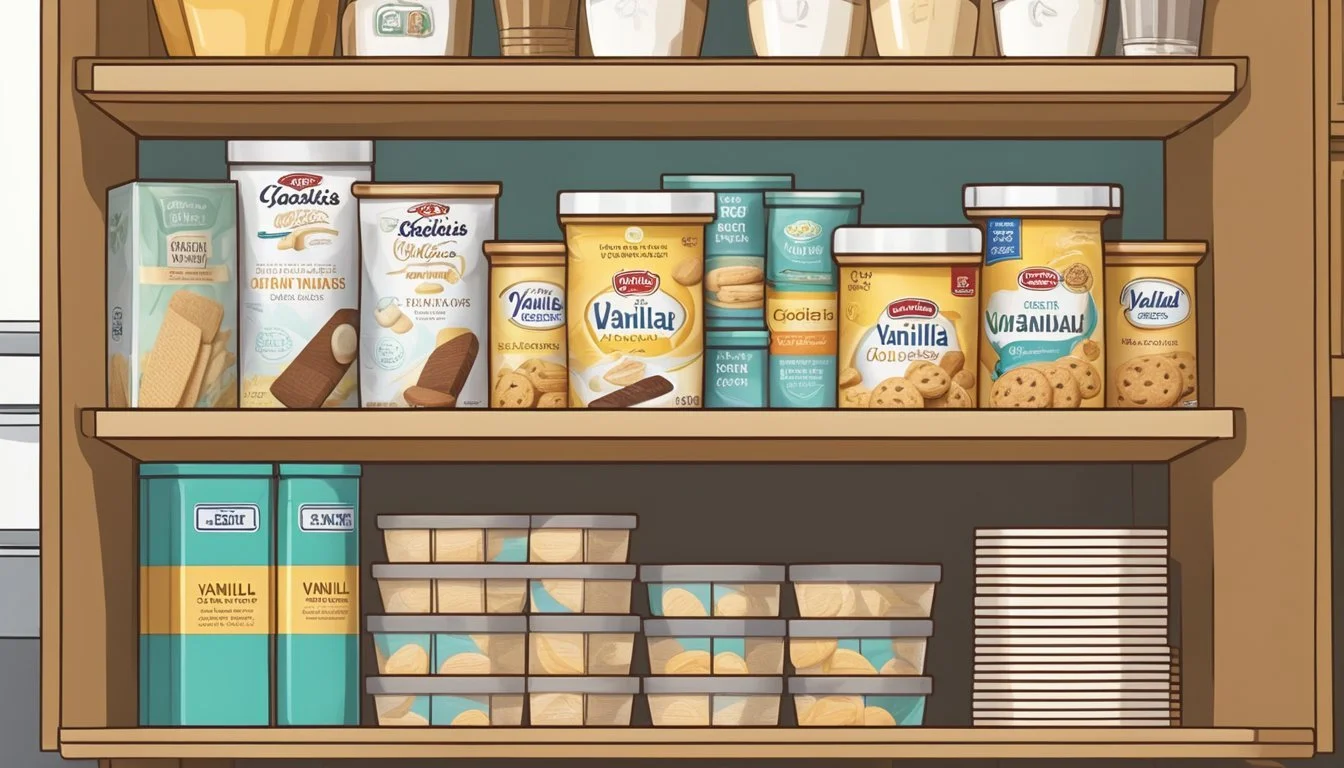
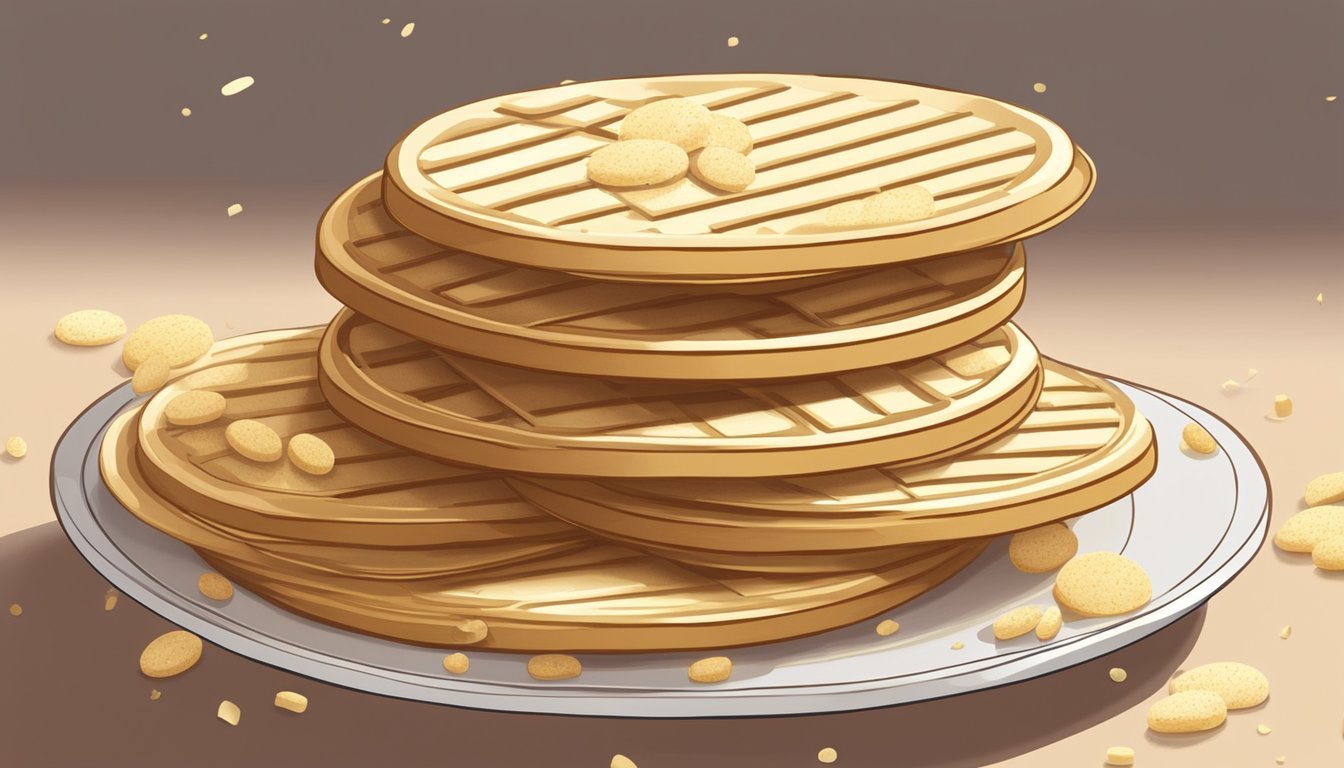
Vanilla wafers (how long do vanilla wafers last?), a popular sweet snack known for their crisp texture and rich vanilla flavor, are a staple in many pantries. Like most food items, they have an expected shelf life which indicates how long they will maintain their best quality. Typically, an unopened package of vanilla wafers will last well beyond the printed 'best by' date if stored properly in a cool, dry place. The longevity of these cookies stems from their low moisture content which deters the growth of mold and other microorganisms that can lead to spoilage.
Once opened, the shelf life of vanilla wafers can decrease due to exposure to air, moisture, and potential contaminants. To preserve their freshness and flavor after opening, it is recommended to store them in an airtight container. Under these conditions, they can remain safe to consume for several weeks. It is important to note that while it's generally safe to eat vanilla wafers after their expiration date, one should always check for signs of spoilage such as an off smell or presence of mold before eating.
In the kitchen, vanilla wafers are versatile, making appearances in various dessert recipes from pie crusts and as a base for cheesecakes to being used in layers for banana pudding. Should there be a need to store them for longer periods, freezing is an option that can extend their usability. When frozen properly in a plastic bag with the date marked, vanilla wafers can last up to a month, effectively prolonging the enjoyment of this beloved treat.
Understanding Shelf Life of Vanilla Wafers
The longevity of vanilla wafers is contingent upon various factors, including storage practices and adherence to expiration dates. Recognizing spoilage signs is crucial for maintaining safety when consuming these cookies.
Factors Affecting Shelf Life
Shelf life of vanilla wafers can be influenced by several key storage conditions:
Temperature: Vanilla wafers should be kept in a cool, dry area.
Humidity: Excessive moisture can accelerate spoilage.
Light Exposure: To maintain freshness, store them away from direct sunlight.
Expiration Date and Spoilage Signs
Vanilla wafers come with an expiration date, which is an estimate of how long the cookies will maintain optimal quality. A few spoilage signs include:
Mold: Any visible mold growth indicates spoilage.
Odor: An off smell is a clear indicator the cookies shouldn't be consumed.
Texture: Stale or overly hard cookies suggest they are past their prime.
Safety Considerations for Consuming Expired Cookies
While consuming expired vanilla wafers may not always pose a health risk, it's essential to exercise caution:
Inspect for Spoilage: Before consumption, check for the aforementioned spoilage signs.
Storage Integrity: Ensure the packaging has not been compromised, which could lead to contamination.
Proper Storage Techniques
To maintain the freshness and flavor of Vanilla Wafers, it is essential to store them correctly. Understanding the importance of airtight containers, ideal temperature control, and moisture management can significantly extend the longevity of the wafers.
Airtight Containers for Prevention of Staleness
Using airtight containers is fundamental in preserving the crispness of Vanilla Wafers. These containers prevent the ingress of air, which can contribute to the wafers becoming stale. Glass jars with tight-sealing lids or heavy-duty plastic containers with snap-on lids are preferable.
Freezing Vanilla Wafers for Longevity
For those looking to keep Vanilla Wafers fresh for an extended period, freezing is an effective option. Wafers can be stored in the freezer inside airtight containers or heavy-duty freezer bags. This method helps to maintain their quality for several months. One should ensure that the wafers are completely cool before freezing to prevent condensation.
Steps for Freezing:
Place wafers in an airtight container or heavy-duty freezer bags.
Remove as much air as possible before sealing.
Label the container with the current date for future reference.
Thaw at room temperature when ready to consume.
Moisture Control and Storage Environment
Moisture can have a detrimental effect on the texture of Vanilla Wafers. It is advised to keep the wafers in a cool, dry place to avoid moisture build-up that can lead to sogginess. Areas with stable temperatures, such as a pantry or kitchen cabinet, are usually well-suited for storage. Refrigerating is typically not necessary and could introduce unwanted moisture.
Homemade Vanilla Wafers
Creating vanilla wafers at home allows for a fresh and customizable baking experience, often resulting in cookies with a more pronounced vanilla flavor and a delightful texture that can range from crispy to slightly chewy depending on baking time.
Key Ingredients for Making Vanilla Wafers at Home
All-purpose flour: This is the base for the cookie dough, giving structure to the wafers.
Baking powder: Acts as a leavening agent, contributing to the light texture of the wafers.
Kosher salt: Balances the sweetness and enhances the overall flavor profile.
Unsalted butter: Should be at room temperature to cream well with the sugar, adding richness to the cookies.
Granulated sugar: Provides sweetness and helps with browning.
Egg whites: Contribute to the light, airy texture of the wafers without the additional fat from yolks.
Pure vanilla extract or vanilla bean paste: Imparts the characteristic vanilla flavor. Vanilla bean paste can add a more intense flavor and visual appeal with the specks of vanilla beans.
Whole milk: Adds moisture to the dough and helps to create a smooth, pliable texture.
Recipe and Baking Instructions
Preheat the oven to 350°F (175°C) and line baking sheets with parchment paper.
In a medium bowl, whisk together 1 1/3 cups of all-purpose flour, 1/2 teaspoon of baking powder, and 1/4 teaspoon of kosher salt; set aside.
In a large bowl, cream 1/2 cup of unsalted butter with 1/2 cup of granulated sugar until light and fluffy, about 2 minutes.
Add 2 egg whites and 1 teaspoon of pure vanilla extract or vanilla bean paste to the butter mixture and mix until combined.
Gradually add the flour mixture and 2 tablespoons of whole milk to the wet ingredients, mixing until just combined.
Transfer teaspoon-sized dollops of dough onto the prepared baking sheets, spacing them about 1 inch apart.
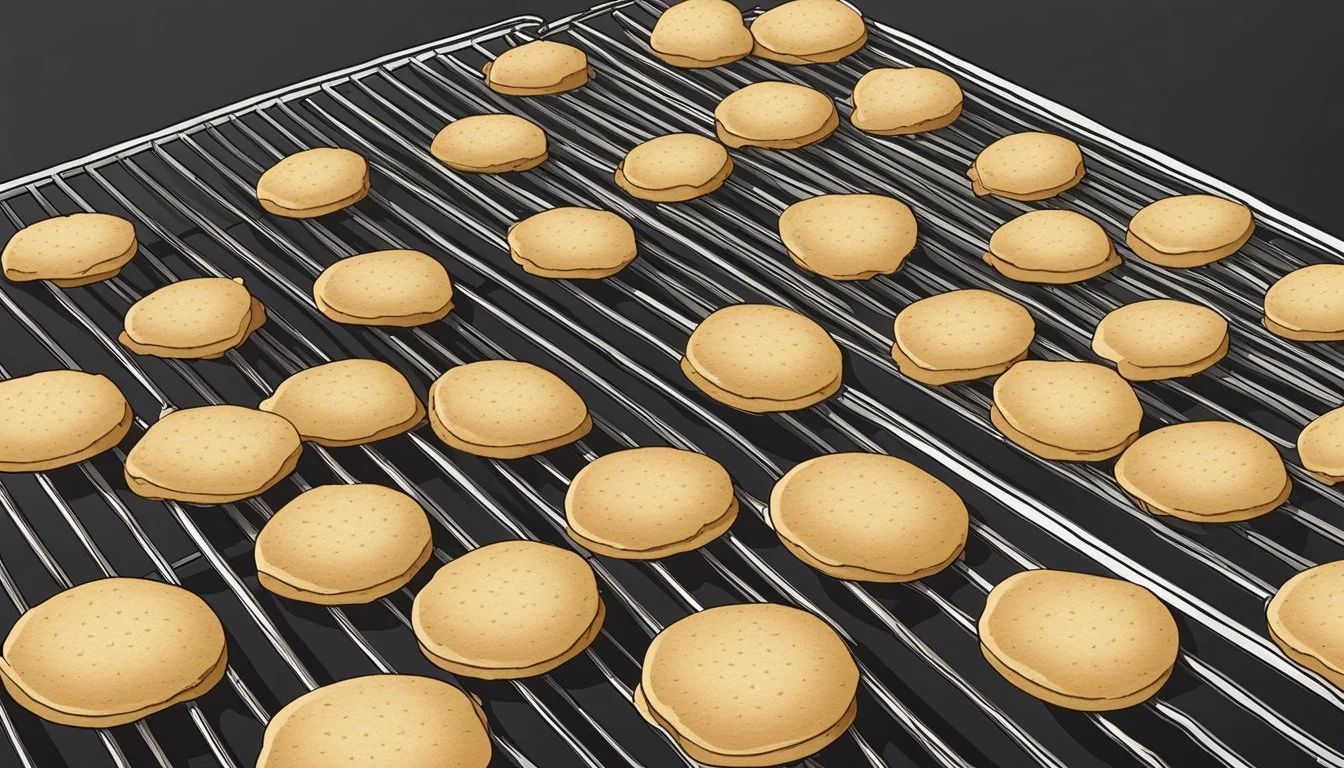
Bake for 12 to 15 minutes, or until the edges are golden brown and the centers are set.
Allow the wafers to cool on the baking sheets for a few minutes before transferring them to a wire rack to cool completely.
Storage Differences for Homemade Wafers
Homemade vanilla wafers do not contain preservatives, which affects their shelf life compared to store-bought versions. When stored properly in an airtight container at room temperature, homemade vanilla wafers typically remain fresh for up to one week. For extended storage, placing them in the refrigerator can help maintain freshness for up to two weeks, while freezing can extend their life up to three months. It's important to ensure they are thoroughly cooled before storing to prevent condensation and softening of the cookies.
Vanilla Wafers in Desserts
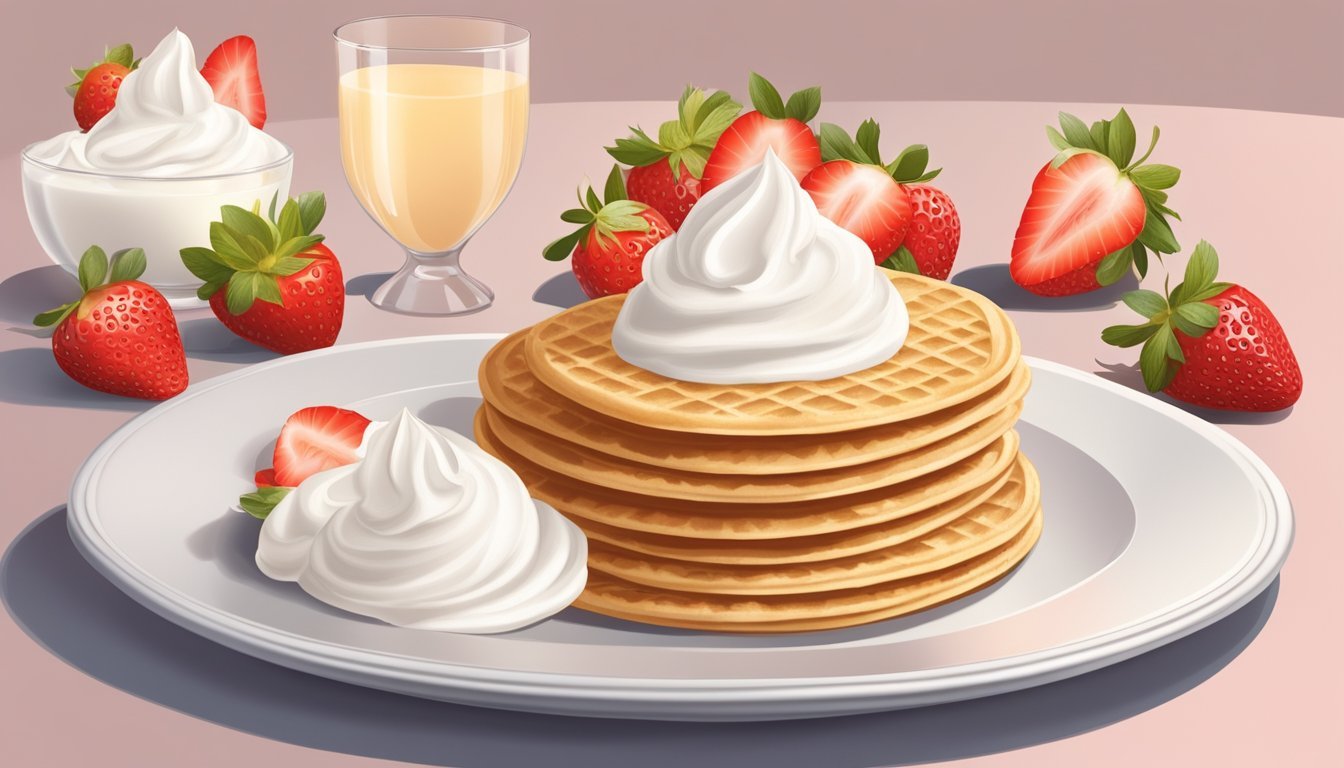
Vanilla wafers are a versatile ingredient that can enhance the texture and flavor of various desserts. They serve as a base component for many traditional and creative dessert recipes, and their inclusion can impact the shelf life of these sweet creations.
Classic Recipes Using Vanilla Wafers
Banana Pudding: Traditional banana pudding often features layers of vanilla wafers, sliced bananas, and a creamy custard. The cookies absorb the moisture from the pudding and bananas, softening to a cake-like texture.
Banana Cream Pie: This classic pie commonly utilizes a crust made from crushed vanilla wafers, providing a sweet and crumbly foundation that complements the rich banana cream filling.
Creative Desserts with Vanilla Wafers
Dessert Board: Incorporating vanilla wafers into a dessert board adds texture and a mild, sweet flavor that pairs well with various cheeses, fruits, and spreads like lemon curd or chocolate ganache.
Ice Cream: Crumbled vanilla wafers can be sprinkled on top of ice cream or mixed in as a component in homemade ice cream recipes for added crunch and flavor.
Preservation of Desserts Containing Vanilla Wafers
Refrigeration: Desserts like banana pudding or pies with vanilla wafer crusts should be refrigerated to maintain freshness, typically lasting up to a few days before the wafers become too soggy.
Freezing: Some desserts featuring vanilla wafers can be frozen, although the texture of the wafers may be altered upon thawing, becoming less crisp.
Maximizing Taste and Texture
When it comes to Vanilla Wafers, the ideal taste and texture are characterized by a balanced flavor and a distinct crispy or crunchy feel. Proper storage and ingredients play significant roles in maintaining these qualities.
Factors Influencing Vanilla Wafer Flavor
The flavor of a Vanilla Wafer is affected by several factors, two of which are paramount: the ingredients and the baking process. High-quality ingredients such as salted butter can enhance the savory notes of the wafer, while sifted flour ensures an even mix, preventing a doughy or uneven flavor. Below are the primary contributors:
Salted Butter: Imparts a rich, savory taste that complements the sweetness of the cookie.
Quality of Ingredients: Fresh, high-caliber ingredients guarantee the best possible flavor profile.
Baking Vanilla Wafers until they reach a golden brown color not only enhances their visual appeal but also indicates a well-developed flavor profile, where the sugars have caramelized, producing a deeper taste.
The Role of Freshness in Texture
The texture of Vanilla Wafers is equally influenced by the level of freshness and how they are stored post-baking. To maintain a desirable crispy and airy texture, one should keep the cookies in an airtight container, protecting them from moisture which can result in a stale, less enjoyable texture. Here’s how freshness impacts texture:
Crispiness: Directly correlates with how well the wafers are sealed away from moisture.
Airy Quality: Often the result of the manner in which ingredients are combined and baked, but can diminish if wafers are not kept fresh.
Baking Tips and Techniques

Producing perfect vanilla wafers requires precision and appropriate baking techniques. Mastering the art of their creation will yield delicious and consistent results every time.
Best Practices in Vanilla Wafer Baking
When one sets out to bake vanilla wafers, they should ensure that all ingredients are measured accurately. Ingredients must be at room temperature to blend smoothly, especially butter and eggs. Creaming the butter is a critical step; it should be executed until the butter is light and fluffy, as this aids in a better rise and texture of the wafer cookie. A stand mixer or an electric mixer can be employed for this purpose, ensuring that the mixture reaches the desired consistency.
Moreover, it is imperative to sift dry ingredients such as flour, baking powder, and salt using a sieve or sifting tool to prevent lumps and promote even distribution throughout the batter. One should add these ingredients gradually to the creamed mixture to avoid overworking the dough and compromising the wafers' delicate structure.
Tools and Equipment for Perfect Vanilla Wafers
The selection of appropriate tools and equipment significantly contributes to the quality of the final product. A well-prepared baking sheet lined with parchment paper is non-negotiable for easy removal of the wafers post-baking. For an even bake, maintain adequate space between each mound of wafer dough on the baking sheets.
For those aiming for uniformity in size and shape, a piping bag fitted with a round tip can facilitate the creation of consistent mounds of dough. Alternatively, one could use two spoons to dollop the dough onto the baking sheet. An electric mixer or a stand mixer proves invaluable in the creaming process of the batter, while mixing bowls should be of ample size to allow for thorough mixing without overflow.
