Free Land for Stargazers
Building an Observatory Guide
Embarking on the journey of amateur astronomy can be incredibly rewarding, especially for those with a passion for stargazing. One of the best ways to enhance this experience is by building a dedicated observatory. Creating a backyard observatory not only provides a stable platform for telescopic observations but also shields your equipment from environmental factors like stray lights and wind.
When it comes to constructing your own observatory, the foundation is a critical starting point. It ensures the stability of the observatory, essential for accurate astronomical observations. A solid foundation, typically made of thick-treated lumber or concrete, helps maintain the structure's integrity over time and provides a reliable base for further construction.
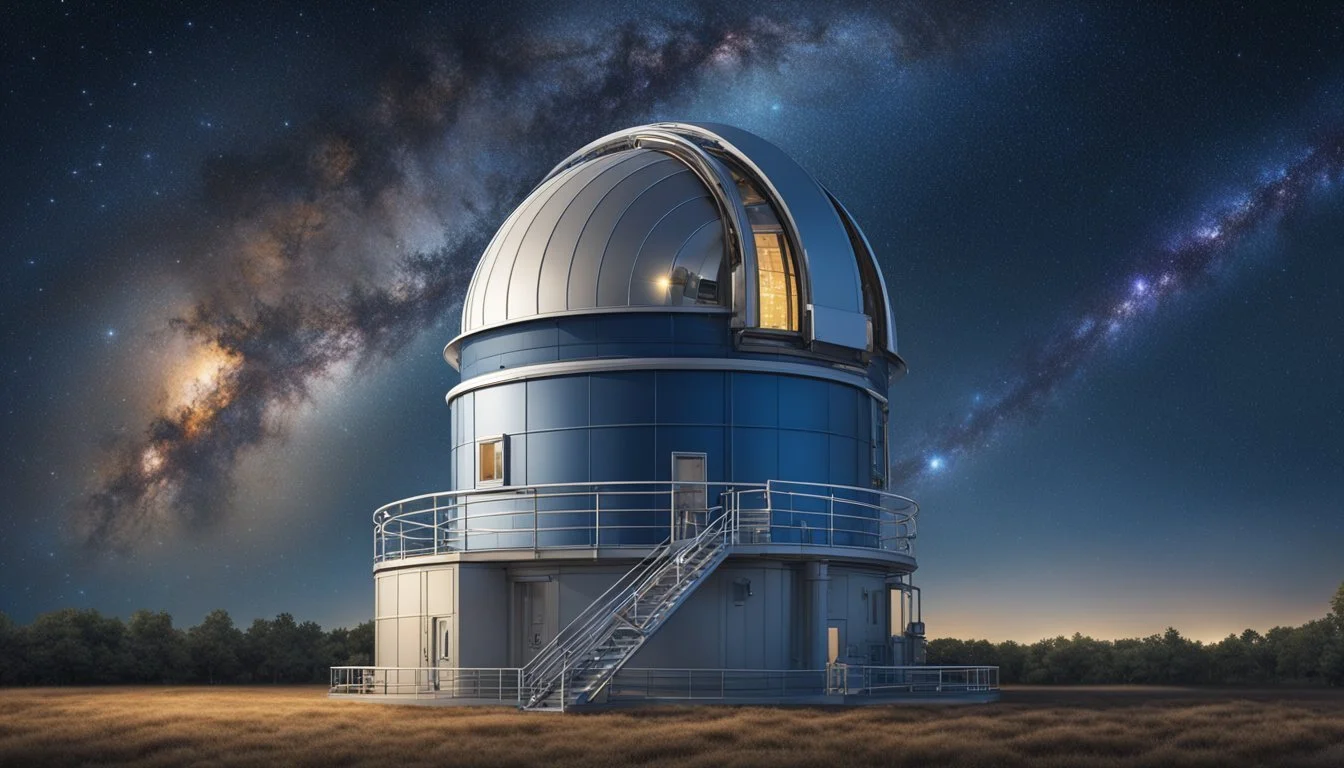
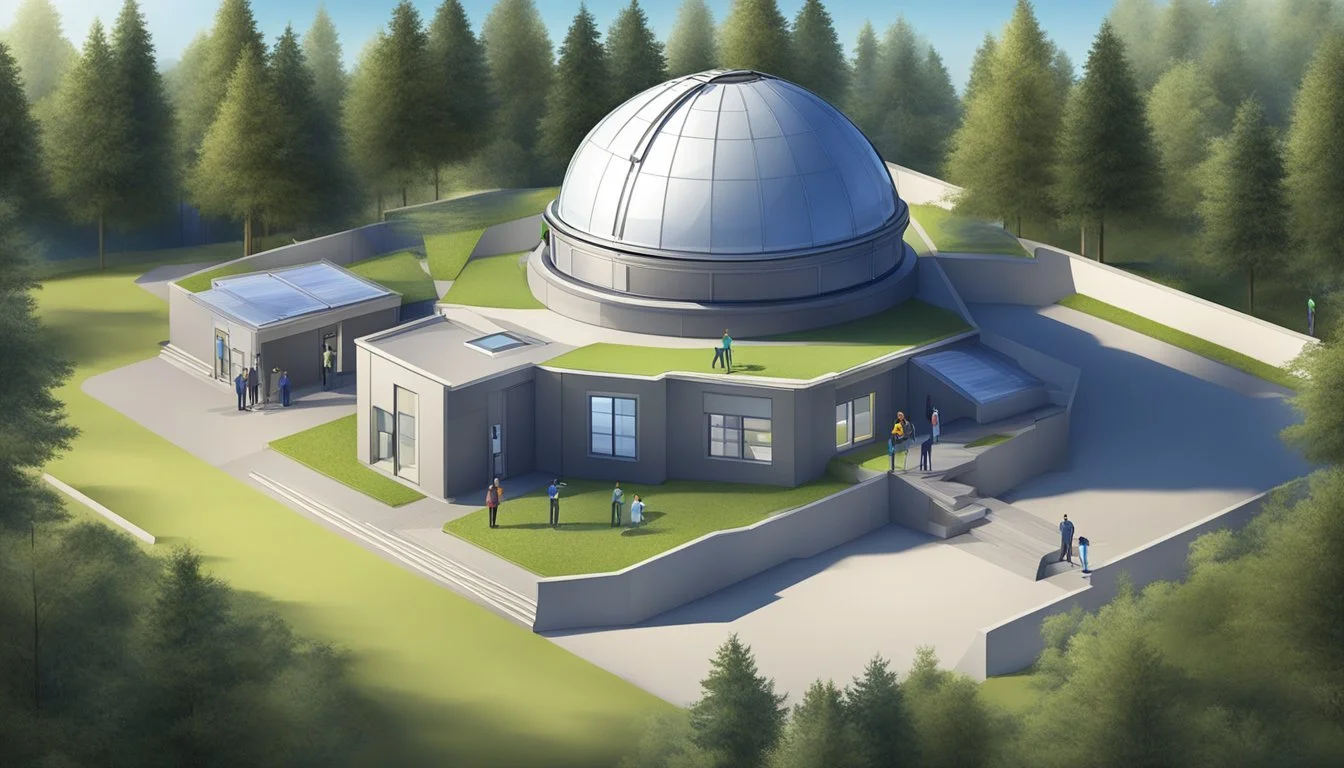
A well-designed observatory can take various forms, from dome-shaped shelters to roll-off roof designs. Each style has its own advantages, such as enhancing the range of sky visibility or providing better protection against the elements. By carefully planning and building your observatory, you can significantly enhance your stargazing experience, making the night sky more accessible and enjoyable.
Planning Your Observatory
Successful planning is essential for building a functional and durable observatory. It involves choosing the right location, designing the structure, and securing all necessary permits.
Choosing the Right Location
Selecting the ideal location for your observatory is critical. Light pollution is a major factor; rural areas away from city lights provide the best visibility for stargazing. Unobstructed views of the sky are also crucial.
Assess natural barriers like trees or buildings that might block your view. Choose a site with firm ground to support the structure. This is important for ensuring the stability of backyard observatories.
Design Considerations
Designing your observatory involves deciding on its size, shape, and features. A common footprint for small observatories is 8-foot-square, but this can vary depending on your specific needs.
Observatory kits offer a good starting point and may include a roof or dome. The roof should be designed for easy opening and closing to allow quick access to the telescope. Accessibility for maintenance and operation should also be considered.
Securing Necessary Permits
Before construction, verify the need for any permits. Building an observatory may fall under local building codes and regulations which require approval. Contact your local zoning office to understand the requirements.
Provide detailed plans for your structure, including materials and dimensions, to expedite the approval process. Being thorough and precise ensures compliance and reduces the risk of needing modifications later.
Observatory Construction
Constructing an observatory requires careful planning and the right materials. Key steps include laying a stable foundation, erecting a sturdy structure, and selecting suitable roofing options. Attention to detail at each stage ensures longevity and optimal functionality.
Laying the Foundation
A strong foundation is crucial. Start by digging at least 1-2 feet deep. Adding a gravel base aids drainage. Pressure-treated wood or concrete are preferred materials for durability.
Ensure the foundation is level using a high-quality spirit level. Mapping out dimensions using pegs and strings will help to square the area. These steps ensure accurate observations and long-term stability for your observatory.
Building the Structure
Begin with framing the observatory walls. Use wall studs, spacing them evenly for support. Waferboard or plywood siding works well for the exterior.
Construction in stages, framing first, then adding the siding, improves efficiency. When attaching siding, ensure all panels are secure to withstand weather conditions. Adequate insulation can control internal temperatures and protect sensitive equipment.
Roofing Options
Selecting the right roof is pivotal. Common choices include dome-shaped and roll-off roofs. A dome protects from wind and stray light, but retains heat. A roll-off roof provides a broader sky view and is simpler and cost-effective to build.
Both designs need to be robust and weatherproof. Retractable roofs offer flexibility, making them a favored choice among amateur astronomers for their ease of use and wide visibility range.
Telescope and Mount Setup
Properly setting up your telescope and mount is crucial for a successful stargazing experience. This section will guide you through selecting the appropriate telescope and choosing the correct mounts for stable and effective use.
Selecting a Telescope
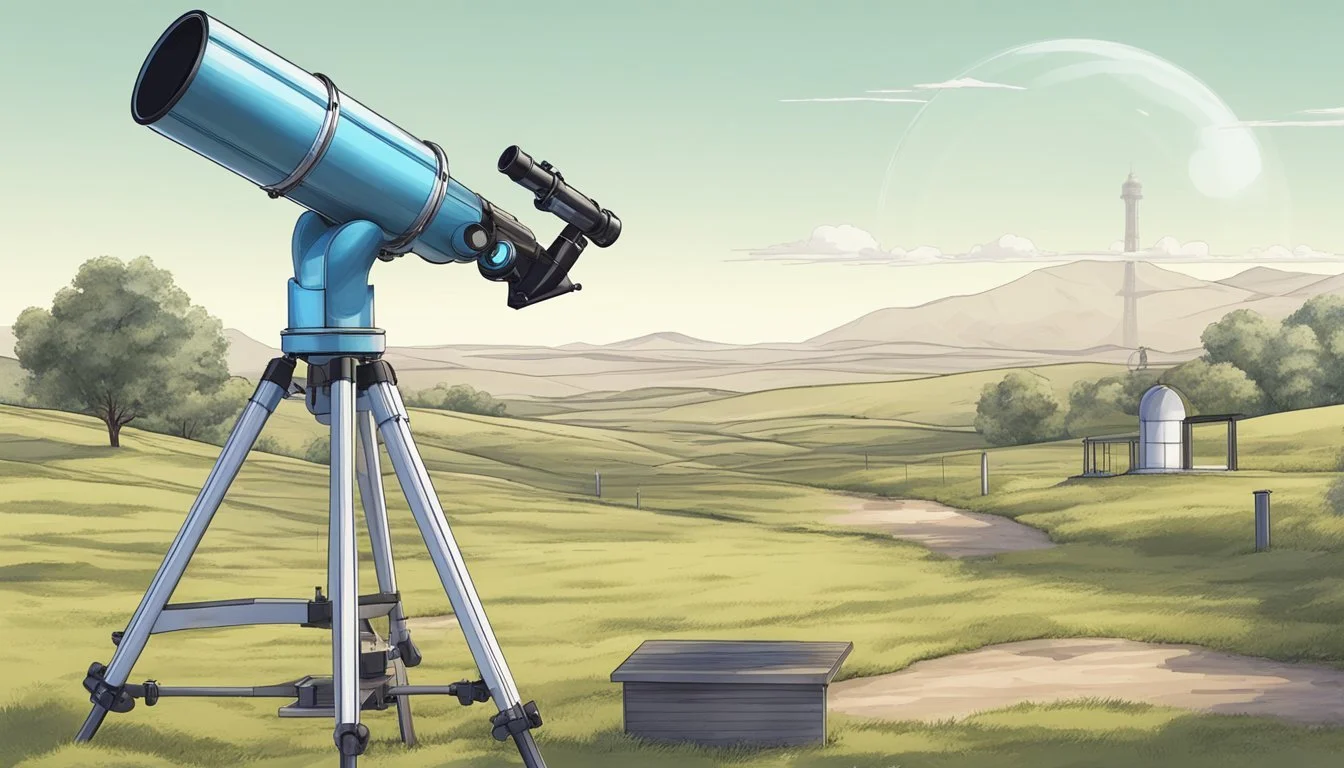
When choosing a telescope, it’s important to consider the types available: refractor, reflector, and compact Cassegrain-type telescopes. Refractor telescopes use lenses and are known for their durability and low maintenance. They are ideal for viewing planets and the moon due to their high contrast images.
Reflector telescopes, which use mirrors instead of lenses, are often preferred for deep-sky observing. They generally offer larger apertures at a more affordable price, making them suitable for observing faint objects like galaxies and nebulae. Compact Cassegrain-type telescopes combine lenses and mirrors, providing a versatile option for both planetary and deep-sky observations.
Magnification is another key factor. Opt for telescopes with a range of eyepieces to adjust magnification according to your needs. Keep in mind the aperture size, which determines the amount of light your telescope can gather, influencing the brightness and clarity of the observed objects.
Choosing Mounts
A stable mount is essential for maintaining your telescope's position and achieving clear images. There are primarily two types of mounts: altazimuth and equatorial (often referred to when discussing polar-aligned mounts). Altazimuth mounts are user-friendly and are excellent for beginners because they allow movement in both vertical and horizontal directions.
Equatorial mounts are designed to compensate for the Earth’s rotation, making them suitable for long-exposure astrophotography. These mounts need to be polar-aligned to track celestial objects accurately.
For added stability, consider using a pier instead of a tripod. A pier is more stable and can reduce vibrations, providing a steadier viewing experience.
Lastly, ensure the mount can support the weight and size of your telescope. Excessive load can lead to instability, impacting the quality of your observations.
Comfort and Convenience Features
Creating a cozy and functional space in your observatory enhances the stargazing experience. Focusing on weather-proofing and storage solutions ensures a comfortable, convenient, and organized environment.
Weather-proofing and Insulation
Effective weather-proofing keeps your observatory usable year-round. Insulation in walls and roofs helps maintain a stable internal temperature. This prevents equipment damage from extreme weather.
Ventilation is also crucial. Installing vents or small fans can prevent condensation and maintain air quality. Consider weather seals for doors and windows to keep out moisture and drafts.
Security lights, ideally motion-activated, provide safety without causing light pollution. Insulating materials, such as foam boards, fiberglass batts, or reflective barriers, offer different advantages depending on climate needs.
Storage Solutions
Organized storage simplifies the setup and use of your observatory. Shelving, cabinets, and storage bins can keep equipment safe and accessible. Use labeled containers for different accessories to avoid clutter.
Custom-built benches with under-storage allow for efficient use of space. Consider lockable cabinets for valuable equipment. Ensure easy access to frequently used items while keeping the space neat.
Setting up a small workstation with essential tools close at hand allows for quick adjustments and repairs. This optimized storage ensures your observatory remains clutter-free and efficient.
Electrical and Technological Setup
Setting up the electrical and technological aspects of your home observatory is crucial. Proper power supply, efficient lighting, and the integration of advanced technology help ensure seamless stargazing experiences.
Power and Lighting
A reliable power source is fundamental for running telescopes, computers, and other equipment. Install dedicated circuits to handle the load, avoiding power interruptions. Use simple home wiring techniques for motorized components like roll-off roofs.
Adequate lighting ensures safety during night operations. Use red LED lights to preserve night vision. Install switches near entry points for convenience, and consider solar-powered systems for sustainability.
Regularly check connections and ensure outlets are weatherproof, especially in outdoor settings.
Technological Integration
Integrate technology for precise astronomical observations. Equip your observatory with computers and high-speed internet for real-time data access. Use INDI-compatible software for efficient equipment control and automation.
Motorized systems can convert a manual setup to a polar-aligned mode, enhancing accuracy. Utilize tools for remote operation if space is limited. Installation of temperature sensors and weather monitoring tools helps protect delicate instruments.
Connecting all devices on a single network streamlines operations and ensures a smooth stargazing experience.
By focusing on these details, a home observatory can deliver crisp, clear, and interference-free observations night after night.
Maintenance and Upkeep
Maintaining a backyard observatory involves performing routine tasks and ensuring the security of the equipment to keep everything functioning optimally.
Routine Maintenance Tasks
Regular maintenance is crucial to ensure the longevity of both the observatory structure and the equipment. The telescope should be cleaned periodically with appropriate cleaning solutions to remove dust and debris. The foundation requires inspection to check for any cracks or signs of wear, especially after severe weather conditions.
The roof mechanism in roll-off roof observatories needs lubrication and checks for any misalignment. Ensuring smooth operation prevents any damage during opening and closing. Additionally, all electrical connections, including wiring, should be inspected to prevent malfunctions and ensure safety.
Security and Protection
Protecting the observatory from theft and weather-related damage is essential. Installing security lights with motion sensors can deter unauthorized access. It's advisable to have locks on all entry points to secure valuable equipment.
Weatherproof covers help shield the telescope and other instruments from moisture and dust. Condition monitoring systems can alert when the humidity or temperature reaches levels that might harm the equipment. Having a storage area within the observatory allows for secure storing of accessories when not in use.
Budgeting and Costs
Building an observatory can be a rewarding project for stargazers, but it's important to plan the budget carefully. This section explores the possible costs and affordable alternatives available for constructing your own observatory.
Estimating Observatory Costs
The cost of building an observatory can vary widely based on materials, design, and labor. Basic materials such as treated lumber and concrete are essential for creating a stable foundation. Concrete foundations typically require a budget of around $500 to $1,000, while lumber costs can add an extra $200 to $500.
Observatory kits, which simplify the building process, usually start at around $2,000. In addition to construction materials, factor in costs for basic carpentry tools and simple home wiring. Labor costs might also be relevant if you're hiring professionals. Roll-off roof designs are cost-effective and can range from $1,500 to $3,000, depending on the size and materials.
DIY Alternatives
For those looking to save money, DIY options can be significantly more affordable. Converting a prefabricated shed into a roll-off roof observatory is a practical option. Such conversions can cost as little as $500 to $1,000, depending on the shed's base price and additional materials needed.
Utilizing recycled or second-hand materials can further lower costs. Basic carpentry skills are often sufficient for most DIY builds, and online tutorials can guide through simple home wiring tasks. Other cost-saving tips include using gravel bases instead of concrete and opting for smaller footprints to minimize material expenses.
Overall, an observatory doesn't have to be expensive. With strategic planning and a bit of DIY spirit, it is possible to build a functional and affordable observatory.


