
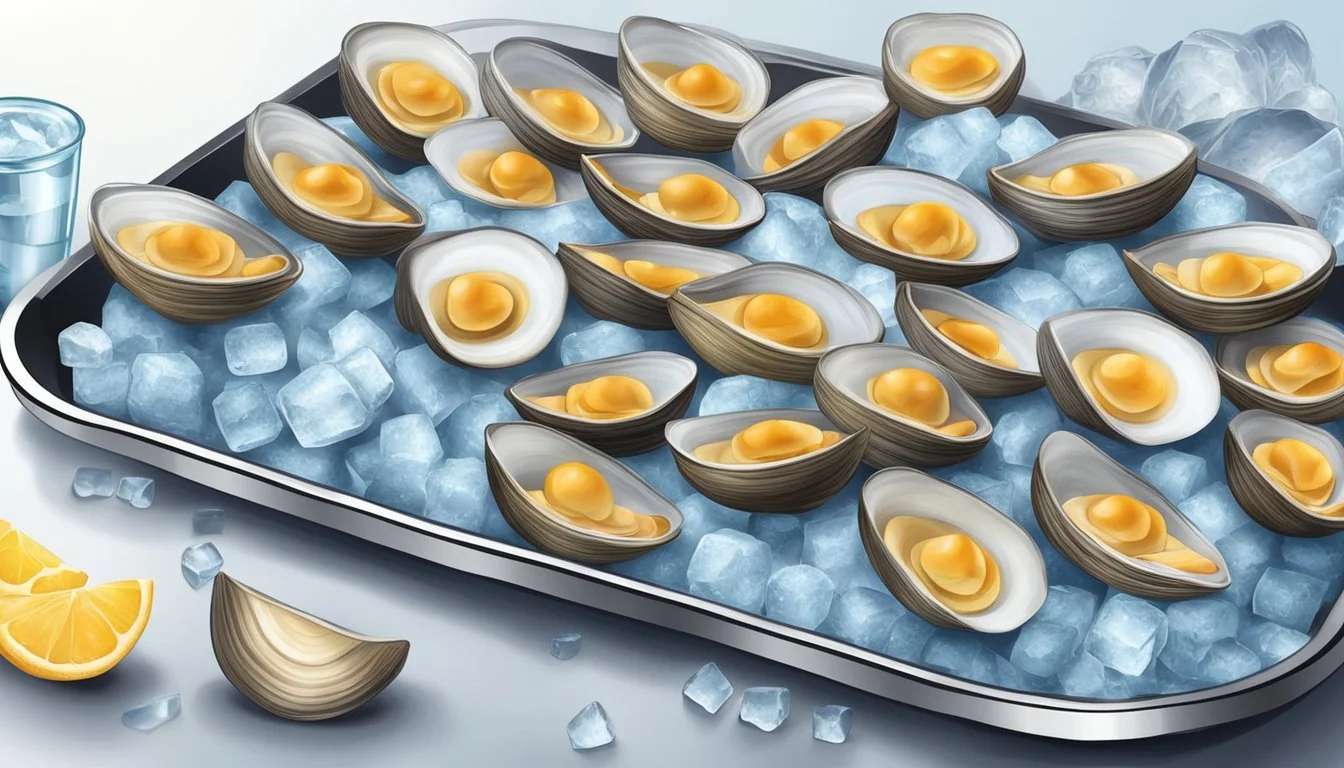
How to Freeze Fresh Clams
Preservation Tips for Seafood Lovers
Preserving the freshness of clams (What wine goes well with clams?) for future seafood dishes (What wine goes well with seafood dishes?) is a practical concern for many seafood (What wine goes well with seafood?) enthusiasts and home cooks. Freezing offers an effective way to maintain the flavor and quality of fresh clams over an extended period. When properly prepared and stored, frozen clams can provide the same delectable taste and texture that one expects from freshly caught seafood.
The process of freezing clams requires care to ensure that the clams remain safe to eat and retain their desirable characteristics. Whether they are frozen in the shell or shucked, the key is in the preparation. Clams should be thoroughly cleaned and rinsed before being steamed until just opened. After steaming, the meat must be removed, cooled, and then packaged in moisture-resistant containers or bags with as little air as possible to prevent freezer burn. Proper labeling and dating ensure that the clams are used while at their best quality.
Employing the right techniques when freezing clams allows cooks to capture the essence of the ocean and bring it to the table even out of season. This method of preservation aligns with the principles of sustainable consumption, reducing waste and promoting a conscientious approach to the enjoyment of seafood.
Benefits of Freezing Clams
Freezing clams is a method that offers a practical solution to extend their shelf life while maintaining the quality of the seafood. This practice reduces spoilage and allows for the efficient use of clams in cooking at a later date.
Preservation of Freshness
When clams are frozen promptly after acquisition, it secures the freshness of the clams by slowing down the decomposition process. This is due to the drastic reduction in temperature which inhibits bacterial growth that could otherwise lead to spoilage. To prevent freezer burn—which is dehydration caused by exposure to cold dry air—an individual should ensure the clams are sealed in moisture-vapor resistant packaging before placing them in the freezer.
Convenience for Future Use
Having clams stored in the freezer contributes greatly to convenience for individuals looking to prepare seafood dishes without the need for frequent trips to the market. Clams can be portioned and stored in freezer-safe containers or bags, which makes it simpler to thaw only the necessary amount for a recipe. To maintain the best quality, they should be used within three to four months, though they remain safe beyond that period if kept at a constant freezing temperature.
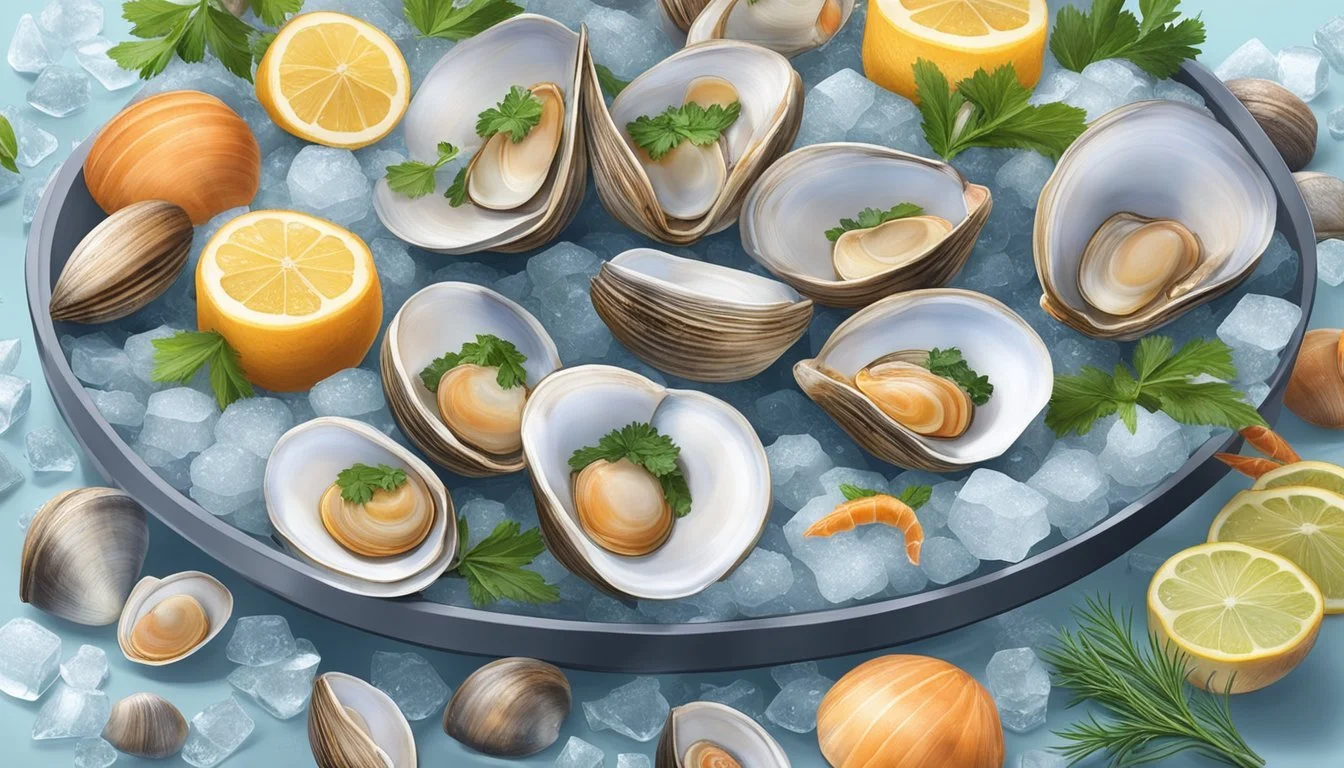
Selecting Clams for Freezing
When freezing clams, it's crucial to start with high-quality, fresh clams. They ensure not only the best taste upon thawing but also safety in consumption.
Quality of Fresh Clams
Freshness: Professionals recommend that one prioritizes live clams with closed shells as a sign of freshness. If a shell is slightly open, gently tap it. A live clam will close its shell, indicating vitality.
Shell integrity: Examine the clams for any cracks or chips in the shell, as these can compromise the quality of the clam meat inside.
Spotting Signs of Spoilage
Odor: Fresh clams should have a mild, ocean-like scent. A strong, offensive smell is a definite indicator that clams are no longer suitable for consumption or freezing.
Appearance: Clam meat should appear moist and plump. Any discoloration or dryness suggests spoilage.
Shell condition: A shell that remains open and does not close when tapped should be avoided, as it generally indicates a dead clam, which should not be frozen.
By following these guidelines, one ensures the proper selection of clams for freezing, which is foundational to maintaining quality in seafood dishes.
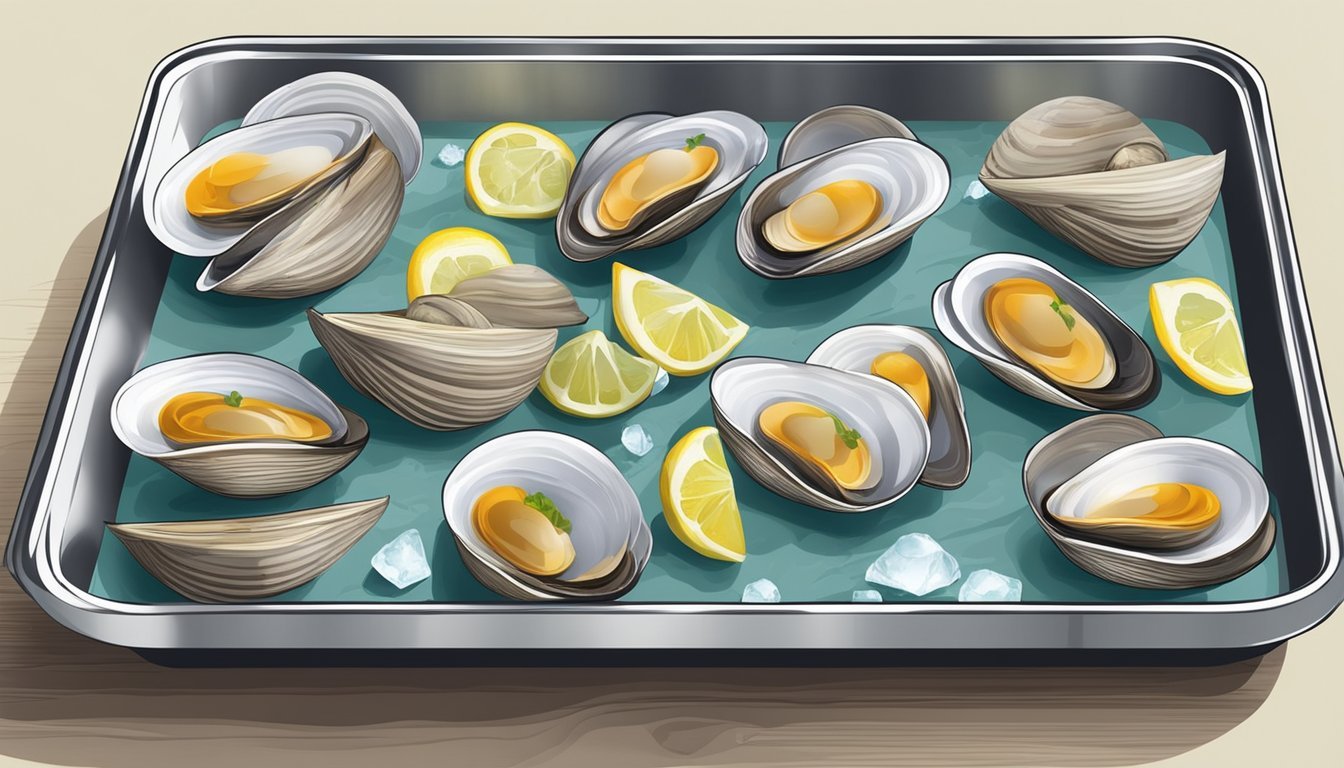
Preparing Clams for Freezing
Freezing fresh clams requires careful preparation to ensure they retain their flavor and texture. Shellfish, (What wine goes well with shellfish?) like clams, are delicate mollusks that must be handled properly before storage.
Cleaning and Shucking
Cleaning: Begin by choosing fresh, live clams. Scrub the shells thoroughly under cold running water to remove any sand or debris. It is crucial to ensure that the clams are clean before proceeding to shuck them, as this will prevent any contaminants from getting into the meat.
Shucking: To shuck the clams, use a clam knife or a small, dull knife. Insert the knife between the shell halves at the hinge, twist to open, and then remove the clam meat. Be sure to discard any clams that do not open during this process, as they may not be safe for consumption.
Prepping Shelled Clams
Once you have the shucked clam meat, it's important to:
Rinse the clam meat under cold water to get rid of any lingering shell fragments or sand.
Drain the clams well to ensure there's no excess liquid, as this could lead to freezer burn or affect the texture when thawed.
For whole clams in their shell:
Place the live clams directly in moisture-vapor resistant bags designed for freezing.
Press out any excess air to prevent ice crystals from forming and impacting the quality.
Seal the bags securely before placing them in the freezer.
Whether shucked or in the shell, properly prepared clams are a convenient and versatile ingredient for future seafood dishes.
Methods of Freezing Clams
The preservation of clams through freezing allows for extended storage, ensuring that their flavor and texture are maintained for future culinary use. Two primary methods are employed for freezing clams, namely in their shells or shucked (removed from their shells). Additionally, clams that have been cooked can be frozen with careful preparation.
Freezing Clams in the Shell
Step 1: Select fresh, live clams with closed shells.
Step 2: Clean the clam shells by scrubbing under cold running water to remove sand and debris.
Step 3: Place the clams in moisture-vapor resistant bags or airtight freezer containers.
Step 4: Before sealing, press out excess air from the bag to minimize freezer burn.
Step 5: Label the bags or containers with the date to ensure proper rotation.
Storage: Clams in the shell can be stored frozen for approximately 3-4 months.
Freezing Shucked Clams
Step 1: Shuck the clams by opening the shells and removing the clam meat.
Step 2: Thoroughly rinse the meat to eliminate residual sand.
Step 3: Drain and pack the shucked clams into freezer containers, leaving about half an inch of headspace to allow for expansion.
Step 4: Label the containers with the current date for future reference.
Storage: When properly stored, frozen shucked clams can last up to 3 months.
Freezing Cooked Clams
Step 1: After cooking, allow the clams to cool down to room temperature.
Step 2: Drain any excess liquid such as broth, butter, or marinade to prevent ice crystals.
Step 3: Place the cooked clam meat into freezer-safe containers or heavy-duty freezer bags.
Step 4: Ensure that a small amount of headspace is left at the top of the container or bag.
Step 5: Expel any air from the bags and seal them tightly before freezing.
Storage: Cooked clams can be kept frozen for up to 3 months, preserving their taste and texture for later use.
Packing and Storing Clams in the Freezer
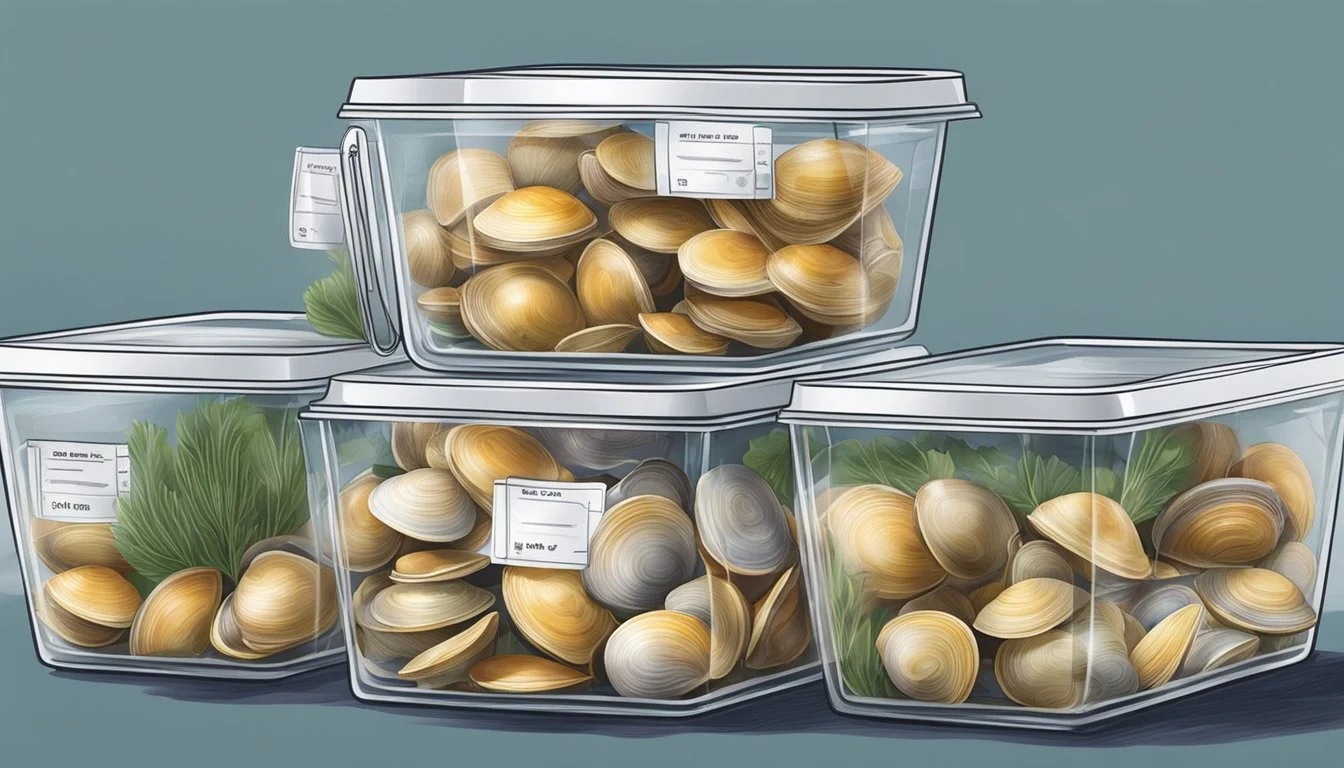
Before placing clams in the freezer, one must ensure they are properly packed in airtight containers or bags to preserve their freshness and prevent freezer burn.
Using Airtight Containers
To store clams in the freezer, airtight containers are vital. One needs to:
Remove clams from their shells after cooking and let them cool.
Place the cooled clams in freezer containers or freezer bags.
If using containers, leave ½-inch headspace at the top to allow for expansion.
It's essential to:
Seal the container or bag tightly after adding a small quantity of the cooking liquid to maintain moisture.
Label with the date to ensure proper rotation and usage within the optimal timeframe.
Avoiding Freezer Burn
Freezer burn can affect the quality and taste of frozen clams; therefore:
After placing the clam meat in a freezer-safe container or bag, press out excess air before sealing to reduce the risk of freezer burn.
Proper labeling and rotation ensure that clams are used while at their best quality, reducing the time they spend in the freezer, which is a crucial factor in preventing freezer burn.
By following these guidelines, clams remain fresh and suitable for creating delicious seafood dishes even after being stored in the freezer.
Thawing Frozen Clams
When preparing to cook previously frozen clams, it's essential to handle the thawing process with care to ensure the quality and safety of the shellfish. The advisable method for thawing clams is a gradual process in the refrigerator. This approach preserves the Clams' texture and minimizes the risk of bacterial growth.
Here's how to properly thaw frozen clams:
Transfer the frozen clams from the freezer to the refrigerator.
Place them in a bowl to catch any drippings, to keep the refrigerator clean.
Allow the clams to thaw slowly, typically overnight or for up to 24 hours.
To determine if clams are completely thawed:
Check if the shells have opened slightly; this indicates that the clams have thawed.
When it’s time to cook the clams, remember:
Only use clams that have closed shells when tapped, signaling they are safe to eat.
Discard any clams that have cracked shells or emit an unpleasant odor.
Using this method, the clams will be evenly thawed and retain their fresh, sea-tasting quality, making them a delicious addition to your seafood dishes.
Cooking with Frozen Clams

When incorporating frozen clams into dishes, chefs need to be aware of the adjustments in recipes for proper handling and cooking techniques to ensure optimal flavor and safety.
Adjusting Recipes for Frozen Clams
Frozen clams can be used in a variety of recipes; however, they should always be thawed in the refrigerator prior to use. It is important to never refreeze clams as refreezing can increase the risk of bacteria growth and compromise texture and flavor. When adding to recipes like seafood stew or clam chowder, account for the excess moisture frozen clams might release. If the recipe calls for live clams, the cooking time for frozen clams should be reduced, since they are often cooked and then frozen.
Creating Delicious Seafood Dishes
Cooked clams that have been frozen are suitable for soups, stews, and other cooked dishes. To maintain integrity, they should be added to the dish at the end of the cooking process. Here's how to maintain the quality of your seafood dishes:
Clam Chowder: Add the thawed clams to the soup just before serving to warm them through without overcooking.
Seafood Stew: Introduce the clams in the last five minutes of simmering to avoid toughening the meat.
In both cases, chefs should taste and adjust the seasoning of the dishes, as the natural brininess of the clams can alter the flavor profile. Cooking with frozen clams, when done properly, should yield results comparable to fresh clams in both texture and taste.
Tips and Best Practices
When freezing fresh clams, it's crucial to apply specific techniques to maintain quality and ensure food safety. Proper labeling and vigilant rotation in the freezer help avoid waste, while specific steps can minimize the risk of bacterial growth during storage.
Labeling and Rotation in Freezer
Headspace: When packing clams, particularly shucked meat, for freezing, leaving 1/2-inch headspace in freezer containers is essential. This allows for the expansion of liquids during the freezing process and prevents container breakage or deformation.
Label Each Container: Clearly mark each container with the date of freezing and the type of clam. Use permanent markers to avoid ink washing off in the cold, moist environment.
Rotation Strategy: Implement a "first in, first out" (FIFO) rotation system. This technique ensures that older batches are used before newer ones, reducing the chance of freezer burn or spoilage.
Preventing Bacterial Growth
The two critical factors in preventing bacterial growth are temperature control and minimizing exposure to contaminants.
Temperature: Maintaining a constant freezer temperature of 0°F (-18°C) or below is non-negotiable for inhibiting bacterial activity in frozen clams.
Packing Method: Whether freezing clams in the shell or as shucked meat, ensure each clam is properly cleaned to remove sediment and bacteria. When using containers, avoid filling them with freshwater, and forgo completely airtight containers if freezing live clams. Containers should be moisture-vapor resistant to prevent freezer burn and bacterial contamination.
By adhering to these practices, clams can be safely stored in the freezer for up to three months, retaining their quality for delicious future seafood dishes.
Alternatives to Freezing
When looking to extend the shelf-life of clams without freezing, individuals can consider using preservative solutions or compare the benefits of consuming fresh clams to those of frozen clams.
Using Preservative Solutions
To preserve clams without freezing, one can immerse them in a saltwater solution, replicating their natural environment. This solution can be made by mixing sea salt with water at a ratio conducive to mimicking the salinity of seawater. Adding a small amount of lemon juice can also help in preserving the freshness of the clams. They should be stored in a cool, refrigerated environment to minimize bacterial growth and maintain quality.
Comparing Fresh vs. Frozen Clams
In culinary applications, fresh clams are preferred for their superior texture and flavor. However, they have a limited shelf life and need to be consumed shortly after harvesting. Frozen clams typically offer a more extended shelf life but may experience slight changes in texture, with the potential of becoming somewhat tougher or rubbery once thawed. Consumers should weigh these factors based on the intended use and the desired outcome of their seafood dishes.
FAQs on Freezing Clams
Can you freeze clams in their shells? Yes, clams can be frozen in their shells. They should be cleaned thoroughly before freezing. It is advised to place them in moisture-vapor-resistant bags, remove excess air, and then freeze.
Is it better to freeze clams raw or cooked? Clams can be frozen both raw or cooked. Freezing them raw, either in the shell or shucked, retains maximum freshness. Cooking them before freezing is also an option, but ensuring they are cooled and sealed properly is crucial.
What is the process for freezing clams?
Selecting Clams: Use only fresh, live clams.
Cleaning: Rinse the clams under cold water.
Preparation: For raw freezing, they can be frozen in the shell or shucked. If shucked, wash the meat thoroughly.
Packaging: Use airtight, moisture-resistant bags or containers. Leave appropriate headspace to allow for expansion.
Labeling: Clearly mark the containers with the date for future reference.
Freezing: Store in the freezer immediately.
How long can you store clams in the freezer? Properly stored, frozen clams can last up to three months. Clams should be kept at a consistent temperature of 0°F (-18°C) or lower to maintain their quality.
Do clams open when frozen? Live clams should be closed at the time of freezing. If they open during cleaning, a simple tap should make them close. Open clams should not be frozen as this could indicate they are dead or unhealthy.
Can you freeze clams without their shell? Yes, clams can be frozen without their shells. After shucking, clean the meat thoroughly and drain any excess liquid before placing it in freezer containers or bags.
