
How to Freeze Corn on the Cob for Summer Flavor
A Step-by-Step Guide

Preserving the sweet, succulent flavors of summer corn year-round is a simple process that involves freezing corn on the cob. It allows one to capture the peak season's freshness and enjoy the taste of summer even during the colder months. The key to freezing corn lies in preparing the cobs properly to retain their natural flavor and texture.
To begin, corn should be shucked thoroughly to remove husk and silk. This ensures that only the clean cobs are subject to the freezing process. Blanching the corn in boiling water for a few minutes is an important step, as it deactivates enzymes that can lead to loss of flavor and color. Once blanched, the cobs need to be rapidly cooled in ice water to stop the cooking process, further solidifying the flavors.
Once the corn has cooled, it's time to dry the cobs and wrap them individually for freezing. This step is crucial for preventing freezer burn and maintaining flavor integrity. When properly wrapped and stored, corn on the cob can keep its summer-fresh flavor for several months, making it a delightful addition to meals long after the season ends.
Selecting the Freshest Corn
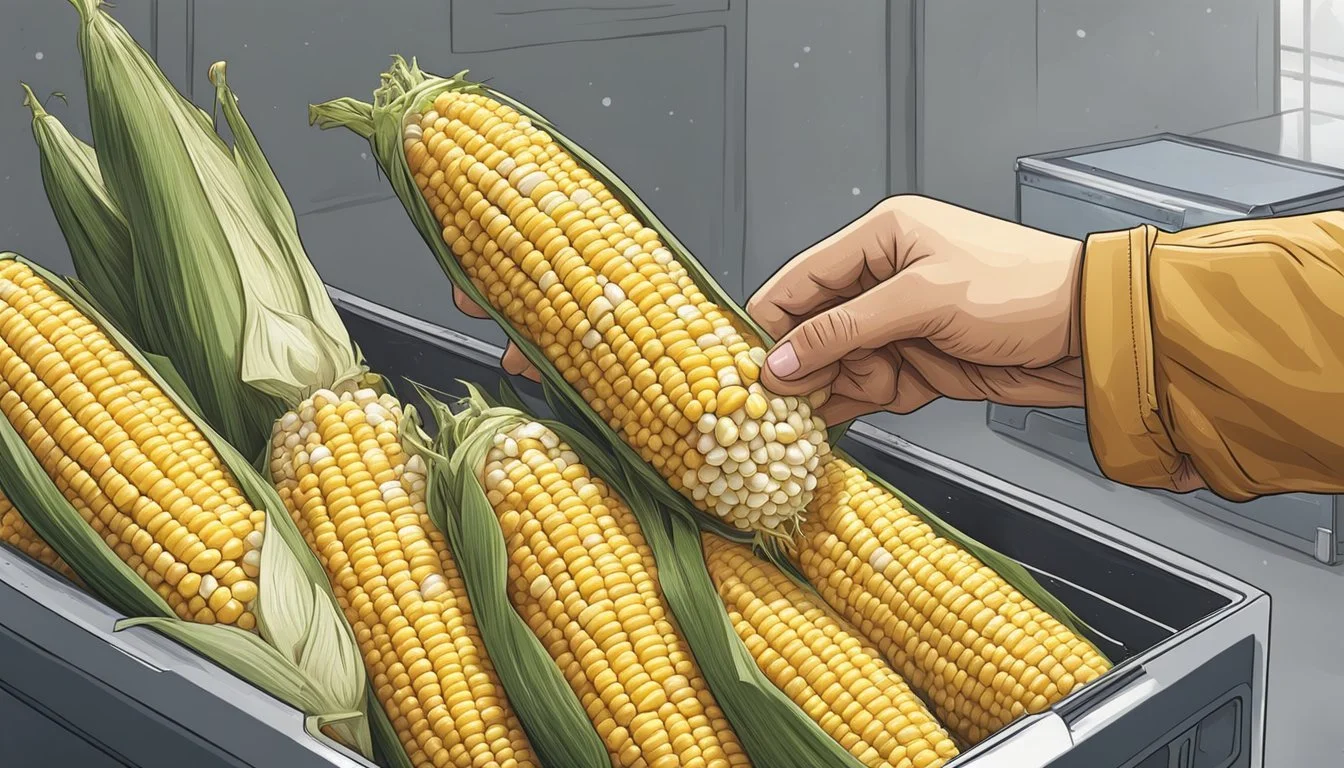
When seeking out the best corn on the cob, one should prioritize freshness for optimal flavor. The kernels should be plump, and the husks bright green and tightly wrapped around the cob.
Choosing the Right Ears at the Market
Appearance: Look for ears with bright green husks and golden-brown silk.
Husk Integrity: The husks should be snug against the kernels, not pulled back or overly dry.
Checking for Freshness
Kernel Plumpness: Gently press on the husk to feel for consistently plump kernels; they indicate freshness.
Stem Moistness: Check that the stem end of the cob is moist and not dried out, as this is a sign of recent harvest.
Preparing the Corn for Freezing
Proper preparation is essential for preserving the fresh taste of corn on the cob when freezing. The process involves two main steps: shucking the corn and thoroughly cleaning it to ensure the best quality.
Shucking the Corn
Shucking refers to the removal of the outer husk and silk from the corn. Start by peeling away the green layer, pulling it and the silk strings off together. Make sure to remove all layers of the husk to prevent any trapped dirt from making its way into the freezer.
Hold the ear of corn firmly at the top
Peel the husk down in a sweeping motion
Check for any remaining silk and husk pieces, removing them completely
Washing and Cleaning
Once the corn is shucked, it requires a good wash to remove any remaining dirt, bugs, or silk. This step is vital for hygiene and preserving the flavor of the corn.
Run cold water over the whole cob.
Use a soft vegetable brush to gently scrub the surface.
Inspect the cob and rinse again if necessary.
Clean corn on the cob is now ready for the subsequent steps of blanching and freezing.
Blanching the Corn
Blanching is a crucial step in preserving the freshness and flavor of corn on the cob for freezing. It involves a short boiling followed by rapid cooling, which stops enzyme activity that can lead to spoilage.
Using a Large Pot for Blanching
A person starts blanching by filling a large pot with enough water to cover the corn and bringing it to a boil. Once boiling, they should use tongs to carefully place each ear of corn into the water. The size of the pot is important; it must be large enough to accommodate the corn without overcrowding.
Steps for Blanching Corn:
Fill the large pot with water and bring to a boil.
Immerse shucked ears of corn into the boiling water using tongs.
Cover and boil for 4 to 6 minutes.
Cooling the Corn After Blanching
Immediately after the blanching process, the corn should be transferred from the pot of boiling water to a bowl of ice water to cool rapidly. This "shock" halts the cooking process and preserves the corn's crisp texture.
Cooling Procedure:
Prepare a large bowl with ice and water while corn is blanching.
Use tongs to remove corn from boiling water after required time.
Submerge corn in ice water for the same amount of time it was boiled.
Drain and dry the corn before freezing.
Packaging and Freezing the Corn
Proper packaging is crucial for maintaining the quality and flavor of corn on the cob when freezing. This section details steps for effectively drying the corn and utilizing freezer bag packing techniques to minimize freezer burn and preserve summer flavor.
Drying the Corn Pre-Freezing
Before corn on the cob is stored in the freezer, it should be thoroughly dried. After blanching, corn needs to be transferred to an ice bath to halt the cooking process. Once cooled, they must be dried to prevent ice crystal formation which leads to freezer burn. One can pat the corn dry with clean kitchen towels or let them air-dry on a wire rack.
Freezer Bag Packing Techniques
Once the corn on the cob is dry, the next step is to pack it properly using freezer bags. One should place the corn in zip-top bags, being sure to remove as much air as possible, as air can cause freezer burn. A helpful technique is to lay the bags flat, press out excess air, and then seal them securely. Stacking the flat bags in the freezer not only saves space but also ensures that the corn freezes evenly. It's recommended to label each zip-top bag with the freezing date to keep track of freshness.
By following these steps, corn on the cob will be well-preserved in the freezer, retaining its flavor and texture for months.
Thawing and Cooking Frozen Corn
When one is ready to enjoy their frozen corn on the cob, proper thawing and cooking are essential for the best texture and flavor. Here are the most effective ways to do so using a microwave and a boiling process.
Microwave Thawing Methods
To quickly thaw frozen corn on the cob, the microwave serves as a convenient tool. Place the frozen corn in a single layer on a microwave-safe dish, without overlapping. Use the defrost setting or set the microwave to 50% power. Typically, it takes about 3-5 minutes to thaw, but this may vary depending on the microwave.
One should rotate the cobs halfway through thawing to ensure even warming. After thawing, they can be fully cooked in the microwave by covering them with a damp paper towel and cooking on high for 2-3 minutes, rotating halfway through.
Boiling Frozen Corn
Boiling is a traditional method for cooking frozen corn on the cob. They do not require prior thawing which makes this a straightforward cooking method.
Fill a large pot with enough water to cover the corn and bring it to a boil.
Gently place the frozen corn into the boiling water.
Let the water return to a boil, cover the pot with a lid.
Reduce the heat slightly to avoid overflowing and cook for approximately 5-8 minutes.
The corn should be tender and heated through. Use tongs to remove the corn from the water to prevent burning one's hands.
Incorporating Frozen Corn into Recipes
When using frozen corn, chefs embrace the versatility and sweetness it adds to various dishes. It contributes both flavor and texture to soups, salsas, dips, and baked goods, even outside the peak corn season.
Adding to Soups and Stews
Frozen corn easily incorporates into soups and stews to provide a hint of natural sweetness and a satisfying crunch. To maintain the corn's texture, add it during the last few minutes of cooking; this ensures it heats through without becoming too soft. Common recipes that are enhanced by corn include chicken tortilla soup, vegetable chowder, and hearty beef stew.
Creating Corn Salsa and Dips
Corn salsa and dips benefit greatly from the bright flavor and crisp texture of frozen corn. A chef might toss thawed corn kernels with diced tomatoes, onions, cilantro, and lime juice for a refreshing corn salsa, or mix them into a creamy dip with ingredients like ripe avocados, black beans, and jalapeños. These corn-enriched condiments contribute a robust taste and an appetizing visual appeal to their dishes.
Baking with Frozen Corn
Bakers often add frozen corn to their breads and muffins to infuse a touch of sweetness and moisture. Cornbread, in particular, gains a more authentic taste and a delightful crumb when fresh or frozen kernels are folded into the batter. It is important not to thaw the corn completely before baking; a slight chill prevents it from overcooking and helps to distribute the kernels evenly throughout the batter.
Storing and Shelf Life
When one has invested time in freezing corn on the cob, proper storage is the key to preserving its summer flavor. Corn should be stored in a freezer set at 0°F (-18°C) or lower to maintain its quality. It is essential to use airtight containers or freezer bags to ward off freezer burn. The corn needs to be sealed tightly, with as much air removed as possible to prevent ice crystals from forming on the kernels, which can lead to textural changes and flavor loss.
Freezer Burn Prevention:
Wrap each cob tightly in plastic wrap or aluminum foil.
Place wrapped cobs in heavy-duty freezer bags.
Extract air from freezer bags using a straw or vacuum sealer.
Shelf Life Considerations:
For optimal taste and quality, frozen corn on the cob should be consumed within 8 to 12 months. Beyond this period, the corn is still safe to eat but may not deliver the desired freshness and taste one expects from summer corn. Regularly check the frozen cobs for any signs of freezer burn, which appears as grayish-brown leathery spots on the kernels, and consume any affected cobs sooner to avoid waste.
Storing Tips in Brief:
Label freezer bags with the date of freezing.
Store at consistent temperatures.
Place in the back of the freezer where temperature fluctuation is minimal.
By following these storage guidelines, one ensures that the essence of summer can be enjoyed even in the depths of winter, with corn that is as close to its original harvest flavor as possible.
Beyond the Basics
Freezing corn on the cob is a fantastic method to preserve the peak season flavors of sweet corn for later enjoyment. This section explores advanced techniques for freezing corn kernels, alternative freezing methods, and provides tips to ensure maximum flavor retention of your fresh sweet corn.
Freezing Corn Kernels
To freeze corn kernels, one needs to efficiently remove them from the cob after blanching. She can do this by standing the cob upright in a large bowl and using a sharp knife to slice down the sides, letting the kernels fall into the bowl. To prevent clumping, spread the kernels on a baking sheet in a single layer and pre-freeze before transferring them to airtight containers or heavy-duty freezer bags.
Alternative Freezing Methods
Aside from the traditional blanching method, one can explore alternative freezing methods based on preference and convenience. Flash freezing on a tray ensures individual kernels freeze separately, reducing clumps. Vacuum sealing is another method that extracts air, potentially preserving the texture and flavor more effectively. For those who prioritize convenience, freezing sweet corn directly in its husk could be an option, though it may not yield optimal texture.
Tips for Maximum Flavor Retention
The key to flavor and texture retention lies in the speed of the process. One should blanch and freeze fresh corn as quickly as possible to minimize the conversion of sugars into starch. It's also important to remove as much air as possible from the storage bags since air can cause freezer burn. For optimum results:
Blanch cobs for exactly four minutes.
Cool rapidly in ice water immediately after blanching.
Dry thoroughly before freezing to prevent ice crystal formation.
By following these advanced tips and techniques, one ensures that the sweet, summery taste of corn remains as vibrant and delicious as the day it was picked.
