
How to Freeze Homemade Gravy for the Holidays
A Step-by-Step Guide
The holiday season is often synonymous with hearty meals and the unmistakable comfort of homemade gravy. As a crucial component of festive dining, gravy not only enhances the flavor of various dishes but also invokes a sense of nostalgia and warmth. However, the demands of holiday cooking can make it challenging to manage time effectively. Freezing homemade gravy is a practical solution that can alleviate some of the kitchen stress, ensuring that there is always a supply of this beloved sauce on hand without the last-minute rush.
Freezing gravy is a simple process that maintains its quality and taste when done correctly. It is important to let the gravy cool completely before freezing to preserve its flavor and texture. Utilizing air-tight containers or freezer bags helps prevent freezer burn and allows the gravy to be stored for extended periods, ready for incorporation into meals at a moment's notice. This method is particularly beneficial for individuals who wish to prepare their holiday meals (What wine goes well with holiday meals?) in advance.
Understanding Gravy Types
Gravy is a flavorful sauce that often accompanies meats, biscuits, and a variety of other dishes. Its composition can vary widely, which affects how one might approach freezing and reheating it for later use.
Flour-Based Gravy
Flour-based gravies typically employ wheat flour or cornstarch as thickening agents. They are commonly made by combining butter and flour to create a roux, to which stock or broth from turkey, beef, or chicken is added. These gravies have a smooth texture and rich flavor, which can be enhanced with seasonings such as sage.
Milk-Based Gravy
Milk-based gravies, often served with biscuits, use milk or cream for their base and are thickened similarly with flour or cornstarch. They can also include drippings from the meat, but care must be taken if planning to freeze as dairy can separate when frozen and thawed.
Stock and Broth-Based Gravy
The essence of stock and broth-based gravies lies in their liquid foundation: chicken, beef, or turkey stock or broth. Typically thickened with flour or corn starch, these gravies can present a gluten-free alternative when thickened with a substitute like arrowroot or xanthan gum.
Specialty Gravies
Specialty gravies encompass a wide variety, including tomato gravy and gravies that feature unique ingredients or flavors. Gluten-free options may use substitutes for traditional wheat flour. The key to an effective freeze in these cases often depends on their base and thickening agents.
Preparing Gravy for Freezing
Freezing homemade gravy is a practical way to extend its shelf life and enjoy it long after the festive season has passed. Proper preparation is essential to preserve the gravy's texture and flavor, prevent bacterial growth, and ensure it remains safe to consume.
Cooling Down
Before freezing, the gravy must be allowed to cool to reduce the risk of bacterial growth. Homemade gravy should be cooled at room temperature for no longer than two hours to enter the safe zone. Once cooled, the temperature can be brought down further by placing the gravy in the refrigerator. Ensure the gravy is at or below refrigeration temperature before transferring it to the freezer.
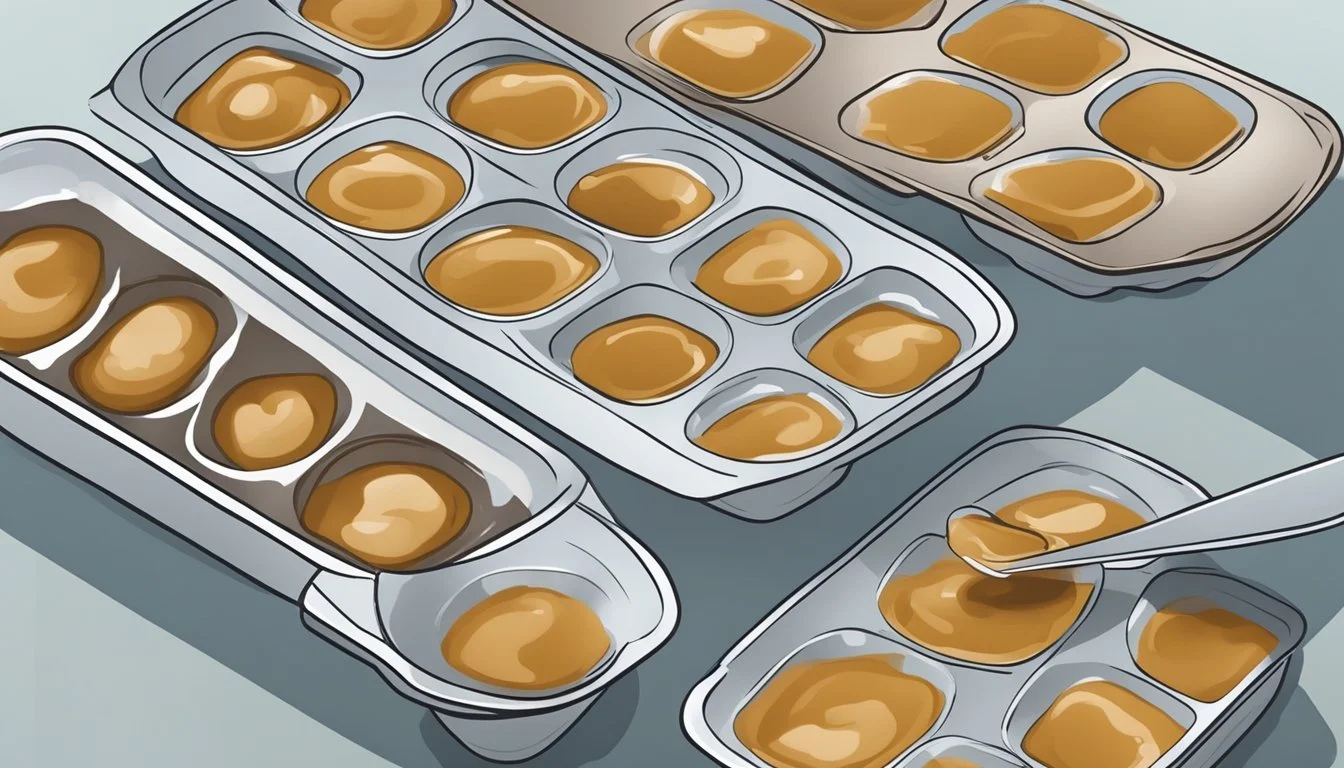
Portioning
Effective portioning of leftover gravy can save time and reduce waste. One can utilize ice cube trays as a convenient method to freeze gravy in small, easily manageable portions. After freezing the gravy cubes solid, transfer them to freezer bags or airtight containers to prevent freezer burn and odor absorption. For larger meals like casseroles or with cooked meat, portion the gravy according to the size of the dish you plan to prepare.
Adding Freezing Aids
For added protection, introducing freezing aids can be beneficial. To prevent the separation of ingredients after thawing, one might introduce a small amount of cornstarch or flour to thicken the gravy. When storing in freezer bags, expelling as much air as possible is crucial to maintain quality and prevent oxidation. Label each airtight container or bag with the date of freezing to keep track of storage duration.
Best Freezing Practices
When freezing homemade gravy, one should consider container choice, protection against freezer burn, and effective labeling. These steps are pivotal for maintaining flavor and quality.
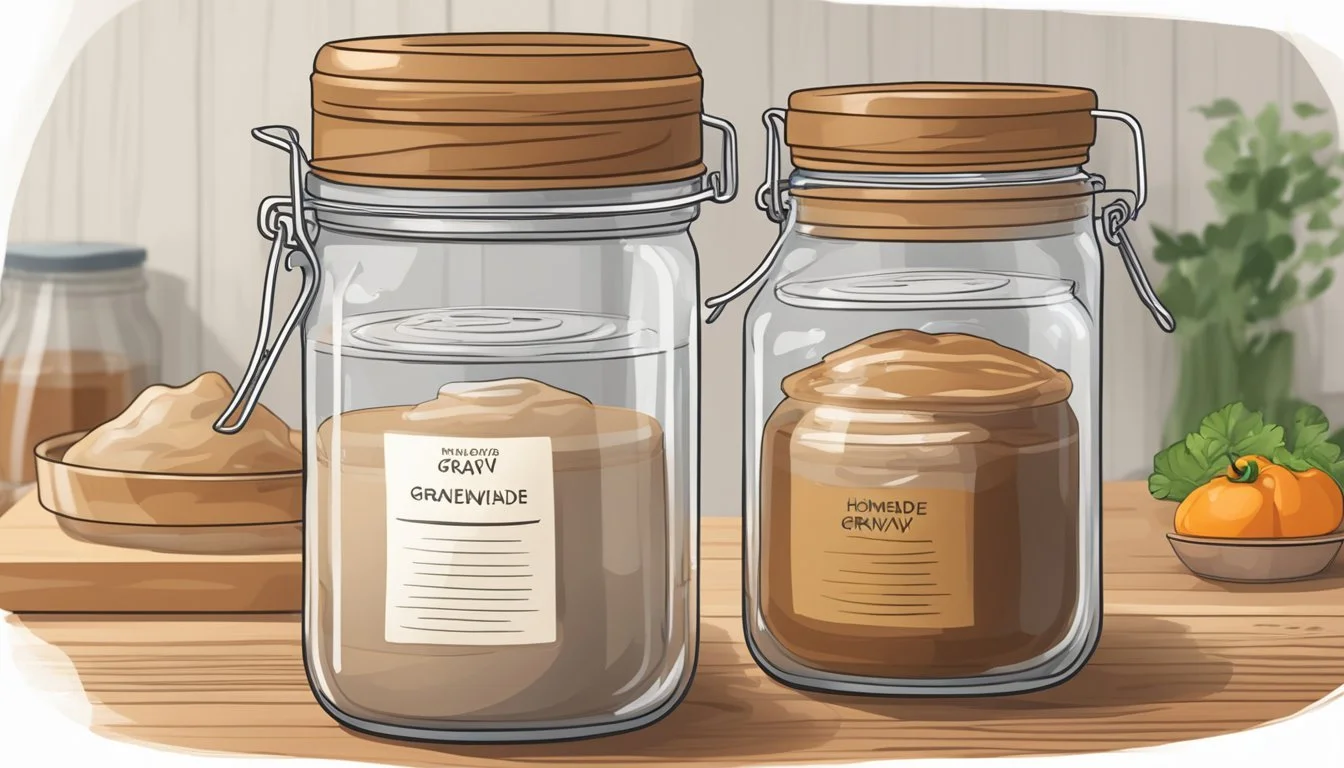
Using Proper Containers
One must select freezer-safe containers to ensure the gravy withstands low temperatures without damage. Such containers include airtight containers and Ziploc bags. Glass jars can also be used, provided they're specified as freezer-safe to prevent cracking. These options help preserve the gravy's consistency and prevent absorption of odors.
Airtight containers: Secure with lids to maintain quality.
Ziploc bags: Lay flat to save space and freeze evenly.
Glass jars: Leave room at the top for expansion.
Preventing Freezer Burn
To prevent freezer burn, the gravy should have minimal exposure to air. This can be done by:
Removing as much air as possible from Ziploc bags before sealing.
Choosing airtight containers that match the portion size to avoid excess space.
Ensuring the gravy is cool before transferring to containers to minimize condensation.
Freezer burn affects flavor and texture, so a tight seal is crucial.
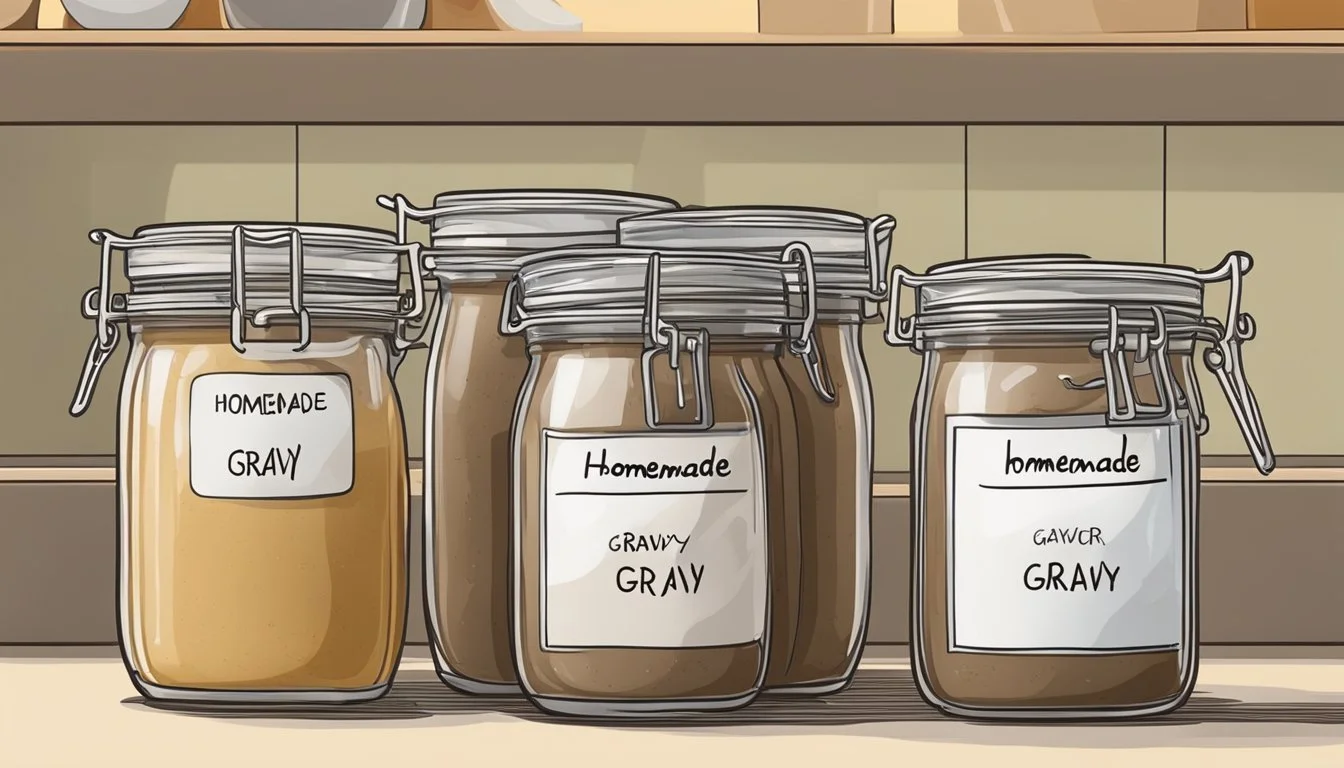
Labeling and Dating
Every container must be labeled with the contents and the freezing date. Labels are vital for organizing freezer storage and tracking how long the gravy can be stored. This practice aids in using the oldest stock first and enjoying the gravy at its best.
Label Example:
Contents: Homemade Turkey Gravy
Date: MM/DD/YYYY
Adhering to these practices will help maintain the homemade gravy's desired quality and taste during the freezing process.
Thawing and Reheating
When preparing homemade gravy for future use, proper thawing and reheating methods are crucial to maintain its quality and flavor. These processes also ensure the gravy is safe to consume.
Safe Thawing Techniques
Thawing gravy correctly is vital to prevent foodborne illness. One should always thaw gravy in the refrigerator, allowing it to gradually come up to temperature. This method keeps the gravy at a safe temperature throughout the thawing process. Typically, it takes about 24 hours for the gravy to thaw completely in the refrigerator.
Example of safe thawing instructions:
Transfer Frozen Gravy: Remove gravy from the freezer.
Refrigerate: Place the gravy in the refrigerator.
Thaw Duration: Allow approximately 24 hours for thawing.
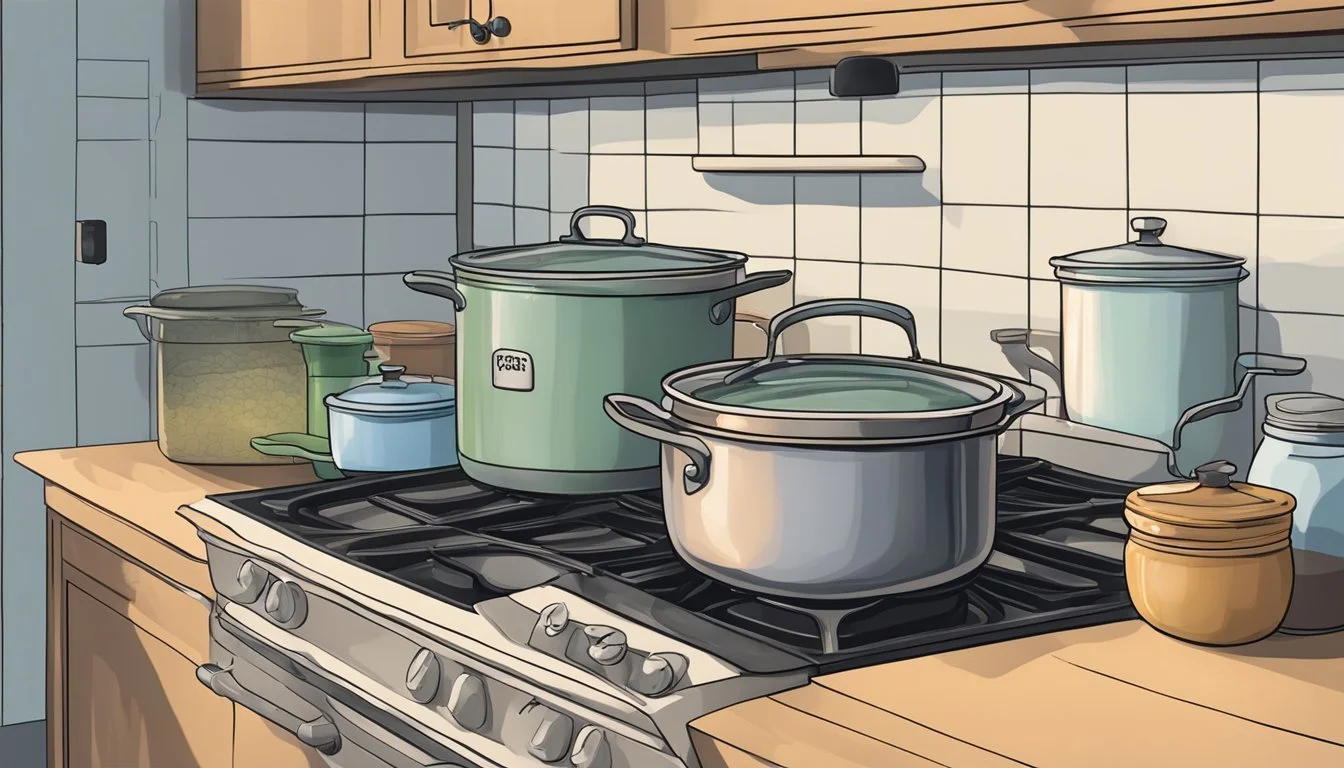
Reheating for Best Quality
Once the gravy is thawed, it's important to reheat it to the right temperature and consistency for the best taste and food safety. Gravy should be reheated slowly on the stovetop at a low-to-medium heat. Continuous stirring is essential to prevent lump formation and ensure even heating. If the gravy is too thick, one can add a small amount of water or stock to achieve the desired consistency.
For reheating gravy, follow these steps:
Choose a Pan: Select a saucepan appropriate for the amount of gravy.
Heat Gradually: Set your stove to a medium-low heat.
Stir Constantly: Whisk the gravy to prevent lumps.
Adjust Consistency: Add liquid as needed to thin.
By following these safe thawing and reheating techniques, one can enjoy flavorful and piping hot gravy that complements any holiday meal.
Serving Suggestions

When freezing homemade gravy, consider how it might be used in various meals to enhance flavors and textures. The versatility of gravy allows it to be a centerpiece of traditional holiday feasts or a creative addition to everyday dishes.
For Traditional Meals
Frozen gravy is an asset for Thanksgiving and Christmas dinners. One can reheat turkey gravy to pour over mashed potatoes or as a sauce to complement the turkey. To ensure quality, one might thaw the gravy in the refrigerator overnight and then gently warm it on the stove, stirring frequently to maintain a smooth consistency.
Mashed Potatoes: Thawed turkey gravy served hot.
Turkey: A classic sauce to elevate the centerpiece of the meal.
Creative Uses for Gravy
Aside from traditional uses, gravy can be a tasty enhancement in various recipes:
Breakfast: Incorporate sausage gravy over eggs for a hearty start.
Soups and Stews: Stir in gravy for added richness.
Meal Prep: Utilize gravy cubes in singular meal portions.
Pot Pies & Casseroles: Enrich these dishes with the deep flavors of gravy.
Here's a quick reference on how to incorporate frozen gravy:
Dish Type Suggestion Soup & Stew Add as a thickening agent for additional depth of flavor. Breakfast Delicious when drizzled over scrambled eggs or sausage. Meal Prep Thaw and add to pre-portioned meals for a quick weeknight fix. Pot Pies Mix into the filling before baking to ensure a moist interior. Casseroles Distribute thawed gravy evenly for a luscious layer.
Storage and Shelf Life
Homemade gravy can be a delightful addition to holiday meals, and proper storage is key to maintaining its quality and flavor. When stored in the refrigerator, gravy should be consumed within a few days to prevent spoilage and mold growth.
For longer preservation, freezing is an excellent option. The freezer extends the shelf life of homemade gravy up to several months. However, the method of freezing is crucial:
Cooling: Ensure the gravy is cooled to room temperature before storing.
Airtight Containers: Pour the gravy into airtight containers or heavy-duty freezer bags. Leave some space at the top as gravy expands when freezing.
Refrigerated: 1-2 days for cream-based gravies and up to 4 days for meat or vegetable-based gravies.
Frozen: Up to 4-6 months for optimal quality.
Some loss in quality over time is natural, but proper storage can minimize these effects. Care should be taken when thawing and reheating:
Thawing: Ideally, thaw in the refrigerator overnight. For a quicker thaw, place in a bowl of cold water or use the microwave's defrost setting.
Reheating: Heat on low to medium-low, stirring regularly. If separation occurs, whisk to combine.
It's important to reach a temperature of 165°F when reheating to ensure food safety. With the right storage techniques, the quality and flavor of homemade gravy can be preserved for the enjoyment of future holiday gatherings.
Safety and Health Considerations
When preparing homemade gravy for the holidays, it is crucial to consider the safety and health implications to ensure the wellbeing of those who will enjoy it. Below are key factors to keep in mind:
Bacterial Growth: Gravy is a perishable item, and improper handling can lead to bacteria proliferation. It should be cooled rapidly before freezing, as lingering at room temperature can allow bacteria such as Salmonella or E. coli to grow. Freezing gravy should be done within two hours of cooking to guard against bacterial contamination.
Freezer Burn: To protect against freezer burn, which can compromise the gravy's taste and texture, one should use air-tight containers or heavy-duty freezer bags. Freezer burn occurs due to air reaching the food's surface and causing dehydration and oxidation.
Mold Prevention: The risk of mold is negligible in a properly functioning freezer; however, before freezing, ensure that the gravy is sealed tightly to prevent exposure to air which might introduce mold spores.
Types of Gravy: Some health considerations vary with the type of gravy:
Dairy-Based and Cream-Based Gravy: They can separate when frozen and should be thoroughly mixed when reheated. It is imperative to cool these quickly as they can become a breeding ground for bacteria if left out at a warm temperature for too long.
Flour-Based and Flour-Thickened Gravy: These varieties freeze well, but one should reheat them slowly while whisking to prevent lumping. One can freeze flour-thickened gravy for up to four months with minimal quality loss. If separation occurs upon defrosting, gentle whisking and a bit of water or stock added during reheating can restore consistency.
By adhering to these health and safety protocols, one can confidently enjoy homemade gravy during the festive season without health risks.
Additional Tips and Tricks

When freezing homemade gravy, one can save time during the busy holiday season. Properly frozen gravy retains its flavor and quality, making it a great make-ahead option.
Choosing Containers: Use airtight containers or heavy-duty freezer bags to store gravy. Label them with the date to keep track of freshness.
Preserving Quality: To prevent a loss in quality, cool the gravy before freezing. Flour-thickened gravy generally freezes well, while gravy with a dairy base might separate and should be avoided.
Portioning: Freeze gravy in ice cube trays for small, manageable portions. Once frozen, transfer cubes to a freezer bag for easy access.
Thickening Agent: If the gravy contains flour or cornstarch, it may separate slightly when thawed. Simply reheat over low heat and whisk to restore consistency.
Incorporating Flavor: Consider adding herbs, spices, or caramelized onions before freezing to enhance the flavor. However, be mindful as some herbs lose their potency when frozen.
Meat Drippings: Save meat drippings from dishes like Salisbury steak to enrich your gravy. Strain them well before adding to the mix.
Freezing Gravy with Vegetables: If your gravy includes vegetables, be aware they may soften after freezing and reheating. For best texture, one may prefer to add fresh vegetables upon serving.
Avoiding Certain Mix-ins: It's best not to freeze potatoes in gravy, as they can become grainy.
Remember, homemade gravy can be a significant upgrade from store-bought gravy, especially with proper preparation and storage.
