
How to Freeze Homemade Chili for Cozy Dinners
A Step-by-Step Guide

Freezing homemade chili is a smart way to save time and ensure there's always a hearty meal on hand. Chili's robust flavors often deepen over time, making it an ideal dish for freezing and reheating. However, not all chilis are created equal when it comes to freezing. While tomato-based chilis with beef or other ground meats hold up well in the freezer, chilis with a creamy base may not fare as successfully due to potential changes in texture upon thawing.
To prepare chili for freezing, it's important to let it cool to room temperature before packaging. This helps to prevent condensation inside the container, which can lead to freezer burn. Using air-tight containers or heavy-duty freezer bags can also protect the chili from picking up unwanted flavors from the freezer and maximize its storage life, typically up to three months. When the time comes to enjoy the frozen chili, thawing and reheating can be done effectively using a microwave, stovetop, or slow cooker, ensuring a warming, flavor-packed meal is never out of reach.
Exploring the Basics of Homemade Chili
Creating a comforting bowl of homemade chili begins with the foundation of quality ingredients and a tried-and-true recipe. The reader will gain an understanding of selecting ingredients that contribute to the depth of flavor and variety of textures, along with outlining recipes ensuring a delicious outcome.
Selecting the Right Ingredients
The choice of ingredients can deeply influence the flavor and texture of homemade chili. The core components often include:
Proteins:
Ground beef is a classic choice, offering a rich taste and hearty texture.
Alternative proteins such as turkey can be used for a lighter version.
Beans:
Kidney beans are traditional and sturdy, holding their shape well.
Pinto beans and black beans are popular for variety and nutritional value.
Vegetables:
Onions and peppers add essential flavor dimensions and nutritional content.
Diced tomatoes contribute to the chili’s base with acidity and sweetness.
Spices:
A blend of chili powder and cumin is essential for authentic chili flavor.
Additional spices may include paprika, garlic powder, and oregano.
Additional Ingredients:
Corn, carrots, or celery can be included for added texture and nutrition.
Homemade Chili Recipes
Recipes for homemade chili often start by sautéing onions and peppers, then browning the chosen protein. Spices play a crucial role and should be added as the aromatics cook to enhance their flavors. Below is a basic structure for a chili recipe:
Sauté aromatics such as onions and garlic.
Brown the protein with the aromatics.
Incorporate spices like chili powder and cumin early for depth of flavor.
Add the diced tomatoes, including their juices, for the base.
Mix in the beans of choice: kidney, pinto, or black beans.
Simmer to allow the flavors to meld and the texture to thicken.
Recipes can be tailored for varying preferences and dietary requirements. Some may prefer a vegetarian chili, (What wine goes well with vegetarian chili?) omitting meat and adding more beans and vegetables. Others might enjoy the addition of special ingredients like chocolate or coffee for a unique twist on the classic recipe. Each ingredient and step contributes to a chili that's perfectly suited for freezing and enjoying on a cozy evening.
Preparation Before Freezing
Proper preparation of homemade chili is essential for maintaining its flavor and texture when freezing. This involves the choice of cooking method and ensuring the chili is sufficiently cooled.
Cooking Methods: Stove and Slow Cooker
For those who prefer the traditional approach, cooking chili on the stove allows for greater control over the heat and tends to cook the chili faster. One should simmer the chili for at least 20-30 minutes to meld the flavors together.
Alternatively, using a slow cooker imparts a depth of flavor as ingredients cook and develop over several hours. This method is convenient for its set-it-and-forget-it nature, allowing the chili to cook on low heat typically between 6 to 8 hours.
Cooling Chili Before Freezing
Chili must be allowed to cool down to room temperature before freezing. This prevents condensation from forming inside the container which can lead to freezer burn. Cooling should be done as follows:
Transfer chili into a shallow dish to speed up the cooling process.
Stir occasionally to help release heat.
Never place hot chili directly into the freezer as it raises the freezer’s internal temperature, risking the safety of other stored food items.
After cooling, one can portion the chili into freezer-safe containers or bags, leaving about an inch of space at the top to accommodate for expansion as it freezes.
Freezing Chili Properly
One ensures long-lasting flavor and quality of chili by using the proper freezing method, packaging techniques, and labeling practices. Let's look at the specifics.
Best Freezing Method
For optimal results, one should allow the chili to cool to room temperature before freezing. Placing hot chili into the freezer can cause quick freezer burn and affect the chili's texture and flavor. To avoid this, it is recommended to cool the chili completely after cooking.
Packaging: Freezer Bags and Containers
When packaging chili for freezing, it's imperative to use freezer bags or airtight containers. Freezer bags should be filled, with most air pressed out to prevent freezer burn. For containers, one should leave about half an inch of headspace at the top to allow for expansion.
Freezer Bags: Squeeze out excess air; seal tightly.
Airtight Containers: Fill leaving headspace; secure the lid firmly.
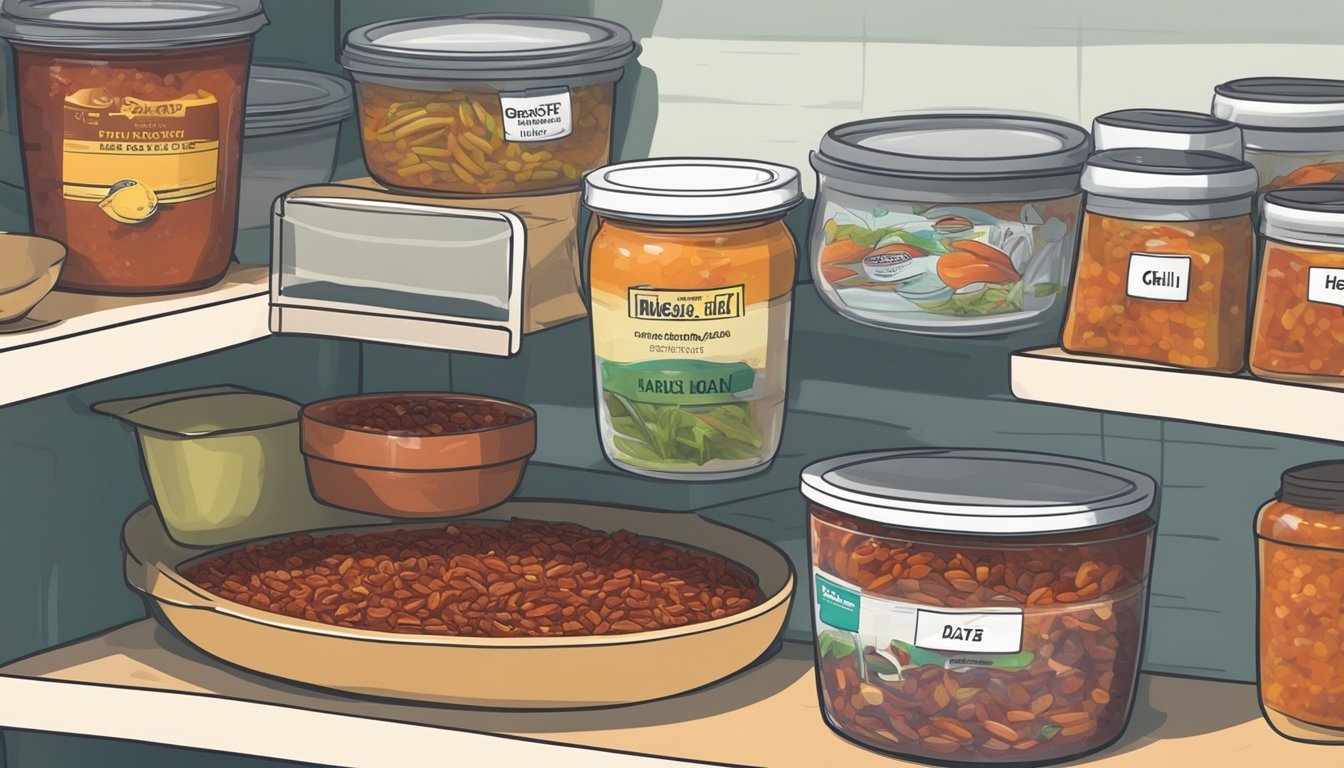
Labeling and Dating Your Chili
Always label and date the packaging before placing the chili in the freezer. This helps to keep track of the contents and ensures that the chili is used within an ideal timeframe. The general consensus for frozen chili consumption is within 3 months for the best taste and quality.
Labeling: Write the name of the dish and ingredients if necessary.
Dating: Note the date of freezing clearly on the label.
Maximizing Chili's Shelf Life
To ensure homemade chili maintains its flavor and texture during freezing, safeguarding against freezer burn is essential. Proper storage techniques can considerably extend the shelf life of chili, providing convenient and delicious meals for later use.
Avoiding Freezer Burn
Freezer burn occurs when air reaches the food's surface and dehydrates it, leading to a dry texture and altered flavor. To prevent this:
Cool the chili completely before freezing to avoid excess moisture which leads to ice crystals.
Use airtight containers or resealable freezer bags to provide a tight seal against air exposure.
Press out all the excess air when using bags.
Wrap the container or bag in aluminum foil for an additional layer of protection.
How Long to Store Frozen Chili
The duration for which chili can be kept frozen while retaining quality depends on the ingredients and storage:
Beef and tomato-based chili: typically retains quality for 3 to 4 months.
Label each container or bag with the date of freezing to track how long it has been stored.
Ensure chili is kept at a consistent temperature of 0°F or lower to minimize the risk of freezer burn and bacterial growth.
By following these guidelines, your homemade chili can be a convenient and tasty option for several months.
Thawing and Reheating
Proper thawing and reheating are crucial for enjoying homemade chili's robust flavors and comforting warmth after it's been frozen. This section provides a straightforward guide on these processes to ensure a delicious result.
How to Thaw Frozen Chili
Refrigerator: The safest way to thaw frozen chili is by placing it in the refrigerator for about 24 hours. This slow process ensures that the chili remains at a safe temperature, reducing the likelihood of bacteria growth.
Water Bath: For a quicker thaw, one can submerge the sealed container of chili in a sink filled with room temperature water. It’s important to check the water periodically to ensure it doesn't get too warm and to flip the container occasionally for an even thaw.
Best Methods for Reheating Chili
Microwave: When using a microwave, reheat the chili in a microwave-safe bowl, covered loosely with a lid or microwave-safe cover, stirring periodically to heat evenly.
Stovetop: Reheating on the stovetop is a fantastic method for preserving the chili's texture and flavor. Simply place thawed chili in a pot, and warm it over medium heat, stirring occasionally.
Oven: An oven can be used for reheating larger batches of chili. Preheat the oven to 350 degrees Fahrenheit (175 degrees Celsius), transfer the chili into an oven-safe dish, cover it with foil, and heat it until it's thoroughly warmed, which typically takes about 20 to 30 minutes.
Utilizing Frozen Chili
Frozen homemade chili is a versatile ingredient ripe for creative use in the kitchen. It's essential to understand the best ways to serve and repurpose this hearty dish.
Serving Suggestions After Freezing
When one serves frozen chili after thawing, they can enhance the dish with various toppings and sides. For individual servings, people commonly add a dollop of sour cream and garnish with ripe avocado slices to infuse creaminess and a touch of freshness. This combination not only enhances the flavor but also provides a visually appealing contrast.
Toppings to Offer:
Shredded cheese
Diced onions
Cilantro leaves
Lime wedges
Incorporating Leftovers into New Meals
Chili, once thawed, can serve as a robust base for novel meals, thus aiding in efficient meal prep. A chef might layer chili over a bed of rice or tuck it inside a tortilla to make burritos. They could also use it as a filling ingredient in shepherd's pie or as a hearty sauce for pasta, infusing the meal with rich, spiced flavors.
Chili Mac & Cheese: Add chili to your favorite macaroni and cheese for a flavor-packed twist.
Chili Stuffed Peppers: Stuff bell peppers with chili, top with cheese, and bake until perfection.
By leveraging frozen chili in these ways, one can easily diversify their meal routine, transforming what could have been monotonous leftovers into delightful and savory new experiences.
Food Safety Considerations

When it comes to preserving homemade chili for future enjoyment, understanding food safety is crucial. A clear understanding of the procedures can help prevent the growth of harmful bacteria and ensure the chili remains safe to consume.
Can You Refreeze Chili?
One commonly asked question is whether one can refreeze chili after it has been thawed. It is safe to refreeze chili as long as it was thawed in the refrigerator and not left at room temperature for more than two hours. However, there are important considerations:
Quality: Each freeze-thaw cycle can deteriorate the texture and flavor.
Temperature: Chili should be cooled in the refrigerator to 40°F (4°C) before refreezing.
Mitigating Risk of Harmful Bacteria
Harmful bacteria can grow rapidly between the temperatures of 40°F (4°C) and 140°F (60°C), a range known as the 'danger zone'. To mitigate this risk:
Cooling: Chili must be cooled quickly to avoid the danger zone. Aim to bring the temperature down to 40°F (4°C) within 2 hours.
Portions: Divide large amounts into smaller, shallow containers to cool faster.
Heating: When reheating, ensure the chili reaches 165°F (74°C) to eliminate potential bacteria.
Tips for a Perfect Chili

Freezing homemade chili ensures that a robust and comforting meal is ready at a moment's notice. A key to freezing chili lies in preparing it correctly; a well-thickened base and enhanced flavor will withstand the freezing process better.
Thickening Your Chili
To achieve a desirable thick consistency for chili, one should opt for either simmering over low heat until excess liquid evaporates or incorporating a thickening agent. Cornstarch, flour, or mashed beans can serve as natural thickeners. Using one of these, chili becomes less watery, and it freezes and reheats without losing its hearty quality.
Cornstarch: Combine 1 tablespoon with 1 tablespoon cold water, and stir into the chili.
Flour: Make a roux with equal parts of flour and fat, then mix it into the chili.
Mashed Beans: Instantly thicken chili by mashing some of the existing beans in the chili and stirring back into the pot.
Enhancing Flavor After Freezing
When chili is frozen and reheated, it sometimes loses a bit of its flavor potency. To combat this, consider adding fresh spices or acidity to brighten the flavor after reheating. A squeeze of fresh lime juice or a sprinkle of fresh cilantro can revive the chili's taste. Adding a dash of spices, such as chili powder or cumin, just before serving can also elevate the flavor profile.
Acidic Additions: Lime juice or vinegar, added after reheating.
Fresh Herbs: Cilantro or parsley for garnish and flavor enhancement.
Spices: Add a pinch of chili powder, cumin, or smoked paprika after reheating.
Resourceful Kitchen Practices
In preparing for winter, one seeks to optimize the use of resources in the kitchen, particularly when it comes to preparing comforting meals such as chili. Smart storage solutions and pre-planning are key factors.
Minimizing Waste
To minimize waste, one should consider using freezer-safe bags and Souper Cubes which are specifically designed for freezing food in convenient portions. These storage options not only allow for efficient use of freezer space but also help to preserve the food's quality. Freezer-safe bags can be labeled with the date and contents, ensuring that nothing gets lost or forgotten in the freezer.
Inventory Management: Regularly check the freezer contents to keep track of what is available and to use items in a timely manner.
Portion Control: Freeze chili in individual or family-sized portions to avoid thawing more than needed.
Planning for Cozy Winter Dinners
Planning ahead for winter dinners (What wine goes well with dinner?) can transform a busy weeknight into a cozy family gathering without the stress of last-minute meal preparation. Homemade chili is ideal for freezing and can be made in large batches.
Batch Cooking: Cook large quantities of chili and freeze in labeled bags or containers.
Thawing Practices: Plan meals ahead and move the chili from the freezer to the refrigerator ahead of time to thaw safely.
Reheating Options: Reheat chili on the stove, in the microwave, or in a slow cooker to ensure it's thoroughly warmed for serving.
Implementing these practices ensures that one can always have a homemade meal ready to go, reducing both waste and the daily question of "What's for dinner?".
