
How to Freeze Homemade Custard for Creamy Desserts
Best Practices Guide

Custard is a classic dessert known for its creamy texture and rich flavor, bringing a touch of indulgence to any meal. Homemade custard can be a delightful addition to various desserts (What wine goes well with desserts?), from pies and tarts to trifles. However, large batches of custard can present a challenge in terms of preservation. Freezing homemade custard is a practical solution that allows for extended enjoyment of this sweet treat.
While the process of freezing custard may seem straightforward, it's imperative to approach it with the correct technique to maintain its quality. When frozen, custard's texture can be affected due to the separation of fat and water content. This can lead to a lumpy and watery consistency upon thawing. To avoid this common issue, there are specific steps one can follow to ensure that the custard's delectable texture and flavor are preserved as much as possible.
Knowing how to properly thaw and restore custard after freezing is key to enjoying a dessert that still offers a smooth, creamy consistency. Thawing at room temperature and then gently reheating while stirring can help re-emulsify the ingredients. Through proper handling and storage, custard lovers can confidently freeze their homemade concoctions, ready to be incorporated into creamy desserts (What wine goes well with creamy desserts?) at a later time, without compromising too much on the quality of this decadent delight.
Understanding Custard Basics

To master the art of homemade custard, it's imperative to comprehend the fundamental components and the critical role of heat during its creation.
Essential Ingredients for Custard
Custard's rich texture and flavor hinge on a precise balance of core ingredients. Milk and cream serve as the base, offering a creamy foundation. Egg yolks are crucial for thickening the custard, with their emulsifying properties creating a smooth consistency. Sugar adds sweetness, while a pinch of salt enhances the flavors. Vanilla extract is often introduced for its aromatic qualities that define classic custard's taste.
Milk: The primary liquid, providing moisture.
Cream: Adds richness and creaminess.
Egg yolks: Thicken and emulsify the mixture.
Sugar: Sweetens the custard.
Vanilla extract: Provides flavor and aroma.
Salt: Enhances overall flavor profile.
Role of Heat in Custard Making
Heat application is a delicate process in custard preparation. It warms the mixture to allow the egg yolks and sugar to dissolve properly. Gradual heating is essential to prevent the eggs from scrambling and to ensure a uniformly thickened custard. The target temperature should reach a point where the custard coats the back of a spoon, typically between 160°F to 180°F (71°C to 82°C), which indicates proper thickening without overcooking.
Preparation Techniques

When preparing homemade custard for freezing, meticulous attention to technique ensures a smooth texture and consistency. The process involves stabilizing the mixture through whisking and tempering before cooking it gently on the stove.
Whisking and Tempering Methods
To begin, the chef should whisk the ingredients together thoroughly to incorporate air and prevent clumping. The mixture typically includes eggs, sugar, and milk or cream. A pinch of salt is often added to enhance flavor. Tempering is a critical step: the cook gradually raises the temperature of the eggs by adding small amounts of the hot milk mixture, constantly whisking to avoid scrambling the eggs.
Key Steps for Tempering:
Whisk the eggs, sugar, and a pinch of salt in a bowl.
Gradually introduce the hot milk mixture to the egg mixture.
Continue to whisk vigorously to maintain a smooth consistency.
Cooking Custard on the Stove
Once tempered, the custard must be cooked on a stove with precision. They should pour the mixture into a heavy-based saucepan and place it over low heat. The custard is then brought to a gentle boil, and the heat is turned down to a simmer. Continual stirring is crucial to prevent it from sticking to the bottom of the pan and to avoid overheating, which can cause the custard to curdle. The custard is ready when it coats the back of a spoon. Straining the mixture through a fine sieve can remove any lumps that may have formed.
Cooking Steps on the Stove:
Heat the saucepan over low heat.
Bring to a gentle boil, then simmer.
Stir constantly to ensure even heating.
Strain the custard for a velvety texture.
Freezing Fundamentals

Freezing homemade custard effectively requires understanding the underpinning principles and adhering to best practices to maintain quality and texture.
The Freezing Process Explained
When one freezes custard, the goal is to lower the temperature rapidly to prevent large ice crystals from forming, which can disrupt the creamy texture. The freezing process must be managed carefully to ensure the custard remains as smooth as possible upon thawing. Fundamentally, freezing custard involves changing it from a liquid state to a solid through temperature reduction, ideally at a consistent speed.
Best Practices for Freezing Custard
Following certain best practices for freezing custard is critical for preserving its quality:
Cooling: Before freezing, custard should be cooled to room temperature to prevent bacterial growth and temperature fluctuations within the freezer.
Packaging:
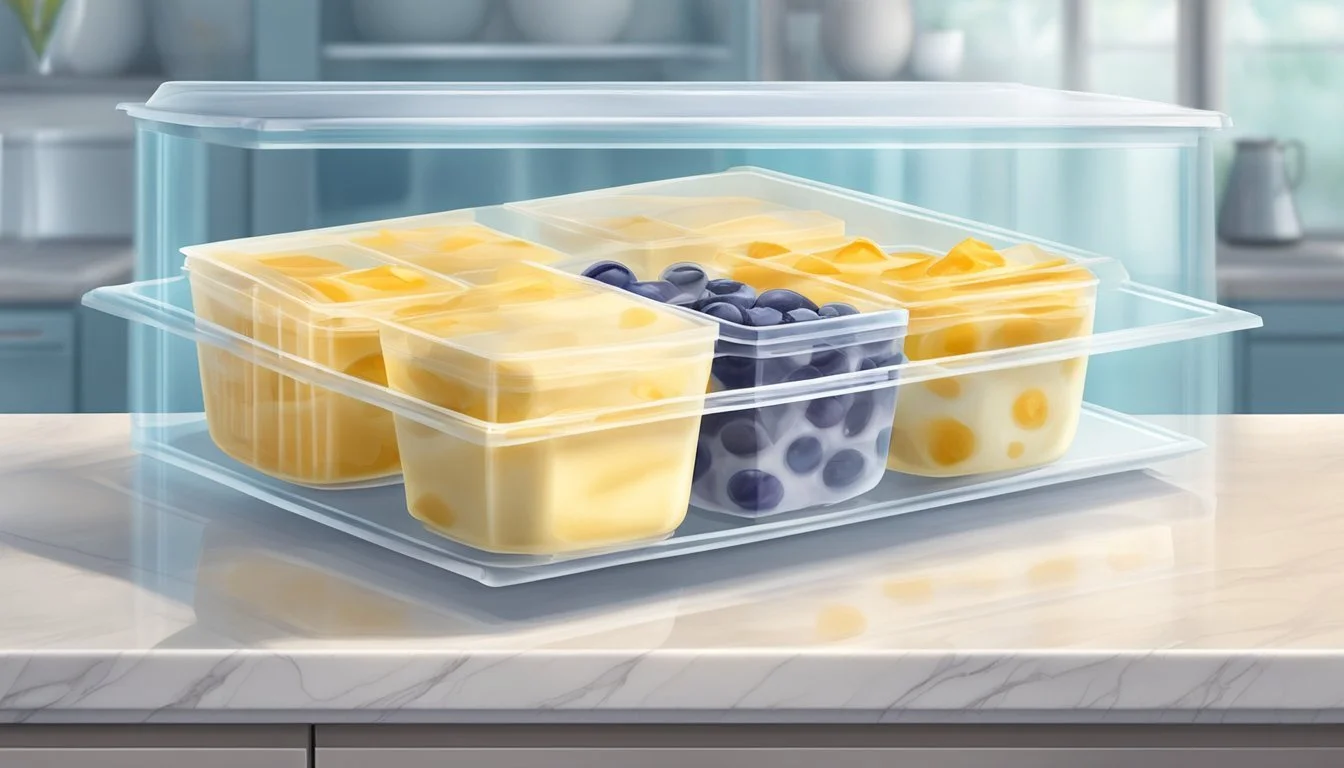
Containers: Use airtight containers to protect the custard from freezer burn and odor absorption. Freezer-safe containers are preferred.
Bags: Freezer-safe bags are an alternative, allowing for flat storage that can maximize space and expedite freezing and thawing.
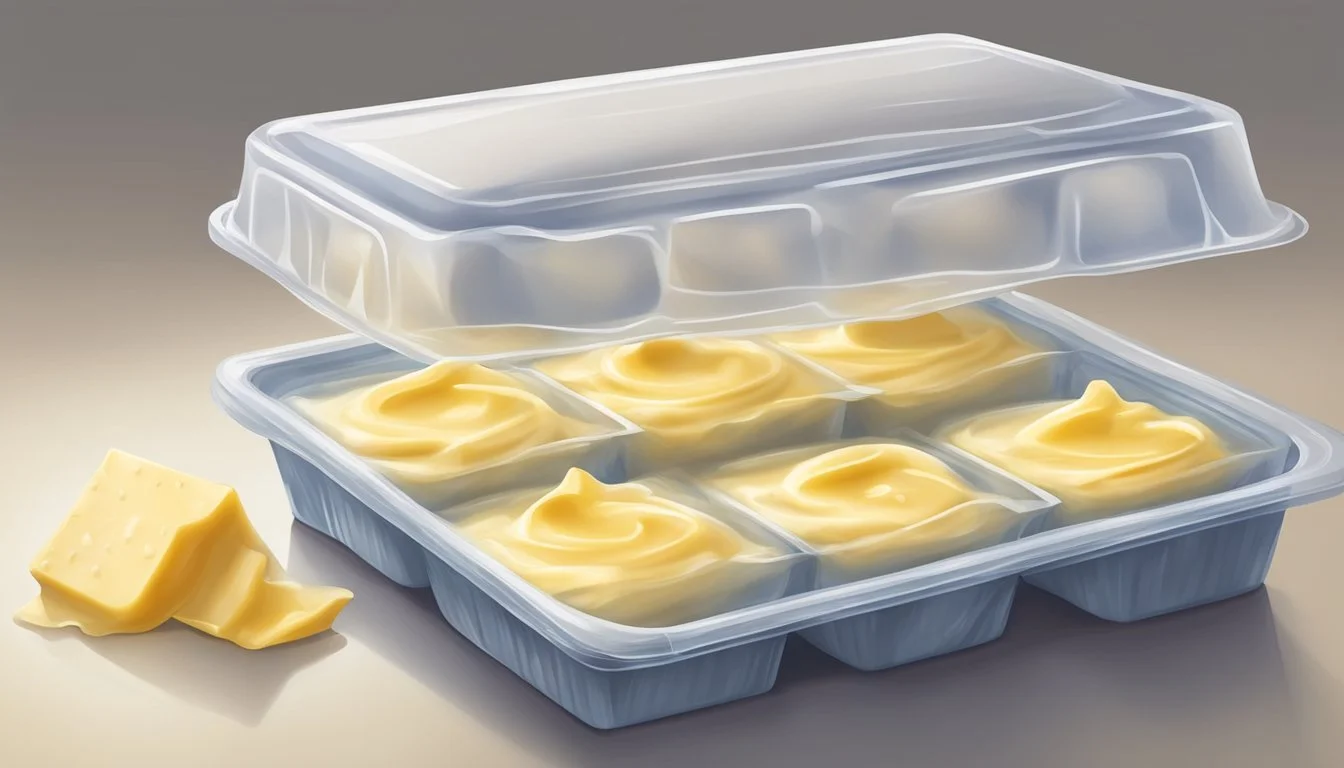
Portioning: Dividing the custard into single-serving sizes can be beneficial, as it prevents thawing more than needed and maintains quality with each use.
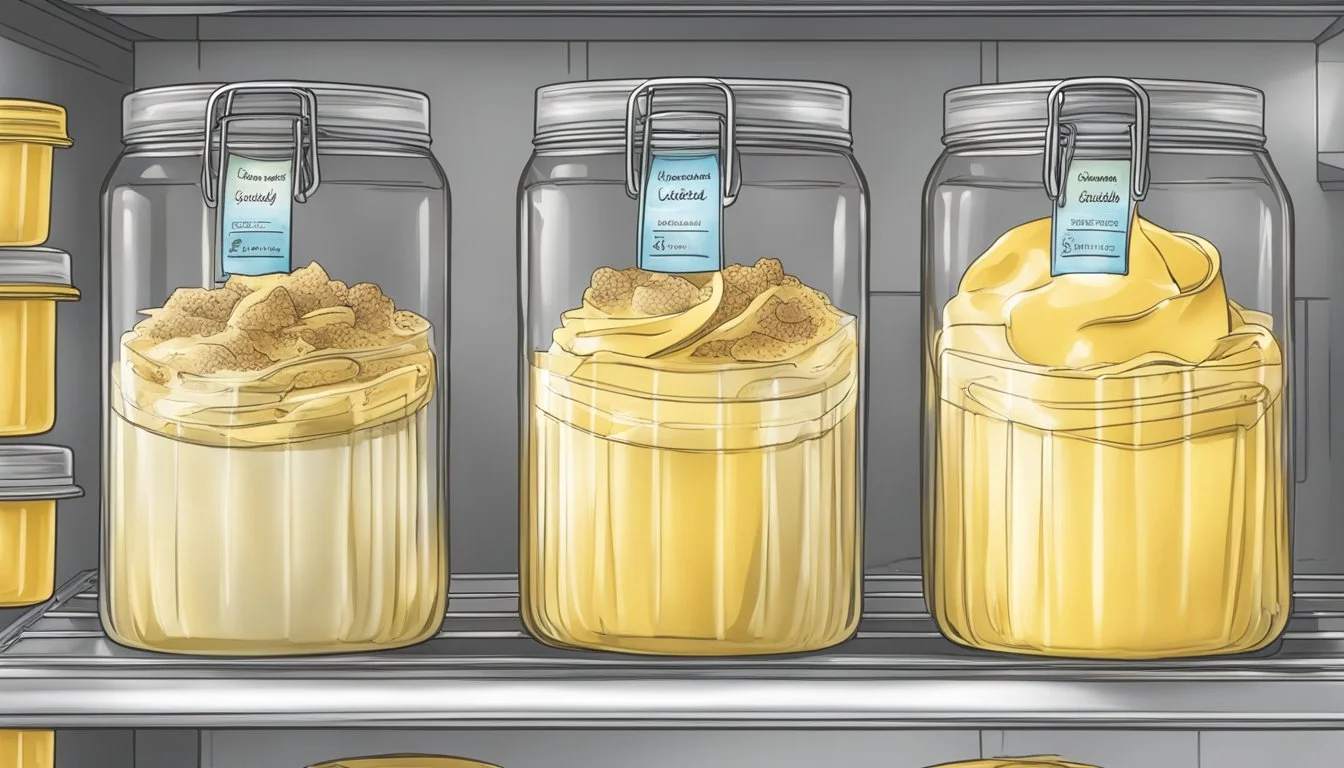
Labeling: Clearly label each container or bag with the date of freezing to keep track of freshness. Generally, custard should be used within three months of freezing.
Thawing: When it comes time to thaw frozen custard, transitioning it from the freezer to the refrigerator is advised to allow a gradual temperature increase, which helps maintain texture.
Maintaining Quality and Texture
When freezing homemade custard, it's essential to prevent texture changes, such as ice crystal or skin formation. Understanding how to correctly thaw custard can also maintain its creamy consistency upon reuse.
Preventing Ice Crystals and Skin Formation
The formation of ice crystals in custard can compromise its smooth texture. To prevent this, one must chill the custard thoroughly before freezing. Chilling slows down crystal formation, resulting in a smoother texture when thawed.
Here's a step-by-step guide to prevent ice crystals:
Chill: Allow the custard to cool to room temperature, then refrigerate it until completely cold.
Wrap: Cover the custard with plastic wrap, pressing it directly onto the surface to prevent skin formation.
Container: Transfer the chilled custard into an airtight container, leaving some space for expansion.
Seal: Ensure the lid is sealed tightly to keep out air, which can also lead to ice crystals.
Thawing and Reusing Frozen Custard
The process used to thaw custard is critical for preserving its creamy quality. Thawing custard incorrectly can result in a watery or lumpy texture due to the separation of fat and liquid components.
To properly defrost custard:
Refrigerate: Thaw the custard slowly by placing it in the refrigerator for several hours.
Bulk Thawing: If the custard has been frozen in a large quantity, it is beneficial to transfer it into a heavy-based saucepan and heat it gently on the stove.
Stir Regularly: While heating, frequently stir the custard to help the fat and liquid reintegrate, which will help to soften and return the custard to its original creamy consistency.
By following these methods, one can maintain the quality and delicious texture of homemade custard, even after it has been frozen and thawed for future use.
Serving and Usage Ideas
Freezing homemade custard unlocks a variety of delightful dessert options. This frozen base can transform into elegant treats, pairing well with fresh ingredients and various dessert configurations.
Incorporating Frozen Custard into Desserts
Frozen custard can be a versatile component for many desserts. Churning the custard into custard ice cream is a straightforward process that ensures a creamy texture, perfect for serving on its own or as part of a more complex dessert. For an indulgent trifle, layer pieces of sponge cake with frozen vanilla custard, sweet fruit, and a drizzle of caramel or coffee syrup. The prep time for such desserts is minimal, while the custard's rich texture adds depth to the final product.
Creative Pairings with Frozen Custard
When it comes to pairings, frozen custard shines. Serve a slice of custard pie topped with a scoop of homemade frozen custard for a double dose of custard pleasure. On a hot summer day, try a frozen custard treat topped with fresh berries or a citrusy lemon sauce to balance the richness. Nearby, present a table of various toppings allowing guests to customize their servings, creating interactive and refreshing dessert experiences that are as unique as they are delicious. The calories will vary, but the focus remains on full-bodied flavor and homemade quality.
Advanced Tips and Troubleshooting
This section covers specific strategies for adjusting the consistency of custard pre-freezing and addresses common issues such as separation and texture after thawing.
Adjusting Custard Consistency
To ensure the best consistency of frozen custard, especially for creamy desserts like pastry cream, it's important to consider the role of thickeners. Cornstarch is a key ingredient that helps custard maintain its structure upon thawing. When preparing custard, measure cornstarch precisely and mix it thoroughly to avoid a grainy texture.
Thickened consistency: If your custard is not thickening as desired, slightly increase the amount of cornstarch while keeping an eye not to make it too pasty.
Extracts for flavor: Incorporate vanilla or other flavor extracts after the custard has cooled down to preserve the integrity of the flavor.
Granulated Sugar: Use the correct ratio of granulated sugar as it not only sweetens but also affects the custard's freezing properties.
Handling Separation and Texture Issues
Separation is a common issue when freezing custard due to the different freezing points of fat and water. This can lead to a texture that may resemble scrambled eggs once thawed. To minimize this:
Before freezing: Ensure the custard is cooled and stirred smoothly to keep the mixture homogenous.
After thawing: If separation occurs, gently whisk the custard, adding a small amount of milk to help restore its creamy texture.
Portion Sizes: Freeze custard in small, manageable portions. Smaller containers allow for more even freezing and easier thawing, which can mitigate texture issues.
By observing these advanced tips and troubleshooting strategies, one can maintain the desired consistency and smoothness of homemade custard even after it has been frozen and thawed.
Nutritional Information and Dietary Considerations
When considering homemade custard, the nutritional content can vary depending on the specific recipe used. Generally, custard is a rich source of protein and calcium, due to the presence of milk and eggs. These ingredients also contribute to the custard's content of saturated fat and cholesterol, which should be moderated in a balanced diet.
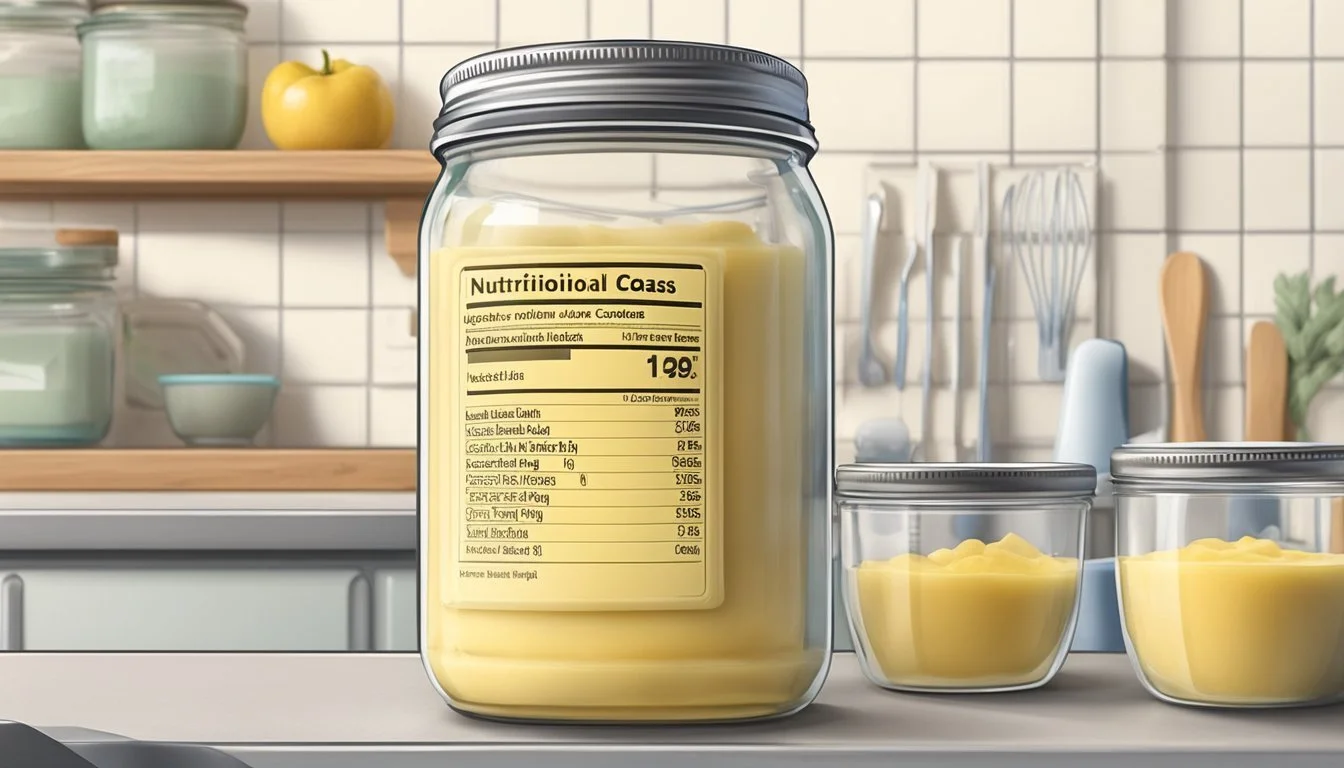
The typical nutritional values per 100 grams of homemade custard may include:
Fat: varying levels, depending on milk fat content
Saturated Fat: present from both eggs and full-fat dairy
Cholesterol: significant amounts from egg yolks
Sodium: minimal, unless added for flavor
Potassium: naturally occurring from the milk
Calcium: substantial, provided by dairy ingredients
Iron: trace amounts
Vitamin C: generally not present
Dietary Considerations:
Individuals watching their fat intake may opt for low-fat or non-dairy milk alternatives.
For those monitoring cholesterol, using fewer yolks or egg substitutes can be beneficial.
Sodium content is typically low but should be double-checked if on a sodium-restricted diet.
Potassium, calcium, and a small amount of iron contribute to daily mineral needs.
It is essential for consumers to be mindful of the dessert's caloric density due to the richness of ingredients. When consumed in moderation as part of a well-rounded diet, homemade custard can be included as a satisfying treat.
Custard Recipe Variations
Experimentation is key when it comes to enhancing the appeal of homemade custard. Whether one sticks to the timeless appeal of classic flavors or ventures into a world of bold add-ins, the foundation of a creamy custard is always the same: a harmony of milk, sugar, and egg yolks.
Classic Vanilla Custard Recipe
The cornerstone of custard recipes is undoubtedly the Classic Vanilla Custard. This traditional recipe calls for:
Whole milk and heavy cream offering a luscious texture
Egg yolks imparting a rich color and taste
Sugar providing sweetness to balance the custard
Vanilla bean or high-quality extract for that quintessential vanilla aroma
Preparation involves gently heating the milk and cream in a saucepan, then tempering the egg yolks with the warm mixture before cooking everything together, stirring constantly with patience. The result is a velvety custard that works beautifully as a base for a variety of desserts, including pies or as a rich sauce for fruit.
Innovative Flavors and Add-Ins
For those seeking to expand past the classic taste, a wide range of Innovative Flavors and Add-Ins can transform a simple custard into a gourmet experience. Consider the following combinations, each designed to infuse the custard with new, exciting tastes and textures:
Berries: Fold in fresh or compote berries after the custard has cooled for a fruity twist.
Citrus: Infuse the milk with citrus zest such as lemon or orange.
Chocolate: Add chocolate chips or melted chocolate into the hot custard for a decadent treat.
Spices: Introduce spices like cinnamon or nutmeg for a warm, aromatic flavor.
Herbs: Incorporate fresh herbs like basil or mint for a unique, refreshing aftertaste.
When it comes to baking or pastry, a well-prepared custard can act as the foundation for countless recipes, encouraging culinary creativity and innovation. Whether it is used in its purest form or enhanced with bold ingredients, the versatility of custard is a testament to its time-honored presence in the world of dessert.
Storage and Shelf Life Tips

Proper storage is crucial for maintaining the quality of homemade custard. Utilizing the right containers and techniques can preserve its flavor and texture, ensuring a delightful dessert experience.
Choosing the Right Containers for Freezing
Selecting suitable containers is essential for freezing custard effectively. Containers should be freezer-safe to withstand low temperatures without cracking. Airtight containers are recommended as they prevent moisture and air from affecting the custard's quality.
Freezer-safe containers: Glass or rigid plastic jars with tight-sealing lids.
Freezer-safe bags: For portion control, zip-top bags specifically designed for freezer use are ideal.
Maximizing Freshness and Avoiding Freezer Burn
To maximize the freshness of custard and avoid freezer burn, one must ensure a seal that limits exposure to air. The custard should be cooled to room temperature before transferring it to the container. Dividing the custard into smaller portions can reduce thawing time and mitigate the risk of bacterial growth.
Cooling the custard: Allow the custard to reach room temperature before packing it for the freeze.
Airtight seal: Press out as much air as possible when using freezer bags.
For best quality, custard should be consumed within three months of freezing, although it remains safe beyond that time. Always label the containers with the freeze date to help track how long they have been stored.
