
Growing Runner Beans at Home
Simple Steps for a Thriving Harvest
Discover > Grow Your Own Food > Growing Runner Beans at Home

Growing runner beans at home is an enjoyable and rewarding activity for both beginners and experienced gardeners alike. Runner beans are versatile, adaptable, and easy to cultivate, making them a popular choice for home gardens. The runner bean not only provides a bountiful harvest but also serves as an attractive addition to any garden, thanks to their beautiful flowers. Runner beans are from the same family as both Butter Beans and Lima beans, (how long do lima beans last?) although there are many different varieties.
To successfully grow runner beans, consider factors such as soil type, planting time, and suitable supports as they climb. As they are thirsty plants it is important to ensure that the plants have adequate moisture and nutrients in the soil, so they thrive in well-drained, rich soil. Planting runner bean seeds (how long do seeds last?) in pots or directly into the ground during late spring ensures optimal growing conditions, with young plants hardened off before being transplanted outdoors. Space plants adequately to ensure the roots and foliage can grow freely.
Using simple guidelines and providing appropriate care, anyone can look forward to a fruitful harvest of runner beans throughout the summer. These beans are a versatile ingredient in the kitchen and contribute to the overall aesthetics of the garden, making them a delightful addition.
Understanding Runner Beans
Runner beans are a popular and tasty vegetable suitable for home gardens. They offer ornamental value and produce an abundant crop of beans. Knowing the characteristics of the bean varieties is essential for achieving the best growth and harvest.
Among the many runner bean varieties, some popular ones include Painted Lady, Firestorm, Scarlet Emperor, Moonlight, and Hestia. Each variety possesses unique features, giving gardeners choice in terms of growth, appearance, taste and flowers.
Painted Lady: An heirloom variety with pretty bicolored red and white flowers. It yields tender beans with a subtly sweet flavor.
Firestorm: An easy-to-grow, self-pollinating variety, making it more reliable for a crop even in unfavorable conditions. Firestorm has beautiful red flowers.
Scarlet Emperor: An old favorite, boasting scarlet flowers, which are loved by pollinators. Scarlet Emperor is a popular choice, producing flavorful and tender beans.
Moonlight: A unique variety with white flowers that stands out in the garden. Moonlight is a self-pollinator, ensuring a heavy crop of tasty beans.
Hestia: A dwarf variety perfect for small spaces and container gardens. The compact Hestia plant produces bi-colored red and white runner bean flowers and abundant, tasty beans.
To grow runner beans, select a sunny site with well-draining soil. Prepare the planting area by working in well-rotted manure. Both container and in-ground planting work well, providing there is enough support and space. Depending on the variety chosen, plant runner beans from seed approximately 5-6 inches apart and 2 inches deep. Water regularly and feed the plants for optimal growth.
In conclusion, the runner bean plant provides visual appeal and is also a delicious and nutritious vegetable in your home garden. Choose a variety that suits your garden's conditions to ensure a rewarding crop of these versatile vegetables.
Ideal Conditions for Growing
The runner bean plant flourishes under specific conditions. Ideal conditions to grow runner beans include ensuring the soil, sunlight, temperature, and moisture levels are ideal for your chosen strain.
Soil and pH: Runner beans grow well in rich, fertile, well-drained, slightly acid soil with a pH between 6.0 and 6.5. Adding plenty of well-rotted manure will enhance soil quality, providing the nutrients needed for optimal growth. Preparing the soil for the planting site can be done in either autumn or spring.
Sunlight and Shelter: These plants need a sunny spot for an earlier crop. Select a location that receives at least 6 hours of sunlight each day. Protect the plants from strong winds that may damage their fragile stems, by choosing a sheltered spot.
Temperature: The runner bean plant is more sensitive to frost than other beans, so plant them only when the risk of the last frost has passed, which usually falls between April and May. If the tender plants experience frost before settling in the garden, harden them off in a bright sunny spot or on a sunny windowsill during the day and cover them with horticultural fleece or bring them inside at night.
Moisture Levels: Runner beans are thirsty plants. So water them regularly, but avoid overwatering as this may cause the seeds or seedlings to rot. Runner beans require moisture-retentive soil, so incorporating organic matter like compost can help retain the right amount of moisture.
In summary, growing runner beans prefer a sunny, sheltered spot with rich, fertile, and well-drained soil. Ensure the soil has a pH between 6.0 and 6.5 and maintain consistent moisture levels. Plant the runner beans in late spring when there is no risk of frost in a warm and protected environment for a successful harvest.
Preparation before Planting

Cultivating runner beans from seed at home starts with the preparation of seeds, and the planting area. Soak the seeds in water for about six hours or overnight to start the germination process. This way, the seeds can rapidly absorb moisture, making it easier for the seedlings to sprout.
In an outside planting area, thoroughly dig the soil beforehand to remove weeds and increase aeration. Incorporating a generous amount of well-rotted garden manure into the soil will significantly boost fertility. On the other hand, for indoor runner beans, plant in a small pot or in a large container, using high-quality potting mix. Ensure the pots or containers are deep enough to accommodate the growing roots.
The following table presents the ideal conditions for runner bean germination and growth:
Condition Ideal Value Temperature 12°C (54°F) or over Germination Time 7 to 10 days Seedling Transplant Height 3 inches
When sowing indoors, starting in April to achieve better germination is prudent. Be sure to use deep pots, as runner beans develop a strong root system. Planting in pots also shields young plants from pests, such as slugs and snails. If you prefer a greenhouse, place one seed in each pot and cover it with garden compost. Be sure to provide adequate water when planting and throughout late spring and during hot summers.
After germination, allow the seedlings to grow indoors under controlled conditions and gradually harden them off before transplanting outdoors. This process takes roughly 7 to 10 days and involves moving the seedlings to a cold frame or exposing them to short periods outdoors daily. Transplant the young plants to your garden or outdoor containers when they reach about 3 inches in height.
In conclusion, properly preparing both seeds and planting areas is of utmost importance for successful runner bean growth. By following these guidelines, you're well on your way to enjoying a bountiful harvest.
Planting Process
Before starting the planting process, it's important to select the right spot for your runner beans (Phaseolus coccineus).
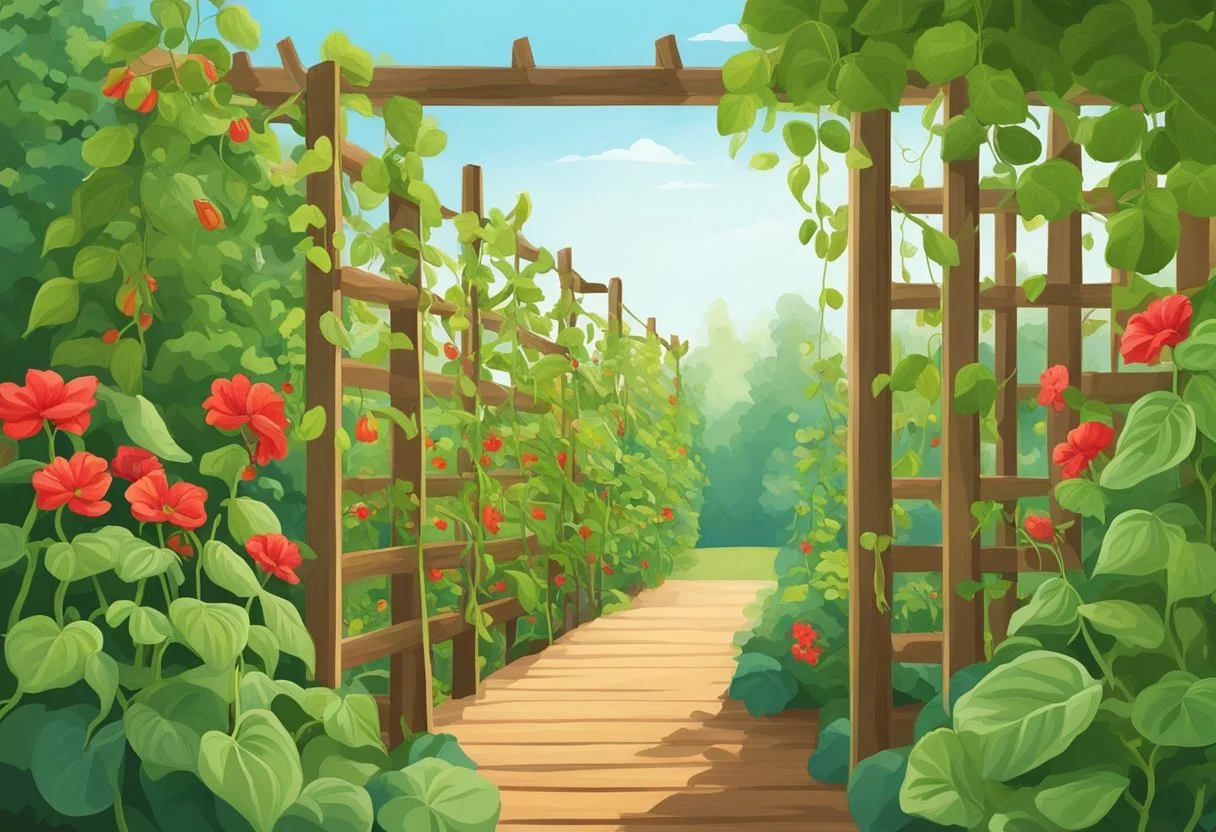
To begin, prepare the planting area by loosening the soil and removing weeds. Next, create your support system. The most common support structures for runner beans are:
Canes: Use tall, sturdy canes, such as bamboo canes, to create a row or wigwam structure.
Wigwam: Drive the canes (around 6-8 feet tall) into the ground, spacing them about 18 inches apart. Tie the top of the canes together with twine to form a wigwam structure.
Rows: If you prefer a row structure, erect two parallel rows of canes about 18 inches apart, with 36 inches between each row.
All the support structures are available from your local garden centres or you can make your own. Once your support is in place, it's time to plant the seeds. Follow these steps for a successful planting:
Direct sow: Wait until the last frost has passed, usually around late spring. Soak the seeds overnight to speed up germination.
Spacing: Sow the seeds about 2 inches apart along the base of each cane or bamboo support.
Depth: Plant the seeds at a depth of approximately 1.5-2 inches.
Tying: Once the plants begin to grow, gently tie their stems to the canes with soft twine to provide additional support.
Watering: Keep the soil consistently moist, especially during dry spells.
With proper care, your runner beans should begin to produce a strong crop by mid to late summer. Remember to pick the beans regularly to encourage continuous growth and so you can enjoy your homegrown vegetables.
Care and Maintenance
Proper care and maintenance are essential for successfully growing runner beans at home. Here are some essential steps to consider for healthy plants:
Watering: Like French beans runner beans need the soil moist, especially during the flowering and pod-development stages. Watering should be done regularly, aiming for about 1-1.5 inches of water per week. Be careful not to overwater, as this can lead to root rot.
Feeding: Runner beans require a rich, nutrient-dense soil to thrive. Enrich the soil by incorporating well-rotted compost or manure before planting your beans - this can be done the previous autumn. Additionally, you can apply a liquid feed with a high-potassium content, such as tomato feed, every 2-3 weeks during the growing season.
Mulching: Applying a thick layer of organic material, like straw, leaves, or compost, helps conserve soil moisture and regulates temperature. Mulch also suppresses weed growth.
Pinching Out: Encourage bushier growth and stronger plants by pinching out the growing tips of young runner bean plants when they reach about 8 inches in height. This practice can make the plant more resilient to pests and diseases.
Transplanting: If you start your runner beans indoors, transplant them carefully to their final growing location once the risk of frost has passed. Gradually acclimatize the young plants to outdoor conditions before transplanting.
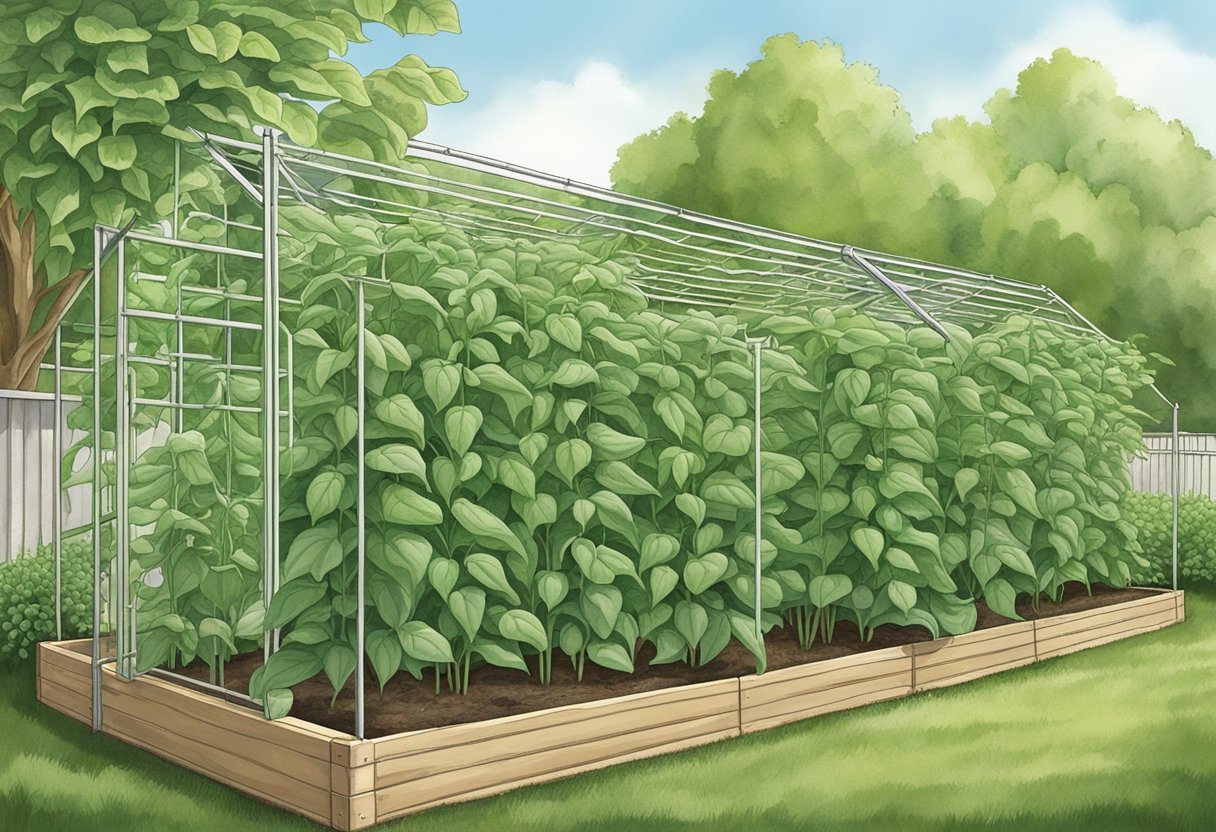
Sun and Space: Position your runner beans in a sunny spot with well-drained soil. Provide ample space and support, like trellises, stakes, or teepees, for the vine's climbing growth habit. Water more regularly during very hot summers.
General Care: Keep an eye on your runner beans for signs of pests or diseases. Aphids and powdery mildew can sometimes affect the plants, so monitor them and treat these problems promptly.
By following these care and maintenance tips, your runner beans should flourish.
Pest and Disease Control
Growing runner beans at home can be a rewarding experience, but it is essential to be aware of potential pest and disease problems. Control these issues and keeping your plants healthy by:
Common Pests
Bean plants can fall victim to several plant diseases. The most common pests that affect runner beans include:
Aphids: These small, sap-sucking insects can cause leaf curling, distortion, and stunted growth. To control aphids, consider introducing beneficial insects like ladybirds, who prey on them, or spray the plants with a mild soapy solution.
Slugs and Snails: These creatures feed on the leaves and stems of many plants, including runner beans. Use methods like beer traps or copper tape to control slugs and snails. Alternatively, hand-pick them off your plants and dispose of them away from your garden.
Bean Rust: This fungal disease causes orange or red pustules on the underside of leaves and can be managed by improving air circulation around the plants and the removal of any infected leaves.
Disease Management
Maintaining healthy runner bean plants can help prevent diseases from taking hold. Here are a few key practices for disease control:
Watering: Be sure to water at the base of the plant rather than overhead, as wet leaves can encourage fungal growth.
Crop Rotation: Rotate your bean plants with other crops each season to reduce the buildup of pathogens in the soil.
Pruning: Regularly remove any dead or infected plant material to minimize the spread of disease.
Support: Provide proper support for your runner beans, such as trellises or poles, to assist in air circulation and sunlight penetration, reducing the chance of diseases taking hold.
Pollination and Flowering
Runner beans (Phaseolus coccineus) are known for their beautiful flowers and delicious beans. The flowering stage is crucial for producing a strong crop1, as proper pollination directly affects pod production and new growth.
The color and type of flowers vary depending on the runner bean variety. For example, the Scarlet Runner features bright red flowers, while the Sunset Runner Beans have peach to shell-pink blooms. Regardless of the variety, these flowers are crucial in attracting pollinators, such as bees, which are essential for pollination.
To encourage pollination, it is important to ensure that your runner beans have:
Adequate sunlight: Plant your beans in a sunny, sheltered spot, as this promotes healthy flowering and facilitates pollination.
Sufficient moisture: Regular watering is crucial, especially during dry spells. Maintaining proper moisture levels in the soil encourages steady flowering and sets the stage for successful pollination.
To further support pollination, consider adopting the following strategies:
Plant additional flowers that attract pollinators nearby, such as lavender, marigolds, or cosmos. This will help attract more bees and improve the chances of successful pollination.
Manual pollination can be done by gently shaking the plant or using a small brush to transfer pollen from one flower to another. Although labor-intensive, this method can benefit locations with fewer natural pollinators.
Keep in mind that certain environmental factors may impede pollination. For instance, during periods of extreme heat, pollination rates may drop because the flowers tend to dry up more quickly. Watering the plants well in the mornings or evenings can help maintain flowering and support pollination.
Harvesting
When it comes to harvesting runner beans, timing is crucial for a delicious and tender yield. Runner beans typically produce pods ready for harvest between July and October, depending on when they were planted and the growing conditions. It's important to regularly check your plants every 2-3 days once bean production starts.
As a general rule, harvest the green beans when the pods are about 15 centimeters long. Picking them at this stage ensures a fresh and tender taste. Regular picking is essential because it encourages the plant to produce more pods throughout the growing season.
To properly harvest runner beans, follow these simple steps:
Check for maturity: Make sure there is a good crop, the beans are the right size (approximately 15 cm long), they have a vibrant green color and you can feel the beans inside.
Use a gentle touch: Carefully hold the bean pod in one hand and use your other hand to cut or pick pods away from the vine, making sure not to damage the vine.
Inspect the beans: If they have not reached their ideal size, leave them on the vine for a few more days before checking them again.
Store or consume: Enjoy your freshly harvested runner beans right away, or store them in a cool, dry place for later use.
If you allow the beans to mature on the vine fully, the seeds inside the pods can be collected and used for the next planting season. To save seeds, follow these additional steps:
Select the best pods: Choose the largest, healthiest-looking pods from your harvest to ensure the strongest seeds for the next season.
Allow to dry: Leave the selected pods on the vine until they become dry and brittle. Alternatively, you can pick the pods and let them dry.
Remove the seeds: Open the dried pods and carefully remove the seeds inside.
Store the seeds: Place the seeds in an airtight container or envelope, properly labeled with the variety and harvest date. Store in a cool, dry place until it's time to plant again.
Aftercare and Storage

After harvesting, runner beans require proper care and storage to maintain their flavor and freshness. There are a few methods to store runner beans, such as freezing, drying, and storing in a cool, dark place.
Freezing: Freezing is one of the most effective ways to store runner beans for long periods. Before freezing, make sure to blanch the beans briefly in boiling water for 2-3 minutes. This step helps to preserve their color and texture. After blanching, quickly cool them in cold water, then drain and pat dry. Place the beans in freezer bags or airtight containers, removing as much air as possible. Frozen runner beans can be stored for up to 12 months, retaining their freshness and nutritional value.
Drying: Drying runner beans is another good option, especially if you have limited freezer space. To dry beans, first remove the strings and cut them into smaller pieces. You can use a food dehydrator or spread them out on a clean cloth or a drying rack in a well-ventilated area, away from direct sunlight. It may take a few days or more for the beans to dry completely, depending on the humidity. Once they are fully dry and brittle, store the dried runner beans in airtight containers in a cool, dark place. Dried beans can last several months and be rehydrated by soaking them in water before use.
Storing Fresh Beans: Keep unwashed fresh runner beans in a plastic bag or wrapped in damp paper towel in the refrigerator for a short-term storage solution. They should be consumed within a week. For longer storage, consider using one of the methods mentioned above.
By following these aftercare and storage tips, you can ensure that your runner beans remain delicious and nutritious for months to come. Remember always to use clean, dry containers and maintain a cool, dark environment for optimal storage results.
