
DIY Cold Frame Gardening
Maximizing Harvests Year-Round
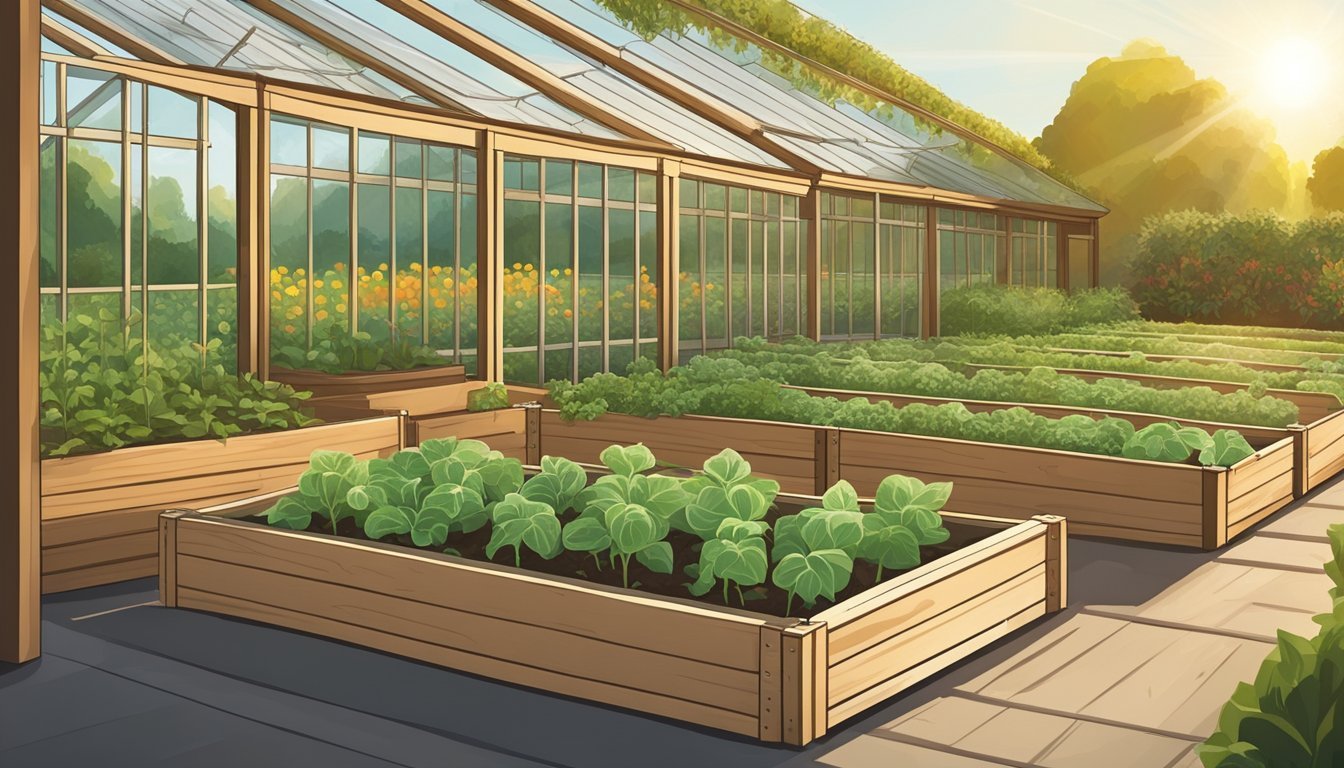
A cold frame is an essential gardening accessory for extending the growing season, especially in cooler climates. It is essentially a transparent-roofed enclosure, acting as a miniature greenhouse to protect plants from harsh weather conditions. Constructing a DIY cold frame is a practical gardening project that can be accomplished without extensive carpentry skills or a large budget.
The construction of a cold frame usually involves using materials such as wooden boards for the frame and a transparent lid made from glass or clear plastic to let sunlight in while insulating the plants. The design can vary from a simple box to a more elaborate setup with additional features like adjustable lids for ventilation. Gardeners often employ cold frames to cultivate seedlings before the last frost or to keep hardy greens thriving well into the colder months.
By creating a controllable microclimate, cold frames allow for a productive garden year-round, turning it into a sheltered haven for various plants. Not only do they extend the gardening season, but they also make efficient use of space, enabling gardeners to maximize their yields within a small footprint.
Understanding Cold Frames

Cold frames are essential for gardeners looking to protect plants from the cold and extend the growing season. They utilize natural thermal energy to create a microclimate favorable for plant growth.
Definition and Purpose of a Cold Frame
A cold frame is a structure designed to utilize solar energy to extend the gardening season. It consists of an opaque base and a transparent top, which allows light to enter while conserving heat.
The primary purpose is to shield plants from extreme cold, wind, and frost, thereby creating a microclimate that can be significantly warmer than the external environment.
Benefits of Using an Unheated Cold Frame
Extended Growing Season: By providing a warmer microclimate, gardeners can begin sowing seeds earlier in spring and extend the life of plants into the colder months.
Frost Protection: Cold frames offer a buffer against frost, protecting plants when outside temperatures plunge.
Hardening Off Seedlings: They are ideal for acclimatizing seedlings and gradually exposing young plants to outside conditions.
Portable Cold Frame vs. Greenhouse
A Cold Frame is typically smaller and more compact but can range from small to industrial scale. It relies on solar energy; and may not require additional heat but can be heated artificially, allowing for higher temperature control.
Cold Frames are generally less expensive to build and maintain than a greenhouse which is more costly due to size, materials, and possible heating needs. Cold frames are often portable and can be moved as needed.
In comparison, a greenhouse is usually larger, can be heated, and permits year-round cultivation. In contrast, a cold frame is a more economical, compact solution mainly used to combat cold weather and frost during transitional periods of the gardening season.
Planning Your Cold Frame
When constructing a DIY cold frame for gardening, selecting an optimal location, choosing appropriate materials, and determining the right dimensions are critical for creating an effective structure to extend the growing season.
Location Considerations
The location is crucial because it determines how much sunlight and warmth your plants will receive. A south-facing site is ideal, as it maximizes exposure to sunlight. The location should also shield the cold frame from strong winds while ensuring adequate drainage to prevent water accumulation.
Sunlight: Aim for a minimum of six hours of direct sunlight daily.
Protection: Choose a spot near a fence, wall, or hedge to block cold winds.
Drainage: Slightly sloped ground or a spot with well-draining soil minimizes waterlogging.
Choosing the Right Materials
The materials for a cold frame affect its durability and insulation. Frames are commonly made of wood, with cedar being a popular choice due to its resistance to rot. For the transparent top, options include glass, plastic sheeting, or acrylic. Each material has its benefits:
Cedar: Naturally rot-resistant, perfect for garden frames.
Glass: Excellent for light transmission but can break easily.
Plastic Sheeting: More affordable and resilient but may require frequent replacement.
Acrylic: A middle-ground option that offers durability and good light transmission.
Determining Cold Frame Dimensions
The dimensions of your cold frame directly correlate to what you intend to grow and the available space in your garden.
If you only have a small space a large single cold frame might be the best bet, those with more space and higher production in mind might want to think about a square-foot gardening setup with multiple cold frames.
Height: Typically, the back of a cold frame is taller than the front to create a slanted roof for rain runoff and better sun exposure.
Width: Most gardeners recommend a width that does not exceed 3-4 feet for easy reach to the plants.
Length: This is variable and should be based on garden size and the number of plants you wish to grow.
Using materials like plywood or concrete blocks can affect the size, as they may require additional structural support.
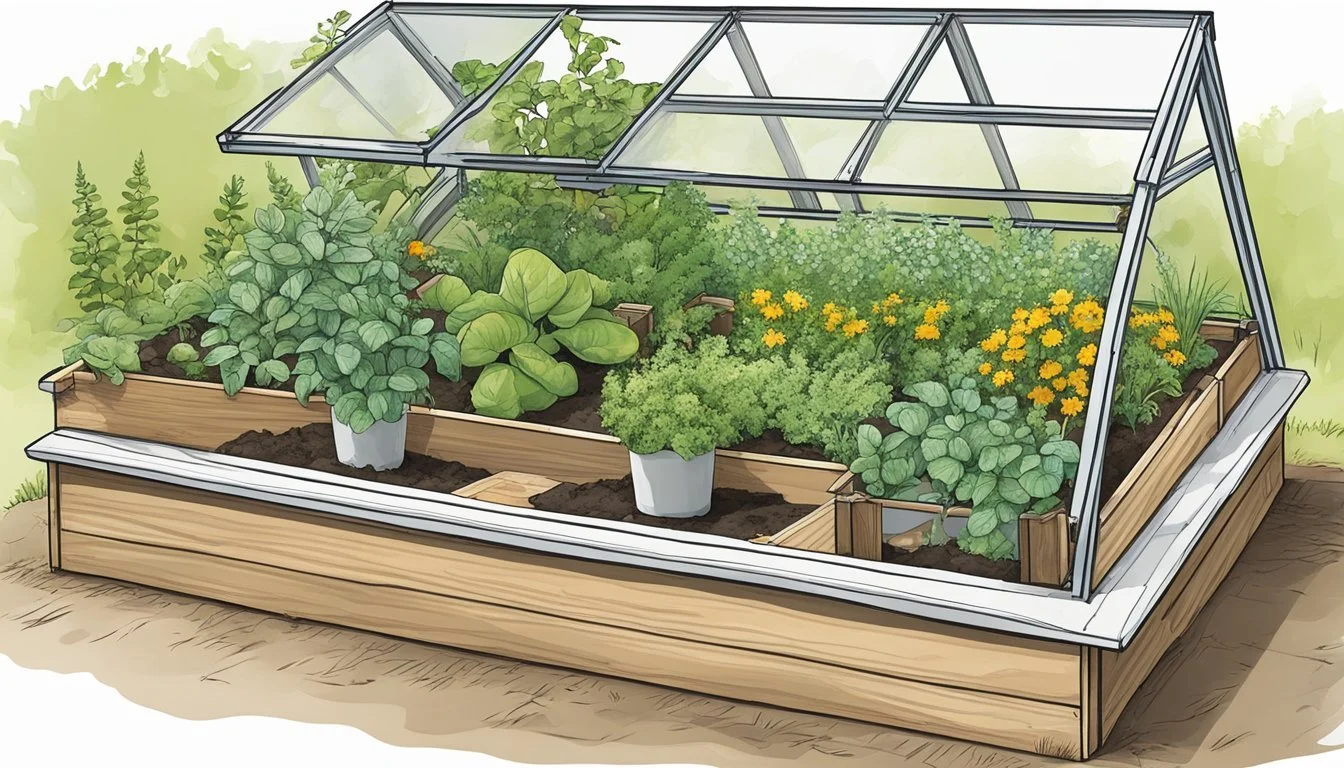
DIY Classic Cold Frame Construction
In DIY cold frame construction, precision in building a robust wooden frame, securing a transparent lid, ensuring proper ventilation, and enhancing insulation are critical steps.
You can build a cold frame directly on a raised bed, you can build them to be permanently situated with a concrete base or temporarily situated with a portable cold frame design.
Building Wooden Frames
A carpenter or DIY enthusiast begins by cutting wood to specific dimensions using a circular saw or similar tool. They need a stable, rectangular base and four side panels that taper from back to front, allowing for water run-off, most opt for wooden frames.
They'll assemble these pieces using wood screws and washers from a local hardware store, ensuring a snug fit to prevent heat escape and protect against the elements. The most important thing to remember is to choose untreated wood.
Assembling the Lid and Cover
The lid, typically fashioned from old windows or clear plastic, allows sunlight to enter while preserving warmth. To attach the lid securely, one can use hinges, which permit easy opening for access. When using plastic, it is stretched and affixed over a wooden frame, while glass panels may simply be the windows themselves, repurposed for the top.
Creating Ventilation
Proper ventilation is essential to prevent overheating on sunny days. The builder can design the lid to prop open at various angles using simple hardware like hooks or latches. For automated ventilation, installing temperature-sensitive opening mechanisms available at hardware stores can be an effective solution.
Enhancing Insulation
To protect plants against extreme cold, additional insulation can be integrated. Straw bales on the external sides serve as an effective insulator.
Straw bales provide a nice natural organic layer of insulation. Moreover, the interior can be lined with synthetic insulating materials like bubble wrap or foam to retain heat. These materials can be cut to size and placed strategically within the structure.
Planting and Maintenance
Successful DIY cold frame gardening hinges upon meticulous soil preparation, selecting the right plants, and effectively managing water, temperature, and ventilation.
Soil Preparation and Composition
The foundation of a thriving cold-frame garden starts with well-prepared soil. Ideal soil composition should include a mixture of garden soil, compost, and mulch to provide nutrients and optimize moisture retention. Before planting, ensure the soil is loose and friable, which promotes better root growth for the plants.
Choosing Plants
Cold frames are best suited for cold-tolerant plants and cool-season vegetables such as spinach, lettuce, kale, radishes, and arugula. These salad greens can sustain cooler temperatures, making them perfect candidates for growth.
When selecting young seedlings, opt for those that are healthy and robust to increase their chances of thriving, and try to avoid warm-season vegetables which you don't need to use a cold frame.
Watering and Moisture Control
Watering in a cold frame should be done with care, as overwatering can lead to excess moisture and potential frost damage. It's important to maintain consistent moisture levels without creating waterlogged conditions. The use of a moisture meter can help gardeners ensure their plants receive just the right amount of water.
Managing Temperature and Ventilation
Temperature and ventilation are critical to plant health in cold frames. Gardeners should aim to keep temperatures stable, venting it during the day to avoid overheating and protecting it at night from dropping temperatures.
Regulating ventilation helps to manage humidity and prevents the onset of plant diseases often associated with stagnant air and excessive dampness.
Seasonal Considerations
Gardeners must adapt their strategies according to the changing seasons when they use a cold frame. By understanding seasonal variations, one ensures the health and productivity of plants year-round.
Using a Temporary Cold Frame in Spring
When spring arrives, cold frames become crucial for early seedling growth. It provides a protected environment, shielding tender plants from spring frosts while allowing them access to the increasing warmth and sunlight.
Seedlings started indoors can be "hardened off" in a temporary cold frame gradually exposing them to outside conditions to reduce shock when transplanted to the garden.
Summer Plant Care
During the warm summer months, plants inside a cold frame can be susceptible to overheating. Ventilation is key; gardeners should prop the lid open during the day to prevent temperature buildup and close it at night to protect it from unpredictable temperature dips. Some summer-loving plants can benefit from the extra heat if monitored closely.
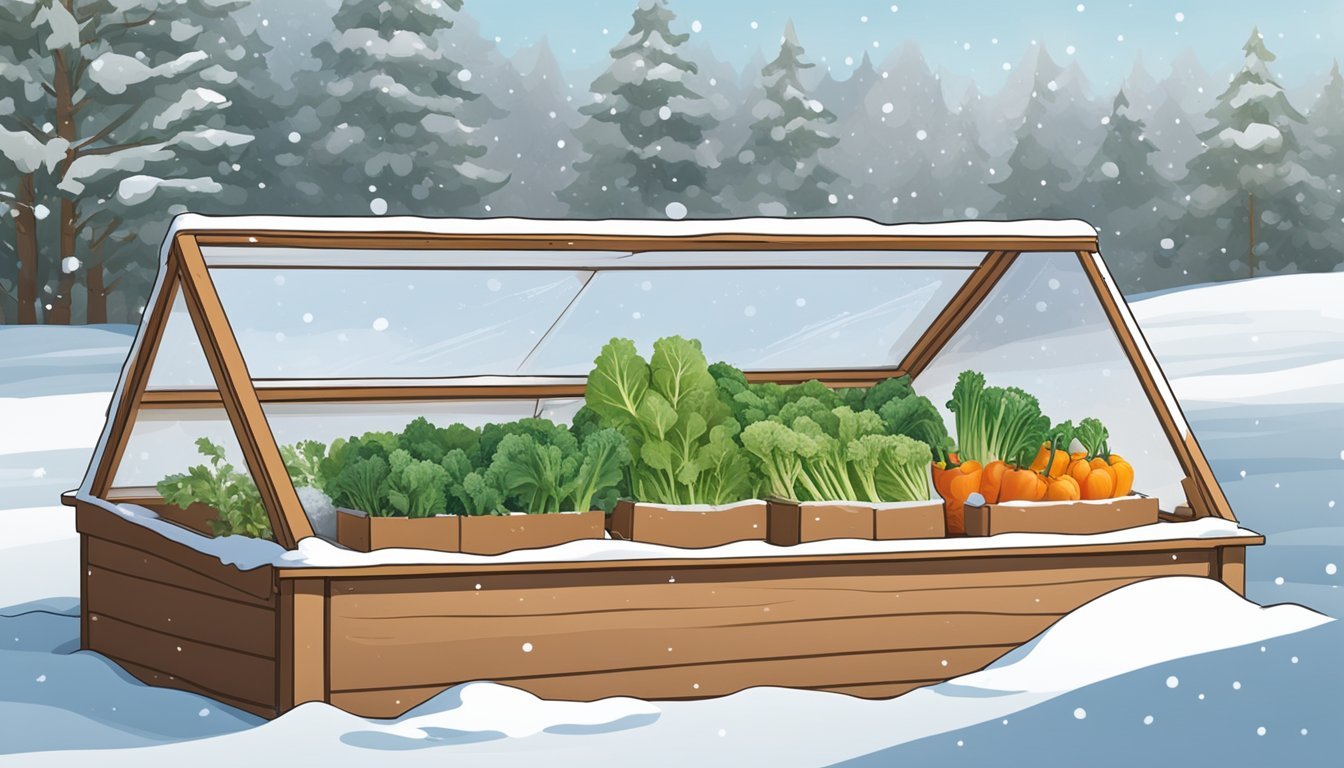
Preparing for Fall and Winter Cold Frames
As fall approaches, a cold frame can extend the growing season by protecting plants from early frosts and cold temperatures.
In preparation for winter, ensure that it is well insulated and can maintain a stable temperature, typically 5 to 10 degrees higher than the outside environment. Gardening in a cold frame through fall and into winter allows for extended harvests of hardy vegetables and the ability to jumpstart late winter or early spring crops.
Creative DIY Cold Frame Ideas

Simple cold frames can be built using old windows as a transparent roof to let in sunlight while insulating plants.
PVC cold frames are lightweight and can be constructed with PVC pipes creating a frame that's covered with plastic sheeting. For those looking for an eco-friendly option, plastic bottle cold frames make use of recycled bottles to form a quasi-greenhouse structure.
When comparing styles, each has its own set of benefits:
Simple cold frame: Typically made from salvaged wood and old windows, it is cost-effective and straightforward to construct.
PVC cold frame: Offers a more flexible structure that can be easily moved or disassembled.
Brick cold frame: More durable and heat-retentive but requires a more permanent space.
Mini-greenhouse: Acts as a larger cold frame, suitable for those who wish to protect a greater number of plants.
Extending the Gardening Season
To achieve year-round gardening, cold frames must be strategically positioned and carefully managed. By facing cold frames south, gardeners harness maximum sunlight, and during warmer days, venting is necessary to prevent overheating.
Adding layers of insulation or using materials with higher thermal mass can accumulate heat during the day and release it at night, safeguarding plants against freezing temperatures. These practices can help extend the growing season by protecting the raised garden bed from early frost in fall and encouraging an early start in spring.
Dealing with Common Issues
Gardeners often face several common issues when working with DIY cold frames. Some factors to be attentive to include:
Condensation: Ensure adequate ventilation to prevent mold and mildew growth.
Temperature Fluctuations: Monitor with a minimum-maximum thermometer and adjust venting as needed.
Pest Control: Seal gaps to prevent unwanted guests.
Material Wear: Regularly inspect and maintain the structural integrity, especially for plastic cold frames that may degrade over time due to UV exposure.
Sustainability and Upcycling
Sustainability in gardening practices is increasingly important in the modern world. Upcycling, which involves reusing materials that would otherwise be discarded, is a cornerstone of sustainable gardening.
By creating cold frames using upcycled materials, gardeners can reduce waste and create an eco-friendly space for year-round plant growth.
Repurposing Materials
Old windows and scrap lumber offer excellent opportunities for the construction of a cold frame. These materials can often be found for free or at a minimal cost, reducing the environmental footprint of manufacturing new products. Here's how one might utilize these items:
Wood: Instead of discarding old wood, repurpose it as the cold frame's base. Suitable sources include used pallets, discarded furniture, or excess construction materials.
Old Windows: An old window can serve as a transparent lid, creating a mini-greenhouse effect by allowing light in while retaining heat.
Clear Plastic: If windows are not available, clear plastic can act as an alternative for the cold frame cover, though it should be sturdy enough to withstand the elements.
Eco-Friendly Gardening Practices
Incorporating cold frames into a garden allows for year-round plant growth, which can reduce the carbon footprint associated with transporting out-of-season produce. Keep these points in mind:
Sustainability: By using reclaimed materials to build a cold frame, gardeners support sustainability, limiting the need for new resources.
Greenhouse Effect: The cold frame operates like a small greenhouse, trapping warmth from the sun, and thereby extending the season without the need for artificial heating.
Engaging with the Gardening Community
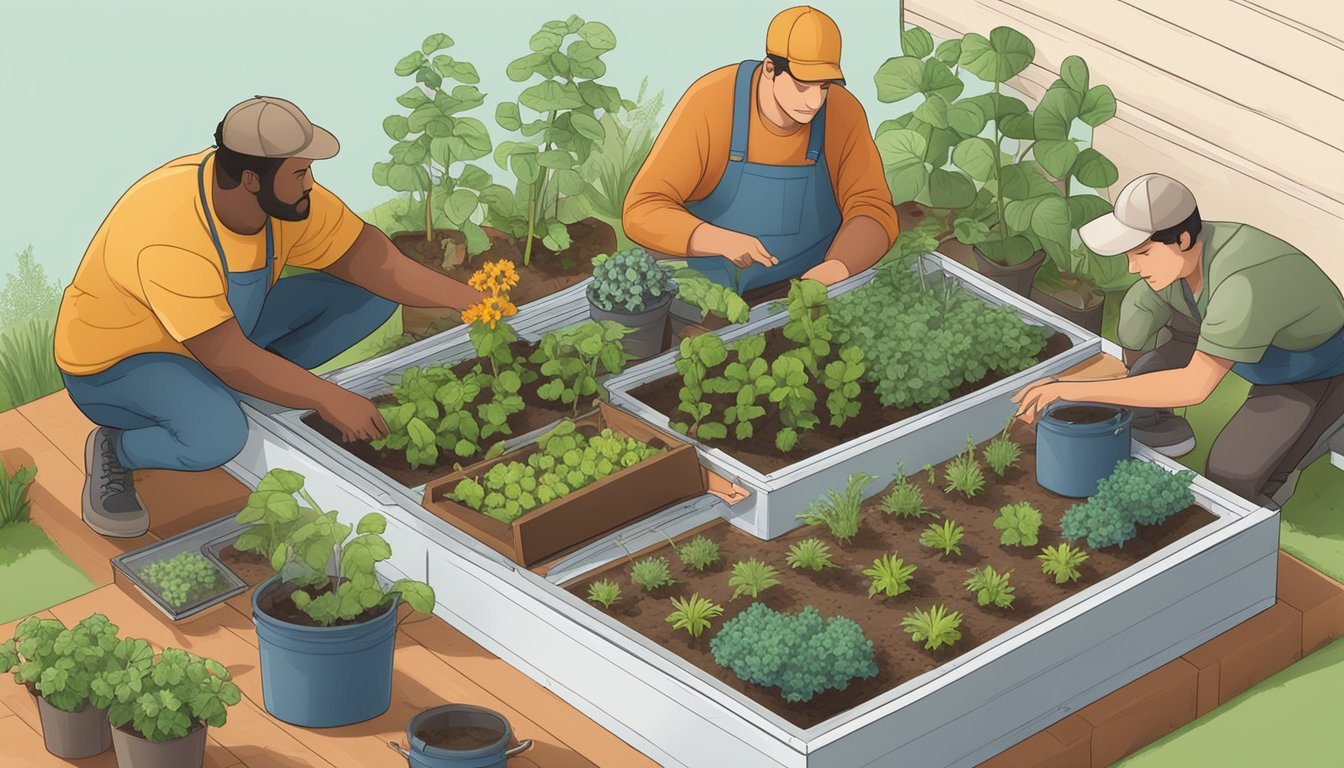
Engaging with the gardening community offers valuable opportunities for knowledge sharing and support, particularly when constructing and using DIY cold frames. Gardeners can learn from one another and contribute their insights to a collective pool of experience.
Sharing Cold Frame Experiences
When gardeners create their cold frames, they add to a growing repository of practical knowledge. They should:
Share photos and step-by-step processes of their DIY projects in online forums, providing a visual guide for others.
Leave comments on gardening blog posts or videos to discuss successes and challenges faced during construction and use.
This not only celebrates personal achievements but also assists others in overcoming similar obstacles.
Cold Frame Learning from Others
The DIY components necessitate a degree of learning from others who have more experience. Gardeners can:
Attend local gardening workshops or meet-ups to gain hands-on knowledge.
Subscribe to gardening channels or communities and ask specific questions regarding materials, dimensions, and best practices.
By actively participating in these exchanges, gardeners ensure they are equipped with accurate and reliable information directly applicable to their projects.
