
DIY Compost Bin for Homesteaders
Building Sustainable Waste Management Solutions
Composting is a fundamental aspect of sustainable living, especially for homesteaders who strive to create a self-sufficient lifestyle. It involves the natural process of recycling decomposed organic materials, which turns kitchen scraps and garden waste into valuable, nutrient-rich soil. By establishing a do-it-yourself (DIY) compost bin, homesteaders can manage their waste economically and ecologically, contributing to a more productive garden.
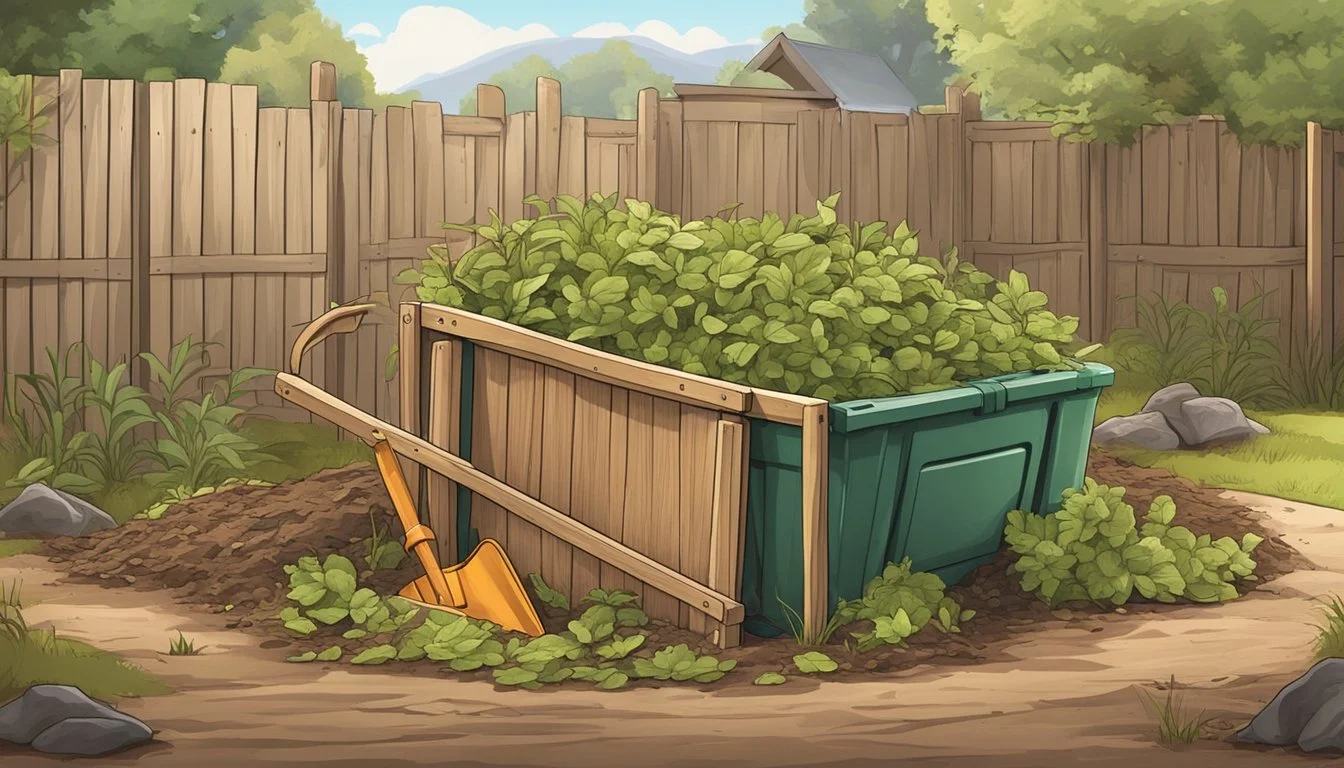
DIY compost bins can be tailored to meet the specific needs of any homestead. They provide an efficient way to handle organic refuse, turning it into compost that can improve soil fertility, structure, and moisture retention. Building a DIY compost bin is a straightforward project that not only contributes to the health of one's garden but also reduces the ecological footprint by minimizing landfill contributions.
As gardening is an integral part of homesteading, the benefits of a homemade compost bin are particularly valuable. It ensures a constant supply of high-quality compost, which can lead to healthier plants and higher yields. With a variety of designs available—from simple, no-frills setups to more sophisticated systems—there's a composting solution that fits every homesteader's requirements, space, and budget.
Understanding Composting Basics
Before diving into the construction of DIY compost bins, it is crucial to grasp the fundamentals of composting, including its definition and the benefits that adding compost brings to soil and plant health.
What Is Composting?
Composting is the controlled decomposition of organic matter, such as leaves, vegetable scraps, and yard waste, into a nutrient-filled soil amendment known as compost. This natural process relies on the right balance of four key elements: carbon, nitrogen, oxygen, and moisture.
Microorganisms, like bacteria and fungi, play a vital role, in breaking down matter into a stable substance that can significantly enhance soil structure and fertility.
Key components for effective composting include:
Brown materials (carbon-rich): dead leaves, branches, and twigs
Green materials (nitrogen-rich): grass clippings, vegetable waste, fruit scraps, and coffee grounds
Air/Oxygen: necessary for microorganisms to thrive and decompose materials efficiently
Water: should maintain the moisture of a wrung-out sponge to support the composting process without waterlogging
Benefits of Composting
Composting offers a myriad of advantages for homesteaders looking to improve their gardens:
Enhances soil quality: Compost introduces organic matter into the soil, which can improve texture, water retention, and aeration and help prevent plant disease.
Recycles kitchen and yard waste: Composting diverts as much as 30% of household waste away from the landfill and into productive use.
Provides essential nutrients: The process of composting concentrates nutrients such as nitrogen, phosphorus, and potassium, which are vital for plant growth.
Supports beneficial microorganisms: Healthy soil is teeming with life; compost provides the habitat for a multitude of microorganisms that help maintain soil health and structure.
Suppresses plant diseases: Composted material can help suppress certain plant pathogens and pests, reducing the need for chemical interventions.
By intertwining waste management with the cultivation of plants, homesteaders can create a sustainable cycle that benefits their garden, the environment, and their overall self-sufficiency.
Choosing the Right Location for a Compost Pile

The selection of an appropriate location for a Compost pile or DIY compost bin is critical for its efficiency and function. It influences composting speed, ease of use, and overall success.
Evaluating Sunlight and Drainage
An ideal compost bin location receives partial sunlight to maintain warmth, which accelerates the breakdown process during warm weather.
However, too much sun can overheat and dry out the pile. It should also be in an area with good drainage to prevent waterlogging, yet retain enough moisture to support microbial activity.
Sunlight: Aim for balance—enough to warm the pile without overheating.
Drainage: Pick a spot that avoids standing water, which can make the bin anaerobic.
Proximity to Garden and Kitchen
The compost bin should be conveniently located near the garden and kitchen to facilitate easy disposal of your garden leaf pile and kitchen scraps. However, it should not be so close to living areas to prevent any discomfort from the natural odors of decomposition especially if you are indoor composting.
Garden: Should be close enough for easy transfer of compost to your garden bed.
Kitchen: Near enough for quick access and facilitating the regular need to add food scraps but far enough to keep any potential odors at a distance from living spaces.
Choosing the right location encourages regular maintenance and utilization, integrating the composting process seamlessly into the homesteader's routine.
Selecting DIY Compost Bin Materials
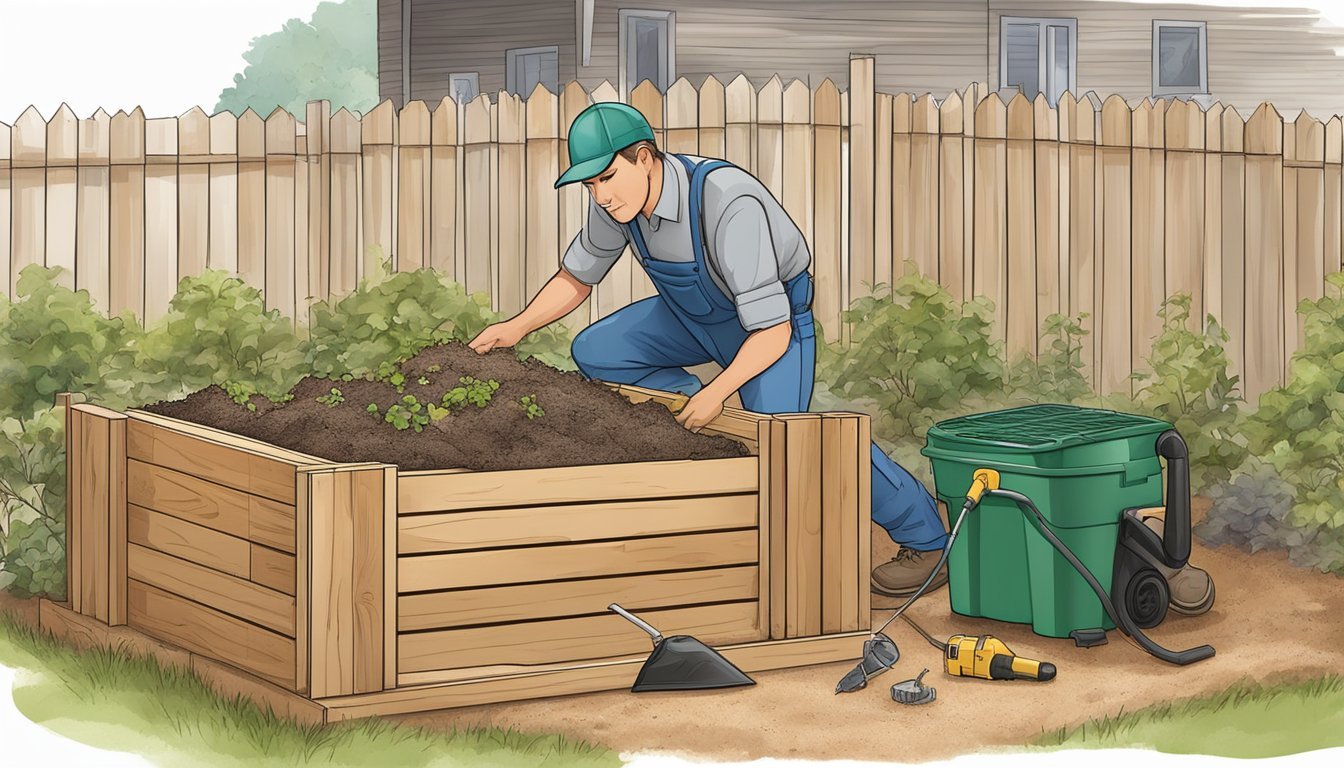
Choosing the right materials for your compost bin is critical for its effectiveness and longevity. It can be as simple as repurposing an old trash can so long as you have the tools to drill holes in the chosen material you can easily start composting.
Homesteaders need to consider durability, cost, and environmental impact when selecting materials.
Material Considerations
When selecting materials for compost bins, homesteaders should focus on durability and safety for organic breakdown.
Untreated wood such as pine or cedar is a popular choice due to its natural resistance to decay. Cedar is particularly noted for its longevity but comes at a higher price. Pallets can be an economical and sustainable material; however, it is important to ensure they are not chemically treated.
Less permanent but another useful material to build a composting bin area with is straw bales. On many farms and homesteads, there are straw bales to hand.
Making a straw bale compost bin is very easy you can think of them as large blocks and the straw itself decomposes so you can easily turn the straw in when you need to make an amendment.
A metal compost bin is a good option if you are looking toward hot composting in a small space as the metal naturally heats in the sun.
A plastic trash can will also work but some argue that chemicals can leach into the soil.
In contrast, used tires offer a unique option for making your own compost bin, providing insulation and heat retention, which are beneficial to the process. They must be arranged in a stackable formation to facilitate proper aeration and accessibility.
Sourcing Recycled Materials
Recycled materials are not only cost-effective but also environmentally friendly. Homesteaders can visit their local hardware store to find lumber or look for discarded pallets, which can often be obtained for free.
It is essential to verify that any wood, including pallets, used in compost bin construction is untreated to prevent chemicals from leaching into the compost.
Pallets are often free and more sustainable as you are essentially recycling wood but they may be potentially chemically treated.
Leaf piles and other yard waste can also be utilized to add bulk and insulation to the compost bins' structure. When using recycled materials, homesteaders should ensure that the structure is secure and that the composting materials have adequate contact with the earth to ensure proper decomposition.
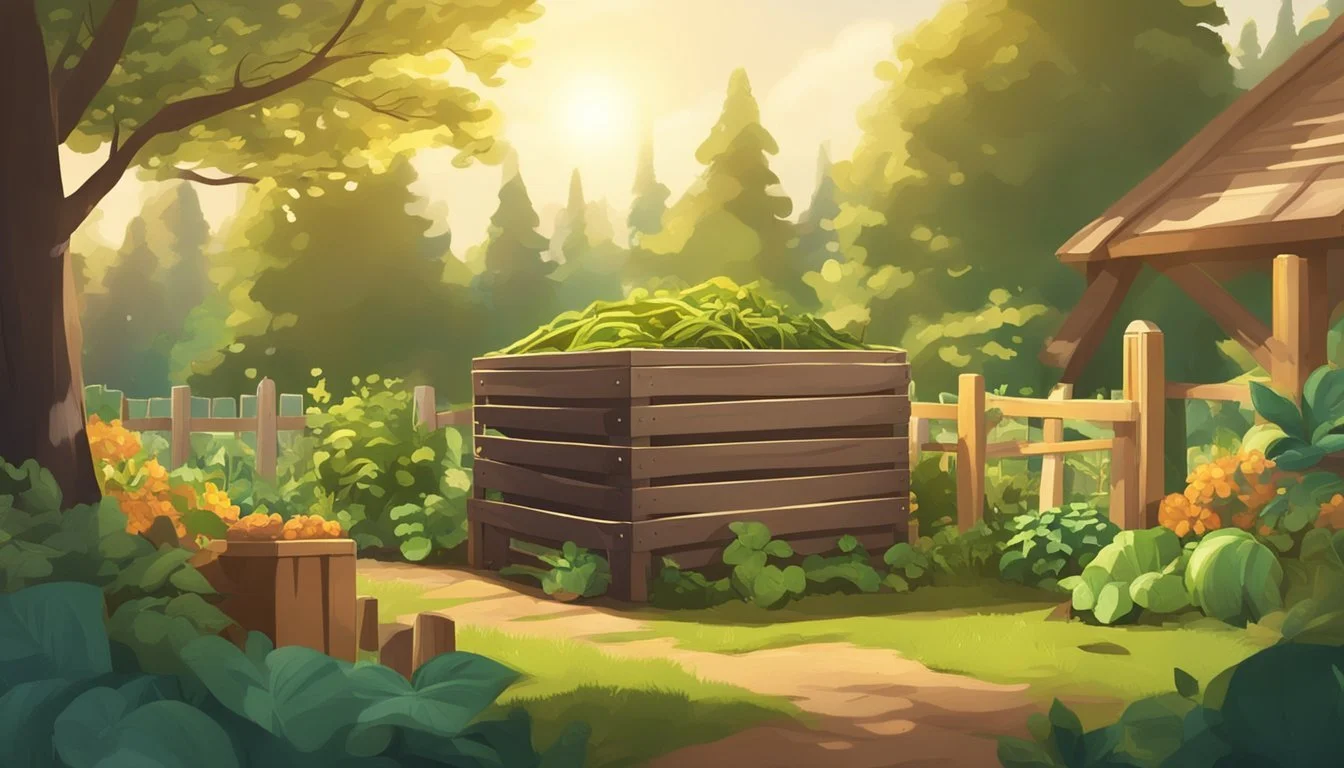
Designing DIY Compost Bins
Homesteaders can choose from a wide array of compost bin designs, each with its specific uses and benefits. Whether you need a small bin for kitchen scraps or a larger system to process yard waste, there's a DIY option that fits the bill.
Compost Tumbler vs. Compost Bins
A compost tumbler speeds up the process of composting materials due to aeration; they are easy to turn and pest-resistant but usually have higher costs and require assembly, or additional purchases such as a drum-style container.
Static Compost Bins are simple to construct and customizable in terms of size and they are great for large-volume composting.
The downside of a static compost bin is that you have to manually aerate it and the compost process is slower.
Wire Mesh and Wooden Bins
Wire Mesh Compost Bin: Simple to construct using hardware cloth or wire fencing. Allows for good air circulation and is easily expandable if you design it with more hardware cloth than is needed to begin with.
Wooden Slats or Pallet Bin: Recycle wooden pallets or cedar boards for a sturdy, rustic-looking bin. Spacing between slats allows for airflow.
Creative DIY Compost Bin Ideas
Dual-function Bins: Combine garden decor with functionality by using decorative bricks or wine barrels to make your compost station.
Mobile Bins: Old wheelbarrows or plastic storage containers can become mobile bins, easy to move and maintain.
Urban Worm Bins: Small-scale worm bins using a plastic container or old refrigerators fit perfectly for urban homesteaders with limited space.
Each design addresses different needs, preferences, and the availability of materials, always aiming for the ultimate goal of efficient and effective composting.
Composting Techniques
Composting for homesteaders can involve different techniques, each with its method and benefits.
Whether one chooses hot composting for faster results or vermicomposting to harness the power of worms, understanding these methods is crucial for successful decomposition and nutrient-rich soil.
Hot vs. Cold Composting
Hot composting is a method where one actively manages their compost pile to accelerate the decomposition process.
It requires a careful balance of carbon (browns like leaves or straw) and nitrogen (greens like food scraps or manure).
A hot compost pile should ideally be at least 3 cubic feet. This method generates higher temperatures, typically between 135°F and 160°F, which not only breaks down materials more quickly but also kills weed seeds and pathogens.
Steps for Hot Composting:
Mix the right proportions of browns and greens
Maintain moisture similar to a wrung-out sponge
Turn the pile regularly to introduce oxygen
In contrast, cold composting involves simply piling up garden and kitchen waste and letting it decompose over time. This method is less labor-intensive but takes longer, possibly a year or more, to produce usable compost. An easy option for cold composting is a straw bale compost bin.
Vermicomposting: Worm Bins
Worm composting or vermicomposting utilizes the natural digestion process of worms to produce compost, specifically using red wigglers or Eisenia fetida.
A worm compost bin is a habitat for these worms where they consume the composting mixture and produce worm castings, a carbon-rich, nutrient-rich type of compost full of beneficial organic materials for your garden soil.
DIY worm bins require a tight lid, to keep your worm farm safe from birds.
Key Aspects of Vermicomposting:
Maintain worm farm bedding made of moistened shredded paper strips or coconut coir
Feed worms fruit and vegetable scraps avoiding meat, dairy, and oily food waste
Harvest the worm castings from the worm bin every few months for garden use
Worm composting is an excellent option for indoor composting since it is odorless and can be done in relatively small spaces. It produces both compost and a liquid "worm tea," a nutrient-rich solution that can be used as a natural liquid fertilizer.
Trench Composting
If a composting bin full of worms in your kitchen makes you feel squeamish but you have plenty of the hard-working creatures in your garden then trench composting might be the solution.
It is essentially digging a hole and placing your compostable materials into it covering it over and leaving the worms to do what they do best. It works like a natural worm bin and you don't have to deal directly with the worms.
The trench composting method is good for those who find vermin is attracted to their open compost piles.
Maintaining Your Compost Bin
To ensure a thriving compost bin, one must regularly manage the balance of materials and control the internal conditions.
Composting relies heavily on achieving the right mix of greens and browns and maintaining adequate aeration and moisture levels.
Balancing Greens and Browns
A compost bin requires a balance of nitrogen-rich materials (green) and carbon-rich materials (brown) to decompose organic waste effectively. A general guideline is to maintain a ratio of 1 part greens to about 3 parts browns.
Greens provide nitrogen and include kitchen waste and food scraps such as egg shells, tea bags (how long do tea bags last?), and coffee grounds but not meat scraps, and garden waste such as fallen leaves and grass clippings.
Browns provide carbon and include materials like dry leaves and yard waste.
Aeration and Moisture Control
Proper aeration of a compost pile ensures oxygen reaches the microorganisms that break down the organic matter. Turning the compost pile every 1 to 2 weeks can provide the necessary oxygen to promote decomposition but maintain moist soil.
The compost should feel like a wrung-out sponge – moist to the touch without excess water dripping.
If the compost is too dry, add water gradually to the compost pile until the desired moisture level is achieved.
If in contrast, it appears too wet, making amendments by adding more browns to the composting materials can help absorb the excess moisture.
Harvesting Compost
Harvesting compost, often referred to as 'black gold' due to its nutrient-rich properties, is a definitive step in the composting process.
Homesteaders aim to transform organic waste into a valuable amendment that enriches the soil and supports plant growth.
Recognizing Finished Compost
Finished compost is distinguished by its dark color, crumbly texture, and earthy scent. It should be free of any distinguishable food waste or yard trimmings.
One can identify finished compost by the following characteristics:
Color: A rich, dark brown, almost akin to the shade of chocolate.
Texture: Similar to that of loose soil, or finely ground mulch.
Smell: A pleasant, earthy aroma without any sour or rotten odors.
Utilizing Compost in Your Garden Beds
Compost acts in many ways, it can be integrated into a garden to enhance the soil's nutrient content and structure.
You can use the compost as mulch spreading a two to three-inch layer on top of garden beds to suppress weeds and retain soil moisture.
It also functions as a nutrient-rich soil amendment forking it directly into the top six inches of garden soil to improve its quality and fertility.
Alternatively, it can be used in place of a Liquid Fertilizer by steeping the compost in water to create a nutrient-rich natural fertilizer, suitable for use on both indoor and outdoor plants.
By incorporating compost thoughtfully, gardeners can stimulate the health and productivity of their soil, leading to robust plant growth and a fruitful harvest.
Troubleshooting Common Issues
In maintaining a compost bin or compost pile, homesteaders may encounter challenges such as unwelcome pests, unpleasant odors, and imbalances in the composting process.
This section provides targeted strategies for resolving these issues and ensuring a healthy composting environment.
Dealing with Pests and Odors
Pest infestations and bad smells often arise from improper maintenance of compost bins. To mitigate these issues, one should:
Secure the Bin: Ensure the compost bin has a tight-fitting lid or is a sealable container to deter animals.
Balance Green and Brown Waste: Maintain a good balance of 'green' kitchen waste and 'brown' materials like dry leaves to avoid odors.
Regular Turnover: Turn the compost heap regularly to aerate it and discourage pests from nesting.
Correcting Compost Imbalances
A healthy compost pile requires the right mix of ingredients and conditions. Here are steps to address imbalances:
Adjust Moisture Levels: If the compost is too wet, add dry materials. Conversely, add water if the pile is too dry.
Maintain Temperature: Ensure that the pile is not too cold or hot, as extreme temperatures can slow down the decomposition process.
Monitor Material Size: Chop or shred large pieces of waste to speed up the breakdown process.
Composting on a Budget
Creating a compost bin doesn't require a hefty investment. Homesteaders can implement effective composting methods that are both low-cost and repurpose resources they already have.
Low-Cost Composting Methods
For homesteaders intent on saving money, several low-cost composting methods stand out. A single-bin system is a very economical choice, using minimal materials.
One can construct a simple compost bin using chicken wire to form a circular cage, securing it with stakes.
Furthermore, a 5-gallon bucket or larger containers like a garbage bin or trash can serve well for small-scale composting. By drilling holes for aeration in these containers, they become an easy compost bin solution, perfect for those with limited space or resources.
Repurposing Household Items for Composting
Homesteaders can recycle various items to build effective compost bins, turning what might be considered waste into valuable composting infrastructure.
An old garbage can can be transformed into a compost bin with added ventilation holes and a secure lid to keep pests out.
Sawdust, which might be a byproduct of cutting building materials, is excellent for adding carbon to the compost mix and controlling odors and moisture levels.
By repurposing items that would otherwise be discarded, one not only saves money but also contributes to a more sustainable composting practice.
Engaging the Homesteading Community
For homesteaders and gardeners alike, creating a robust composting system is a fundamental aspect of sustainable living.
The process not only involves managing the various composting materials but also sharing experiences and resources that can help in building efficient compost systems.
Sharing Tips and Tricks
Homesteaders often find themselves experimenting with different compost bin designs to find what works best for their specific needs. Sharing these composting journey experiences becomes vital to community learning, and is the first port of call before you start composting.
Facebook groups and forums dedicated to homesteading are replete with gardeners eager to exchange their insights on compost bin construction and management.
Topics range from the best materials to use for successful composting, to the right balance of green and brown organic matter for optimal decomposition.
Do's and Don'ts: A list of what works well and what doesn't can save newcomers time and effort.
Innovative Ideas: Out-of-the-box solutions can be incredibly useful, like repurposing old materials to create new compost systems.
Seasonal Adjustments: Advice on how to maintain composting efficiency across different seasons.
Finding Resources and Support
Access to resources is crucial for homesteaders who wish to DIY their compost bins. Several online platforms offer affiliate links to products that can aid in creating a compost bin, from wire mesh to compost turners.
Additionally, free and paid compost bin plans are shared within these communities, guiding one through the construction process step by step.
You can find detailed diagrams and instructions online to assist in building a custom compost bin for yourself.
Try Homesteading blogs and websites to read first-hand expert articles and guides and garner knowledge on best compositing practices and techniques.
You could try local workshops and get some hands-on experience in on-site classes and DIY sessions.
By engaging with the homesteading community, individuals can gain invaluable support and resources that empower them to build and maintain their own compost systems effectively.
Planning for Long-Term Composting Success
Successful long-term composting for homesteaders entails creating a system that can grow with their needs and adopting practices that maintain the health and productivity of their compost piles.
Scaling Up Your DIY Composting System
Homesteaders should consider starting small with their composting system but plan for the option to scale up as their garden expands or the quantity of organic matter they produce increases.
One might begin with a single compost bin constructed from repurposed materials, such as pallets or bins with drilled holes for aeration.
Tools required typically include a drill, saw, and deck screws. As a homesteader's capacity needs grow, they can add additional bins or larger, multi-section systems to accommodate increased volumes of yard waste and other compostables.
Considerations for Scaling Up:
Space: Ensure there is ample room for multiple bins or larger systems.
Accessibility: Keep the system within easy reach for adding materials and turning the compost.
Materials: Consistently source enough brown (carbon-rich) and green (nitrogen-rich) materials to fill larger systems.
Sustainable Composting Practices
Implementing sustainable composting practices ensures a continual transformation of waste into valuable composting materials without causing harm to the environment.
Homesteaders should be diligent about maintaining the right balance of green organic material, like fruit and vegetable scraps and grass clippings, with brown material, such as dry leaves or straw.
Regularly turning the compost helps to aerate the pile and speeds up the decomposition process, for which a pitchfork or compost turner can be used. To sustain the system, they should continually harvest the finished product for use in the garden and add new materials to the system.
Key Practices for Sustainability:
Aeration: Drill holes in bins or regularly turn compost to introduce oxygen.
Balance: Maintain a carbon-to-nitrogen ratio of about 30:1 for optimal decomposition.
Pest Control: Use a secure lid or cover to prevent critters from accessing the compost.
Moisture: Keep the compost pile as damp as a wrung-out sponge to support microbial activity.
By focusing on these foundational strategies, homesteaders secure the productivity and longevity of their composting operations and their garden will reap all the benefits.
