
The Ultimate Guide to Vermicomposting Bins
Key Strategies for Successful Organic Homesteading
Vermicomposting is a method that harnesses the natural process of decomposition through the actions of earthworms to convert organic waste into nutrient-rich fertilizer. It offers an excellent solution for organic homesteading, as it empowers gardeners and homeowners to manage their kitchen scraps and yard waste in an eco-friendly manner. By setting up a vermicomposting bin, one can efficiently produce worm castings, which are a potent organic amendment that can greatly improve soil structure and fertility.
Setting up a vermicomposting system begins with selecting or creating a suitable bin that provides an appropriate environment for the worms. A balance of moisture, air circulation, temperature, and bedding material is crucial for maintaining a healthy bin. Optimal conditions allow the red wigglers, a common composting worm species, to thrive and break down the waste material effectively.
As the worms digest the organic matter, they leave behind castings that are full of beneficial microbes and nutrients. Vermicomposting bins can be designed with multiple trays to facilitate the continuous processing of waste and the harvest of castings. Such a setup ensures that the worms always have fresh material to consume, while making the process convenient and less labor-intensive for the user. With careful maintenance, these composting systems can significantly contribute to a sustainable and productive organic homestead.
Understanding Vermicomposting
In the realm of organic homesteading, vermicomposting is recognized as a sustainable method that harnesses the abilities of worms to enhance soil health and waste management.
Vermicomposting vs. Regular Composting
Vermicomposting leverages specific species of earthworms, such as red wigglers (Eisenia fetida), to decompose organic waste, whereas regular composting is a microbial process not necessarily involving worms. The key difference lies in the involvement of these earthworms, which actively break down organic matter, producing vermicompost. This differs substantially from regular composting, which relies on microorganisms to decay organic waste.
Regular composting: Microbe-driven decomposition.
Vermicomposting: Worm-driven decomposition with added microbial benefits.
Benefits of Vermicomposting
Vermicomposting introduces a suite of benefits to soil and plant health. The process:
Enhances soil structure: Promotes aggregation, which is crucial for water retention and aeration.
Increases nutrient availability: Worms produce castings rich in nutrients like nitrogen, phosphorus, and potassium.
Improves plant growth: Better-quality soil nourished with vermicompost supports healthier and more robust plant development.
These benefits contribute to sustainable soil management and can also reduce a homesteader's carbon footprint by recycling organic waste on-site.
The Role of Worms in Vermicomposting
The efficacy of vermicomposting can be attributed to the worms employed in the process:
Earthworms: General category including various species suitable for composting.
Red wigglers (Eisenia fetida): Preferred species known for their voracious appetite and efficiency in breaking down organic materials.
These worms act as natural aerators and digesters of organic waste, converting it into rich humus. Their movement through the soil creates channels that enhance air and water flow, assisting in the creation of a more fertile ground for planting.
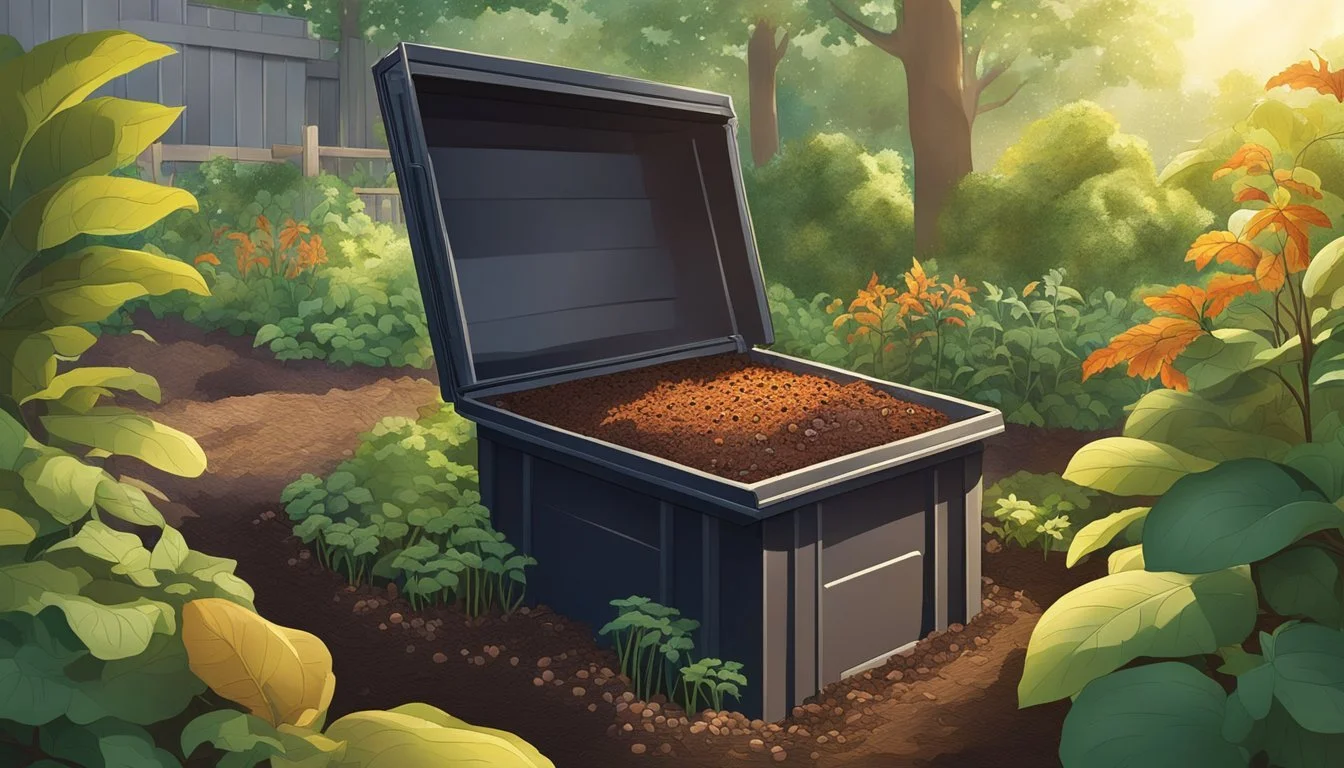
Setting Up Your Vermicomposting Bin
Setting up a vermicomposting bin involves selecting the right location, using a suitable bin, and understanding the components necessary for setting up the system effectively.
Choosing the Right Location
The location for a vermicomposting bin is vital. It should be a spot that maintains a stable temperature ranging between 55 to 77 degrees Fahrenheit (13 to 25 degrees Celsius) to ensure the comfort and productivity of the worms. An area protected from direct sunlight and extreme temperatures, be it indoors like a garage or basement, or a well-shaded outdoor space, is ideal.
Selecting a Suitable Bin
A vermicompost bin can be as simple as a 5-gallon bucket or as complex as a multi-tiered worm composting system. Containers can be purchased or DIY'd using materials like lumber or food-grade plastic. Ensure the bin is shallow rather than deep, as worms work near the surface; a depth of 8 to 12 inches is typical. The bin must also have a cover to prevent pests and excess moisture and should have holes for aeration.
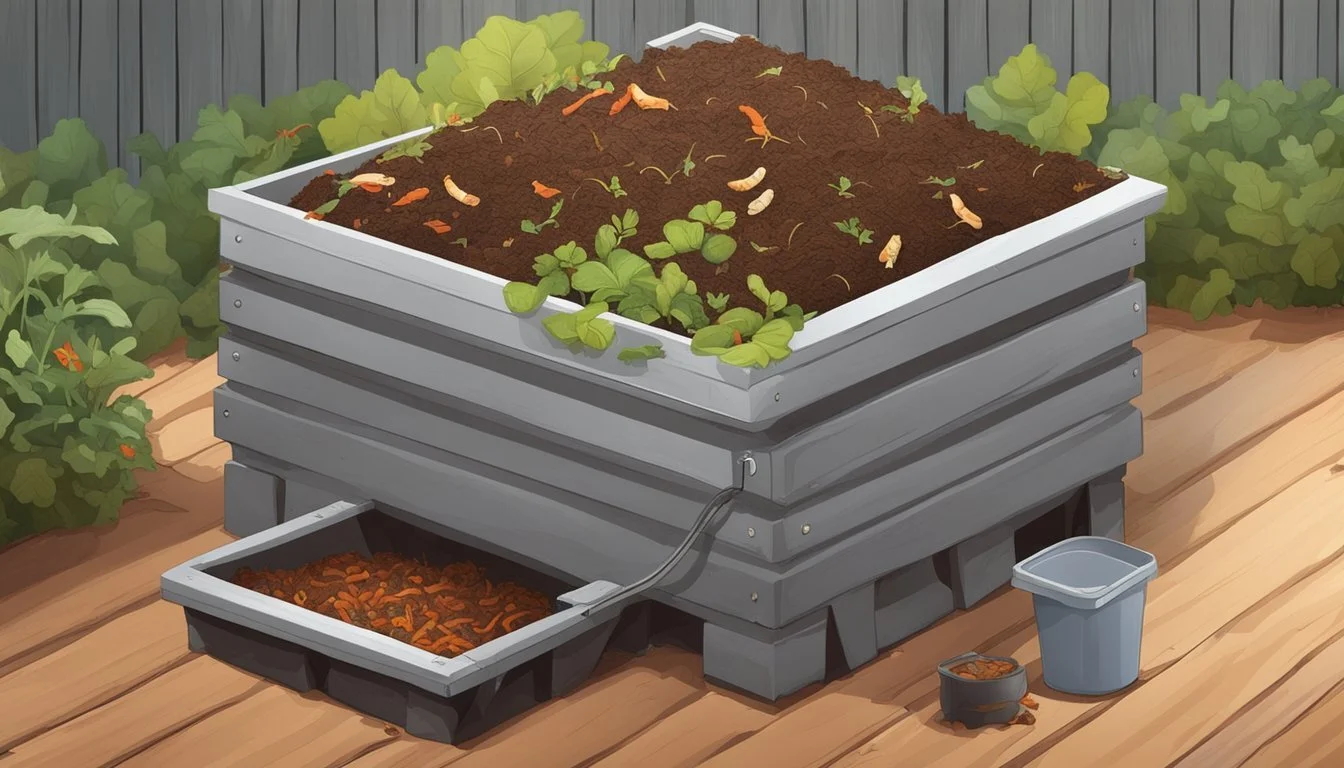
Essential Components of a Vermicomposting System
A successful vermicomposting system requires adding bedding, which can be shredded newspaper, straw, dried leaves, or a mix of these materials, to create a habitat for the worms. The bedding should be moistened to a 60-80% moisture level, where squeezing a handful results in a few droplets of water—neither dry nor dripping wet. Regularly add food scraps to feed the worms but avoid overfeeding which can lead to odor and pest issues. Monitor the moisture and add water sparingly to maintain the proper moisture levels.
Maintaining Your Vermicompost Bin
Maintaining a vermicompost bin involves managing various factors such as moisture and temperature to create an ideal environment for worms to convert organic waste into nutrient-rich vermicompost.
Optimal Conditions for Vermicomposting
Temperature: The bin should be kept at a comfortable range for worms, ideally between 55-77°F (13-25°C). Doing so supports worm activity and aids in the breakdown of kitchen scraps.
Moisture: The bin's content should feel like a "wrung-out sponge", maintaining enough water to keep the environment moist without becoming waterlogged. This balance of moisture is crucial for worm survival as they breathe through their skin.
Oxygen: Aeration in the bin is essential. Adequate airflow can be achieved through quarter-inch air holes around the sides near the top of the bin to facilitate oxygen exchange.
pH levels: The bin should be neutral to slightly acidic, with a pH level around 6.5-7. Lime can be added sparingly to neutralize excess acidity.
Feeding Your Worms
Worms eat a variety of organic kitchen scraps such as fruit and vegetable peels, tea bags, and coffee grounds, but they should not be fed meats, bones, dairy products, oils, or citrus fruits as these can attract fruit flies, cause disease, and produce odor. Additionally, certain foods like onions, garlic, and heavily processed foods may harm the worms.
Balanced Diet: Ensure there's a mix of nitrogen-rich material (greens) and carbon-rich material (browns) such as newspaper strips. Eggshells can be included to add grit for the worms' digestion and to control pH levels.
Quantity: Be mindful not to overfeed. A general guideline is to provide about half of the worm population's weight in scraps per day.
Managing and Harvesting Vermicompost
After a few months, usually 3-6 months, the bin will be full of dark, crumbly vermicompost, a powerful fertilizer.
Harvesting: Move the finished compost to one side of the bin, placing fresh bedding and food scraps on the opposite side to encourage worms to migrate. After a week or two, you can remove the vermicompost, leaving behind minimal worms.
Use: Vermicompost can be mixed into garden soil as an amendment or used to make "worm tea," an effective liquid fertilizer.
Troubleshooting Common Issues
Odors: A well-maintained bin should be odorless. If you notice a foul smell, check for excess moisture, inadequate aeration, or overfeeding. Adjust by adding dry, carbon-rich materials like shredded newspaper to absorb excess moisture and excess food scraps.
Fruit Flies: To avoid pesky fruit flies, bury kitchen scraps under bedding and maintain appropriate moisture levels. A tight-fitting lid also helps keep them at bay.
Disease and Pests: Proper bin maintenance and regular inspection help prevent issues such as mold, mites, and disease. If these problems occur, reassess your bin's conditions and make necessary adjustments.
By attentively monitoring these aspects, you can ensure a thriving vermicompost bin that converts food waste into valuable fertilizer while reducing your carbon footprint.
Applying Vermicompost
Vermicompost serves as a nutrient-rich organic fertilizer and soil amendment that significantly enhances plant growth and soil quality. When applied properly, it provides plants with essential nutrients and introduces beneficial microorganisms to the soil.
Using Vermicompost in Your Garden
Vermicompost, when used directly in the garden, should be applied with care to avoid overuse. Gardeners recommend applying roughly one cup of vermicompost per plant, concentrating around the roots for the best results. It can also be mixed with potting soil or used as a soil amendment; a 10% mix rate with soil or potting mediums is generally advisable, as most plants thrive with no more than a 20% concentration of vermicompost. This ensures that the balance of nutrients and microorganisms is just right for optimal plant growth.
Benefits to Plant Health and Soil Quality
Vermicomposting's impact on plant health and soil quality is multi-faceted:
Nutrient Supply: Vermicompost is rich in essential nutrients like nitrogen, phosphorous, and potassium, which are readily absorbed by plants.
Soil Structure: It improves soil aeration and structure, promoting healthy root development.
Microbial Activity: The introduction of beneficial microorganisms from vermicompost increases the biological activity in soil, aiding in nutrient cycling and suppression of soil-borne diseases.
Sustainable Fertilizing: Being an organic material, vermicompost is a sustainable alternative to synthetic fertilizers, reducing the reliance on chemicals in organic homesteading practices.
In summary, integrating vermicompost into garden soil or potting mixes ensures that plants have access to vital nutrients and beneficial soil attributions, supporting vigorous growth and enhanced soil quality over time.
Advanced Techniques and Considerations
When transitioning from small-scale bins to comprehensive vermicomposting systems, gardeners and homesteaders should consider the logistics of volume and the innovative applications of the resulting vermicompost.
Creating a Large-Scale Vermicomposting System
To create a large-scale vermicomposting system, one must first consider the volume of organic materials to be processed and the space available. Homesteads with abundant space can establish extensive vermicomposting operations, which are not only efficient in managing waste but can also significantly reduce greenhouse gas emissions by diverting organic waste from landfills.
Capacity planning:
Assess the weekly volume of organic waste generated.
Design a system that can handle 1.5 times the assessed volume, allowing for growth.
Bin selection:
Construct or purchase bins that provide adequate surface area for worm activity.
Ensure bins have sufficient drainage to prevent waterlogging.
A large-scale vermicomposting system requires a balance between the number of worms, the volume of organic materials, and the dimensions of the bins or beds. Regular monitoring and adjustments are necessary to maintain optimal conditions for vermicomposting, thus providing a continuous supply of high-quality fertilizer and soil amendment for the homestead's garden or greenhouse needs.
Innovative Uses of Vermicompost
Vermicompost is highly valued for its concentrated nutrients and ability to enhance soil structure. Beyond applying it directly to garden beds as a soil amendment, homesteaders can incorporate vermicompost in various innovative ways:
Liquid fertilizer:
Create a nutrient-rich tea by steeping vermicompost in water, which can be applied as a liquid fertilizer to promote plant growth.
Potting mixes:
Enrich potting soils with vermicompost to boost the nutrient content and utilize the beneficial microorganisms found in worm castings.
By adopting these advanced techniques, gardeners can maximize the benefits of their vermicomposting systems and efficiently support a sustainable and productive homestead.
Environmental Impact and Sustainability
Vermicomposting bins provide a practical solution for organic homesteading by transforming organic waste into valuable compost, thus reducing the environmental impact of waste and contributing to sustainability efforts.
Reducing Household Waste and Landfill Usage
Landfills - The average household generates substantial amounts of organic waste, which often ends up in landfills. Vermicomposting offers an alternative by allowing households to recycle kitchen scraps and other organic waste.
Organic Waste - Instead of throwing away kitchen scraps, individuals can deposit them into a vermicomposting bin. This process decreases the volume of garbage in the household's garbage can and subsequently reduces the amount of waste sent to landfills.
Impact on Landfills - By diverting organic waste from landfills, not only is the volume of landfill waste reduced, but also the production of methane, a potent greenhouse gas, is minimized, contributing to a smaller carbon footprint.
Mitigating Climate Change through Vermicomposting
Climate Change - Decomposing organic waste in landfills releases methane, which has a significant impact on climate change due to its high potential as a greenhouse gas.
Carbon Footprint - Vermicomposting bins facilitate the breakdown of organic material without producing methane, thereby reducing the carbon footprint of waste management.
Eco-Friendly Practice - Studies have shown that vermicomposting is an eco-friendly approach to waste management that not only recycles organic waste but also enhances soil health and fertility, showing its potential in climate change mitigation efforts.
By incorporating vermicomposting bins into organic homesteading, individuals contribute positively to environmental sustainability and help mitigate some of the detrimental effects of organic waste on climate change.
DIY Vermicomposting Bin Projects
Creating a vermicomposting bin is a practical and cost-effective way for organic homesteaders to transform kitchen scraps and yard waste into nutrient-rich compost. By following specific guidelines for bin construction and maintenance, individuals can set up a thriving vermicomposting system even on a tight budget.
Building a Low-Cost Vermicomposting Bin
A vermicomposting bin can be constructed using inexpensive materials, such as a 5-gallon bucket or larger containers that are dark and non-transparent. The objective is to create an environment that duplicates the natural conditions worms thrive in, considering factors like temperature, moisture, and darkness.
Materials and Equipment Needed
To start, the essential items include:
Containers: 2 dark, plastic, non-transparent 10-gallon storage bins
Drill: A drill with 1/4" and 1/16" drill bits
Bedding Material: Shredded newspaper, straw, leaves, sand, and peat
Lid: To cover the bin and regulate moisture and light
Worms: Red wigglers (Eisenia fetida) are the preferred species for vermicomposting
Step-by-Step Construction Guide
Prepare the Bins: Drill 1/4" holes around the sides of the bin near the top for aeration and a few 1/16" holes at the bottom for drainage.
Add Bedding: Mix the shredded newspaper, straw, and a handful of sand or peat to create a hospitable bedding area for the worms.
Introduce Worms: Add red wiggler worms to the bin. They will be the primary agents of composting.
Maintain Moisture: The bedding should be moist but not wet. Squeeze a handful of bedding – if a few drops of water come out, the moisture level is correct.
Customizing Your Vermicomposting Bin
Homesteaders can modify their bins based on their specific needs. A lid with holes ensures proper ventilation while deterring pests. Bins can be personalized with various layers of bedding material, with periodic additions to replenish the carbon-to-nitrogen balance. Monitoring the vermicompost process and adjusting conditions accordingly will help maintain an efficient system.
