
The Ultimate Guide to Creating a Compost Bin for Homesteaders
Key Steps for Sustainable Waste Management
Composting is an essential practice for homesteaders seeking a sustainable lifestyle. By converting organic matter into nutrient-rich soil, composting not only reduces waste but also enhances garden health. Among the palette of green activities, it stands out as a symbol of self-sufficiency, allowing individuals to recycle kitchen scraps, yard waste, and agricultural by-products back into their land. The process is grounded in the science of aerobic decomposition, facilitated by microorganisms which turn once-living materials into fertile compost.
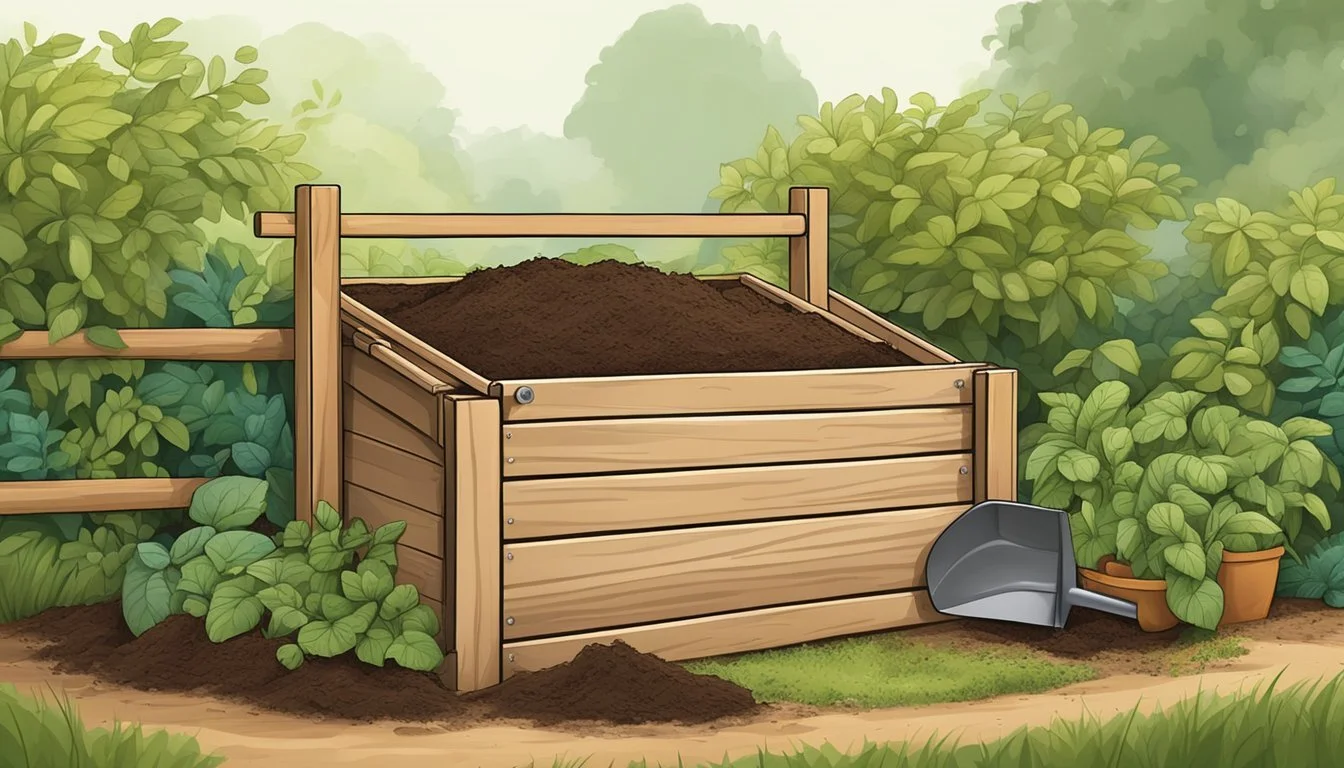
Creating a compost bin is a practical and straightforward project that serves as the cornerstone of effective composting. The design of a compost bin can vary, ranging from simple, homemade structures to more sophisticated systems. Each type of bin caters to the specific needs of the homesteader, bearing in mind the space available, the volume of organic matter, and the desired speed of decomposition. Ensuring proper ventilation and moisture control, crucial factors in the composting process, a well-constructed bin can dramatically accelerate the transformation of organic waste into valuable compost.
Adopting composting practices on a homestead is a step towards ecological responsibility and resource conservation. It closes the loop in the food cycle, turning waste back into food for plants, and subsequently, sustenance for humans and animals. Moreover, it enriches the soil, suppresses plant diseases, and reduces the need for chemical fertilizers, promoting a healthier and more resilient homestead ecosystem.
Benefits of Composting on Your Homestead
Composting provides homesteaders with a robust solution for enhancing soil fertility and embracing sustainable living practices. By converting organic waste into valuable compost, they significantly impact soil health, the environment, and household economics.
Soil Health and Fertility
Composting creates natural fertilizer that enriches the soil with essential nutrients. Nutrient-rich compost improves soil structure, which enhances water retention, encourages beneficial microbe activity, and promotes healthier plant growth. A well-maintained compost bin can transform yard trimmings and food scraps into a balanced mix of nitrogen, phosphorus, and potassium, akin to a complete fertilizer.
Key soil nutrients from compost:
Nitrogen (N): Growth of leaves and stems
Phosphorus (P): Development of roots and flowers
Potassium (K): Overall plant health and disease resistance
Environmental Impact
Composting on a homestead directly benefits the environment by recycling organic materials that would otherwise contribute to landfill growth. This process reduces the methane emissions from decomposing waste, a potent greenhouse gas. Homestead composting underscores a commitment to sustainable living, turning waste into a resource that supports a more eco-friendly and efficient garden ecosystem.
Environmental benefits of composting:
Minimizes greenhouse gas emissions
Reduces need for chemical fertilizers
Promotes biodiversity in the garden
Reducing Waste and Saving Money
Homesteaders who engage in composting effectively reduce waste output by repurposing organic scraps. By diverting waste from landfills, they not only minimize their ecological footprint but also save money on refuse services and soil amendments. Over time, the savings accumulate, making composting a cost-effective practice for managing household waste and nurturing the garden without the added expense of store-bought fertilizers.
Cost-saving aspects of composting:
Decreased waste disposal fees
Savings on garden supplements and fertilizers
With these clear advantages, composting stands out as an integral part of maintaining a productive and environmentally conscious homestead.
Composting Basics
Creating a successful compost bin requires an understanding of the natural processes involved and the careful management of key components. The precise balance of materials and conditions can lead to the effective decomposition needed for nutrient-rich compost.
Understanding Decomposition
Decomposition is the biological process by which organic materials are broken down into simpler substances. It is critical for a compost pile to undergo this process, as it relies on the action of microorganisms. Proper aeration, moisture, and a balance of materials are essential to ensure that these microorganisms thrive and efficiently decompose the waste.
Components of a Compost Pile
A compost pile primarily consists of two types of waste: 'browns' and 'greens'. Browns are carbon-rich materials such as leaves, straw, and wood chips, which provide energy for the microorganisms. Greens are nitrogen-rich materials like food scraps and lawn clippings, which contribute to the growth and reproduction of these organisms. Combining these in the correct proportions is vital for a healthy compost pile.
Balancing Browns and Greens
The balance between browns (carbon) and greens (nitrogen) in a compost pile should be roughly 30:1, respectively. This ratio ensures that microorganisms have the right amount of each element to thrive without being over or underfed.
Browns - Carbon Sources:
Dry leaves
Straw or hay
Paper
Cardboard
Greens - Nitrogen Sources:
Fruit and vegetable scraps
Lawn or garden weeds
Coffee grounds
Fresh plant material
Microorganisms at Work
Microorganisms, the engine of the composting process, require oxygen and moisture to survive. Oxygen is introduced through turning or aerating the pile, while moisture should be monitored to maintain a consistency akin to a wrung-out sponge. An active compost pile will generate heat, which further speeds up the decomposition process, leading to ready-to-use compost more quickly.
Choosing a Location and Design
When establishing a composting system, selecting the proper location and design is critical for efficiency and convenience. These decisions will impact temperature regulation, accessibility, and the composting process itself.
Assessing the Right Spot
The ideal location for a compost bin balances sunlight and shade. Sunlight warms the compost, aiding in decomposition, but too much can dry it out. A spot that receives morning sunlight but is shaded during the hottest part of the day strikes a good balance. The location must also have good drainage to prevent water accumulation, which could create anaerobic conditions and unpleasant odors.
Ventilation is another crucial aspect, as airflow is necessary for aerobic composting processes. A location that allows for natural air movement without causing the compost to dry too quickly is optimal. Accessibility throughout the year is important, so one should site the compost bin close to where waste will be produced yet far enough away to avoid any negative impact on living areas.
Compost Bin Design Considerations
The design of the compost bin must promote ventilation and temperature control. Here is a concise breakdown:
Materials: Choose materials that are durable and provide good airflow, such as wire mesh, wooden slats, or repurposed pallets.
Size: A minimum of 3 feet by 3 feet by 3 feet is recommended to retain heat, yet small enough to maintain.
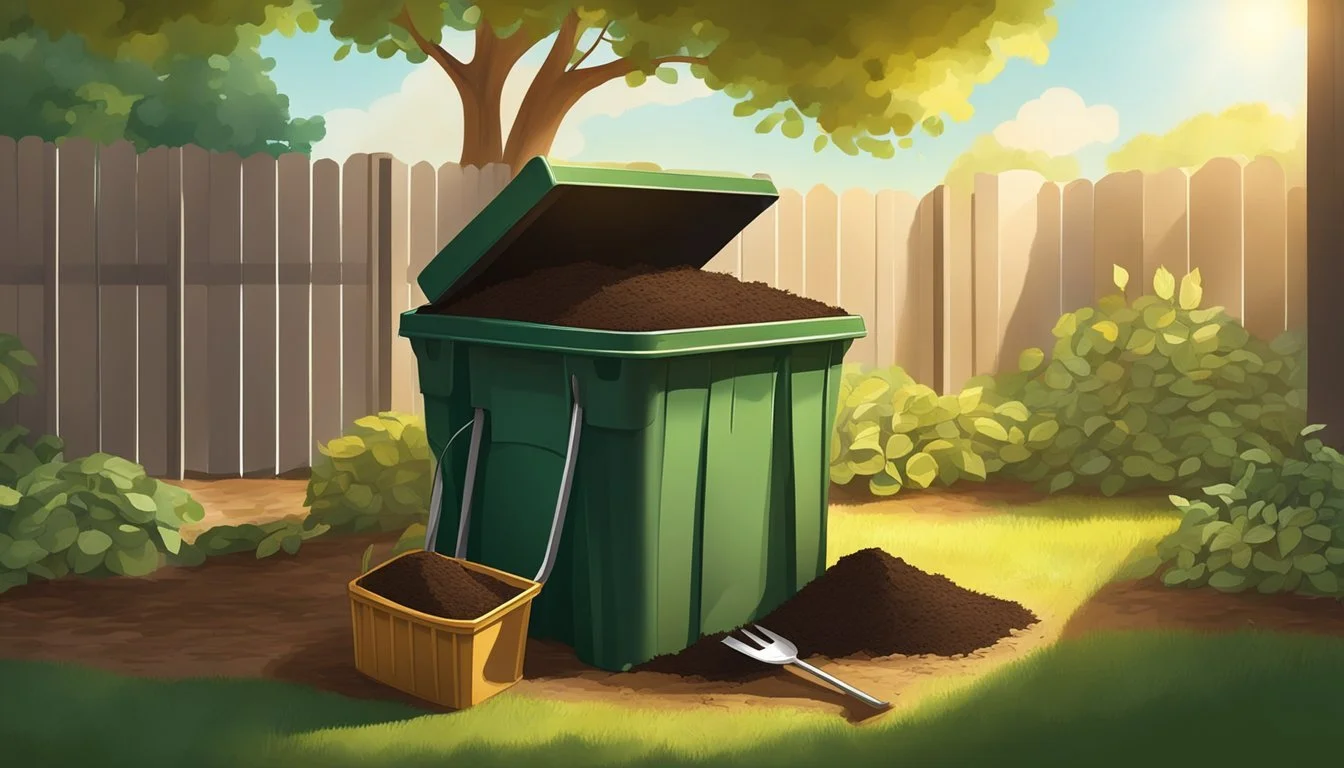
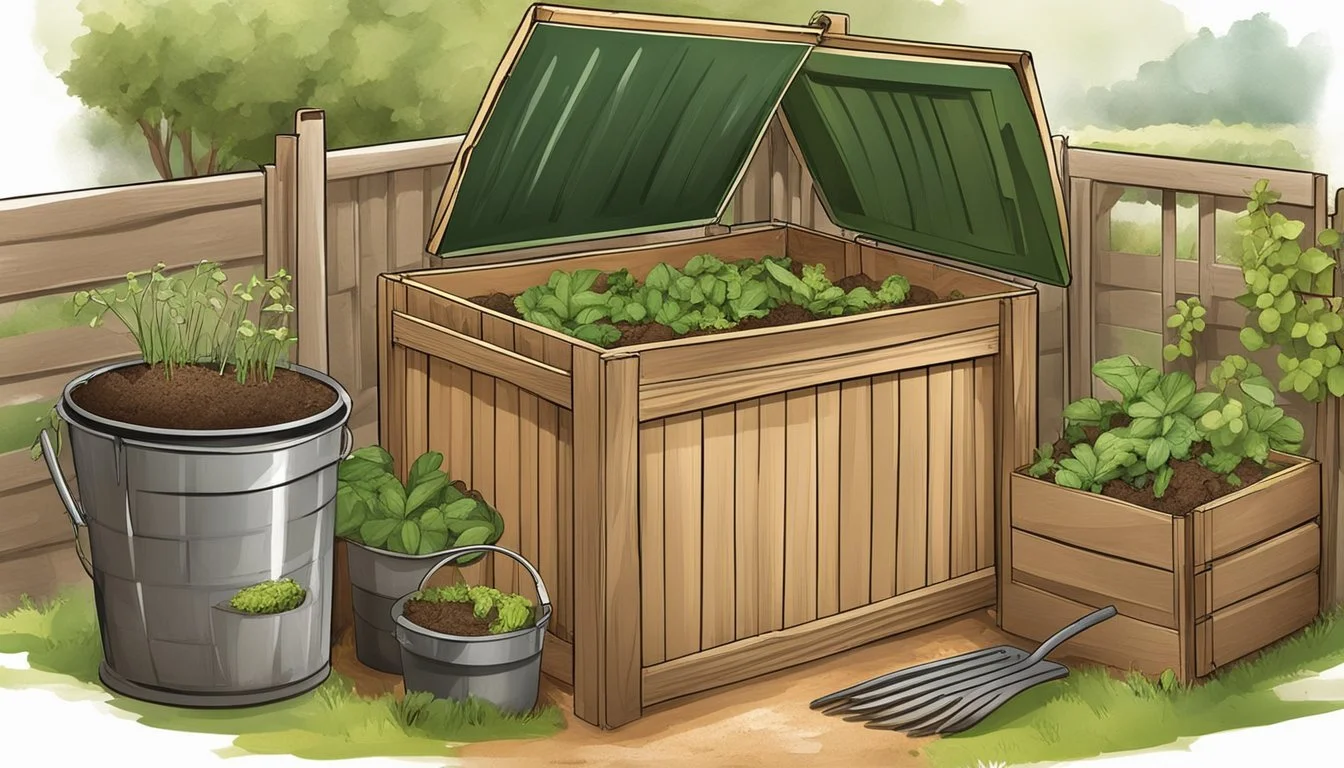
Lid: A lid or cover can help regulate moisture and temperature while deterring pests.
Compartments: Multiple compartments or a tumbling design facilitate the turning and aerating of compost.
Accessibility: Easy access to add materials and remove finished compost is essential, using either removable slats or doors.
Base: Consider a design with an open base to enhance drainage and temperature regulation through contact with the earth.
The compost bin's ventilation system, such as side vents or perforated PVC pipes, should encourage air movement throughout the material without letting it dry out. It's crucial to balance the compost's moisture and air content for efficient decomposition.
Building Your Compost Bin
Creating a compost bin is an essential step for homesteaders looking to enrich their soil with nutrient-dense compost. It requires selecting the proper materials for durability and functionality, following well-structured plans, and assembling the compost bin with precision.
Materials and Tools Required
The materials needed for a DIY compost bin can vary based on the specific design and size. Here is a list of common materials that one might need:
Lumber or Cedar: Resistant to rot, perfect for framing.
Pallets: Often available for free and can form the sides of the bin.
Wire Mesh or Hardware Cloth: To allow aeration and contain compost materials.
Wood Screws: For securing wood pieces together.
Hinges and Latches: Necessary for creating doors or lids if desired.
In terms of tools, one will generally need the following:
Drill: For making holes and driving screws.
Saw: To cut lumber or pallets to size.
Wire Cutters: For cutting mesh or hardware cloth.
Hammer: To help with assembly or to work with nails.
Measuring Tape: For precision in cutting and assembly.
DIY Compost Bin Plans
When looking for DIY compost bin plans, one should consider the space available and the volume of compost they plan to produce. Some simple bin designs include:
Single Compartment Bin: A basic box structure that is easy to build and maintain.
Multi-tier Bin: For those who want to separate compost at different stages of decomposition.
Compost Tumbler: A rotating bin that makes it easy to mix compost regularly.
Plans will dictate dimensions and construction methods. One can often find plans that repurpose pallets or lumber, which can be cost-effective and environmentally friendly.
Construction Steps
The construction process follows a sequence that begins with preparing materials and ends with the assembly of the compost bin. The steps generally include:
Measuring and Cutting: According to the chosen plans, measure and cut the lumber, pallets, or other materials to the required sizes.
Assembly: Start by constructing the base and gradually build up the sides. For a stronger structure, ensure right angles and secure joints.
Aeration: Attach wire mesh or hardware cloth to allow for airflow, critical to the composting process.
Lid or Door: If the design includes a lid or door, attach it with hinges and secure with latches for easy access.
Placement: Position the compost bin in a suitable location that's convenient but also benefits from exposure to natural elements like sun and rain.
Each compost bin design might have variations in the construction process, but these steps provide a foundation for building a functional, enduring DIY compost bin.
Maintaining Your Compost Bin
Effective maintenance of a compost bin ensures a faster breakdown of materials, less odor, and fewer pests. Proper management entails a balance of moisture and aeration, regular turning, odor and pest mitigation, and applying hot composting techniques when necessary.
Managing Moisture and Aeration
A compost pile requires moisture equivalent to a wrung-out sponge—a balance that supports decomposition without waterlogging. To ensure adequate air circulation, compost piles should be fluffed with a pitchfork or shovel during turning. The materials in the pile should not be packed too tightly, as this can impede airflow and slow down the decomposition process.
Turning the Compost
Turning the compost regularly, ideally every two to four weeks, helps to mix the carbon-rich materials (like leaves and paper) with nitrogen-rich substances (such as food scraps and grass clippings). This mixing stimulates aeration and promotes even decomposition throughout the pile. One should use a pitchfork or shovel to thoroughly turn and aerate the compost.
Dealing with Odors and Pests
Properly maintained compost bins should have minimal odors. Unpleasant smells can indicate excess moisture or lack of aeration. To combat this, one should turn the pile more frequently and adjust the moisture level. For pest control, ensure the compost bin is well-covered and refrain from adding meat, dairy, or fatty foods that attract unwanted critters.
Hot Composting Techniques
Hot composting is a method to expedite the decomposition process by maintaining higher temperatures in the pile. This involves regularly monitoring the temperature and turning the pile to incorporate oxygen and maintain heat. A well-managed hot compost pile will break down materials more rapidly and kill weed seeds and pathogens due to the elevated temperatures.
Vermicomposting: Using Worms to Enhance Decomposition
Vermicomposting leverages the natural decomposition abilities of earthworms, particularly red wigglers, to convert organic waste into nutrient-rich compost for homesteading uses.
Setting Up an Indoor Vermicomposting Bin
To establish an indoor vermicomposting bin, one must first select an appropriate container. This bin should be opaque to simulate underground conditions and should have a lid to maintain moisture and darkness, while preventing pests. Adequate ventilation is also crucial for worm health and can be achieved through drilled holes in the top and sides of the container.
Bedding materials are the next consideration, and these can include:
Shredded newspaper or cardboard
Coconut coir
Peat moss
A handful of soil
The bedding should be moist but not wet, ensuring an environment conducive to worm activity. Introduce red wigglers to the bedding, which are the preferred species for vermicomposting due to their efficient breakdown of organic matter.
When adding scraps, follow these guidelines:
Feed worms fruit and vegetable peels, coffee grounds, tea bags, and eggshells.
Avoid dairy, oils, and meats to prevent odors and pests.
Chop larger pieces to enhance decomposition speed.
Bury the scraps to deter fruit flies and to accelerate the composting process.
Caring for Your Worm Farm
Maintaining a worm farm requires regular but minimal attention to ensure the health of the worms and the quality of the compost produced. The key is to monitor moisture levels and food input:
The compost should feel like a wrung-out sponge.
Add more dry bedding if it's too wet, or sprinkle water if it's too dry.
Feed worms a balanced diet, noting that a pound of worms typically consumes half a pound of organic matter per day.
Temperature control is important as well; worms thrive best between 55-77°F (13-25°C). If temperatures exceed these limits, relocating the bin to a more controlled environment may be necessary.
Regularly harvest compost to prevent overcrowding and to make use of the valuable fertilizer created. Harvesting typically occurs when the bin's contents have been mostly converted to compost, usually every 4-6 months. To extract the compost, move the finished material to one side and place new bedding and food on the other. The worms will migrate to the new food source, allowing easy collection of the compost.
Using Your Compost
Upon reaching maturity, compost, often referred to by gardeners as "black gold," becomes a key contributor to the nutrient density and structure of garden soil. This section provides a guide on optimal harvest times and methods for compost, as well as advice on integrating this rich substance effectively into one’s garden.
When and How to Harvest Compost
Compost is ready to harvest when it's dark, crumbly, and has an earthy smell—signs that it's fully decomposed. A gardener should:
Check maturity: Mature compost will often be at the bottom of the pile. It should have no remnants of the original organic materials.
Sieve the compost: Sifting through a mesh screen can separate unfinished compost from the finished product.
They should ensure that compost is:
Cured: Allowing it to stabilize for a few weeks to months post sifting.
Stored in a dry, sheltered place: Protecting it from the elements until it's time to use.
Applying Compost to Your Garden
Compost should be applied to garden soil with specific techniques to maximize the benefits. Gardeners may:
Mix into the soil: This should be done several weeks before planting, at a depth of 6-8 inches, allowing nutrients to integrate well.
Use as mulch: By laying 2-3 inches of compost on top of garden soil, it acts as mulch, providing nutrients and preserving moisture.
Compost contributes essential nutrients to the soil, and here's the frequency and amount to use:
For new gardens: Incorporate a 1-3 inch layer of compost into the soil.
For established gardens: Add a ½ inch layer to beds annually to enrich the soil.
In summary, gardeners can transform their gardens by efficiently harvesting and applying compost, thereby enhancing soil fertility and structure.
Troubleshooting Common Compost Problems
When managing a compost bin, homesteaders may encounter a few common issues. It's important to recognize these problems and understand how to resolve them effectively.
Odors: An unpleasant smell often indicates an imbalance in the compost. If the compost emits an ammonia-like scent, it typically contains too much nitrogen-rich material. To correct this, one should add carbon-rich materials, such as straw, leaves, or shredded paper, to balance the nitrogen levels.
Moisture: A key aspect of composting is maintaining the right level of moisture. Compost should be moist, but not soaking wet. If the compost is too dry, microbial activity will slow down, hindering decomposition. The pile should be watered until it feels like a wrung-out sponge. Conversely, if the pile is too wet, adding dry, brown materials can help absorb excess moisture, and turning the pile will improve aeration.
Problem: Excessive Dryness
Symptom: Slow decomposition
Solution: Add water to reach moist consistency
Problem: Strong Odor
Symptom: Ammonia or sulfur smell
Solution: Balance with more browns (carbon-rich)
Problem: Pests
Symptom: Insects or rodents
Solution: Adjust materials, cover, or enclose
Pests: Unwanted visitors such as flies, rodents, and raccoons can be deterred by ensuring that compostables like bones, meat, fish, dairy, and oils are excluded from the bin. Using a tarp or an enclosed bin can also help keep pests at bay.
Decomposition Process: If decomposition is slow, one may need to increase the temperature by ensuring the pile has a good balance of greens and browns and that it is turned regularly to oxygenate and distribute heat.
By addressing these common problems, one ensures their compost remains a healthy and efficient system for waste decomposition.
Creative Composting Solutions

In homesteading, effective composting is not just about waste transformation—it's about ingenious resource management.
Composting with Limited Space
For those with minimal outdoor space, vertical composting can be a game-changer. Stacking bins or a multi-tiered worm composting system allows for waste decomposition without occupying a large footprint. An example is using a plastic container with holes drilled into it for aeration, which can be kept indoors or on a small balcony. In smaller gardens, a rotating compost barrel makes turning compost easier and more space-efficient.
Innovative DIY Compost Bin Ideas
Homesteaders can repurpose various materials for creative compost bin solutions. Used tires stacked on top of each other create an adaptable composting space that retains heat well. For an easy and affordable option, constructed bins using chicken wire or wire mesh supported by logs or posts can efficiently contain yard waste. Those striving for a more robust solution can build straw-lined composting bins which provide excellent insulation. Meanwhile, open compost piles bordered by simple logs serve as an ever-accessible site for green materials. Each of these DIY projects not only reduces costs but also customizes the composting process to the homesteader's specific needs.
When fabricating a compost bin, the key is ensuring proper aeration, moisture control, and access for turning the organic matter. Providing these conditions will enable the ultimate compost bin to thrive, transforming organic waste into valuable compost for the homestead.
Concluding Tips and Best Practices
When homesteaders set out to enhance their gardening efforts through composting, it is essential they consider the balance of organic materials. A successful compost bin should include a mix of nitrogen-rich items like kitchen scraps, manure, and weeds, coupled with carbon-rich materials such as newspaper, dry leaves, and cardboard. This balance encourages efficient decomposition.
Seasonal Adjustments: Be mindful of the composting process across different seasons. For example, in wet seasons, add more dry leaves or newspaper to absorb excess moisture. Conversely, in dryer climates or periods, maintain moisture by occasionally watering the compost pile.
Aeration is key: Regularly aerating the pile ensures oxygen circulation, crucial for the composting process. A simple method is to turn the pile with a shovel or a pitchfork. In some compost bin designs, built-in structures allow for easier aeration.
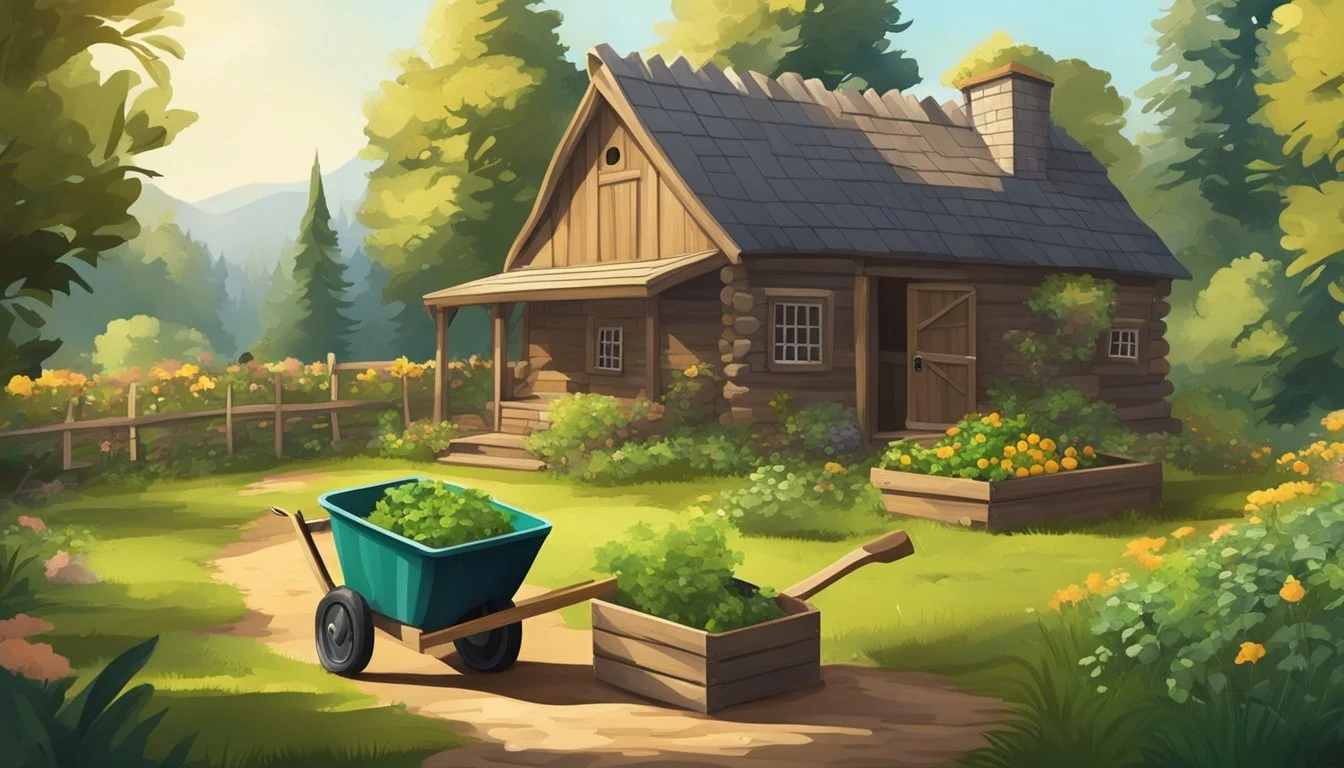
Accessibility: The compost bin should be accessible for adding materials and removing finished compost. Many homesteaders prefer to locate their compost near their garden with enough space for a wheelbarrow to maneuver.
Manure: Only use manure from vegetarian animals to avoid pathogens.
Kitchen Scraps: Avoid bones and meat to prevent attracting pests.
Weeds: Only compost weeds that haven't gone to seed.
Dry Leaves: Store extra for use during seasons lacking carbon sources.
When constructing a compost bin, homesteaders can select plans that align with their available space and budget. The cost can vary, from repurposed pallets and wire mesh to custom-built systems. By adhering to these best practices, they foster a rich environment for transforming waste into a resource that nurtures the garden year-round.
