
How to Grow Kale
A Guide for Edible Home Gardens
Discover > Grow Your Own Food > How to Grow Kale
How to grow kale in your backyard is a rewarding venture. If you're keen to grow kale from seed and relish the taste of crisp kale chips made from your leafy greens, then this guide is for you.
It's essential to understand the life cycle of young kale plants and their place in the cabbage family to fend off potential pests like cabbage aphids. Growing kale requires attention to keep the soil cool, especially if you are growing varieties like dinosaur kale. This guide also offers valuable tips to care for young seedlings and the best time to sow kale seeds. (how long do seeds last?)
Kale is a nutrient-dense leafy green vegetable that has gained popularity in recent years for its numerous health benefits. Rich in vitamins A and C, as well as iron, this versatile plant is a staple for many gardeners looking to grow their nutritious produce at home. Adaptable to various climates and growing conditions, kale can thrive in both full sun and partial shade, making it a suitable addition to any edible home garden.
To successfully grow kale, it is important to consider factors such as soil preparation, planting times, and spacing. A well-draining soil mixture with added organic matter like compost will encourage healthy leaf growth, as high nitrogen content helps support the plant's development. Moreover, kale plants grow best during spring and fall but can also survive cold winter weather, which makes them ideal for gardeners who want to harvest fresh produce throughout the year.
When planting kale seeds, they should be sown about 1/2 inch deep, with 1 1/2 to 2 feet of space in between each plant. This spacing allows the plants to grow sturdy, flavorful leaves that can be harvested as baby or mature leaves depending on personal preference. With the right care, kale can be an easy and rewarding addition to any home garden, providing a continuous supply of nutritious greens.
Growing Kale Basics
Selecting Kale Varieties
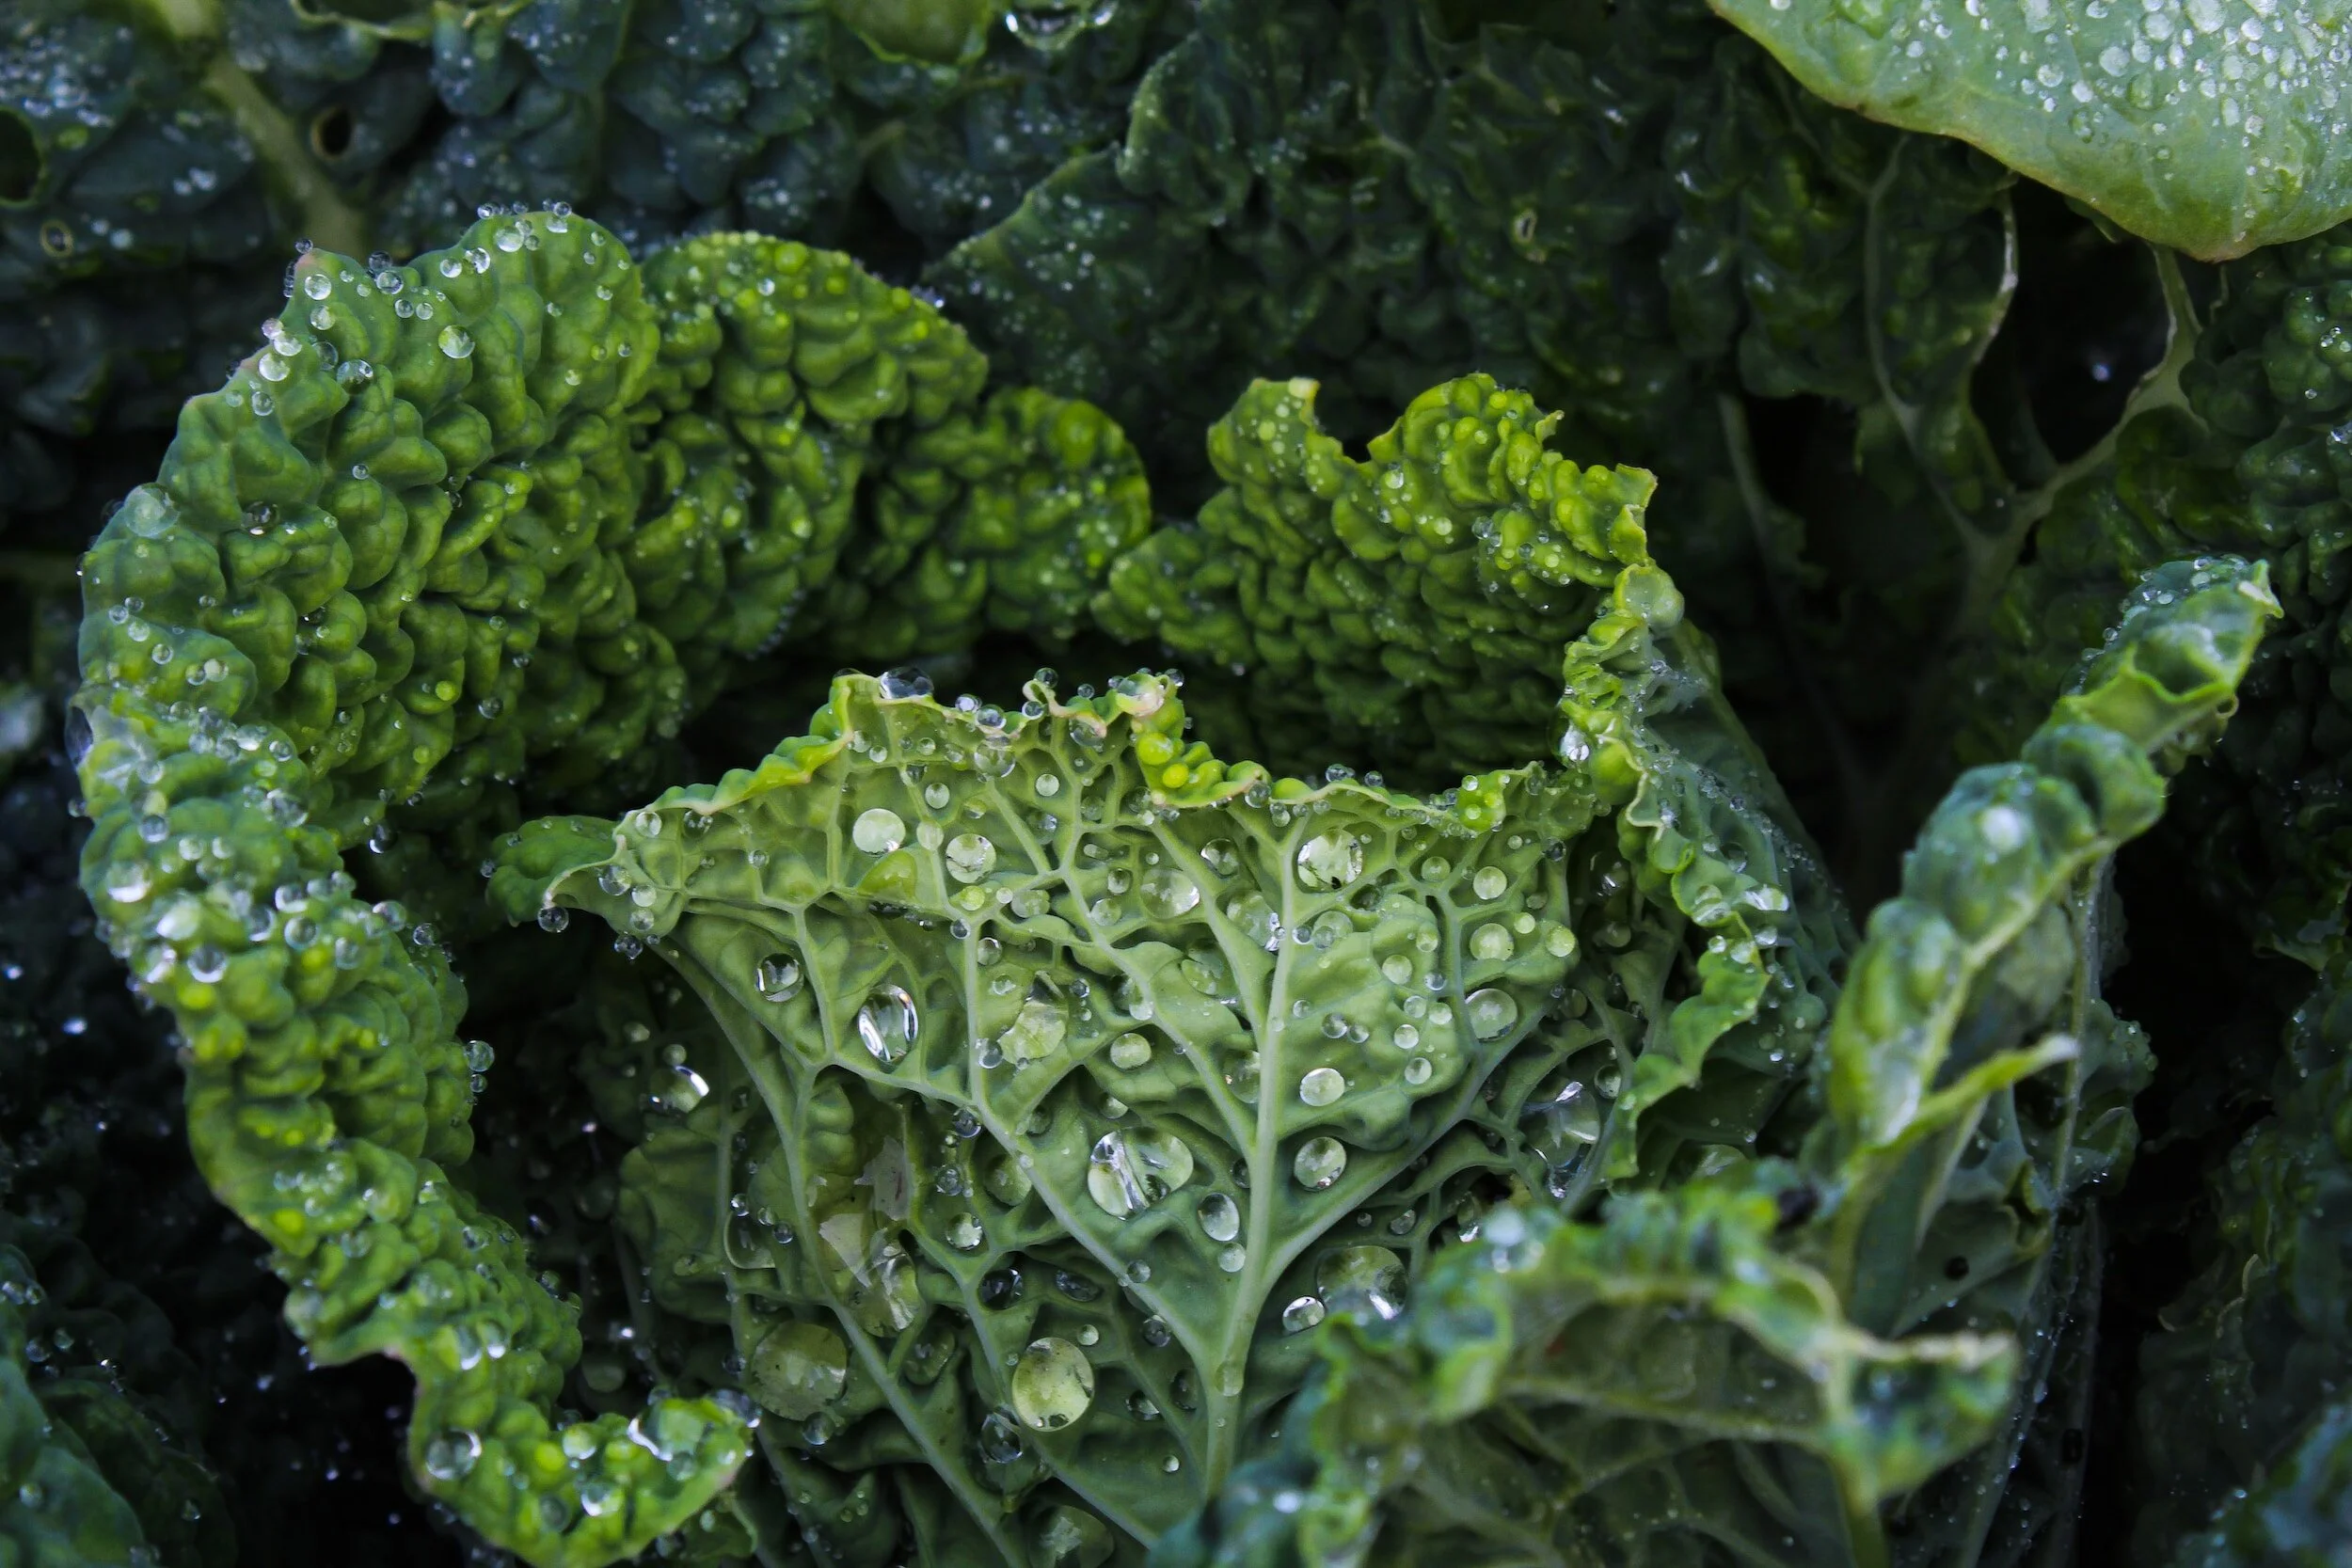
Kale is an easy-to-grow, nutritious addition to your edible home garden. There are several varieties of kale to choose from, including dinosaur kale (also known as Lacinato) and Red Russian kale. Each variety offers different taste and texture profiles.
Understanding Soil and pH Requirements
To ensure a successful harvest, it's crucial to pay attention to the soil and pH requirements for your kale plants. Kale grows best in well-draining soil, preferably with a pH between 6.0 and 7.0. Enrich the soil with organic matter like compost to provide the necessary nutrients for growing healthy leaves.

Ideal Weather Conditions
Kale is a cool-season vegetable that thrives in temperatures ranging from 45 to 65 degrees Fahrenheit, making it perfect for spring and fall gardens. It can even handle some frost, which can enhance the kale's flavor. Avoid planting kale in the peak of summer, as high heat can cause the plants to become bitter and tough.
Planting Kale Seeds
When planting kale seeds, there are a few important steps to follow. First, plant kale seeds indoors about six weeks before the last frost to give them a chance to mature before summer's heat. Sow the seeds 1/2 inch deep and leave 1 1/2 to 2 feet between each plant to allow for proper growth.
After the last frost, transplant the seedlings into the ground or containers. You can also direct seed kale outdoors in late summer or early fall, covering the seeds with 1/2 inch of soil to protect them from harsh weather elements.
Taking into account the variety of kale types, understanding the soil and pH needs, observing the weather conditions, and applying suitable planting methods, you can reap a generous yield of this healthful green right from your garden.
Cultivating a Thriving Kale Garden
Providing Adequate Water and Nutrients
Kale requires consistent moisture and well-drained soil to thrive, so be sure to keep the soil moist but not waterlogged. Water the plants deeply and consistently, providing one to two inches of water per week depending on the weather conditions. Kale also prefers slightly acidic soil with a pH between 6.0 and 6.5, ensuring the plants can easily access essential nutrients. Adding organic matter like compost to the soil can help improve texture and nutrient content without making it too acidic.
Mulching and Fertilizing
Mulching around your kale plants helps to regulate soil temperature, retain moisture, and prevent weed growth. Use organic mulches such as straw, shredded leaves, or compost to provide additional nutrients to the soil as they decompose. To keep your kale plants healthy and productive, apply an organic or slow-release fertilizer that is high in nitrogen. Nitrogen encourages leafy growth, which is essential for kale's productivity. Fertilize according to package directions or consult a local expert for guidance on your specific growing conditions.

Dealing with Pests and Diseases
While kale is generally a hardy vegetable, it can be susceptible to certain pests and diseases. Common pests that affect kale include aphids and cabbage worms. Regularly inspect your plants and remove pests by hand or use appropriate insecticides. To prevent the spread of diseases like root rot, ensure your kale garden has proper drainage, allowing excess water to escape and prevent standing water around the plant's roots.
Choose kale varieties that are adapted to your local climate and resistant to pests and diseases. By growing multiple varieties and practicing proper garden hygiene, you can minimize the likelihood of major outbreaks and continue to enjoy a thriving kale garden.
Kale Planting Strategies
Sowing in Succession and Rows
Growing kale in your edible home garden can be an enjoyable and rewarding experience. Start by sowing seeds in succession every 2-3 weeks to ensure a continuous harvest throughout the season. First, choose a site with well-draining soil and full sun, although kale can tolerate partial shade. In terms of temperature, kale grows best in cool weather, making it an ideal choice for both spring and fall planting.
Prepare the soil by mixing in several inches of aged compost or other organic matter to improve fertility. Sow the seeds in rows 18 inches apart and cover with ½ inch of soil. Once the seedlings reach 6 inches in height, thin them to 12-18 inches apart, allowing each plant ample space to grow.
Growing Kale in Containers and Pots
Kale can also thrive in containers or pots, providing flexibility for gardeners with limited space or challenging growing conditions. Choose a container that is at least 12 inches deep and has drainage holes to prevent waterlogged soil. Fill the container with a well-draining soil mixture and ensure a high nitrogen content by adding organic matter like compost.
Plant the seeds or seedlings in the containers, spacing them at least 12-18 inches apart. Place the containers in a sunny location and ensure they receive at least 1 to 1.5 inches of water each week to maintain soil moisture. Regularly monitor the temperature and keep it within the ideal range for kale growth.
Companion Planting with Kale
Incorporating companion planting into your kale garden can help deter pests, improve soil health, and create a visually appealing space. Consider planting your kale with complementary plants such as:
Herbs: Mint, dill, and rosemary can help repel common kale pests like aphids and whiteflies.
Flowers: Marigolds and nasturtiums offer pest control benefits while adding a pop of color.
Vegetables: Onions, garlic, and chives (how long do chives last?) can drive off various insect pests.
Lastly, don't overlook the potential of ornamental kale, which can add visual interest to your garden without compromising the edibility of your kale crop. By following these strategies for sowing in succession and rows, growing in containers and pots, and incorporating companion planting, your kale garden will be well on its way to a bountiful and delicious harvest.
Caring for Your Kale Garden
Thinning Seedlings and Spacing
After sowing kale seeds, it's essential to thin the seedlings when they reach about 6 inches tall. Remove weaker plants, leaving stronger seedlings spaced 12 to 18 inches apart for adequate growth. This spacing allows for optimal air circulation and provides sufficient room for the plants to mature without competing for nutrients.

Supporting and Pruning Kale
Kale plants are quite hardy and generally do not require extensive support. However, in cases of extreme weather or heavy leaf production, you may need to stake the mature plants to prevent them from toppling over. Regularly check your kale for any damaged, yellow, or insect-infested leaves, and promptly remove them to maintain the plant's health and prevent the spread of disease.
Providing Shade and Weed Control
Although kale can tolerate a range of weather conditions, it's crucial to provide shade during scorching summer days to protect the plants from heat stress. Installing a shade cloth or placing taller crops nearby can offer the necessary protection from direct sunlight.
Weed control is key to your kale garden's success, as weeds can compete with kale plants for nutrients, space, and sunlight. Regularly weed your garden, taking care to avoid damaging the kale plants' roots. Employing mulch around the plants can also help suppress weeds and retain soil moisture.
By following these practical tips and paying close attention to the plant's needs, you are well on your way to cultivating a thriving kale garden that will provide nutritious and delicious greens for you and your family.
Harvesting and Storing Kale
When and How to Harvest Kale
Kale is an easy vegetable to grow in your home garden, and it can be harvested as soon as the leaves are large enough to eat. Generally, it takes around 55 to 75 days from seed sowing for kale to mature. Harvesting kale is ideal during the cooler spring or fall weather before temperatures reach 70°F. In mild-winter regions, kale will continue producing new leaves throughout the winter months.
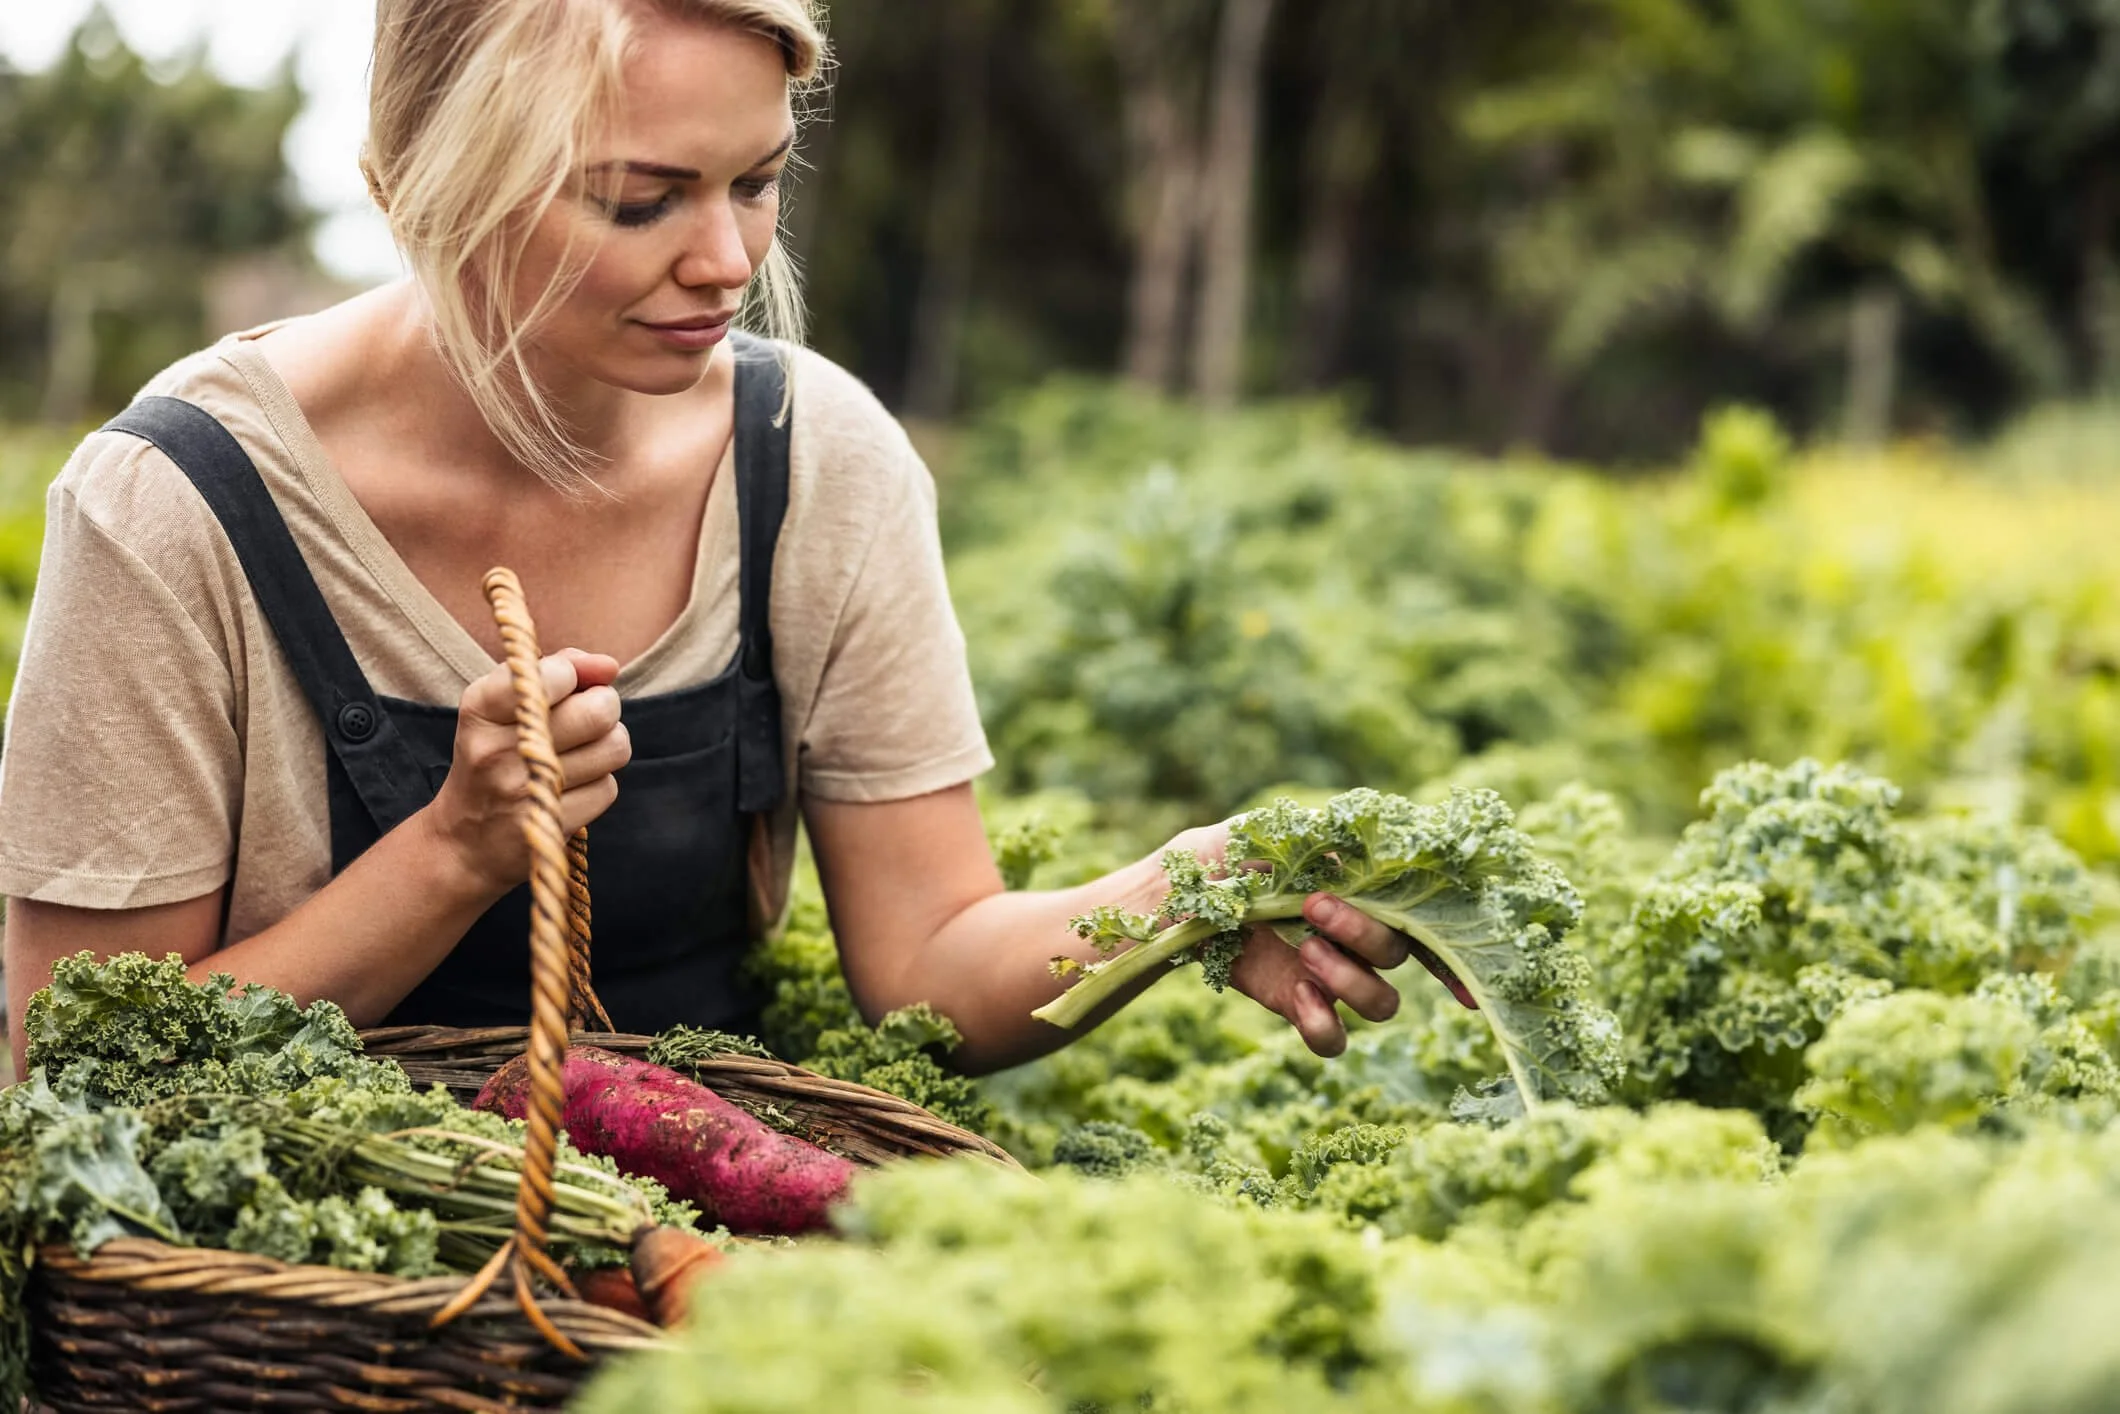
When it comes to harvesting kale, simply use a pair of scissors or a sharp knife to cut the leaves from the plant. Harvest the outer leaves first, allowing the inner leaves to continue growing. This cut-and-come-again method helps the plant produce more leaves over an extended period.
Baby Kale vs. Mature Leaves
There is a difference between baby kale leaves and mature leaves in terms of harvesting time and usage. Baby kale leaves are tender and can be ready to pick just a few weeks after seeding. They can be used in salads and smoothies for a milder taste compared to mature kale leaves. On the other hand, mature leaves are larger and more robust in flavor. These leaves are ideal for use in cooking, such as in soups, stews, or sautéed dishes.
Preserving and Storing Kale Leaves
After harvesting, it's essential to properly preserve and store kale leaves to maintain their freshness and nutritional value. To do this, follow these steps:
Wash the leaves: Gently wash the kale leaves in cold water to remove any dirt or insects.
Dry them thoroughly: Use a salad spinner or pat the leaves dry with a clean towel.
Refrigerate: Store the fresh kale leaves in a plastic bag with a few paper towels to absorb any excess moisture. Keep them in the refrigerator for up to a week.
For longer storage, you may:
Freeze the kale: Blanch the leaves in boiling water for 2 minutes, then plunge them into ice water right after. Drain, dry, and pack the kale leaves in airtight freezer bags. They can be stored in the freezer for up to 6 months.
Dehydrate: Use a food dehydrator or an oven at its lowest setting to dry the leaves until they are crisp. Store the dehydrated kale in airtight containers for up to a year.
With proper harvesting, preserving, and storing techniques, you can enjoy the benefits of kale from your edible home garden throughout the year.
Common Challenges and Solutions
Bolting and Hot Weather Management
Kale is a hardy vegetable that grows best during spring and fall, but it can sometimes struggle in hot weather. During summer, kale plants may experience bolting, which is the premature flowering and seeding of the plant, impacting the taste and texture of the leaves.
To prevent bolting, provide the kale with some shade during the hottest part of the day and ensure the soil remains consistently moist. You can also grow heat-tolerant varieties to help your kale plants better cope with hot weather conditions.
Regular watering is crucial for kale plants, especially during hot and dry periods. Ensure that the soil is moist to a depth of about 6 inches, and check for signs of wilting. If the leaves appear wilted or discolored, increase the frequency of watering, but be mindful not to overwater as this can lead to root rot.
Frost and Winter Tolerance of Kale
Kale is a cool-season crop, which means it can tolerate frost and even snow. The flavor of kale improves after exposure to frost, making it a great option for winter gardening as well. To grow kale during the winter months, ensure the plants are established before the first frost and apply a layer of mulch around the base of the plants to protect the roots and conserve soil moisture.
Collards, a close relative of kale, share many of the same growing conditions and is also cold-tolerant. Both kale and collards can be grown long into the winter season and can handle freezing temperatures as low as 20°F. However, it's essential to keep an eye on the weather forecasts since extreme temperature fluctuations can cause damage to the plants. In regions with very harsh winters, it may be necessary to use row covers or cold frames to help protect your kale plants from extreme cold and heavy snowfall.
The key to successfully growing kale year-round lies in proper timing, selection of cold-tolerant varieties, and ensuring adequate protection from extreme weather conditions. By understanding these common challenges and how to manage them, you can enjoy a bountiful harvest of kale throughout most of the year.
Frequently Asked Questions
What is the ideal temperature for kale growth?
Kale thrives in cooler temperatures, with the ideal range being between 60-70°F (15-21°C). It can tolerate light frost, but growth may slow down if temperatures drop below 60°F or rise above 75°F.
How often should I water my kale plants?
Kale requires consistent moisture. It's important to water the plants regularly, providing approximately 1-1.5 inches of water per week. Be sure to water the soil and not the leaves, as wet leaves can lead to disease.
What is the proper planting depth for kale seeds?
When sowing kale seeds, plant them about ¼-½ inch deep into the soil. This depth allows the seeds to germinate properly and ensures that the seedlings will receive adequate moisture and warmth for growth.
How much sun do kale plants require?
Kale plants need at least six hours of full sunlight per day to thrive. However, it can tolerate partial shade, especially in hotter climates where the sun might be too intense.
What is the recommended spacing between kale plants?
Kale plants should be spaced approximately 12-18 inches apart. This gives them enough room to grow and ensures proper air circulation, which can help prevent potential diseases and pests.
When is the best time to transplant kale seedlings?
Kale seedlings can be transplanted in late winter to early spring, and again in midsummer. Transplanting should take place when the plants are around 6 inches tall, ensuring that they have a well-established root system for successful growth in their new location.
