
Extend the Shelf Life of Your Homestead Meat
Maximizing Freshness with a Vacuum Packer
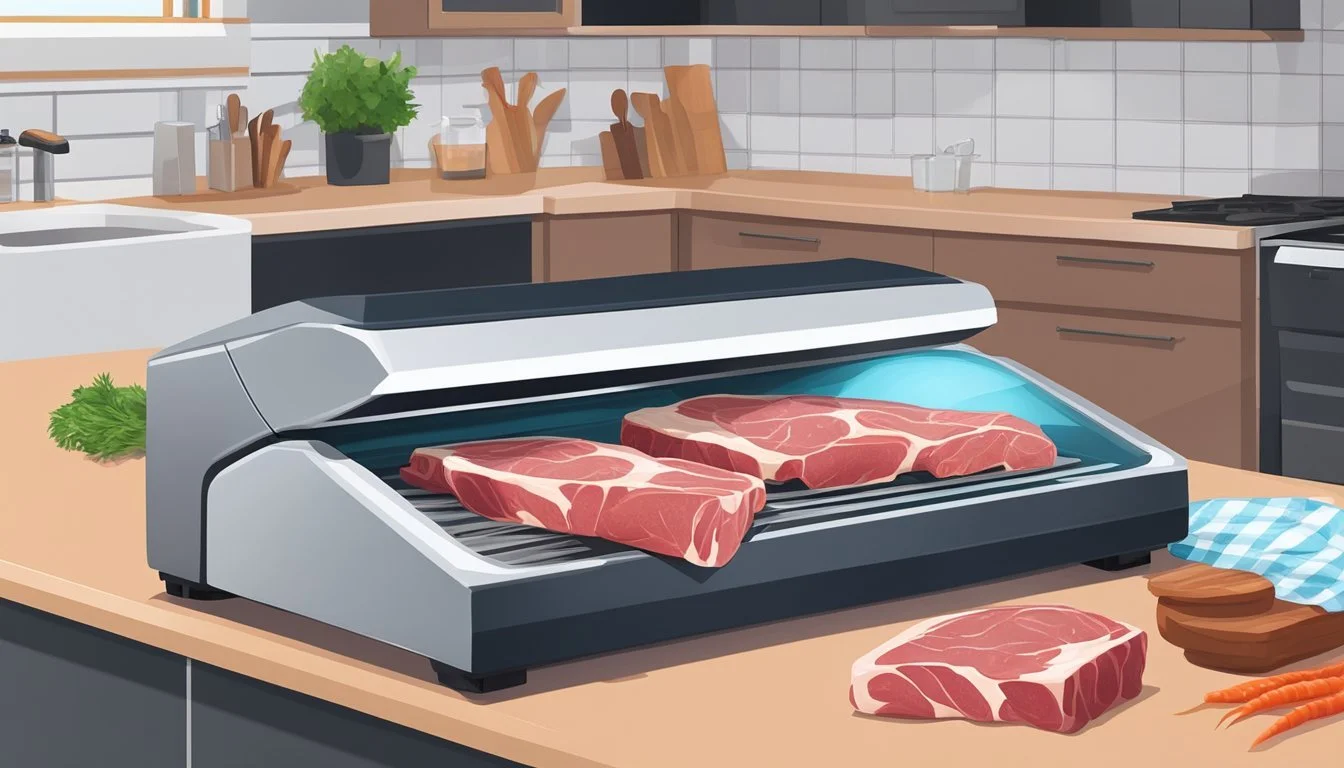
Storing meat effectively is a vital aspect of maintaining a well-run homestead, allowing for the preservation of valuable protein sources over a longer period. The introduction of a vacuum sealer into your homesteading toolkit can be a transformative step towards achieving this goal. By tightly sealing meat in bags from which air has been removed, vacuum packers significantly slow the natural degradation process that causes spoilage.
This extension of shelf life is a direct result of limiting the meat's exposure to air, which is a critical factor in the growth of bacteria and mold. Vacuum sealers offer an efficient method to secure meat against environmental factors that otherwise hasten spoilage. When meat is vacuum sealed, it can last up to two weeks in the refrigerator and up to two to three years in the freezer, substantially exceeding the preservation time of many traditional storage techniques.
Homesteaders who strategically utilize vacuum sealing are afforded the luxury of time, enabling them to consume or sell their meat at a pace that suits their needs without compromising on quality or safety. This preservation method not only offers peace of mind but also contributes to a sustainable and more self-sufficient lifestyle by minimizing waste and maximizing resources.
Understanding Vacuum Sealing
Before exploring the intricacies of vacuum sealing, it is essential to recognize that this method revolves around the removal of air to preserve meat by inhibiting bacterial growth and reducing moisture.
Principles of Vacuum Sealing
Vacuum sealing operates on a foundational principle: the elimination of oxygen from the environment surrounding the meat. Since bacteria responsible for spoilage typically require oxygen to thrive, vacuum sealing effectively starves these organisms, slowing down their growth. This process also minimizes the presence of air and moisture, two elements that can otherwise compromise the quality and longevity of the meat.
Key elements removed by vacuum sealing:
Oxygen: Hinders aerobic bacterial growth
Moisture: Reduces spoilage and weight loss
Benefits of Vacuum Sealing for Meat Preservation
The most significant benefit of vacuum sealing meat is the substantial extension of its shelf life. Preserved under these conditions, meat can remain in consumable condition far longer than if stored by conventional means.
Shelf Life Extension:
Refrigerated vacuum-sealed meat: Up to 2 weeks
Frozen vacuum-sealed meat: Up to 2-3 years
Other advantages include:
Quality Maintenance: Meat retains its color, texture, and taste more effectively.
Protection Against Freezer Burn: Without air, ice crystals cannot form to desiccate and damage meat.
Space Efficiency: Removing air allows meat to be packaged more compactly, optimizing freezer space.
Odor Prevention: Airtight sealing protects the meat from absorbing undesirable odors present in the storage area.
By understanding and employing vacuum sealing, individuals can ensure that their homestead meat remains high in quality, nutritionally sound, and safe for consumption for a more extended period.
Preparation of Meat for Vacuum Sealing
Proper preparation of meat is crucial for extending its shelf life when using a vacuum packer. This includes selecting appropriate cuts and adhering to cleaning and handling best practices to ensure food safety and maintain meat quality.
Selecting Appropriate Meat Cuts
When choosing meat cuts for vacuum sealing, one should opt for fresh, high-quality pieces. The meat should display a healthy color, free from any discoloration that can indicate spoilage. Fatty cuts can be sealed, but lean cuts often fare better in terms of long-term storage as fat can go rancid over time.
Meat cuts ideal for vacuum sealing:
Beef: sirloin, tenderloin, rump
Pork: loin, chops
Poultry: breast, thighs
Game: steaks, ground
Considerations when selecting meat cuts:
Freshness: The fresher the meat, the longer it will last post-vacuum sealing.
Packaging Date: Always check the date and prioritize recently packaged meat.
Size: For efficiency, it is advisable to cut large pieces into smaller portions.
Cleaning and Handling Best Practices
Safe handling is paramount to prevent cross-contamination and ensure the longevity of vacuum-sealed meat. Meat should be thoroughly cleaned and patted dry, as moisture can be a breeding ground for bacteria. Use separate cutting boards and utensils for meat and other foods and wash hands frequently with soap and water to maintain a hygienic environment.
Cleaning Checklist:
Wash hands before and after handling meat.
Use a clean, sanitized cutting board designated for meat only.
Dispose of any packaging materials immediately.
Handling Tips:
Always work on a sanitized surface.
Pat meat dry with paper towels to remove excess moisture.
Avoid touching other surfaces once hands are contaminated with meat juices.
By following these steps, one can effectively prepare meat for vacuum sealing, significantly extending its shelf life while maintaining its safety and quality. The vacuum sealer then becomes a valuable tool for keeping homestead meat fresh and ready for future use.
The Vacuum Sealing Process
Vacuum sealing is an effective method to prolong the shelf life of meat by sealing it in an airtight environment. This process mitigates oxidation and inhibits bacterial growth, crucial factors in meat preservation.
Setting Up Your Vacuum Sealer Machine
Before one begins the vacuum sealing process, it is important to set up the machine correctly. Proper setup ensures that the vacuum seal is effective and the meat is preserved as intended.
Place the vacuum sealer on a stable, flat surface to prevent any disruptions during the sealing process.
Ensure that the sealing strip is clean and free of debris, which can compromise the seal's integrity.
Pre-cut vacuum-seal bags to the size required for the meat portions, allowing extra room at the open end for sealing.
Attach any necessary accessories or adaptors if dealing with jars or canisters instead of bags.
Steps for Optimal Vacuum Sealing
The following steps guide one through an efficient vacuum sealing process to ensure the meat's longevity and freshness:
Preparation: Pat the meat dry to remove excess moisture. Moisture can interfere with the seal and potentially lead to freezer burn.
Positioning Meat: Place the meat inside the vacuum-seal bag, spreading it out evenly to avoid bulkiness at one end.
Inserting Bag: Open the vacuum sealer's lid and insert the open end of the bag over the sealing strip, ensuring it lays flat.
Vacuuming Air: Close the lid and press down until it locks. Then, select the vacuum option to remove all the air from the bag.
Sealing: Once the air has been evacuated, the machine will heat-seal the bag, effectively sealing the meat within an oxygen-reduced environment.
Final Check: After sealing, inspect the bag for any signs of air pockets or a weak seal. If necessary, reseal the bag for optimal preservation.
By following this method, the sealer machine creates an oxygen-free zone within the vacuum-seal bag, preserving the meat's quality and extending its shelf life.
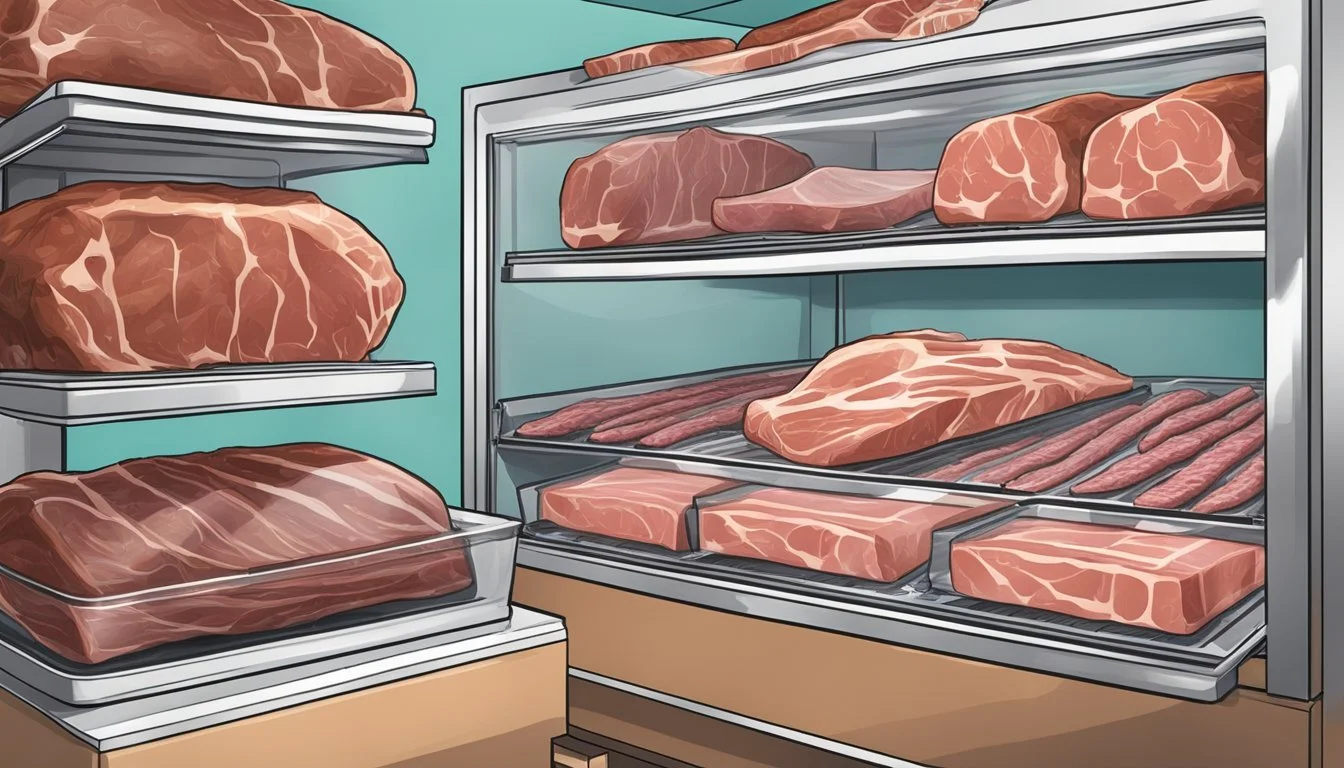
Storage After Vacuum Sealing
Once meat is vacuum sealed, the key to maintaining its freshness is proper storage. Temperature control and protection from light and moisture are crucial factors in extending shelf life.
Freezer Storage Guidelines
For long-term preservation, the freezer is the meat conserver's ally. Here are specific guidelines:
Freezer Temperature: Store vacuum-sealed meat at a constant 0°F (-18°C) or lower to halt bacterial growth.
Time Frame: Properly sealed meat can last up to 2-3 years in the freezer.
Organization: Keep an inventory log with dates to track and use older items first.
Refrigeration and Room Temperature Storage
When freezing is not an option, refrigeration should be used:
Refrigerator Temperature: Maintain at 34-40°F (1-4°C) for vacuum-sealed meat.
Duration: Expect a shelf life of 1-2 weeks in the refrigerator.
Never store vacuum-sealed meat at room temperature; it should be frozen or refrigerated immediately after sealing.
Maintaining Quality and Safety
When preserving meat with vacuum packing, quality and safety are paramount. These guidelines focus on long-term preservation, ensuring that the nutritional value and taste of your meat remain top-notch while reducing the risks of spoilage and foodborne illnesses.
Preventing Freezer Burn and Oxidation
Freezer burn occurs when air reaches the meat's surface, leading to dehydration and oxidation. This not only affects the taste and texture but also the quality of the meat. Vacuum packing meat removes air from the packaging, creating an environment that significantly minimizes freezer burn and oxidation. To prevent oxidation:
Use quality vacuum seal bags or rolls that are puncture-resistant and provide a strong seal.
Store at consistent temperatures of 0°F (-18°C) or below for optimal safety and to preserve quality.
Monitoring Expiration Dates and Labeling
Keeping track of when meat is packed and its expected shelf life is crucial to maintaining its safety and quality. Proper labeling serves as an effective system for managing and utilizing your stored meat before it spoils. Here are some labeling tips:
Label each package clearly with:
Type of meat: To easily identify your cuts without the need to open and inspect.
Packaging date: So you can use the oldest stock first, preventing any potential waste.
Use-by date: Based on the type of meat and your freezer's temperature, to ensure the meat is used while at its best quality.
Thawing and Using Vacuum-Sealed Meat
When managing vacuum-sealed meat from the homestead, it is critical to understand the proper techniques for thawing and the steps to take immediately after thawing, ensuring optimal quality and safety for consumption.
Thawing Techniques for Vacuum-Sealed Meat
Refrigerator Thawing: Place the vacuum-sealed meat in the refrigerator. Allow it to thaw slowly, typically 24 hours for smaller cuts and up to 48 hours for larger pieces.
Cold Water Thawing: Submerge the vacuum-sealed meat in cold water. Change the water every 30 minutes to maintain a safe temperature. This method can thaw meat in several hours, depending on size.
It's important to note that once meat is thawed, it should not be refrozen in its vacuum-sealed packet, as this can compromise the safety and texture of the meat.
Cooking After Thawing
Immediately Post-Thawing: Vacuum-sealed meat should be cooked immediately after it is fully thawed to maintain quality and ensure safety.
Safe Cooking Temperatures: Use a meat thermometer to cook to the appropriate internal temperature for the specific type of meat, ensuring that it reaches a safe level to kill off any potential bacteria.
By following these guidelines, individuals can enjoy their homestead meats with confidence in both the flavor and safety of the dishes they create.
Additional Uses of Vacuum Sealing
While vacuum sealing is widely known for its effectiveness in extending the shelf life of meat, it has a variety of other applications as well. These uses range from preserving different food categories to practical non-food applications, ensuring the technique's versatility in the homesteading context.
Preserving Other Food Categories
Vacuum sealing is not limited to meat; it's effective for a wide array of foodstuffs. Vegetables and fruits can be vacuum sealed to maintain their freshness and nutritional value. Blanch vegetables before sealing to preserve color and texture. Spices, rice, and tea can also benefit from vacuum sealing, as it protects them from moisture and oxidation, which can degrade their quality.
Vegetables: Blanch, then vacuum seal for extended shelf life
Spices: Vacuum seal to maintain potency
Rice & Grains: Keep moisture out, preserving texture and preventing spoilage
Tea: Retain flavor and aroma by minimizing exposure to air
Non-Food Applications
Apart from food preservation, vacuum sealing can be used to protect important non-food items. Users often vacuum seal important documents, matches, and clothing, particularly when preparing for long-term storage or protection against the elements. For example, sealing clothing can minimize the storage space required by compressing the items while also offering a barrier against moisture and pests.
Documents: Protect from water damage and humidity
Outdoor Gear: Keep matches dry and clothing compact for storage or travel
Emergency Kits: Seal items to ensure they remain dry and usable in emergencies
Choosing the Right Vacuum Sealer
When preserving meat, selecting a high-quality vacuum sealer is critical to extend shelf life and maintain freshness effectively.
Types of Vacuum Sealers
Handheld Vacuum Sealers: Compact and portable, they are ideal for occasional use and smaller kitchens. However, they may lack the power required for heavy-duty sealing.
External Vacuum Sealers: These units typically have a bag placement area and a lid that closes over the top. Suitable for moderate home use, they offer a balance between convenience and functionality.
Chamber Vacuum Sealers: Professionals often favor these. The meat is placed inside a chamber, and the air is evacuated from the entire space, resulting in a stronger vacuum. They are larger and more expensive but ideal for heavy usage.
Features to Look For in a Vacuum Sealer
Seal Strength and Quality: A vacuum sealer should produce durable, airtight seals to prevent freezer burn and spoilage.
Consistent Vacuum Pressure: Ensure it can reliably remove sufficient air, which is essential for prolonging the meat's shelf life.
Ease of Operation: Simple controls and clear instructions support frequent and error-free use.
Versatility: Look for sealers that accommodate various bag sizes and types, including bags with specific barriers to oxygen and moisture.
Durability and Reliability: A vacuum sealer should be made from sturdy materials with a dependable motor capable of regular use.
Maintenance and Cleaning: Models that allow for easy cleaning and minimal maintenance are preferable to ensure longevity and hygiene.
Using this guidance, homesteaders can invest in the appropriate vacuum-sealing equipment to protect their meat’s quality over long periods.
Troubleshooting and Maintenance
Proper troubleshooting and regular maintenance are critical for extending the life of a vacuum sealer. This section will address common issues users may encounter and provide guidance on maintaining the device for optimal performance and longevity.
Common Vacuum Sealer Issues and Solutions
Problem: Vacuum sealer won't seal properly.
Solution: Check the sealing gasket and replace if worn. Ensure the sealing strip is clean and free of debris.
Problem: The machine does not vacuum.
Solution: Inspect the vacuum chamber and gaskets for any obstructions or wear. Make sure the bag is properly positioned within the vacuum channel.
Problem: Sealer overheats during use.
Solution: Allow the vacuum sealer to cool down between consecutive uses. Overheating may occur if the sealing process is rushed without adequate cooling periods.
Maintaining Your Vacuum Sealer for Longevity
To maintain a vacuum sealer:
Keep it Clean: After each use, clean the sealing strip and vacuum chamber. Use a damp cloth to wipe down surfaces.
Inspect Sealing Gaskets: Replace the gaskets every few months or if they show signs of wear to ensure a strong seal.
Store Properly: When not in use, keep the vacuum sealer in a dry and clean environment to prevent any mechanical or electrical issues.
Follow Manufacturer's Instructions: Regularly refer to the user manual for specific maintenance routines and adhere to recommended practices.
Frequently Asked Questions
How long does vacuum-sealed meat last in the freezer?
Vacuum-sealed meat can typically last two to three years in the freezer. By eliminating air exposure, the process significantly slows down oxidation and prevents freezer burn, safeguarding the meat's quality.
What factors affect the shelf life of vacuum-sealed meat?
Several factors influence longevity, including:
Storage temperature
Type of meat
Seal quality
Moisture content
It is crucial to maintain a consistent, cold temperature and ensure a complete seal for optimal preservation.
Can vacuum-sealed meat go bad?
Yes, despite the extended shelf life, vacuum-sealed meat can spoil if improperly stored or left beyond the recommended duration. Always inspect meat for signs of spoilage, such as off odors or colors, before consumption.
Is freezing the only option for vacuum-sealed meat?
No, vacuum-sealed meat can be stored in the refrigerator for a shorter term. Most meats are safely preserved for up to two weeks when refrigerated properly.
Does vacuum-sealing affect the taste of meat?
Vacuum-sealing is generally recognized for preserving the taste of meat by preventing dehydration and oxidation. Meat retains its flavor and texture when vacuum-packed and stored correctly.
Should research be considered when vacuum packing meat?
Certainly. Research supports the efficacy of vacuum sealing in extending shelf life and maintaining meat quality. Consumers should stay informed of best practices and advancements in vacuum sealing technology for optimal results.
