
The Ultimate Guide to Using a Cheese Press for Homemade Cheese Making
Mastering the Craft

Making cheese (What wine goes well with cheese?) at home can be a rewarding venture, but achieving that professional consistency and texture often involves using a cheese press. A cheese press is essential in the cheesemaking process because it helps to expel the whey from the curd, consolidating the cheese into its final form. It applies a controlled amount of pressure to the curd, aiding in the development of the desired firmness and rind formation. Especially in harder cheeses, the use of a press ensures that the cheese matures correctly, preventing unwanted air pockets or a crumbly texture.
Homemade cheese enthusiasts may consider the cheese press an indispensable tool on their journey to crafting artisan cheeses. With the right press, it is possible to produce cheese that rivals those found in specialty stores. This process involves pressing the cheese from multiple sides to ensure even density and shape, and sometimes adjusting the pressure during the pressing cycle. For those looking to embark on their own cheesemaking adventures, understanding the functions and techniques associated with a cheese press is a critical step toward success.
While cheese presses can be purchased, with models designed to apply up to 50 pounds of pressure catering to batches as small as 1.5 pounds of cheese, there is also the option to build one at home. Do-it-yourself cheese press plans offer a cost-effective alternative and can be just as effective as commercial products. Whether bought or built, the cheese press becomes a focal point in the transformation of simple ingredients into complex and flavorful homemade cheeses.
Understanding Cheese Presses
A cheese press is essential for the latter stages of cheese making, compressing curds into a solid form. They come in various types, each with their own components and preferred materials.
Types of Cheese Presses
Dutch Press: Utilizes a lever and weight system to apply pressure.
Wall Press: Similar to a Dutch press but mounts directly to a wall.
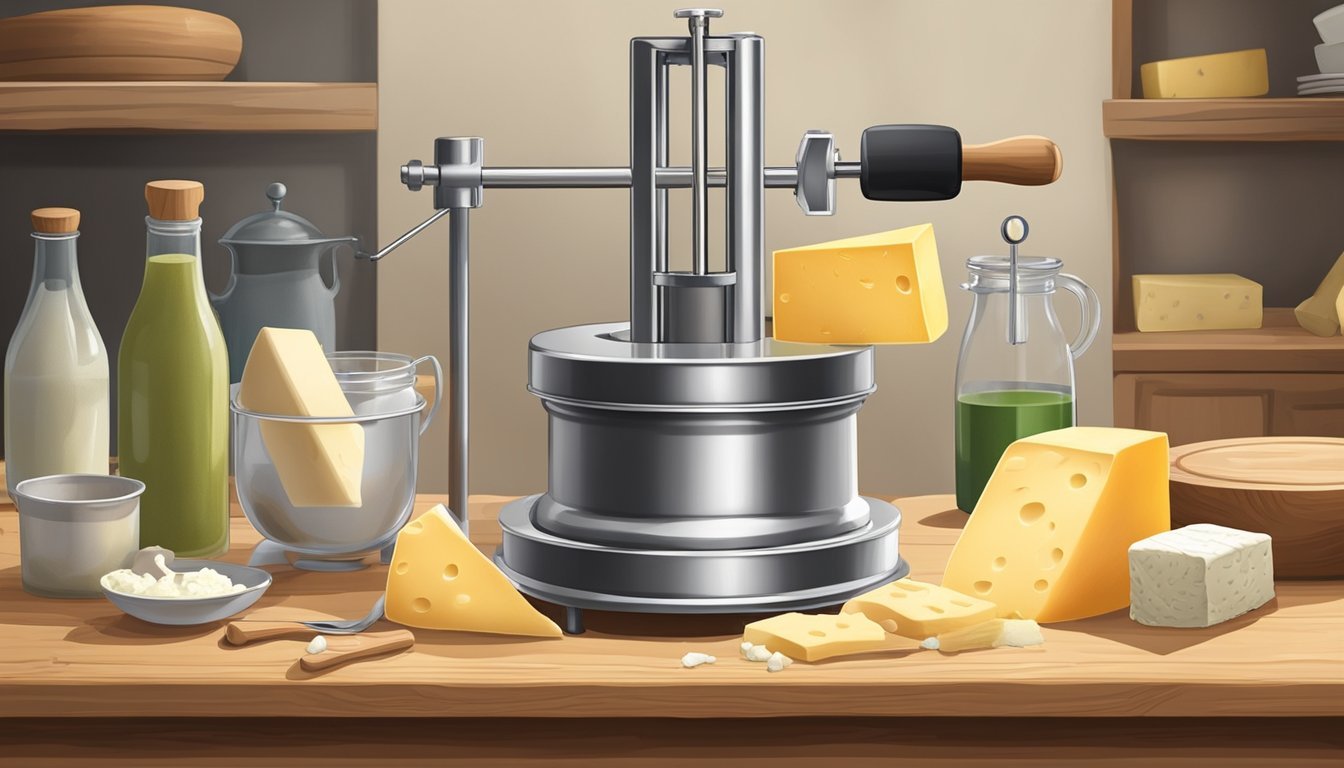
Screw Press: Applies pressure from above using the torque of a handle.
Spring Press: Pressure is applied by pressing down on a bar; resembles the screw press in design.
Components of a Cheese Press
Base: Supports the structure; often made from sturdy materials like wood or stainless steel.
Follower: A flat piece that directly contacts and presses the cheese.
Pressure Mechanism: Varies with the type of press; can be a lever, screw, or spring.
Weights: Used for press types like Dutch or wall press to apply force.
Materials Used in Cheese Presses
Plastic: Easy to clean, often used for components in contact with the cheese.
Wood: Traditional, but requires proper sealing to maintain hygiene.
Stainless Steel: Durable, hygienic, widely used in professional cheese presses.
The Cheesemaking Process
The transformation from milk to cheese involves critical steps that govern the final taste, texture, and quality of the cheese. Understanding the roles of milk treatment, bacterial culture addition, and curd pressing is essential in the cheesemaking art.
Milk Selection and Treatment
Selecting the right type of milk is foundational in cheesemaking. The options typically include cow, goat, or sheep milk, each imparting unique flavors and properties to the cheese. Prior to culturing, milk is often pasteurized to eliminate harmful bacteria and then brought to a specific temperature that suits the cheese being made. This stage is crucial as the milk's fat content and acidity can affect the texture and flavor of the cheese.
Culturing and Curdling Milk
The introduction of cultures starts the fermentation process where lactose is converted to lactic acid. This step not only influences the cheese's flavor but also prepares the milk for curdling. Rennet, a set of enzymes, is then added to further coagulate the milk into solid curds and liquid whey. The specific cultures and the amount of rennet used, along with the temperature and time allowed for the milk to set, vary greatly depending on the type of cheese being produced.
Forming and Pressing Curds
After curdling, the curds are cut to release more whey and then transferred into molds lined with cheesecloth for shaping. Different cheeses require different pressure levels during the pressing process. Pressing expels additional whey and helps the curds knit together, forming the desired cheese texture. The weight applied and duration of pressing again depend on the cheese variety, ranging from a gentle hand-press for soft cheeses to several pounds for hard ones. The correct and even application of pressure is integral to ensure the cheese ages and holds its shape properly.
Assembling a Homemade Cheese Press
Assembling a homemade cheese press involves selecting durable materials, following a detailed construction plan, and maintaining the completed press for safe operation.
Choosing the Right Materials
To begin constructing a homemade cheese press, one must thoughtfully select materials that are strong, food-safe, and able to withstand the rigors of cheesemaking. Options include:
Wood: A popular choice for its natural aesthetic and ease of work. Hardwoods like maple or oak are preferable for their durability.
PVC: Food-grade PVC is an affordable, waterproof, and versatile option.
Steel: Stainless steel components are ideal for their resistance to corrosion and ease of cleaning.
For hardware, one would need:
Springs: To apply even pressure during the pressing process.
Follower: Usually a circular piece that fits snugly inside the mold to distribute pressure.
Mold: A cylinder with small holes to allow whey to escape.
Steps to Build Your Cheese Press
The basic steps to build a cheese press include:
Cutting the Materials: Measure and cut the selected material into the required shapes and sizes, typically a base, a column to guide the follower, and the top beam for applying pressure.
Assembly:
Mount the column securely to the base.
Attach the top beam, ensuring it can move freely to apply pressure.
Installing Hardware:
Affix the springs or weights to the top beam.
Place the mold between the base and the follower, which rests beneath the top beam.
Ensuring Mechanism Smoothness:
Verify that the press mechanism operates smoothly, without any obstruction.
Safety and Maintenance
For the press to remain safe and effective, it requires regular maintenance. This includes:
Cleaning: After each use, the press should be disassembled and all components thoroughly cleaned to prevent bacterial growth.
Inspection: Regularly inspect all parts for signs of wear and tear, especially the springs and any load-bearing components.
Storage: Store the cheese press in a clean, dry environment to prevent rusting or warping of materials.
By adhering to these guidelines, one ensures the longevity and performance of their homemade cheese press, contributing to successful cheese making.
Operating Your Cheese Press
When using a cheese press for making homemade cheese, precision in setting the pressure and duration is crucial for achieving the desired texture, especially for hard cheeses. One must monitor the press regularly to ensure consistent results.
Setting the Pressure
The pressure applied to cheese curds in a press is essential for releasing whey and forming a firm texture. For most hard cheeses, a specific amount of weight is necessary to achieve this density. The pressure required can vary, but it typically ranges from 20 to 50 pounds for hard cheeses.
Initial Pressure: Apply a light initial pressure of about 10 pounds to allow the curds to knit together without forcing out too much whey too quickly.
Scaling Up: Increase the pressure gradually over time. Depending on the cheese recipe, the final pressure can be quite high, often scaling up to several times the initial weight.
Duration of Pressing
Time under pressure is as important as the amount of pressure. Hard cheeses usually need longer pressing times to expel sufficient whey and develop the appropriate texture.
Short-Term Pressing: Press for 15 minutes with initial light pressure, then remove, flip the cheese, and reapply to the press.
Extended Pressing: Continue to press the cheese, incrementally increasing the pressure over time, with periods ranging from a few hours up to 24 hours.
Cheese Type: Soft Cheese, Initial Pressing Time: 15 minutes, Total Pressing Time: 1-2 hours
Cheese Type: Hard Cheese, Initial Pressing Time: 45 minutes, Total Pressing Time: 12-24 hours
Monitoring Your Press
Regular inspection of the cheese during the pressing process is vital to ensure that it is forming correctly and the press is operating as it should.
Check for Evenness: Every few hours, one should inspect the cheese and ensure it is pressing evenly. If the cheese is tilting, one may need to adjust it within the press.
Adjust as Needed: If there are irregularities in shape or density, removing the cheese, trimming if necessary, and reapplying pressure can correct these issues.
Troubleshooting Common Issues

In cheese making, even small variations can lead to issues that affect the final product. Utilizing a cheese press effectively can mitigate many common problems encountered during the cheese-making process.
Challenges with Maintaining Pressure
Maintaining consistent pressure is critical for achieving the desired texture in hard cheeses. If a cheese press doesn't apply even pressure, or if the pressure fluctuates, the cheese can end up with undesired holes or an inconsistent texture. Cheesemakers should check:
Pressure Gauge: Ensure it reads accurately. If not, recalibrate or replace.
Spring Tension: Adjust springs to apply consistent pressure throughout the pressing cycle.
Dealing with Mold Growth
Mold can be an issue for both soft cheeses and hard cheeses. It's essential to create an environment that limits unwanted mold growth while still promoting the growth of beneficial molds. To address mold concerns, follow these steps:
Sanitation: Sterilize all equipment prior to use.
Storage: Store cheese in a clean, controlled environment regarding temperature and humidity.
Surface Mold: If surface mold appears, gently wipe the cheese with a solution of saltwater or white vinegar.
Adjustments for Different Cheese Types
Cheese variety dictates the necessary adjustments when using a cheese press. Soft cheeses often require less pressure, whereas hard cheeses need more to expel excess whey and compact the curds. Consider the following:
Curds Texture: Adjust pressure based on whether curds are overly moist or too dry.
Recipe Specifications: Follow the specified guidelines for the type of cheese being produced to ensure the correct pressure and duration.
Advancing Your Cheesemaking Skills
To elevate one's cheesemaking craft, meticulous attention to pressure application, proper aging environments, and innovative techniques are essential. A refined approach can significantly differentiate the final product's texture and flavor.
Experimenting with Different Pressures
Cheese pressing is a delicate balance where the amount of pressure applied can influence the cheese's consistency and its ability to expel whey. Homemakers should start with light pressure, gradually increasing it as guided by their cheese recipe. It's crucial to test different levels of pressure with a pressure gauge to achieve the desired texture for various types of cheese.
For hard cheeses:
Initial pressure: 10-20 pounds for 15 minutes
Intermediate pressure: 20-50 pounds for 12 hours
Final pressure: 50-75 pounds until the cheese is fully formed
For semi-hard cheeses, applying a more moderate pressure of 10-40 pounds over several hours may suffice. Keep track of tasting notes and texture observations to find the sweet spot for each specific cheese type.
Aging and Storing Cheese
Aging cheese, also known as affinage, is a critical step in the cheesemaking process that develops its unique flavor and character. Cheese should be stored at consistent humidity (85-95%) and temperature (ideally between 50-55°F) in a dedicated cheese cave or specialized storage unit. During this time, developing a rind can protect the cheese and contribute to the flavor profile. Regularly testing cheese throughout the aging process helps to monitor its maturation.
Suggested aging guidelines:
Soft cheeses: 3 weeks to 2 months
Semi-soft cheeses: 2 to 6 months
Hard cheeses: 6 months to 2 years or more
Creative Cheesemaking Tips
Innovative cheesemakers are constantly pushing boundaries by incorporating non-traditional ingredients or using unconventional methods. Here are a few creative tips:
Infusions: Before pressing, consider adding herbs, spices, or edible flowers into the curd for a unique twist.
Whey reuse: Instead of discarding whey, use it to cultivate starter cultures for future batches or as a base for savory cooking recipes.
Cheese blending: Combine different types of curds before pressing to create complex flavors.
The pursuit of mastery in cheesemaking is a continual process. By investigating various pressures, meticulously aging, and experimenting with new ways to impart flavor, one becomes adept at crafting high-quality homemade cheese.
Alternative Cheese Press Ideas

For enthusiasts wanting to craft cheese at home without investing in commercial presses, alternative cheese press ideas offer cost-effective solutions. These ideas utilize readily available materials and simple construction techniques.
DIY Dutch Cheese Press
A DIY Dutch Cheese Press represents a traditional and efficient option. One constructs it using a lever and a weight to apply pressure onto the cheese. The design is straightforward:
Materials: Wood for the frame and lever, a weight (like a water-filled bottle), and a pressing plate.
Assembly: The frame holds a lever, which in turn presses down on the cheese with the weight at the other end to create enough force.
This homemade version mimics the reliability of its commercial counterpart but at a fraction of the cost.
Spring-Loaded Press and Other Designs
For those looking for precision, a spring-loaded press uses spring tension to apply downward force on the cheese. The components include:
Materials: A sturdy base, springs, a pressing plate, and a tension-adjustment mechanism.
Assembly: Springs are attached to the base, with a tension mechanism to adjust the pressure exerted by the pressing plate on the cheese.
Other designs, such as an off-the-wall cheese press that uses wall-mounted levers, can also be considered. They are space-saving and utilize the stability of a wall to exert pressure efficiently.
Using Household Items for Cheese Pressing
Using household items for cheese pressing can be innovative and practical. Here are some examples of how everyday objects can be transformed:
Heavy Cans or Books: These can be used as weights on top of a pressing plate.
Cutting Boards: Sturdy and food-safe, they serve well as pressing plates.
Exercise Weights: Ideal for applying the significant weight needed for pressing harder cheeses.
By using items found around the house, one can avoid the costs associated with traditional cheese presses while still achieving excellent homemade cheese.
Cheese Pressing Recipes
In this section, cheese enthusiasts will learn the nuances of cheese making ranging from a basic homemade recipe to complex varieties, including non-dairy alternatives for those with dietary restrictions.
Basic Homemade Cheese Recipe
For beginners, one should start with a simple cheese like ricotta. It requires minimal ingredients: whole milk, an acid such as lemon juice or vinegar, and a touch of salt. The process involves heating the milk, adding the acid to separate the curds and whey, and then pressing the curds to expel excess liquid.
Ingredients:
Whole milk
Lemon juice or vinegar
Salt
Steps:
Heat the milk to just below boiling.
Add the acid to form curds.
Drain with cheesecloth and press to desired firmness.
Advanced Cheese Varieties
Advanced cheese makers can explore making cheddar, which involves a more intricate process including curd cutting, cheddaring, and pressing to achieve the firm, familiar texture.
Mozzarella is another popular choice, known for its kneading and stretching after curding and before pressing. This transforms the curds into the classic stretchy texture mozzarella is famous for.
Cheddar:
Milk (whole or partially skimmed)
Culture
Rennet
Salt
Mozzarella:
Milk (whole or partially skimmed)
Citric acid
Rennet
Salt
Parmesan is a hard, aged cheese that requires extensive pressing and a longer aging period to develop its granular texture and sharp flavor.
Ingredients:
Milk (partially skimmed)
Culture
Rennet
Salt
Non-Dairy Cheese Alternatives
For those seeking non-dairy options, cheeses can be made using ingredients like soaked cashews or almonds. These alternatives often incorporate nutritional yeast or agar-agar to emulate the texture and flavor of dairy-based cheeses.
Ancient grains and soy products can also be used to create cheese-like spreads and blocks. For instance, a non-dairy ricotta can be made from tofu, which, when pressed, provides a texture remarkably similar to traditional ricotta.
Firm tofu
Nutritional yeast
Lemon juice
Salt
In all recipes, precise temperature control, accurate measurements, and patience during the pressing and aging stages are essential for achieving the desired outcomes.
Conclusion
A cheese press is an indispensable tool for those venturing into the art of homemade cheese making. It ensures that cheese curds properly form into a solid and delicious final product. One can choose from various types of presses—Dutch, wall, screw, or spring—each with its own method of applying force onto the forming cheese.
Selection and Maintenance: Selecting the right press hinges on user preference, space considerations, and precision required. Maintaining a cheese press is straightforward; it should be kept clean and dry to prevent contamination.
Using a Cheese Press Effectively: Users should uniformly distribute weight and monitor pressing time for consistent results. Flipping the cheese intermittently and trimming if necessary are steps towards a more even shape and texture.
Cost-Effectiveness: Building a press can be a cost-saving venture. Many do-it-yourself plans exist for those who are handy and looking to customize their cheese-making process.
Dedication to Craft: Cheese making is a rewarding endeavor. With a bit of practice and patience, anyone can become proficient, creating varieties that could rival commercial cheeses.
Final Thoughts: Whether one opts for a purchased or homemade press, understanding its mechanics and operation is crucial. Cheese enthusiasts can feel confident in their ability to produce high-quality cheese at home with the right equipment and knowledge.
