
The Ultimate Guide to Using a Post Hole Digger
Master Fencing and Post Installation on Your Homestead
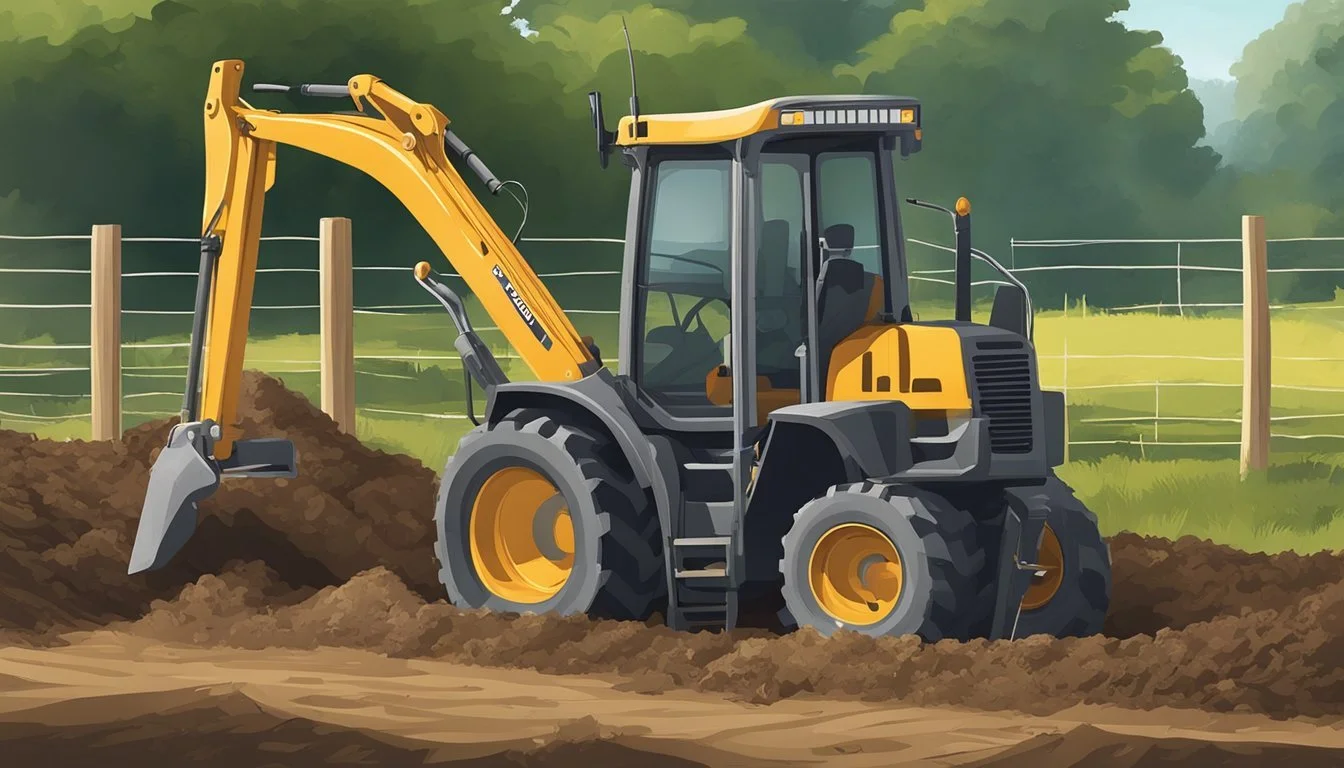
Installing a fence or posts on a homestead involves careful preparation and the use of the correct tools. One of the most crucial tools for this task is the post hole digger, which is designed for creating uniform and deep holes in the ground to set the foundation of your fencing or posts. Mastery of this tool is vital for the stability and longevity of any fencing project, ensuring that posts are set securely in the ground and able to withstand the elements.
Using a post hole digger requires proper technique. Beginning with marking out post locations to ensure proper alignment of the fence, homesteaders must measure out the distance between where each post will be placed. Accuracy at this stage makes certain that the resulting fence is both straight and aesthetically pleasing. Once the locations are marked, the use of the post hole digger involves positioning oneself over the marked spots and utilizing the tool's twin blades to create the holes at the desired width and depth. This manual process often demands physical strength and patience, but results in a stable and firmly planted post.
Suitable for various types of terrain found on a homestead, post hole diggers come in different designs to cater to different soil conditions and user preferences. The operation of the tool does not require extensive training, making it an accessible yet powerful asset for do-it-yourself fencing projects. Its use contributes significantly to the overall success of fence construction, providing a clear path to durable and reliable installation of fence posts.
Project Planning and Preparation
Proper planning and preparation are critical in ensuring the efficient use of a post hole digger for fencing and post installation. This phase lays the groundwork for a smooth operation, helping avoid potential setbacks.
Understanding the Scope of Your Project
To begin, one must evaluate the scale and requirements of the project. This involves determining the length of the fence, the number of posts needed, and the overall purpose of the fence. A clear understanding of these parameters will dictate the amount of materials and labor required.
Selecting the Right Tools for the Job
The choice of tools is essential for effective post hole digging. Key tools include:
Post hole digger: A tool specifically designed to create deep and narrow holes.
Measuring tape: For precise measurement between fence posts.
Level: To ensure posts are vertically straight.
Stakes and string: To outline the fence line accurately.
One should choose a manual or powered post hole digger depending on the project size and soil conditions.
Assessing Soil Type and Condition
Soil can vary greatly in composition and ease of digging. Clays, silts, and loams each require different approaches. Hard, rocky soil may necessitate the use of a power auger, whereas sandy or loamy soils are often manageable with manual diggers. Prior assessment of soil will help to anticipate the level of effort needed for digging.
Plotting the Fence Line with Precision
For a straight and well-aligned fence, plotting is a must. Use stakes to mark the corners of the property line, and string to connect them, ensuring the string is taut and serves as a guide for the entire line. Measure the distance between stakes using a measuring tape, and mark the spot for each post, typically eight feet apart.
Locating and Marking Underground Utilities
Locating underground utilities before digging is crucial for safety and compliance with local regulations. One should contact utility companies to mark the locations of underground lines, or use a utility locator service. It is advisable to mark these areas clearly to avoid any damage during the digging process.
Safety First

When using a post hole digger, prioritizing safety is crucial. Operators should wear the right safety gear and understand the risks involved.
Wearing Appropriate Safety Gear
For personal protection, safety gear is non-negotiable. At a minimum, operators should wear:
Gloves: Sturdy gloves to protect the hands from blisters and provide a better grip.
Eye Protection: Safety glasses to shield the eyes from flying debris.
Boots: Closed-toe, heavy-duty boots to protect feet and offer stability.
Understanding and Mitigating Risks
Understanding the risks associated with post hole diggers enables operators to take safety precautions to avoid accidents. Key measures include:
Inspection: Check the tool for loose or damaged parts before use.
Clearing Area: Ensure the digging location is free from underground utilities and clear of rocks and roots.
Proper Use: Know how to operate the tool correctly—stand with feet shoulder-width apart and avoid twisting the back when digging.
By adhering to these safety measures, operators can significantly reduce the likelihood of injury.
The Post Hole Digging Process
Digging post holes is a precise task that requires understanding the proper depth and width, choosing the appropriate digging tool, and executing the technique with attention to underground obstacles.
Establishing Depth and Width Requirements
Before digging, determine the necessary depth and width for your fence post holes. This will depend on the fence type, post size, and local building codes. A general rule is to dig holes one-third to one-half the above-ground height of the post. For most fences, depths of 24 to 48 inches are common. Use a tape measure to mark the desired depth on your digging tool to maintain consistency.
Choosing Between Manual and Power Digging Methods
The choice between manual and power post hole diggers hinges on the scale of your project and soil composition. Manual post hole diggers are good for small projects and cost-effective, while gas-powered diggers speed up the process, especially beneficial for larger or rockier terrains. Analyzing soil type and project size will guide the right selection.
Manual post hole diggers: Labor-intensive but precise
Gas-powered post hole diggers: More efficient for extensive or difficult terrain
Executing Proper Digging Technique
Using proper technique with a manual digger involves standing with feet shoulder-width apart, plunging the blades into the ground, then bringing the handles together to lift soil out. Repeat this process until the hole reaches the pre-measured depth. For gas-powered diggers, keep a firm grip and guide the auger steadily, letting the machine do the work without forcing it.
Handling Rocks and Roots During Digging
Encountering rocks and roots is common when digging post holes. For small obstructions, use a digging bar or clamshell digger to loosen and remove. Larger rocks may require additional tools such as a rock bar or even a jackhammer. Cutting through roots might necessitate loppers or a saw, but always check for utility lines before cutting deeper roots to prevent service disruptions or injuries.
Utilizing Post Hole Diggers Effectively
When installing fencing or posts, the right techniques with a post hole digger can make the difference between efficient, smooth operations and a laborious undertaking. Understanding how to navigate various soil conditions, react to unexpected underground challenges, and know when to use different types of diggers, like augers, is crucial for effective results.
Working with Different Soil Conditions
Using post hole diggers requires adaptability to the soil's unique characteristics. Loamy or sandy soils are ideal for most post hole diggers and will often allow for quick work. When dealing with clay-heavy soil, moisture can be a friend or foe. Lightly watering the area can make the soil more pliable, but too much water can turn the job into a sticky mess. In contrast, very dry, hard soils might necessitate pre-watering to soften the earth before digging commences.
Loamy/Sandy Soil: Generally easy to dig. Quick operation.
Clay-Heavy Soil: Moderate difficulty. Moisten lightly for best results.
Managing Difficulties in Rocky Soil
Rocky soil presents a unique set of challenges. Traditional post hole diggers struggle with obstructions, often requiring users to remove rocks manually. In the presence of gravelly soil or smaller rocks, repeatedly insert and turn the digger to loosen materials before attempting to lift them out. For larger obstructions, a digging bar or an electric jackhammer will assist in breaking them up or levering them out of the hole. When a root or underground utility line is encountered, do not force the digger. Instead, use smaller hand tools to carefully work around the obstruction.
Small Rocks/Gravel: Twist and lift with the digger.
Large Rocks/Roots: Employ a digging bar or jackhammer, and proceed cautiously.
Leveraging the Advantages of Augers
Augers, whether manual or powered, are designed to efficiently displace soil and are particularly effective in various conditions. A manual auger can be driven into the soil with a twisting motion, ideal for producing consistent, neat holes in moderate soils. For larger projects, especially in challenging terrains, a hydraulic or electric auger offers the advantages of power and precision. These motorized augers can save time and reduce physical strain when dealing with extensive installations or especially tough ground.
Manual Augers: Good for smaller, less demanding projects.
Hydraulic/Electric Augers: Best for large-scale projects, tougher terrains.
Post Installation Techniques
In the realm of homestead development, post installation is a pivotal step in fence construction. Precision and stability are foundational components to ensuring longevity and effectiveness of a fence.
Aligning Posts to Ensure a Straight Fence
To achieve a straight fence, proper alignment of posts is critical. This begins with accurately laying out post locations using stakes and string. Posts should be measured and placed at consistent intervals—commonly eight feet apart. It is essential that they follow a linear path determined by the stakes and string to maintain a uniform appearance and structural integrity.
Securing Fence Posts with Concrete
For robust and enduring fence post installation, one should anchor posts with concrete. Here’s a step-by-step guide:
Add Gravel: Pour around 6 inches of gravel into the hole for enhanced drainage.
Insert the Post: Place the fence post into the center of the hole.
Pour Concrete: Mix the concrete according to the manufacturer's instructions and pour it around the post.
Note: Be sure not to pour concrete all the way to the top to allow for proper water runoff. Leaving a few inches from the ground level is recommended.
Verifying Level and Adjustments
After setting the posts in concrete, it’s imperative to verify that each post is level—both vertically and horizontally. Adjustments should be made promptly before the concrete sets.
To check for vertical alignment, use a spirit level on two adjacent sides.
For horizontal alignment, tie a string at the desired height from one end post to another, ensuring each post meets the string line evenly.
Proper leveling and adjustment provide the necessary support for the fence structure, averting potential leaning issues or misalignments that can compromise the fence's functionality and aesthetic.
Finishing Touches and Cleanup
Once the post holes are dug and the posts are set, attaching the fencing materials and ensuring proper site cleanup are pivotal steps to complete the installation process.
Attaching Fencing Materials
To attach fencing materials, one begins by measuring and cutting the fencing to the appropriate lengths. Each section of fencing should be aligned with the posts, and it's crucial to confirm that they are level before fastening. Hardware used for attaching the materials, such as nails, screws, or wire, should be weather-resistant to increase the longevity of the fence.
Proper Site Cleanup and Disposal
Cleaning up the site involves systematic steps to ensure no debris or tools are left behind. Firstly, all leftover materials should be removed. Materials that can be reused, like excess wood or fencing, ought to be stored properly, while waste should be segregated and disposed of responsibly. Here's a brief checklist for cleanup:
Collect Scrap Material: Utilize a wheelbarrow to transport leftover pieces and debris.
Soil and Rock Disposal: Deposit excess soil or rocks onto a tarp for easy disposal or reuse in another area of the homestead.
Water Use: If water has been used during construction, ensure no standing water is left on-site to prevent potential hazards.
Tool Inventory: Conduct an inventory of all tools used to guarantee nothing is left behind.
Proper disposal of waste materials is not only essential for the aesthetics of the homestead but also for environmental and safety reasons.
Advice for DIY Enthusiasts
For those taking on the challenge of installing fences or constructing decks, being well-prepared is critical. Knowledge of tools and techniques can streamline the process and prevent common pitfalls.
Key Considerations for DIY Fencing Projects
Before a DIY enthusiast breaks ground on their fencing project, several key considerations must be evaluated to ensure both efficiency and safety. Proper planning involves understanding the full scope of the project, from selecting materials to adhering to local building codes.
Material Selection: A sturdy fence requires quality materials. One should select wood that is resistant to rot and pests, or opt for materials like vinyl or aluminum for longevity.
Legal Compliance: Local regulations might dictate the fence's height, style, or placement. One should check with local authorities before digging to avoid any legal complications.
Property Lines: Accurate determination of property boundaries is essential to prevent disputes. They may employ a professional surveyor if property lines are unclear.
Post Spacing and Depth: For sufficient stability, fence posts should typically be spaced 6-8 feet apart and buried at least one-third of their height into the ground.
Tools and Techniques for Home-Based Projects
The right tools make all the difference in home-based fencing and deck projects. One doesn't need an arsenal, but a few key pieces can significantly aid in the process.
Tools Required:
Shovel: For initial ground-breaking and clearing away debris.
Post Hole Digger: Essential for digging uniform holes for fence posts.
Digging Bar: When encountering hard soil or roots, a digging bar can loosen the material, making it easier to remove.
Below is a simple methodology using the essential tools for an efficient fence installation:
Measuring Tape: Measure and mark the exact location for each post.
Post Hole Digger or Auger: Dig holes approximately one-third the length of the post depth, typically 24-30 inches deep for standard heights.
Gravel: Place 6 inches of gravel at the bottom of the hole for drainage and set the post on top.
Level and Braces: Ensure that each post is vertically straight using a level and temporarily brace it to hold steady.
Concrete: Pour pre-mixed concrete around the base, filling to just below ground level, and let it cure as per the manufacturer's instructions.
Reciprocating Saw or Hand Saw: If adjustments are needed or you encounter obstacles like old nails or screws, a reciprocating saw can cleanly cut through.
By meticulously following these guidelines and using the appropriate tools, a DIY enthusiast can accomplish a well-constructed fence or deck on their homestead. It is crucial that they work methodically and prioritize safety throughout the building process.
Ongoing Maintenance and Troubleshooting
Proper maintenance of post hole diggers and installed fencing and posts is critical for longevity and safety. A well-maintained tool and structure save time and prevent common issues from escalating into more troubling problems.
Maintaining Your Fencing and Posts
Regular inspection is key for maintaining fencing and posts. They should routinely assess:
Stability: Ensure posts are standing straight and firm in the ground; no wobbling.
Integrity: Check for wood rot, rust, or other signs of deterioration.
Security: Confirm that all bolts and fasteners are tightened and secure.
Preventative measures include:
Weatherproofing: Apply sealants or paints to wood and metal components to protect against weathering.
Cleaning: Remove dirt and debris from post bases to discourage pest infestation and decay.
Troubleshooting Common Post Hole Digger Issues
When facing operational challenges with post hole diggers, they can diagnose and address common issues such as:
Dull Blades:
Manually sharpen the blades or replace them if beyond repair.
Stuck Auger:
Lubrication – Apply a penetrating oil to ease removal.
Manual intervention – Work the auger back and forth gently to dislodge it.
Gearbox Problems:
Oil: Regularly check and change the oil according to the manufacturer’s instructions.
Seals: Inspect for leaks and replace worn seals to prevent gear damage.
Damaged Parts:
Routine Checks: Before use, inspect for bent or broken parts, and replace them immediately.
By adhering to a regular maintenance schedule and promptly addressing common issues, the longevity and effectiveness of their fencing and post hole digger can be significantly extended.
Additional Resources
For those seeking to deepen their understanding or requiring professional aid in fence installation and post-hole digging, the following resources provide assistance tailored to specific needs.
Frequently Asked Questions
What is the ideal depth for a fence post hole?
She should typically dig fence post holes to a depth of about one-third the height of the post above ground level to ensure stability.Can she dig post holes in rocky soil?
Yes, but it may require special tools like a rock bar or a power auger equipped with a rock head.
Professional Services and Support
Finding a Qualified Contractor:
They can obtain quotes from local fencing contractors who provide professional post-hole digging services. Remember to check credentials and read reviews before hiring.Rental Services:
If one prefers to do it themselves, specialized equipment, such as a power auger, can be rented from local hardware stores or rental services.
These resources aim to support individuals through every step of their post-installation journey, ensuring successful fence building on their homestead.
