
How To Build A Pole Barn Step By Step
A Comprehensive Guide
Discover > Homesteading > How To Build A Pole Barn Step By Step
Building your own pole barn is a cost-effective and efficient way to create additional storage space or workspace on your property. This type of construction offers great flexibility in design and can be adapted for various purposes such as garages, workshops, agricultural storage, and more. The process of constructing a pole barn involves a series of steps that, when followed correctly, can lead to a durable and functional structure.
When embarking on this project, it is crucial to plan and prepare adequately to ensure the success of the entire building. Selection of the appropriate location, obtaining necessary permits, and choosing quality materials are just a few of the of the considerations to be made prior to building. Additionally, understanding the construction techniques such as setting poles, framing walls, and installing roofing materials will be instrumental when you build a pole barn.
Understanding Pole Barns
Pole barns are a popular type of versatile agricultural building, often used for sheltering animals, storing equipment, or even as a workshop space. The building process makes them easy to construct, so they are an ideal option for farmers and landowners with fewer building skills.
At its core, pole barn construction involves using poles planted firmly in the ground, which serve as the main support structure for the barn's roof and walls. This design has some key advantages, including a more cost-effective and simple building process than traditional wooden or steel-framed barns. Owing to their flexible design and capacity for customization, pole barns can be tailored to many requirements, making them suitable for various agricultural applications.
A typical pole barn consists of a few essential components: the poles, which are usually made from pressure-treated wood or metal; the roof, often constructed from steel or shingle roofing materials; and the walls, often made of corrugated steel, wood, or even fabric, depending on the intended use and local climate. Floor options can vary, including dirt, the cheapest, or gravel, and concrete.
In terms of capacity, pole barns offer huge flexibility, based on size, layout, and intended use. Whether the purpose is to shelter animals, store equipment, or create workspace, construction plans can be adapted to meet specific needs. This can include dividing the interior to separate animals , providing sufficient ventilation and insulation, and accommodating utilities, among others.
Given their clear benefits and flexible nature, pole barn building has become an essential asset in the agricultural world, providing functional and affordable shelter solutions. By following a step by step guide on how to build a pole barn and using pole barn construction tips, anyone can incorporate their own pole barn into their agricultural setup.
Planning Your Pole Barn
When it comes to building a pole barn, planning is crucial. It ensures that the pole barn construction goes smoothly and creates a well-constructed, functional building. This section will discuss the key aspects of planning how to build a pole barn, focusing on choosing dimensions.
Choosing Dimensions
Selecting the right dimensions for your barn is essential and they should be based on its intended use, available space, and your budget. Consider the following when determining the dimensions:
Purpose: What is the primary function of your pole barn? Will it be for storage, as a workshop, or for sheltering livestock? Specific requirements will dictate the appropriate dimensions.
Available space: Assess the site where the barn will be constructed. Measure the building site carefully and ensure that you plan for driveways and walkways.
Budget: The cost of constructing a pole barn depends on its size. With a costed budget, you can make informed decisions about the barn dimensions without overspending.
While there are many free how to build a pole barn plans available online, selecting dimensions is typically the starting point of creating your own plan. Once you have a clear idea of the dimensions and overall design, you can either purchase a pre-made plan or draft one yourself. Remember, a well-defined plan is the foundation of a successful pole barn construction project.
Preparation and Materials
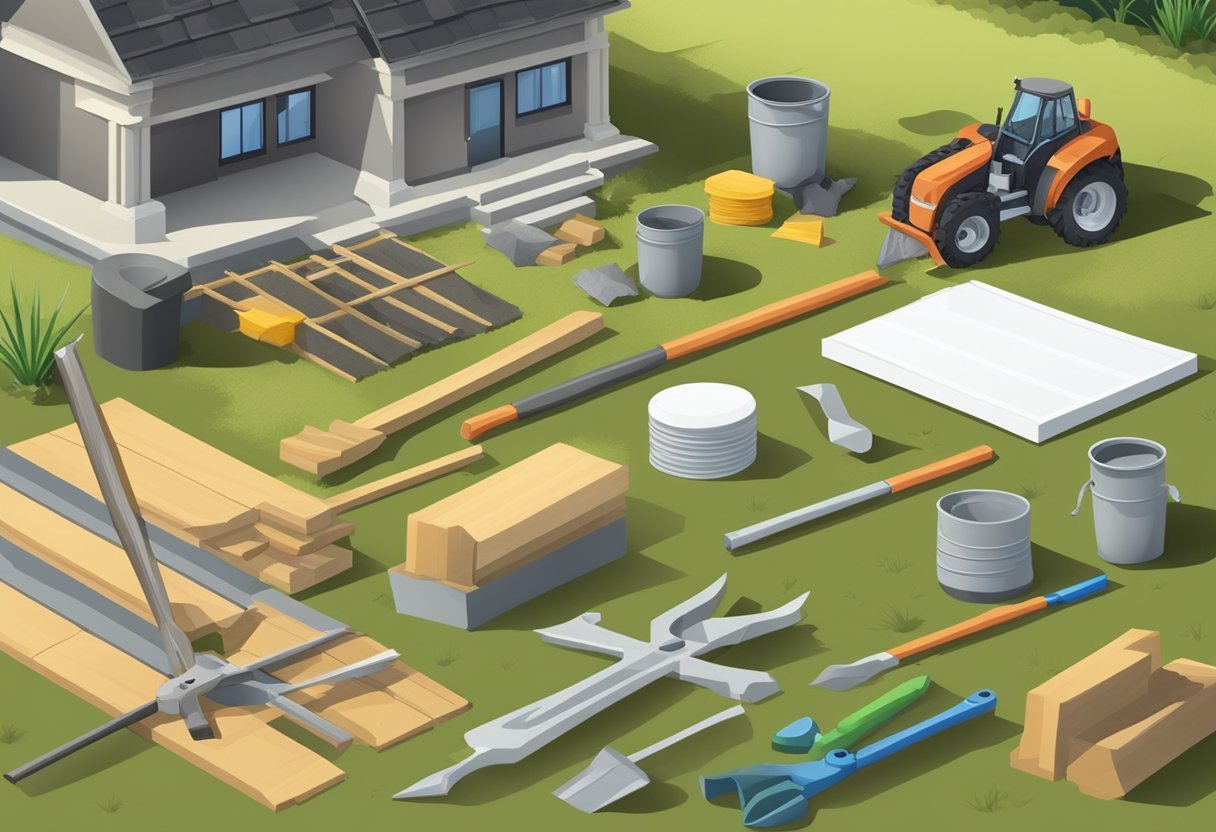
Before you begin your pole barn building, it's important to source the tools and materials to complete the job. This section will cover the tools and materials you'll need to construct your barn.
Essential Tools
To build a barn, you'll need tools for accurate measurements, leveling, and assembly. These include:
Tape measure: For accurately measuring the barn dimensions.
Level: To ensure that your poles and framing are straight and level.
Post hole digger: Used for digging post holes to install the poles.
Power drill and bits: For drilling holes and fastening screws.
Saw: For cutting lumber to the proper length.
Hammer: To secure framing elements and roofing materials.
Selecting Materials
When it comes to materials used in the construction of a pole barn, consider the following options for a sound and durable building:
Poles: Pressure-treated wood is recommended as it resists rot and insects. The poles should be between 4x4 and 6x6, depending on the weight of your roofing material.
Roofing Material: Metal roofing is a popular choice for barns due to its durability and ease of installation. However, shingles or composite materials, can also be used.
Concrete, Sand, and Cement: To set poles in the ground, providing stability, and leveling your barn.
Treated Wood and Framing: The framing and siding of your barn will be wood, and it's crucial to use treated lumber to prevent rot and insect damage.
Pole Barn Kit: Buying a pole barn kit is a simpler but more expensive approach. A DIY pole barn kit will include all necessary materials and instructions to build your pole barn.
Once you have gathered the required tools and selected the right materials, you are ready to begin constructing your pole barn. Remember to follow the guidelines in the pole barn kit exactly or consult a professional if you are unsure about any step in the process.
Building The Foundation
Setting The Posts
To build a strong foundation for your pole barn, it's essential to set the posts properly. Start by measuring and marking the exact position of each post according to your pole barn's design. Use a shovel or posthole digger to create holes at least 3-4 feet deep, ensuring they are wide enough to easily accommodate the round poles or utility poles. Make sure the holes are below the frost line to prevent heaving during cold weather.
Once the holes are dug, use a laser level to ensure each post is plumb and at the same elevation. Place a few inches of gravel at the bottom of each hole to improve drainage and provide solid support. Tamp the gravel down to level the surface, then insert the posts, making sure they maintain a consistent height.
Making Concrete Footings
A good concrete footing is a crucial component of your pole barn foundation options, providing stability and preventing the posts from settling or shifting over time. To create the footings, begin by preparing your materials. You'll need:
Cement
Aggregate (such as gravel or crushed stone)
Water
Reinforcement (such as rebar or wire mesh)
Next, mix the concrete according to the manufacturer's instructions, ensuring it has a thick and workable consistency. Pour the concrete into the postholes, filling them up to approximately 2 inches below the ground. Insert the reinforcement materials, making sure they are evenly distributed throughout the footing for maximum strength.
Allow the concrete to cure for at least 24 hours before proceeding with the rest of the construction. Once the concrete has hardened, backfill the holes with soil, tamping it down around the posts to secure them in place. At this stage, double-check the alignment and plumb of the posts, making any necessary adjustments before the backfill soil settles completely.
By following these steps each concrete footing will ensure a level, secure foundation, which means you're well on your way to constructing a durable and long-lasting pole barn.
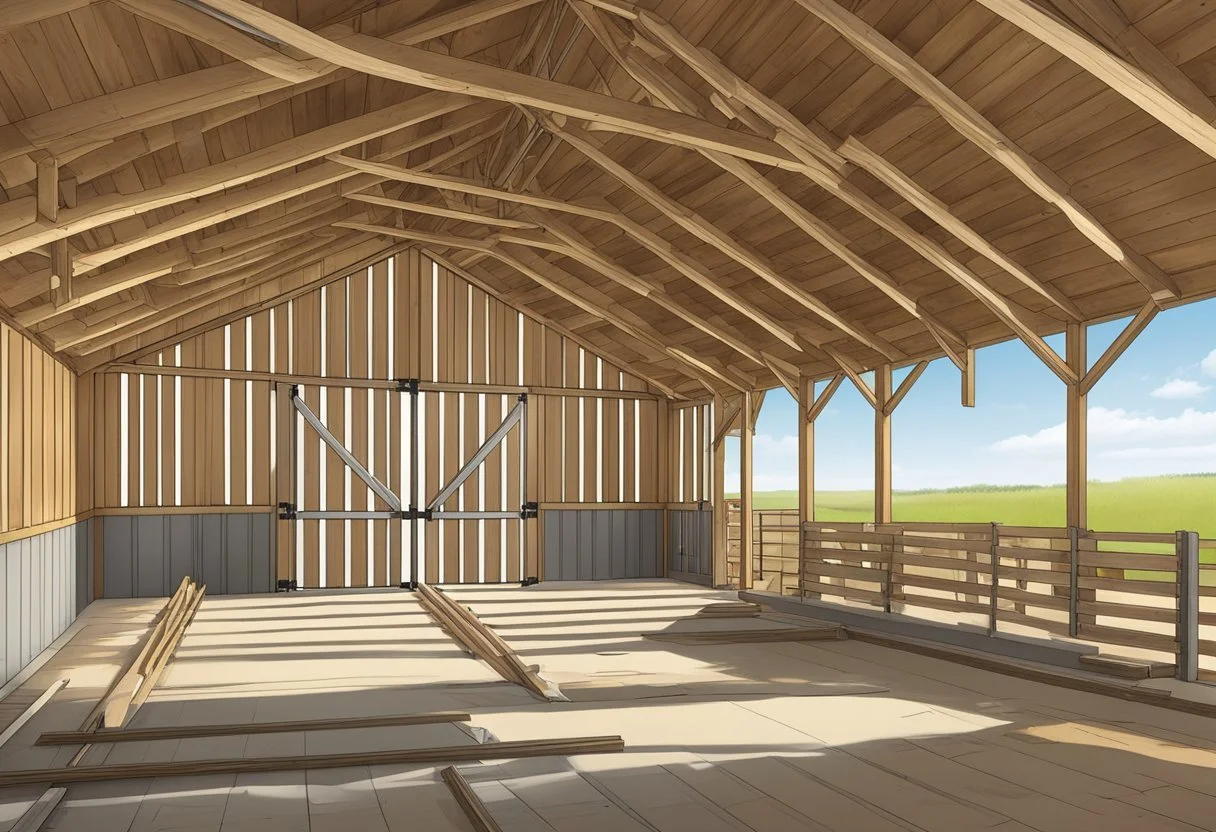
The Pole Barn Framework
When building a pole barn, the framework is critical in ensuring stability and durability. This section will focus on the essential components to achieve a robust pole barn framework: installing wall girts and setting beams, truss carriers and trusses.
Installing Wall Girts
Wall girts are horizontal members that provide lateral support for the wall paneling. To install the girts, measure and mark the correct spacing for each post. Typically, girts are spaced 24 to 48 inches apart. Align the girts with the post's marks and then fasten them securely using screws or nails. Ensure the girts are level to maintain the structure's integrity and avoid any future problems.
When installing girts, consider the following factors:
Material: Girts can be made from wood or steel. Choose the material depending on your desired durability and budget.
Size: The size of a girt impacts its strength. Consult engineering guidelines or take advice to determine the appropriate dimensions for your project.
Connection: Use appropriate fasteners, such as screws, nails, or bolts, to secure the girts to the posts. Check local building codes for specific fastener requirements.
Setting Beams and Trusses
Beams and trusses are essential for supporting the roof and maintaining stability in post frame buildings. Setting beams and trusses involves careful preparation and placement. To install beams:
Measure and cut wood trusses according to the pole barn's width and the desired spacing between trusses.
Lift the beams into place on top of the posts, using help or machinery.
Secure the beams using appropriate fasteners, such as bolts, screws, or nails. Be sure to follow local building codes for specific connection requirements.
In contrast, trusses are pre-constructed triangular structures, providing increased support for the roof. To set trusses:
Prepare a temporary brace across the posts to support the trusses during installation.
Lift the trusses onto the beams using appropriate lifting equipment, such as a crane or a boom.
Secure the trusses to the beams, using appropriate fasteners and following any additional local building requirements.
Both beams and trusses contribute an fundamental support system for the post-frame building, fortifying the overall structure. Paying careful attention to proper installation techniques and local building code requirements will ensure a long-lasting, stable pole barn framework.
Adding Roofing and Siding
When constructing a pole barn, adding the roof and siding is essential to ensure the structure's durability and weather resistance. The materials used for the roof and siding can greatly influence the overall performance of the pole barn.
Metal roof framing is a popular choice as it has excellent durability, weather resistance, and low-maintenance characteristics. It comes in various colors and styles, allowing for customization. To install a metal roof, start by attaching roof brackets to the roof trusses, aligning the sheets of metal roof to cover the entire span, and secure with appropriate fasteners.
In addition to metal roofing, other roof materials like asphalt shingles, wood shakes, or clay tiles can be used, depending on the desired appearance and budget. However, it is crucial to measure the weight of the chosen material to ensure the roof trusses can support it.
Sidings can be made from wood, vinyl, or metal. Wood sidings can be attractive for a traditional look but may require more maintenance, like painting or staining. Vinyl siding is a low-maintenance alternative that is available in various colors and styles, but it may be less durable than other structures. Metal siding, like metal roofing, is known for its durability and weather resistance, making it a suitable choice for pole barns.
To install sidings, begin by attaching a vapor barrier to the exterior walls to reduce moisture infiltration. Next, install the siding material of choice according to the manufacturer's instructions, ensuring proper overlap and ventilation gaps. To prevent water damage, fasten durable flashing in vulnerable areas, such as corners and around windows and doors.
In conclusion, carefully selecting and properly installing the roofing and siding materials will contribute to a long-lasting, functional, and attractive building.
Installing Doors and Windows
When building a pole barn, installing doors and windows is an essential step to ensure proper access and ventilation. This process involves precise measurements, accurate cuts, and strong framing.
To install doors, first determine their location and size. Make sure there is adequate space for doors to open and close without obstruction. Measure the door opening, including the height and width. Cut the lumber for the door frame accordingly and assemble it with strong brackets and screws. Attach the door frame to the pole barn structure with proper support and reinforcement.
For windows, choose the desired location based on factors like sunlight exposure, views, and ventilation needs. Measure the window dimensions and position them by considering both the inside and outside appearance of the pole barn. Cut the window openings in the wall material and frame them with lumber, providing a firm anchor for the window. It is crucial to ensure a level and plumb frame to prevent drafts and water leaks.
When framing doors and windows, use appropriately sized header boards as they provide stability and support to the opening. Additionally, it is critical to install flashing around window frames to prevent moisture infiltration. Proper flashing ensures that water, snow or ice cannot penetrate the opening and cause problems later.
Once the door and window frames are in place, it's time to install the door and window units. Position them correctly within the frames and secure them with screws, shims, and other necessary hardware, ensuring they open and close smoothly. Lastly, seal the windows and doors with a weatherproof sealant to protect against harsh weather conditions.
Remember to follow any specific manufacturer's instructions for door and window installation. Properly fitted doors and windows not only add aesthetic appeal to the pole barn but also maintain structural integrity and energy efficiency.
Finishing Touches
In this stage of building your pole barn, it's essential to add some finishing touches that improve the structure's efficiency, comfort, and functionality. One key aspect to consider is insulation.
Insulating Your Pole Barn
Insulation plays a crucial role in maintaining a comfortable temperature inside your pole barn, particularly if you plan to use it as a workshop or for storage. Proper insulation reduces heat loss in the winter and prevents heat gain during the summer.
When insulating your pole barn, there are multiple factors to consider:
Material: Common insulation materials include fiberglass, spray foam, and rigid foam board. Each has its advantages in terms of thermal resistance, moisture resistance, and ease of installation.
Installation: Attaching the insulation material to the pole barn walls should be a seamless process. Be sure to follow the manufacturer's instructions, wear proper personal protective equipment, and use appropriate tools.
Ventilation: Ensure that your pole barn has adequate ventilation to prevent buildup of moisture, which could lead to mold and reduce the effectiveness of the insulation.
Sealing: Gaps and cracks around windows, doors, and other openings should be sealed with caulk or foam sealing materials. This ensures that there are no areas where air can escape or enter, making the insulation more effective.
By giving attention to these aspects, your insulated pole barn will be a comfortable space to work or store items in while providing energy savings and long-term durability.
Pole Barn Tips and Best Practices
When it comes to building a pole barn, there are several tips and best practices that can help make the process more cost-effective and efficient. Adhering to these guidelines will assist in constructing a functional and long-lasting structure.
Cost-Effective Building Strategies
To ensure your pole building project is cost-effective, consider the following strategies:
Plan ahead: Before starting the construction, invest time in planning the design, materials, and dimensions of the pole building. Accurate planning helps to avoid unexpected costs and reduces the potential for errors.
Choose affordable materials: Opt for materials that are both durable and cost-effective, such as metal roofing and siding. These can save money in the long run due to their low maintenance requirements.
Research and source locally: Search for local suppliers to provide materials, as this can reduce transportation costs. Local suppliers may also offer discounts for bulk purchases.
Optimize the design: Maximize the use of space and natural light within the pole barn by incorporating features like tall doorways or large windows. This can reduce the need for additional lighting and increase energy efficiency.
Consider DIY options: If you have construction experience or possess the necessary skills, building the pole barn yourself can save on labor costs. However, it's essential to be realistic about your skills and the project's scope.
Hire a reputable contractor: If you decide to hire a contractor, research local options and check references to ensure quality work. A reliable contractor will be able to complete the project on time and within budget.
By following these tips and best practices, your pole barn construction project will be more efficient and cost-effective. Remember, planning ahead and selecting the right materials are vital steps in creating a durable and long-lasting structure.
