
The Ultimate Guide to Using a Turkey Fryer for Scalding Poultry
Essential Tips for Homesteaders

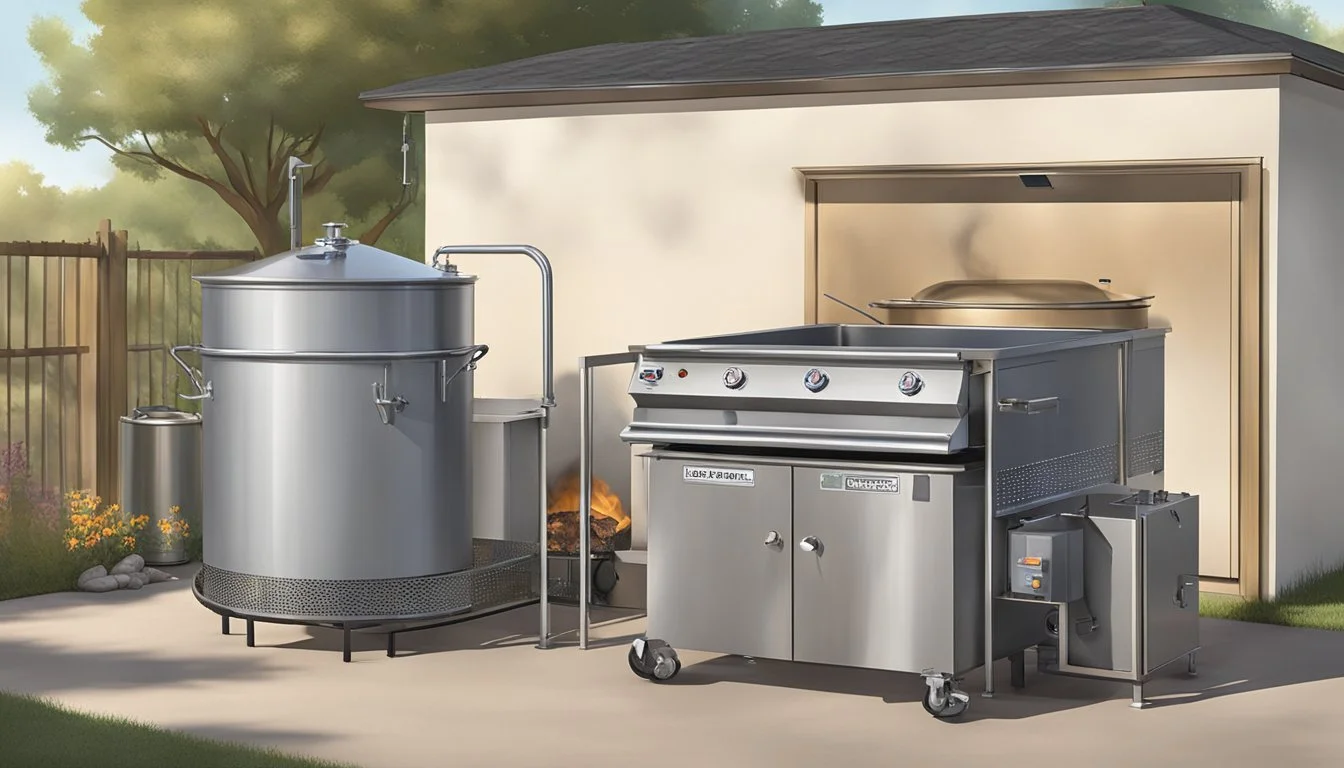
When raising poultry on a homestead, processing birds for meat is an inevitable task that requires the right tools and techniques to achieve the best results. Scalding, a critical step in poultry processing, involves soaking a bird in hot water to loosen feathers for plucking. A turkey fryer, a versatile piece of equipment, is commonly repurposed by homesteaders for this very task due to its ample size and powerful heating capability. Designed to accommodate large birds, a turkey fryer can generate and maintain the high temperatures necessary for an efficient scald.
Homesteaders often prioritize safety and efficiency when it comes to processing poultry. Turkey fryers offer a controlled environment where water temperature can be closely monitored and maintained, which is crucial for achieving a clean pluck without damaging the bird's skin. Generally, the ideal scalding temperature hovers around 140 to 150 degrees Fahrenheit, depending on the type and age of the poultry being processed. The equipment allows for the scalding of multiple smaller birds at once or a larger bird such as a turkey, making it a practical choice for those looking to streamline their processing routine.
However, safety measures must be taken seriously while using a turkey fryer for scalding to prevent accidents, including burns and fires. The fryer should be used on a flat, stable surface, and homesteaders should never leave it unattended while it is in operation. They should also avoid overfilling with water to compensate for the displacement caused by submerging the birds. By following these safety tips and understanding the specifics of scalding different poultry types, homesteaders can use turkey fryers as an effective tool to simplify their poultry processing and achieve professional results.
Understanding Scalding
Scalding is a critical step in poultry processing that directly affects the ease of plucking feathers. This section explains the basics, its role, and the importance of accurate water temperature for effective scalding.
Scalding Basics
Scalding involves submerging a bird in hot water to loosen feathers before plucking. Proper scalding ensures feathers come out easily, preserving the quality of the bird’s skin. The process requires a large pot, typically a turkey fryer, filled with water heated to a precise temperature range. Homesteaders and processors usually use a thermometer to monitor the water temperature to ensure it remains consistent throughout the scalding process.
The Role of Scalding
The primary purpose of scalding is to facilitate feather removal. When a bird is scalded correctly, it secures the integrity of the bird's skin and significantly reduces the manual effort required in plucking. Scalding also minimizes the risk of tearing the skin, which can negatively impact the appearance and quality of the dressed poultry. The technique is especially crucial for birds with dense feathering, as dry plucking such birds without scalding would be very labor-intensive and less efficient.
Determining Water Temperature
Perfect Scald Temperature for Poultry: The ideal water temperature for scalding varies based on the bird:
Cornish Game Hens (4 weeks): 147°F for 40 seconds.
Broilers (7 weeks): 145-150°F for 45-50 seconds.
Broilers (8 to 10 weeks): 145-150°F for 60 seconds.
Cockerels and Pullets (12 to 20 weeks): 145-150°F for 60-90 seconds.
Scalding Turkeys: For turkeys, where a larger volume of hot water is required, a propane outdoor turkey fryer is ideally suited for the task. It can accommodate the turkey’s size and provides an efficient way to maintain the necessary water temperature.
Note: Do not overfill the pot, as the turkey will displace a lot of the water volume.
The use of a thermometer to check the water temperature is essential for achieving the perfect scald. If the water is too cold, the feathers will not loosen sufficiently, and if it's too hot, it could cook the skin and make plucking more difficult. Maintaining the right temperature is crucial for an effective and efficient scald.
Choosing the Right Turkey Fryer
Selecting the optimal turkey fryer for scalding poultry in a homesteading environment is a decision that hinges on understanding the types available, sizing them correctly for your needs, and considering material and design for long-term use.
Types of Turkey Fryers
When homesteaders consider turkey fryers, they typically choose between propane burners and electric fryers. Propane burners offer portability and higher heat output, which is ideal for outdoor use. Their flames can be adjusted to control the temperature with precision, an important feature when scalding feathers from poultry. Electric fryers, on the other hand, emphasize convenience and safety, with some designed specifically for indoor use. Their thermostats maintain consistent temperatures, an advantage when processing multiple birds.
Selecting the Proper Size
Size is a critical consideration as it determines the number of birds that can be processed and the types of poultry that will fit. When choosing a fryer, one should consider the capacity in quarts to ensure it fits the size of the turkeys, ducks, geese, or quail to be scalded. For instance:
Small birds like quail: Fryers with a capacity of 20-30 quarts
Ducks and geese: Fryers in the range of 30-40 quarts
Large turkeys: Fryers that hold 40 quarts or more
A fryer that is too small will not accommodate larger birds, while an excessively large fryer is less efficient for smaller birds.
Material and Design Considerations
The material of a turkey fryer affects both its durability and usability. Stainless steel is a premium choice due to its rust resistance and ease of cleaning, which becomes crucial when scalding poultry for plucking. The design of the fryer should promote even heating and stability. Look for fryers with a sturdy vessel and base, secure fittings for gas connectors on propane models, and those with safety features such as auto shut-off for electric models. Homesteaders should prioritize a durable design for longevity, as a turkey fryer in this setting will see frequent use.
Setting Up Your Turkey Fryer
Before scalding poultry, setting up your turkey fryer safely and correctly is crucial. This process includes assembling the fryer, attaching the propane, and testing for leaks, ensuring that each step is followed with attention to detail and adherence to safety guidelines.
Assembling the Fryer
One should begin by laying out all the parts of their turkey fryer kit and cross-referencing the components with the checklist provided in the manual. Follow the instructions carefully to assemble the fryer. It typically involves attaching the burner to the stand and placing the pot securely on the burner. Ensure that all fittings are tightened to prevent oil leaks or instability.
Unpack kit: Ensure all components are present.
Secure burner: Attach and tighten to stand.
Position pot: Place on burner, check stability.
Attaching the Propane
After assembly, connect the propane tank to the fryer. First, make sure the propane valve is in the off position. Attach the regulator hose to the propane tank, hand-tightening the connection. It's essential to ensure the hose is not kinked or coiled, as this can affect gas flow and burner performance.
Close valve: Before attaching, ensure it's off.
Connect hose: Hand-tighten to the propane tank.
Check hose: Ensure no kinks or coils are present.
Testing for Leaks
Safety is paramount when working with propane. Before igniting the fryer, one must always test for leaks. Apply a soapy water solution to all connections and watch for bubbles, which indicate a gas leak. If a leak is detected, shut off the gas supply immediately, disconnect, and correct the issue before attempting to use the fryer.
Apply soapy solution: Coat all connections.
Observe for bubbles: Signifies potential leaks.
Rectify leaks: Shut off gas, fix connections, and retest.
By methodically following these steps, one can ensure their turkey fryer is set up correctly and ready for use on their homesteading venture. Always prioritize safety to prevent potential hazards.
Preparing the Bird

Before scalding poultry using a turkey fryer, one must thoroughly clean and trim the bird, as well as properly bind it to ensure an efficient and sanitary process.
Cleaning and Trimming
To prepare a turkey, chicken, ducks, or geese for scalding, one begins with a thorough cleaning to reduce bacteria and contaminants. They must ensure the work area and tools are sanitized to maintain hygiene. The birds are then trimmed of excess feathers around the neck, wings, and hock joints, as these can hinder the scalding technique and affect the quality of the end product.
Cleaning Steps:
Sanitize all surfaces and utensils with a proper disinfectant.
Remove any debris or dirt from the bird's skin.
Trimming Steps:
Use sharp poultry shears to cut away excess feather clusters.
Make sure to remove pin feathers as these are difficult to scald off.
Binding for Scalding
Binding the bird in a secure and proper manner is crucial for an effective scalding process. It ensures the bird remains submerged and maintains a standing position throughout, allowing for even heat distribution. A simple but reliable knot should be used to tie the bird’s legs together, and it helps prevent any wings or extremities from unfurling.
Binding Technique:
Ensure the bird's legs are tied together with high-temperature resistant twine.
Keep the binding snug but not too tight to avoid damaging the tissue.
The Scalding Process
The scalding process is a critical step in poultry processing, requiring precision with temperature and timing. It involves submerging the poultry in hot water to loosen feathers for plucking. Using the correct technique, tools, and consistent application of these parameters ensures a clean and efficient scald.
Achieving the Correct Temperature
For effective scalding, maintaining the water temperature is crucial. The ideal range for chickens is 145 to 150 degrees Fahrenheit. A turkey fryer can be used as a poultry scalder with a built-in thermostat or gauge to monitor the water temperature closely. One should verify the accuracy of the built-in thermometer, and if needed, a secondary thermometer may be used to ensure consistency throughout the scalding process.
Cornish Game Hens: 147°F for 40 seconds.
Broilers (7 weeks): 147°F for 45-50 seconds.
Broilers (8 to 10 weeks): 147°F for 60 seconds.
Cockerels and pullets (12 to 20 weeks): 147°F for 60-90 seconds.
Submerging the Poultry
Submerging the bird entirely is essential, ensuring that all areas are evenly scalded. For chickens, a turkey fryer can be used as a chicken scalder, and for larger birds, such as turkeys, ensure that the equipment is large enough to accommodate the size without spilling water. Extra care should be taken to submerge the poultry slowly and safely, using tools like large forks or baskets to prevent any harm.
Timing the Scald
The duration the poultry should remain submerged must be controlled precisely to ensure an effective scald without damaging the skin. Timing varies depending on the type and age of the bird. Use a stopwatch or a timer to help keep track of the processing time. Over-scalding can lead to the skin tearing, while under-scalding makes feather removal difficult.
Chickens: Typically scald for 40-90 seconds, depending on the type and age.
Turkeys: Slightly longer due to size; adjust time as necessary.
Maintaining the correct water temperature and consistent timing for different types of poultry is key to a successful scald when using a turkey fryer as a poultry scalder.
After the Scald

Once the scalding is complete, the poultry's feathers have loosened, which is critical for efficient processing. The next steps involve plucking feathers and ensuring the bird's meat is preserved through proper cleaning and cooling.
Plucking the Poultry
After scalding, plucking should begin promptly for the best results. Manual plucking can be labor-intensive and time-consuming, whereas using a mechanical chicken plucker can significantly speed up the process. Mechanical pluckers can remove feathers in as little as 15 to 30 seconds, greatly increasing efficiency.
Plucking Tips:
Ensure the bird is properly scalded to loosen feathers.
Align the poultry correctly in the plucker to avoid damage.
Pluck immediately after scalding while feathers are easiest to remove.
Sanitation is paramount during plucking. Any residual feathers and debris should be removed from the bird, and the plucking area must be kept clean to prevent contamination.
Cleaning and Cooling
Once the bird is plucked, it's essential to clean the carcass thoroughly. Rinse the bird inside and out with cold water to remove any remaining feathers, blood, or debris. The cooling process begins immediately after cleaning, which is crucial to halt the growth of bacteria.
Cooling Process:
Submerge the bird in a tank filled with cold water to bring the temperature down quickly.
Keep the water just above freezing and change it frequently to maintain sanitation.
Optionally, add ice to the water to expedite cooling.
It's important to balance the time in the cooling tank to ensure the bird's temperature is lowered efficiently without absorbing excessive water. After cooling, the bird should be patted dry, further processed, or packaged for storage.
Safety and Maintenance
Proper safety and maintenance are pivotal to the longevity and performance of the turkey fryer when used for scalding poultry. Incorrect operation can lead to accidents and neglecting maintenance can shorten the fryer's lifespan.
Safe Operation Practices
Routine Checks:
Before every use, ensure the turkey fryer is set up on stable ground and away from flammables.
Oil Levels: Confirm the volume of oil is appropriate for the poultry size to prevent overflow and potential fires.
Safety Tips During Use:
Monitor the Oil Temperature: Keep the flame controlled so that the oil is kept at a safe temperature, avoiding overheating.
Always have a fire extinguisher suitable for oil fires at hand in case of emergencies.
Never leave the fryer unattended while in use, and always use protective gear to prevent burns.
Cleaning and Storage
Post-Use Cleanup:
Wait for the oil to cool completely before disposal or storage.
Clean the fryer to remove any residual oil or food particles, which can attract pests and degrade the appliance.
Maintenance for Longevity:
Store the fryer in a cool, dry place to prevent rust and corrosion.
Check for any wear or damage before storage, ensuring all components are in good condition for the next use.
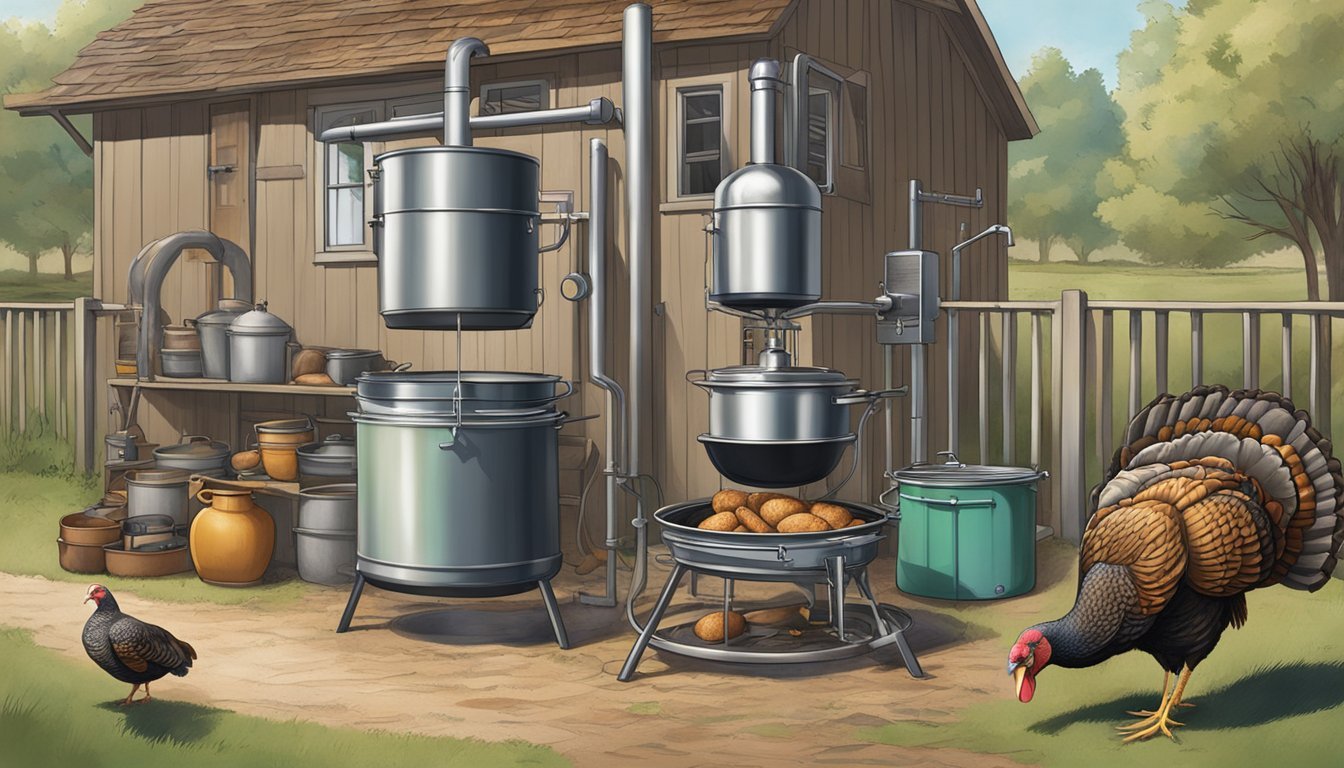
Turkey Fryer Alternatives

When scalding poultry for homesteading purposes, a turkey fryer isn't the only efficient tool one can use. There are several DIY alternative methods that utilize common backyard items, catering to varying budgets and preferences, ensuring the scalding process is accessible to everyone.
Using a Stock Pot
For homesteaders looking for a budget-friendly and readily available option, a large stock pot can be an effective alternative. The stock pot should be deep enough to submerge the poultry fully. One simply needs a heat source, like an outdoor burner, to keep the water at the appropriate temperature of 140°F to 160°F for proper scalding.
Advantages:
Cost-effective.
Ease of availability.
Disadvantages:
May require manual water temperature monitoring.
Only suitable for smaller batches.
Grill Conversion Techniques
Grills can be converted into scalding stations with a bit of creativity. A homesteader can remove the grill grates and position a large pot or metal trash can, filled with water, over the heat source. This method often involves a homemade solution to support the pot if the grill's structure isn't conducive to holding a large container of water.
Advantages:
Utilizes existing backyard equipment.
Good for larger poultry.
Disadvantages:
May require additional setup or support structures.
Conversion effort dependent on grill design.
Steam Scalding Methods
Steam scalding is an alternative technique that uses steam to loosen feathers. Homesteaders can employ a homemade steam cabinet using a metal drum or box with a tight-fitting lid. Steam is generated in a separate container, like a stock pot, and funneled into the cabinet where the bird is hung.
Advantages:
Efficient feather removal with minimal mess.
Can be a gentler process on the bird's skin.
Disadvantages:
Requires some DIY skill to set up correctly.
May need careful handling to prevent burns from steam.
Additional Considerations
In homesteading, utilizing a turkey fryer for scalding poultry requires specific considerations to ensure efficiency and safety. These include selecting the appropriate oil for frying, managing costs effectively, and understanding global scalding techniques.
Oil Choices for Frying
When using a turkey fryer, it's critical to choose an oil with a high smoke point to prevent fire hazards and maintain oil quality throughout the frying process. Peanut oil is a popular choice due to its high smoke point and is commonly used during Thanksgiving. Alternatively, vegetable oil is a cost-effective option that is more accessible yet still offers an adequate smoke point for frying.
Homesteading on a Budget
Homesteaders must often work within a budget, making cost-saving measures essential. Utilizing a turkey fryer for scalding can be economical by batch processing pastured poultry, minimizing fuel consumption through efficient heat management. Additionally, investing in a quality turkey fryer can reduce the long-term costs associated with replacements and repairs.
Global Variations of Poultry Scalding
Cultural practices influence poultry scalding methods globally. For instance, in China, there is a preference for pristine plucking results which affects the scalding technique used. Understanding these cultural nuances can enhance the homesteader's poultry processing and tailor practices for various breeds and desired outcomes.
