
The Ultimate Guide to Using a Food Dehydrator
Efficient Preservation of Homestead Produce and Meats
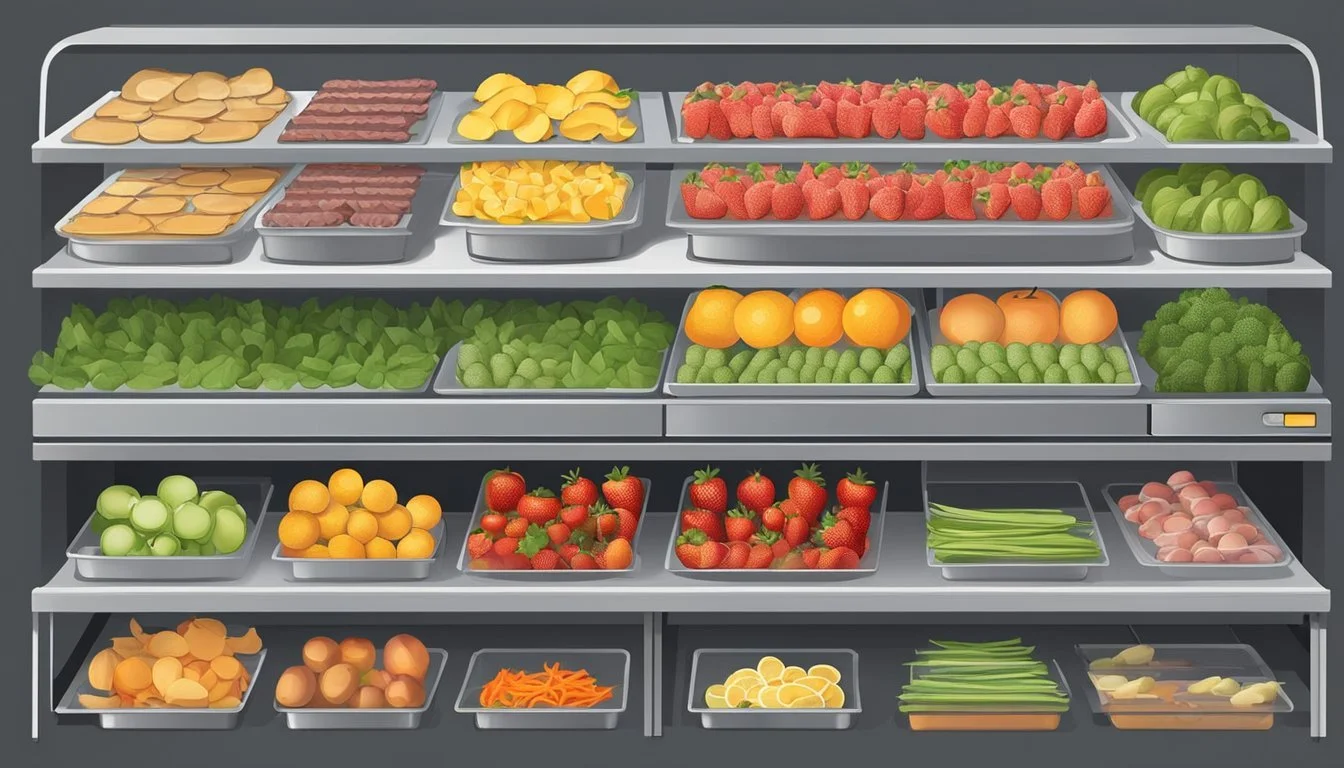
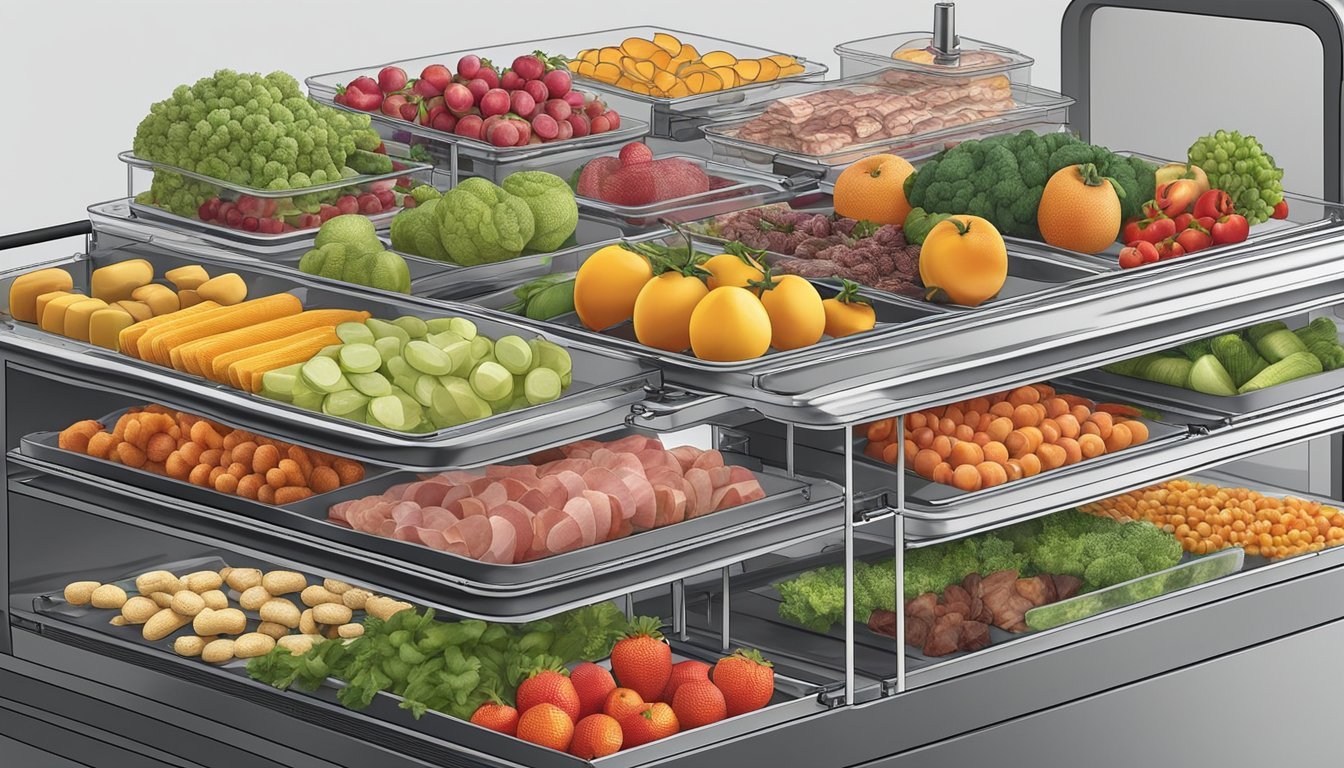
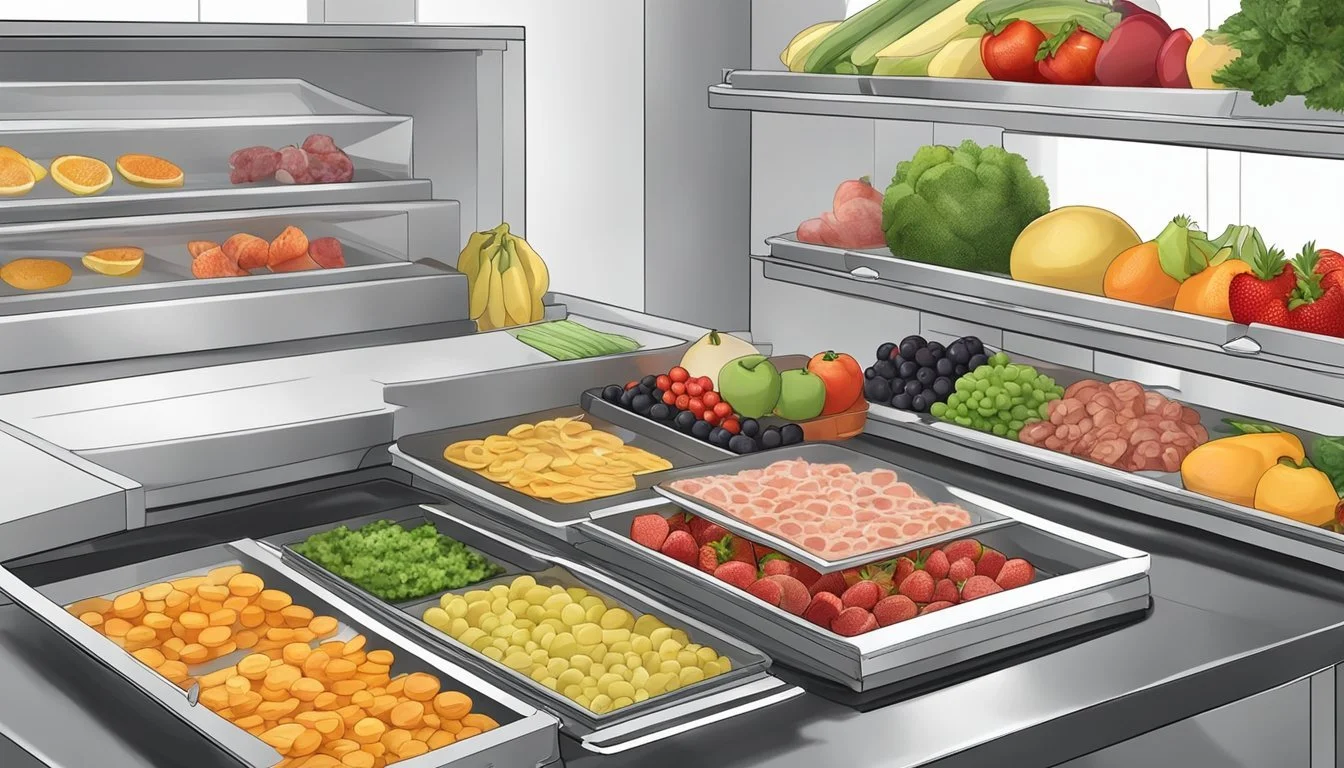
Food preservation is an essential skill for maintaining a sustainable homestead, allowing for the enjoyment of seasonal produce all year round. One effective method is using a food dehydrator, which serves to retain the nutritional value of fruits, vegetables, and meats by removing moisture. This process inhibits the growth of bacteria, yeasts, and molds that typically lead to food spoilage. Dehydrators are preferable for their ease of use and the ability to create a variety of shelf-stable, nutrient-rich foods.
The principle behind food dehydration is simple: warm air circulates through the appliance, evenly drying the thinly sliced food placed on trays. When using a food dehydrator, ensuring proper temperature control is crucial. Most fruits and vegetables can be dehydrated at temperatures ranging from 125 to 135 degrees Fahrenheit, while meats require a higher temperature, around 145 to 155 degrees Fahrenheit, to prevent bacterial growth. The key is to remove enough moisture while maintaining the food's flavor and nutritional content.
For homesteaders, dehydrating food is not merely about preservation but also about maximizing the bounty from their gardens and livestock. Properly dehydrated foods can last for months or even years if stored in the correct conditions, greatly reducing waste and providing food security. Whether one is preparing for a hike, planning for emergency food reserves, or simply creating healthy snacks, a food dehydrator is a valuable tool for any self-reliant home.
Understanding Food Dehydrators
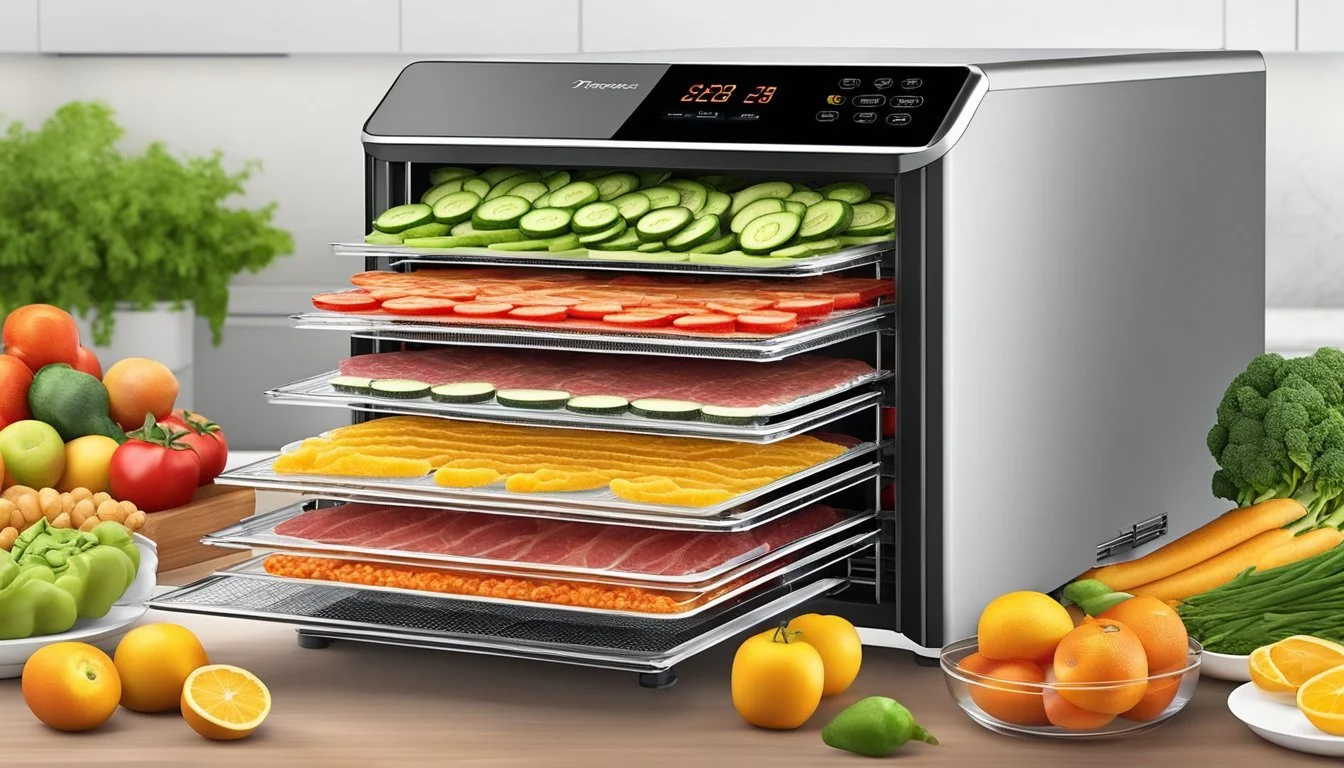
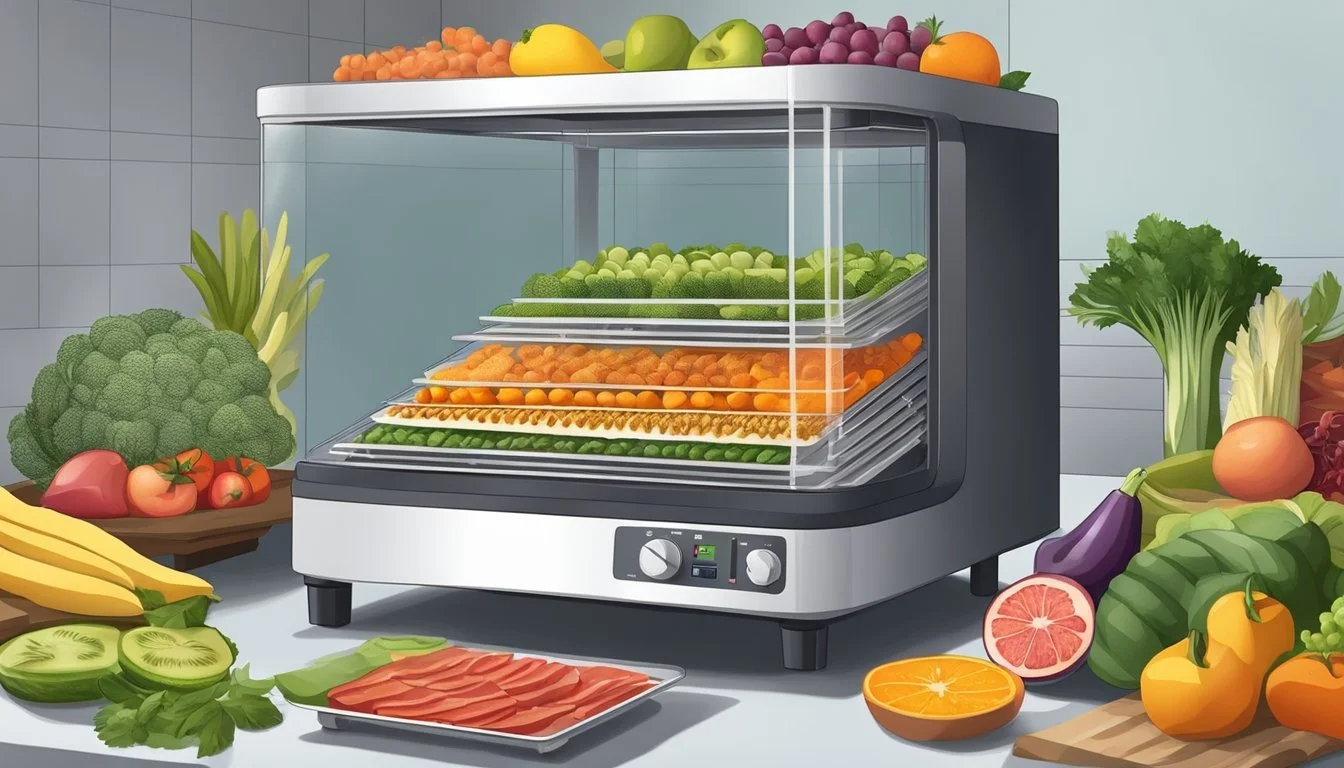
Food dehydrators are devices that remove moisture from food to aid in preservation. They come in various types, including electric and solar-powered models. The key components of a dehydrator include a heating element, fans, and air vents, which work together to circulate low heat and dry out food.
Electric dehydrators function by using a built-in heating element to gently warm food. The fan circulates warm air across the food trays, ensuring even dehydration. This type is convenient for homestead use due to its consistent temperature control and usability in all weather conditions.
In contrast, solar dehydrators harness natural energy from the sun, making them an eco-friendly option. However, their performance is highly dependent on weather conditions and may not be suitable for all climates.
Types of Dehydrators:
Stackable Trays Dehydrator: Layers of trays allow for large quantities of food to be dehydrated at once.
Box and Shelf Dehydrator: A box-shaped model with shelves, allowing for more uniform heat distribution.
Low heat is crucial in the dehydration process. It preserves the food's nutrients and flavor without cooking it. Most dehydrators operate in the temperature range of 95°F to 165°F for fruits and vegetables, while meats require higher temperatures for safe preservation.
When choosing a dehydrator, one should consider the following:
Space: The size of the dehydrator should fit the available space and the quantity of food to dehydrate.
Versatility: Different temperature settings allow for a broader range of food types to be preserved.
Ease of Cleaning: Removable components make for simpler maintenance and cleaning.
Benefits of Dehydrating Food
Preserving food through dehydration is a technique that has been leveraged for centuries due to its numerous benefits.
Shelf Life Extension: Dehydrating food significantly extends its shelf life. Removing moisture inhibits the growth of bacteria, molds, and yeast, which are commonly responsible for food spoilage.
Preservation of Nutritional Value: The dehydration process preserves the important vitamins and minerals found in fresh produce. Although some vitamin loss can occur—especially Vitamin C—most nutrients remain intact, making dehydrated foods a nutritious option.
Portability and Convenience: Dehydrated foods are lighter and more compact, ideal for those who need to transport food without the burden of weight and space. This makes them perfect for snacks or meals during hiking, camping, and long-term storage.
Reduced Storage Space: With the water content significantly reduced, dehydrated products take up less storage space. This allows individuals to store larger quantities of food without needing excessive space.
Economical Benefits: By dehydrating seasonal fruits, vegetables, and meats, individuals can save money. It reduces food waste, allowing one to take advantage of bulk purchasing and seasonal discounts.
Diversity in Snacks: Dehydrating food creates a variety of tasty and healthy snacks. From fruit leathers to vegetable chips and jerky, these snacks are not only convenient but also cater to healthier dietary practices by minimizing the use of preservatives.
In conclusion, the benefits of dehydrating food on a homestead are multifaceted, ranging from extended shelf life and nutrient preservation to enhanced portability and reduced storage requirements. These advantages make food dehydration an efficient and practical method for food preservation.
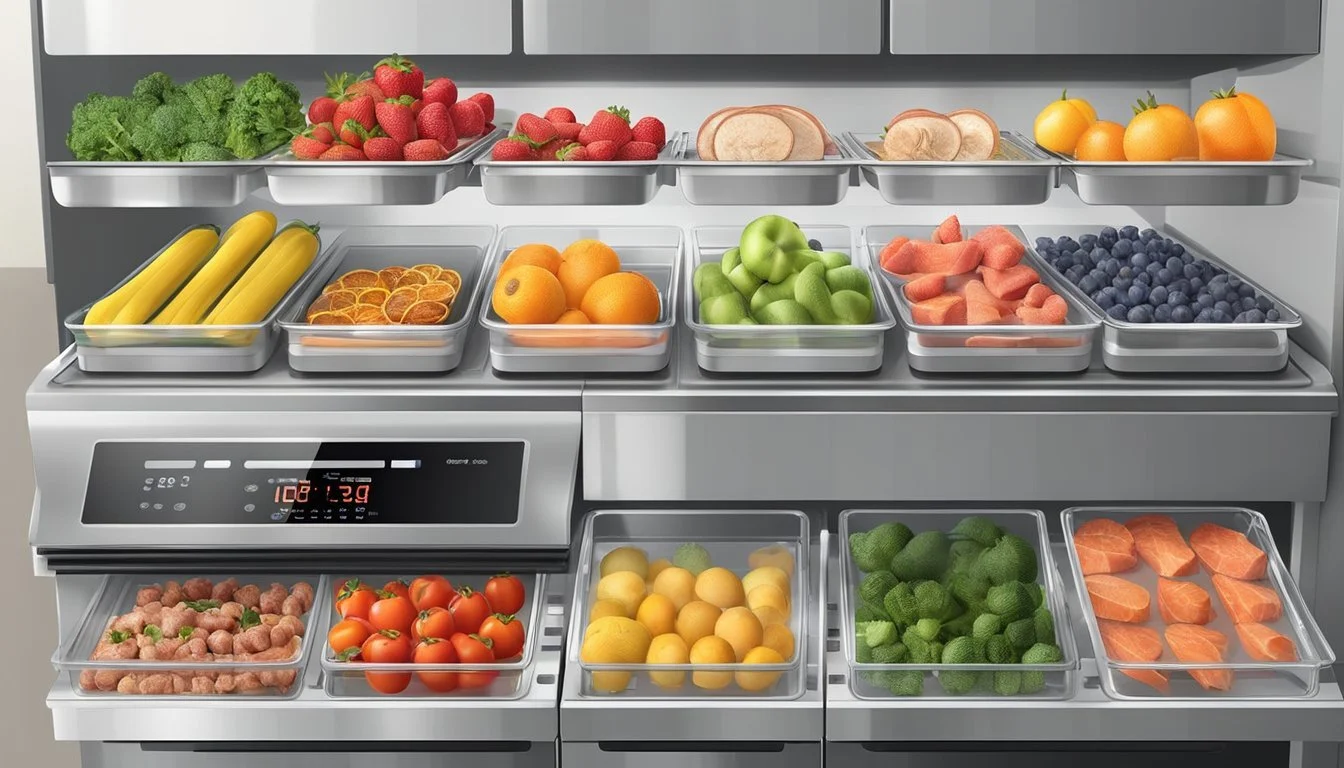
Preparing Food for Dehydration
Proper preparation is critical for optimal dehydration results. The process enhances flavor, preserves texture, and ensures safety.
Washing and Slicing
Fruit and vegetables should be thoroughly washed to remove dirt and pesticides. After washing, one should slice them uniformly to ensure even dehydration. Thin, consistent slices, no thicker than 1/4 inch, will dehydrate best.
Fruits: Apples, bananas, and pears are typically cut into rounds or strips.
Vegetables: Carrots and zucchini are often sliced or shredded.
Blanching Vegetables
Blanching is a crucial step for vegetables to halt enzyme actions that can cause loss of flavor, color, and texture. To blanch, immerse vegetables in boiling water for a few minutes and then quickly transition them into cold water to stop the cooking process.
Vegetable Blanching Table:
Vegetable: Broccoli, Blanching Time (minutes): 3
Vegetable: Carrots, Blanching Time (minutes): 3
Vegetable: Peas, Blanching Time (minutes): 1.5
After blanching, pat the vegetables dry before placing them in the dehydrator.
Marinating Meats
Before dehydrating meat, marinating is essential to enhance flavor and tenderize. A basic marinade could contain salt, sugar, and spices in liquid such as vinegar or soy sauce. The meat should be marinated for several hours, or overnight, and must be blotted with a paper towel to remove excess marinade for even dehydration.
Meats commonly prepared for dehydration include:
Beef (for jerky)
Turkey (lower in fat, ideal for jerky)
Fish (proper preparation prevents spoilage)
Dehydrating Fruits
Dehydrating fruits on a homestead offers a reliable method for preservation while concentrating the natural sugars and flavors. This process requires monitoring drying times and preparation techniques, such as peeling and slicing, to ensure consistent quality and taste.
Drying Times for Fruits
Fruits each have their own specific drying times depending on water content, thickness, and environmental factors. It is crucial to follow these times closely to preserve the fruit effectively. Below is a table outlining drying times for common fruits:
Fruit: Apples, Approximate Drying Time: 6-12 hours
Fruit: Bananas, Approximate Drying Time: 8-10 hours
Fruit: Grapes, Approximate Drying Time: 22-36 hours (to make raisins)
Fruit: Strawberries, Approximate Drying Time: 7-15 hours
Thicker slices and higher humidity levels generally require longer drying times.
Making Fruit Leather
Fruit leather is a popular snack made from pureed fruit dried into thin, pliable sheets. Successful fruit leather creation involves a two-step process:
Puree the fruit, leaving the skin on or off depending on personal preference and the type of fruit. Skins can add texture and nutrients, but some may prefer it peeled for a smoother texture.
Spread the puree evenly, aiming for a thickness of about 1/4 inch, on a dehydrator tray lined with nonstick sheets or parchment paper.
Tip: For added flavor, spices or sweeteners can be mixed into the puree before dehydrating. Remember to dehydrate until the leather is tacky, but not sticky, which typically takes around 4 to 8 hours.
Dehydrating Vegetables
Dehydrating vegetables is a time-tested method to preserve their nutrients and flavors. The process involves removing moisture at low temperatures over a period, which inhibits the growth of bacteria and enzymes that spoil food.
Drying Times for Vegetables
For effective dehydration, vegetables should be dried at 125°F (52°C). However, drying times can vary based on several factors:
Vegetable Type: Different vegetables have varying water content and thicknesses, affecting drying time.
Slice Thickness: Thinner slices will dry more rapidly than thicker ones.
Humidity and Air Circulation: High humidity and poor air circulation can increase drying time.
Here is a brief guide to the approximate drying times for popular vegetables:
Vegetable: Green beans, Drying Time (Hours): 8-14
Vegetable: Broccoli, Drying Time (Hours): 12-15
Vegetable: Carrots, Drying Time (Hours): 10-12
Vegetable: Celery, Drying Time (Hours): 10-16
Vegetable: Peas, Drying Time (Hours): 8-10
Vegetable: Potatoes, Drying Time (Hours): 8-12
Note: These times are estimates, and one should always check the specific vegetable for dryness.
Preserving Greens
Leafy greens such as spinach and kale require special attention in the dehydrator. They usually dry faster than other vegetables because of their thin, delicate leaves.
Wash the greens thoroughly to remove any dirt or debris.
Pat them dry with a paper towel or use a salad spinner to remove excess moisture.
If necessary, cut into uniform pieces for even drying.
Place the greens on the dehydrator trays in a single layer, ensuring they do not overlap.
Set the dehydrator to 125°F (52°C) and dry for 4-8 hours.
Uniform drying is crucial to prevent any moist spots that could lead to spoilage. It's important to check regularly and rotate trays if the dehydrator doesn't have an even airflow distribution. Once dried, greens should be crispy and can be crumbled for storage or used as desired.
Dehydrating Meats and Proteins
When dehydrating meats and proteins, one ensures food preservation by removing moisture to prevent spoilage. The result is lightweight and shelf-stable provisions perfect for homesteaders looking to maximize their food's longevity and usefulness.
Preparing Meats
Before dehydrating, one must properly prepare meats to ensure safety and quality. Meats should be lean, as fat does not dehydrate well and can cause the meat to spoil faster. It is often recommended to trim any visible fat and blot the meat with a paper towel both before and periodically during dehydration to remove any residual fat. The meat is then cut consistently in thickness to promote even drying.
Steps for Preparation:
Select lean cuts of meat.
Trim off visible fat to prevent rancidity.
Slice meat to uniform thickness for consistent dehydration.
Tip: Using a meat thermometer ensures that meats reach a safe internal temperature of 145°F if pre-cooking is required before dehydration.
Making Jerky
Jerky is a popular dehydrated meat product known for its savory flavor and chewy texture. The process of making jerky involves marinating the sliced meat in a mixture of spices and salt, which aids in preservation and adds taste. After marinating, the meat is placed on dehydrator trays without overlap, ensuring proper air circulation. Dehydration then proceeds at a temperature of around 145°F until the meat is dry and leathery.
Marinate sliced meat for 4-24 hours in the refrigerator.
Arrange the meat in a single layer on the dehydrator trays.
Set the dehydrator to 145°F and dry until the jerky is adequately dehydrated.
Safety Note: Making sure to reach an internal temperature of 160°F for beef or 165°F for poultry in the dehydrator or by pre-heating the meat ensures it is safe for consumption.
Dehydrator Settings and Features
Food dehydrators are an efficient tool for preserving a variety of homestead produce. Users must familiarize themselves with their dehydrator's settings and features to ensure optimal results.
Temperature Control: Key to dehydrating is the ability to set accurate temperatures. Most foods dehydrate well between 135°F and 165°F. Fruits and vegetables are typically processed at lower temperatures, around 135°F, while meats like jerky require higher temperatures, up to 165°F, to safely preserve.
Time Function: Different foods require varied dehydration times. Soft fruits may take as little as 6 hours, while tough meats could require up to 12 hours. Many dehydrators come with timers that can be set to ensure foods are not over-dehydrated.
Humidity Regulation: A dehydrator needs to effectively remove moisture from food without cooking it. An internal fan aids in regulating humidity by circulating air, which helps maintain a consistent dehydration environment.
Feature: Temperature, Function: Preserves flavor and nutrients at optimal heat
Feature: Time, Function: Prevents over-dehydrating
Feature: Humidity, Function: Ensures even drying without cooking
Fan Position: Dehydrators come with vertical or horizontal airflow. Horizontal fans distribute air more evenly, resulting in a uniform dryness across all trays. With vertical airflow, trays may need to be rotated periodically for an even result.
Users should consult their dehydrator manual to understand the unique settings and features of their model. Proper use of these settings not only preserves the homestead's bounty but also maintains food quality.
Storing Dehydrated Food
Proper storage is essential to maintaining the quality and extending the shelf life of dehydrated foods. Utilizing airtight containers and managing moisture levels are critical steps to prevent the development of mold and moisture-related spoilage.
Using Airtight Containers
For optimal preservation, dehydrated fruits, vegetables, and meats should be stored in airtight containers. These containers limit the exposure to air and prevent rehydration, which is crucial for maintaining texture and flavor. Glass jars with tight-fitting lids are a popular choice for their impermeability and inert properties. Additionally, vacuum-sealed bags serve as an effective barrier against air, preserving the food's quality for extended periods.
Suggested Airtight Containers:
Glass jars with screw-top lids
BPA-free plastic containers with snap-on lids
Mylar bags with oxygen absorbers
Vacuum-sealed bags
Containers should be labeled with the contents and the date of dehydration. Stored in a cool, dry place, most dehydrated items have a shelf life of up to one year, although some can last even longer when stored in ideal conditions.
Preventing Moisture and Mold
The presence of moisture can lead to condensation and mold growth, which can quickly spoil dehydrated food. To avoid this, ensure that foods are thoroughly dry before storage and that containers are moisture-free. Here are some specific strategies:
Use Desiccants: Including moisture absorber packets, like silica gel desiccants, in containers can help control moisture levels.
Check for Seals: Regularly inspect container seals for any signs of wear or damage that could allow moisture ingress.
Monitor the Environment: Keep dehydrated foods in a consistently cool and dry place, away from sources of humidity.
Visual Inspection: Periodically check the contents for any signs of moisture or mold and repackage items if necessary.
It's also important to note that the storage location should have a steady temperature, ideally around 60 degrees Fahrenheit (15 degrees Celsius), and be out of direct sunlight to prevent degradation of the preserved food.
Rehydrating and Using Dehydrated Foods
When incorporating dehydrated foods back into meals, rehydrating them is an essential step. Rehydration refers to the process of adding water or other liquids back to dehydrated foods to restore moisture before cooking or eating.
Steps for Basic Rehydration:
Boil water and pour it over the dehydrated food.
Allow the food to sit for 20-45 minutes, or until fully rehydrated.
Drain excess water and use as desired.
Tips for Rehydrating Foods:
Less dense foods such as herbs and mushrooms require more time to rehydrate than denser items like corn.
Using broths or fruit juices instead of water can infuse the rehydrated food with additional flavors, enhancing the taste of soups and meals.
For Cooking:
There’s no need to rehydrate foods if they are going to be cooked in a liquid, such as in soups or stews. In such cases, adding dehydrated foods directly to the cooking pot allows them to absorb liquid and rehydrate during the cooking process.
For Soups:
Add dehydrated vegetables and meats directly into the broth, and they will rehydrate as the soup simmers.
For Snacks or Salads:
Fruits can be rehydrated in water or juice for a refreshing snack or to add to salads.
Rehydrated foods offer versatility in meal preparations, fitting seamlessly into the homesteader's kitchen routine. By understanding and practicing proper hydration methods, one can easily craft nutritious and delicious meals from their preserved bounty.
Alternative Dehydrating Methods
While a food dehydrator is a common tool for preserving foods, there are alternative methods one can utilize that often only require common household appliances or the natural environment.
Using an Oven
Ovens can serve as a substitute for food dehydrators when the goal is dehydration of fruits, vegetables, and meats. To effectively use an oven for dehydration, one should:
Set the temperature to a low range, ideally between 140°F and 170°F, to mimic the gentle drying environment of a dehydrator.
Arrange food in a single layer on a baking sheet to ensure even drying.
Keep the oven door ajar, if possible, to allow moisture to escape and facilitate the dehydration process.
It's critical to monitor the process closely to prevent overheating and to ensure even dehydration of all items.
Sun-Drying Foods
Sun-drying is a more traditional and energy-efficient method, leveraging the natural power of the sun's rays. The process involves:
Selecting a hot, dry day for sun drying, as humidity can impede the drying process.
Preparing the food by slicing it uniformly to ensure even drying times.
Using protective coverings or screens to shield the food from insects and dust during the drying process.
Direct exposure to the sun can dehydrate a variety of foods, particularly well-suited for those living in climates with strong and consistent sunlight.
Creative Uses of Dehydrated Foods
Dehydrated foods offer versatile and long-lasting options for innovative culinary creations. They cater specifically to the needs of snack enthusiasts and outdoor adventurers.
Snacks and Treats
For those with a penchant for snacks, dehydrated foods provide a wealth of options. One can transform fruits like apples, bananas, and berries into chewy or crisp snacks, depending on the dehydrating time. Combining dehydrated tomatoes, walnuts, and spices can yield a delicious savory tomato brittle. These treats not only satisfy cravings but are also portable and non-perishable.
Fruit Snacks: Apples, Bananas, Berries
Vegetable Chips: Kale, Sweet Potato, Beet
Savory Brittle: Tomato, Flax Seeds, Spices
Meals for Camping and Backpacking
For the camping and backpacking community, meals must be lightweight, non-perishable, and easy to prepare. Dehydrated foods excel in these areas. Individuals can create complete backpacking meals such as chili, stews, and pasta sauces by dehydrating cooked meals beforehand. These meals can be easily rehydrated with hot water and provide a nutritious, satisfying repast miles away from the nearest kitchen.
Chili: Dehydrated beans, vegetables, and spices
Stew: Mixed dehydrated vegetables, dehydrated pieces of meat
Pasta Sauce: Tomato leather, dehydrated herbs
Dehydrated foods open up a realm of possibilities for creative and practical food preparation, from everyday snacks to meals that sustain on outdoor adventures.
Troubleshooting Common Issues
When facing issues with dehydration quality, users should firstly ensure that their food dehydrator is connected to power and that the fuse is operational. A common problem affecting dehydration consistency relates to the heater wire—a critical component designed to distribute heat evenly. If fruits, vegetables, or meats are unusually hot or the device emits excessive heat, inspect the heater wire for malfunctions.
Troubleshooting Tips for Quality Dehydration:
Check Power and Fuse: Verify the connection and the state of the fuse.
Heater Wire: Look for signs of burning or damage to the heater wire.
Temperature Settings: Make sure the temperature is set correctly for the type of food being dehydrated.
Fan Speed: Adjust the fan speed as needed to improve airflow.
Uniformity: Cut food slices to an even size for consistent drying.
Tray Spacing: Adjust the distance between trays for better air circulation.
Overloading the dehydrator can lead to inadequate drying and can compromise food quality. Users are advised to adhere to the manufacturer's guidelines concerning the capacity and to not exceed the recommended amount of food per batch.
In cases where a dehydrator is unavailable, an oven can serve as a substitute by setting the temperature between 140°F and 170°F and leaving the door slightly ajar to allow moisture escape. However, using an oven might not provide the same level of consistency as a dehydrator.
For those experiencing issues with meat dehydration, blotting with a paper towel can be effective in removing excess fat, which can hamper the drying process. Regularly blotting and tray rotation, especially with vertical flow dehydrators, can help achieve more uniformly dried produce.
Maintaining and Cleaning Your Dehydrator
Regular maintenance and thorough cleaning are essential for the longevity and hygienic operation of your dehydrator. They should clean it after each use to ensure that their dehydrator remains in good working condition and to prevent contamination from old food particles, which could affect the taste and safety of the preserved food.
Simple Maintenance Steps:
Inspect: They should routinely check the dehydrator for wear and tear, especially on components such as the fan, heating element, and thermostat.
Tighten: Occasionally, they should tighten any loose parts to prevent noise or malfunction.
Cleaning Process:
Unplug: Safety first—make sure the dehydrator is unplugged.
Remove Trays: Take out all the trays or racks for individual cleaning.
For the Trays:
Soak: If food residue is present, soak the trays in a mixture of hot water and dishwashing soap.
Scrub: Use a soft brush to scrub away stubborn bits.
Rinse: Wash the trays with clean water and dry them thoroughly before reassembling.
For the Interior:
Wipe: They should wipe the dehydrator's interior with a damp cloth. It can be soaked in a mild detergent solution if necessary.
Dry: It is important to ensure that the interior is completely dry before the next use.
After Cleaning: Reassembling the dehydrator should be done after all parts are dry. This prevents moisture from being trapped inside, which could lead to mold growth or unpleasant odors.
By following these guidelines, they can ensure their dehydrator functions efficiently and produces high-quality, preserved foods consistently.
Exploring Recipes and Seasonal Uses
Incorporating a food dehydrator into one's homestead allows for year-round preservation of harvests and experimental flavor development. Timely dehydration locks in the freshness of seasonal produce and enables homesteaders to extend the utility of their gardens and orchards.
Seasonal Fruit and Vegetable Preservation
Summer is abundant with fruits such as berries, peaches, and plums — all ideal for dehydrating. A simple recipe might include slicing peaches uniformly and dehydrating at 135°F until they achieve a leathery consistency.
In winter, root vegetables like carrots and beets preserve well. They should be sliced uniformly, perhaps blanched, and dehydrated at 125°F until crisp. These dehydrated vegetables can easily be rehydrated for use in soups and stews.
Infusing Flavors and Spices
Dehydrating isn't just about preservation; it's also an opportunity to enhance flavors. Adding spices before dehydrating can infuse fruits and vegetables with extra flavor. For example, dusting apple slices with cinnamon before dehydrating can transform them into a flavorful snack.
For meats, one might create a marinate with a blend of spices such as paprika, garlic powder, and black pepper, allowing the flavors to infuse overnight before dehydrating to make jerky. Always ensure meats reach a safe temperature, around 145°F, to dehydrate properly.
The Role of Preservatives and Additives
When using a food dehydrator for preserving foods, understanding the role of preservatives and additives is crucial. They are incorporated into food to enhance shelf life, and in the case of dehydrated foods, they can help maintain quality during prolonged storage.
Preservatives such as ascorbic acid are antioxidants. They prevent the oxidation of food, which leads to spoilage. Ascorbic acid, in particular, is often used in fruit dehydration to preserve color and nutritional value.
In addition to preservatives, additives can play various roles in food preservation.
Common Additives in Food Preservation:
Additive: Ascorbic Acid, Purpose in Preservation: Antioxidant; maintains color
Additive: Salt, Purpose in Preservation: Inhibits microbial growth
Additive: Sugar, Purpose in Preservation: Reduces water activity
It's important to use these substances in recommended amounts to maximize effectiveness without compromising safety. Preservatives and additives enable individuals to enjoy the fruits of their homestead year-round, with a minimized risk of spoilage and foodborne illnesses.
Dehydrating for Long-Term Food Storage
Dehydrating food is a method of food preservation that extends the shelf life of fresh produce and meats, ensuring a stable supply for homesteads aiming at long-term food storage. Removing moisture inhibits the growth of bacteria, yeasts, and molds which are agents of food spoilage.
Meat Preparation: For meats, it's crucial to lean cuts to reduce fat, which does not dehydrate well. Poultry or beef should be sliced thinly and evenly for consistent drying.
Vegetable and Fruit Preparation: Fruits and vegetables should be washed, sliced, and, in some cases, blanched before dehydrating. Blanching can halt enzymatic reactions, which can affect flavor and color.
Dehydration Procedure:
Temperature: Vegetables and meats typically dehydrate at 135°F to 145°F. Fruits can be dehydrated at lower temperatures, around 135°F.
Time: Time can vary from a few hours to days, depending on the item and thickness.
Food Type: Meats, Preparation: Slice thinly, trim fat, Temperature: 145°F, Time: 6-12 hours
Food Type: Vegetables, Preparation: Wash, possibly blanch, Temperature: 135°F, Time: Varies
Food Type: Fruits, Preparation: Wash, slice, optional pretreat, Temperature: 135°F, Time: Varies
Storage: After dehydration, food should be stored in airtight containers in a cool, dry place. Use oxygen absorbers for added preservation.
Hygiene: Cleanliness is essential in all food preservation processes. Equipment must be sanitized, and hands washed thoroughly.
By adhering to these guidelines, homesteaders can ensure their food retains nutritional content and remains safe for consumption over extended periods. This contributes to a sustainable and self-sufficient living environment.
Innovative Dehydrating Techniques and Tips
When preserving food on a homestead, a food dehydrator can be an innovative and efficient tool. Here are some techniques and tips to improve the dehydrating process of fruits, vegetables, and meats:
Pre-freeze for Quality: For fruits like berries, pre-freezing can help preserve the shape and texture. Simply spread them on a tray, freeze them for a few hours, and then proceed to dehydrate.
Uniformity is Key: It's crucial to cut food into even pieces to ensure a consistent drying time. Use a mandoline slicer for precision.
Temperature Control: Start meats at a higher temperature, such as 145°F for the first 30 minutes, to eliminate bacteria. Then lower the temperature for the remainder of the drying process.
Food Type: Meats, Initial Temp: 145°F, Subsequent Temp: 130°F
Food Type: Fruits, Initial Temp: 135°F, Subsequent Temp: -
Food Type: Vegetables, Initial Temp: 135°F, Subsequent Temp: -
Blotting Method: When dehydrating meats, it’s beneficial to blot excess fat periodically with a paper towel to prevent rancidity.
Cooling Stage: After dehydrating, let the food cool completely before packing. This prevents moisture from trapping inside the storage container.
Ventilation: If using an oven, keep the door slightly ajar to allow moisture to escape and aid the drying process.
By implementing these innovative techniques and tips, homesteaders can effectively use a dehydrator to preserve their harvest with confidence.
Health Aspects and Nutrient Retention in Dehydrated Foods
Dehydrating foods is a time-honored method that preserves the nutritional value of fruits, vegetables, and meats by removing water content, which bacteria and mold require to thrive. This process can maintain a significant amount of nutrients, making dehydrated foods both a healthy and convenient choice.
Nutrients Retention: Most vitamins and minerals remain intact during dehydration, especially fiber and minerals, which are impervious to the process. However, vitamin C and some B vitamins are heat-sensitive and may decrease during dehydration.
Fiber: Remains unchanged, beneficial for digestion.
Minerals: No significant loss; essential for various bodily functions.
Vitamin C: Some loss due to heat sensitivity.
Vitamin B: Varies; thiamine, for instance, might be reduced.
Nutritional Value: Dehydrated foods are rich in calories and nutrients per ounce, as the removal of water concentrates the remaining elements. A low moisture content of below 0.6 water activity not only ensures safety but also heightens taste and calorie density.
Calories: Concentrated in dried form.
Taste: Enhanced due to moisture removal.
Health Considerations: One must be aware of the potential for added ingredients that can diminish the health benefits of dehydrated foods. Opting for home dehydration allows for controlling additives and ensuring that the nutritional and health benefits of the foods remain unaltered. Subsequently, maintaining proper storage conditions is critical for preserving both nutrient content and food safety.
In conclusion, dehydration retains most of the nutritional content of food while providing an extended shelf life. It plays a crucial role in managing food resources on a homestead, ensuring a supply of healthy, nutrient-rich food throughout the year.
