
The Beginner's Guide to Meal Prepping with a Food Dehydrator
Efficient Techniques and Tips
Meal prepping is the strategic art of preparing meals ahead of time, an increasingly popular method for those seeking to maintain a healthy diet within a busy lifestyle. It involves planning, preparing, and storing meals for the week, ensuring a consistent supply of nutritious options. The introduction of a food dehydrator to this process adds variety and shelf stability to snacks and ingredients, allowing one to incorporate more natural, preservative-free foods into their diet. The dehydrated items retain most of their nutritional content and offer a concentrated burst of flavor and energy, which can diversify and enrich meal options throughout the week.
In meal prep, the game plan is crucial. One maps out a weekly menu, shops for groceries following a thoughtful list, and sets aside time for cooking. By doing so, individuals can avoid the pitfalls of unhealthy, impulsive eating. The use of a food dehydrator in this routine affords the planner the ability to include a range of healthy snacks like fruits, vegetables, and lean proteins, all of which can be dehydrated in bulk, stored, and utilized as part of several different meal options.
As dehydrating food removes moisture and thereby inhibits the growth of bacteria, it extends the shelf life of ingredients without chemical preservatives. This aligns well with the principles of healthy eating, as it allows for consumption of whole foods in their most natural state. Moreover, it ensures that meal preppers are equipped with a stable supply of nutritious components, simplifying the meal planning process and steering clear of fast food temptations. Integrating a food dehydrator into one's meal prep can be a step toward a more disciplined, wholesome dietary routine.
Essentials of Meal Prepping
When embarking on meal prepping, one must grasp the fundamental concepts and gather the right equipment, especially when incorporating a food dehydrator into the process.
Understanding Meal Prep Basics
Meal prepping involves planning, preparing, and storing meals or meal components ahead of time. It streamlines cooking processes and can lead to more balanced eating habits. A basic meal prep formula might include a protein source, a grain, and vegetables. The approach varies depending on dietary preferences, where one might opt for combinations such as Protein + Grain + Vegetable, Protein + Vegetable + Vegetable, or for vegetarians, Legume + Grain + Vegetable.
Protein: chicken breast, tofu, legumes
Grains: rice, quinoa, pasta
Vegetables: carrots, bell peppers, greens
Utilizing containers that are appropriate for the storage of dehydrated and fresh ingredients is crucial. Airtight containers keep dehydrated food crisp, and BPA-free, microwave-safe containers are important for ingredients that need reheating.
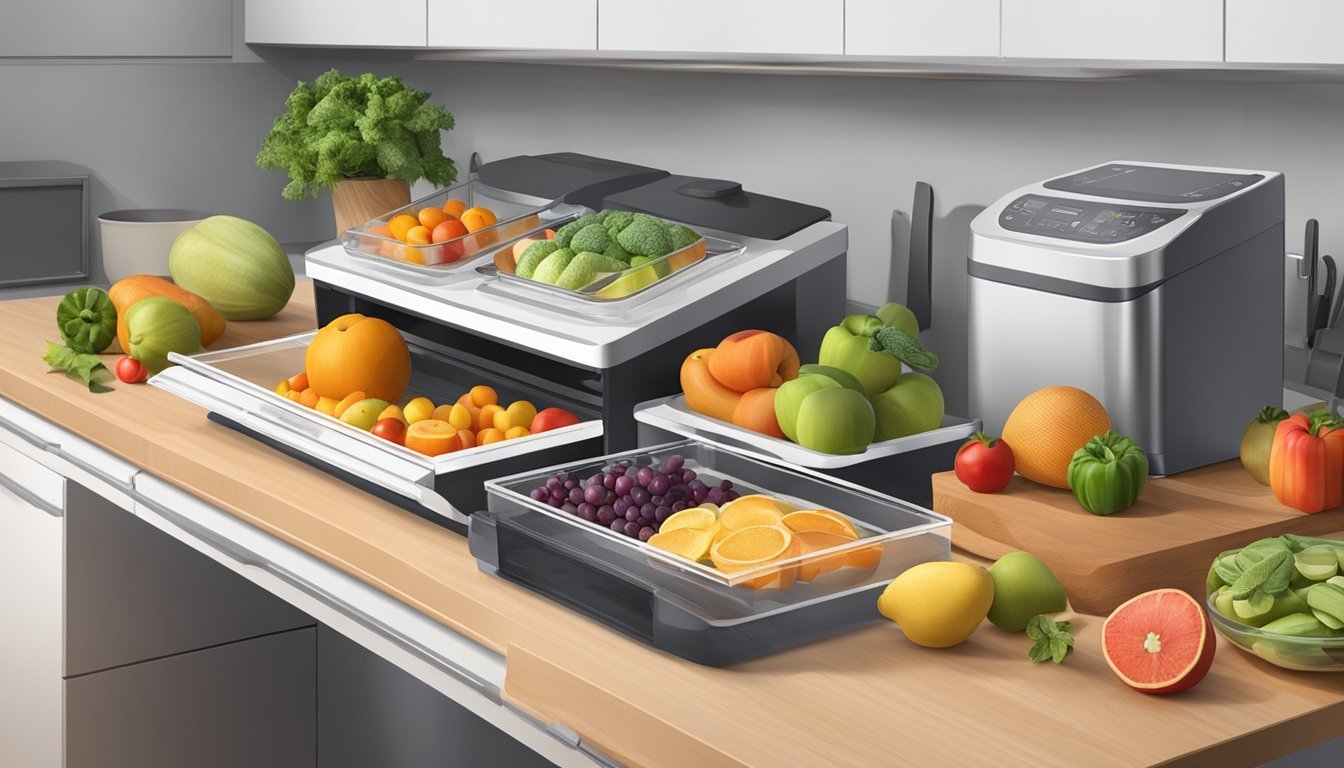
Essential Equipment for Dehydrating Food
A food dehydrator is critical for those who wish to extend the shelf life of their ingredients, concentrate flavors, and create portable and storage-friendly meal components. When selecting a dehydrator, one should consider:
Size and capacity for large batch prepping
Adjustable thermostat to cater for different food types
Timer and auto shut-off functionality for convenience and safety
Before using the dehydrator, one must prepare the ingredients by washing and slicing them uniformly to ensure even drying. Post-dehydration, the items should cool before being placed in containers to avoid moisture build-up that could lead to spoilage.
Planning Your Meal Prep
Effective meal prepping with a food dehydrator begins with careful planning. One must consider the variety of foods that dehydrate well and how they fit into balanced meals for the week.
Creating a Versatile Grocery List
A strategic grocery list is paramount. Begin by selecting a range of fruits, vegetables, lean proteins, and whole grains that are suitable for dehydration. For example:
Vegetables: Carrots, kale, (What wine goes well with kale?) and bell peppers
Lean proteins: Chicken breasts, turkey, or tofu
Whole grains: Quinoa, brown rice, or rolled oats
These ingredients offer a blend of essential nutrients and ensure one's diet remains diverse and nutritious.
Designing a Balanced Meal Plan
When designing a meal plan, it's crucial to combine macronutrients effectively for healthy meals. The plan should include a variety of foods that together provide complex carbohydrates, sufficient proteins, and healthy fats. Here's a sample layout of what a day's meal could look like:
Breakfast Lunch (What wine goes well with lunch?) Dinner Dehydrated fruit with Greek yogurt Quinoa salad with dehydrated veggies and grilled chicken Lentil soup with a side of dehydrated kale chips
Each meal is structured to be complete, integrating dehydrated elements into a whole meal that delivers balance across the day's diet.
Prepping Techniques and Tips
Mastering meal prep with a food dehydrator enables one to save time and lock in the nutritional value of foods. It's not just about removing moisture; it's an art of preserving and preparing foods efficiently.
Efficient Food Dehydration Methods
When dehydrating food, one should consider the optimal temperature settings for different food types to preserve their flavors and nutrients. For fruits and vegetables, a dehydrator set between 125°F to 135°F is generally efficient. In contrast, for meats intended for jerky, a higher temperature of 160°F ensures safe dehydration.
Using a food dehydrator can often be more time-efficient than cooking methods like roasting or using a slow cooker, as they can operate unattended, allowing one to focus on other tasks. Furthermore, one can stack multiple trays of different foods, making it possible to prepare a variety of meal components simultaneously. Here's an example of how to layer different products:
Top Tray: Herbs and small items that dehydrate quickly.
Middle Trays: Sliced fruits or vegetables that require moderate time.
Bottom Trays: Dense meats or sliced root vegetables that take the longest.
Preparation Strategies for Different Meals
For meals that involve a mix of dehydrated and fresh ingredients, one should plan their prep around rehydration times. Grains or legumes often need to be soaked ahead of time, so one might start their dehydration process while these ingredients rehydrate to maximize efficiency.
Individuals can use dehydrated ingredients in a variety of meal types. For example, dehydrated vegetables can be added to slow cooker stews or soups, where they will rehydrate and infuse the meal with intense flavors during the cooking process. Similarly, dehydrated meats, once rehydrated, can be sautéed or mixed into casseroles and pasta dishes cooked in an oven.
By organizing meals based on cook and prep times, one saves considerable time and can ensure a robust meal rotation. Here is a strategic approach to meal prep:
Grains and Legumes: Start soaking early or even overnight.
Meats and Dense Vegetables: Begin dehydrating the day before, as they require more time.
Lighter Vegetables and Fruits: Dehydrate these closer to mealtime or the day of meal prep, as they take less time.
By using these techniques, one can streamline their cooking process and enjoy a diverse array of meals throughout the week.
Organizing and Storing Dehydrated Meals

Proper storage extends the shelf life of dehydrated meals and maintains their quality. Optimal organization involves selecting the right containment methods and understanding temperature-specific guidelines.
Airtight Storage Solutions
Airtight containers are essential to preserving the freshness and nutritional quality of dehydrated foods. They prevent moisture and air, which can lead to spoilage, from entering.
Glass containers with tight-sealing lids are preferred for being impermeable and non-reactive.
Plastic storage containers should be BPA-free and have airtight seals.
Vacuum sealing is an effective option for long-term storage, dramatically extending shelf life.
For items used frequently, consider the following:
Use smaller containers to limit exposure to air.
Keep a desiccant packet inside to absorb any residual moisture.
Refrigeration and Freezer Guidelines
While most dehydrated foods can be stored at room temperature, some may benefit from refrigeration or freezing to further extend their shelf life.
Fridge storage is advisable for items with higher fat content to prevent rancidity.
Freezing is ideal for extremely long-term storage, particularly for meats or meals containing dairy.
The recommendations are:
Use freezer-safe containers to avoid freezer burn.
Label containers with the date of dehydration to keep track of freshness.
Foods stored in the fridge or freezer should be in airtight containers to maintain quality and prevent the transfer of odors.
Meal Prep for Each Mealtime
Meal prepping with a food dehydrator can enhance the shelf-life of ingredients across all mealtimes, allowing one to batch-cook breakfasts, prepare lunch components ahead of time, and set the stage for quick dinner assembly.
Breakfasts: From Granola to Fruits
For breakfast, a food dehydrator presents an opportunity to create a range of ready-to-eat foods that are both nutritious and convenient. Dehydrated fruits like bananas, apples, and berries make for an excellent grab-and-go.
Granola can be customized with mixed nuts and dried fruits, then stored in air-tight containers.
Dehydrated fruit slices or fruit leather offer a sweet treat that pairs well with yogurt or oatmeal.
Lunch Ideas with Dehydrated Ingredients
At lunch, dehydrated vegetables and meats become the foundation for hearty meals that are easy to transport.
Dried tomatoes or peppers can be added to salads or wraps to enhance the flavor without the worry of sogginess.
Jerky made from lean proteins such as beef or turkey serves as a filling and high-protein snack.
Dinner Suggestions and How to Rehydrate
Dinner meals are effortless when incorporating dehydrated ingredients. They rehydrate quickly, maintain much of their original texture and flavor, and make batch cooking a breeze.
Incorporate dehydrated vegetables into stews and casseroles that can rehydrate during the cooking process.
Dried beans and legumes can be pre-soaked and then cooked to make a robust base for chilis or curries.
Special Diet Meal Prep

Special diet meal prep with a food dehydrator allows individuals to design nutritionally tailored meals that align with their dietary goals. Dehydrating food retains most nutrients while concentrating flavors, making it an efficient process for meal prepping with specific dietary needs in mind.
Vegetarian and Vegan Options
For those following vegetarian or vegan diets, food dehydrators open up a plethora of options for healthy snacking and meal components. Vegetarian meal preppers can leverage dehydrated beans as a stable source of protein—crucial for a plant-based diet. Dried beans are convenient and have a long shelf life, making them perfect for meal planning. Incorporating a variety of dehydrated vegetables such as kale is another way to ensure that meals are nutrient-dense. Kale, in particular, retains its rich mineral content during the dehydration process, serving as an excellent ingredient for creating healthy chip alternatives. As for grains, quinoa can be precooked and dehydrated to be rehydrated later, providing a complete protein source alongside a complex carb that is both filling and energy-boosting.
Meal Prepping for Weight Loss
When focusing on weight loss, using a food dehydrator can aid in creating low-calorie, nutrient-dense snacks and meal components. Healthy foods like fruits and vegetables can be dehydrated to concentrate their flavors without added sugars or preservatives, offering sweet and savory options for weight-loss-friendly snacking. For more substantial meals, individuals can prepare dehydrated complex carbs, such as sweet potatoes, which provide sustained energy and help with satiety. Portion control is also easier when foods are dehydrated, as they reduce in size, allowing for precise measurements without compromising on the amount of food consumed. By focusing on the density of nutrients rather than volume, meal preppers can ensure their meals support their weight loss goals while still being satisfying.
Advantages of Dehydrated Meal Prep
Dehydrated meal prep offers substantial economic advantages and health benefits. It allows for better budgeting and retention of nutrients while offering the convenience of portion control.
Economic Benefits
Money-Saving: Dehydrating food for meal prep can lead to significant savings. By buying in bulk and preserving when ingredients are in season, individuals can reduce their food expenses. Dehydration extends shelf life, meaning less waste and more cost-effective meal planning.
Budget-Friendly: Implementing dehydrated meals within one's meal prep routine can make it easier to adhere to a budget. The initial costs of a food dehydrator are offset by the long-term savings on grocery bills.
Health and Nutrition Perks
Nutrient Retention: The dehydration process retains a high percentage of the original nutrients found in the food, more so than some other cooking methods. Individuals benefit from the preserved vitamins and minerals in their meals.
Healthy Choices: With meal prep, one has complete control over ingredients. Dehydrated meals can support healthier eating by eliminating preservatives found in store-bought dried foods.
Portion Control: Preparing meals in advance helps to manage portions, which is beneficial for those keeping track of their calorie intake. Dehydrated food is compact, which assists in controlling portions and can aid in weight management efforts.
Recipes and Cooking Instructions
When using a food dehydrator for meal prepping, it's important to select recipes designed for dehydrating and adhere to specific temperature and timing guidelines to ensure both safety and flavor.
Easy Dehydrator Recipes
Dried Fruit Snacks:
Apples: Slice apples thinly, sprinkle with cinnamon if desired, and dehydrate at 135°F (57°C) for 6-10 hours.
Bananas: Cut bananas into slices and dehydrate at the same temperature for approximately 6-8 hours until they achieve a leathery texture.
Vegetable Chips:
Kale Chips: Tear kale leaves into bite-sized pieces, toss with a small amount of olive oil and sea salt, and dehydrate at 125°F (52°C) for 4-6 hours.
Sweet Potato Chips: Thinly slice sweet potatoes, lightly coat with oil and your choice of spices, and dehydrate at 135°F (57°C) for 7-11 hours.
Jerky:
Beef Jerky: Marinate strips of lean beef in a mixture of soy sauce, Worcestershire sauce, and seasonings. Dehydrate at 160°F (71°C) for 4-6 hours until the jerky is dry but still pliable.
Herbs:
Parsley, basil, and other herbs can be dried at 95°F (35°C) until completely dry, usually taking 4-8 hours depending on the herb and moisture content.
Cooking Time and Temperature Guides
For successful dehydrating, using the correct cooking time and temperature for each type of food is essential. Below are general guidelines:
Food Category Temperature Time Range Fruits 135°F (57°C) 6-10 hrs Vegetables 125°F (52°C) 4-11 hrs Meats (Jerky) 160°F (71°C) 4-6 hrs Herbs 95°F (35°C) 4-8 hrs
For soups and stews, one can prepare and dehydrate ingredients individually and then combine and store them as ready-to-cook portions. For example, dehydrate vegetables like carrots, onions, and celery for use in stews. Similarly, mushrooms and tomatoes can be dehydrated and later added to a soup base. The rehydrated ingredients can be cooked in simmering water until the desired consistency is reached.
Always consult the manual of the dehydrator for specific instructions and check the texture of the food periodically during the dehydration process. Dehydrated food should be dry and leathery or crispy, but not burnt or overly hard.
Safety and Maintenance

Ensuring food safety during dehydration and properly maintaining the equipment are critical for guaranteeing that the benefits of meal prepping with a food dehydrator are not compromised.
Dehydrating Food Safely
When dehydrating food, one must be vigilant to eliminate any risk of bacteria growth. Temperature control is key; most foods need to be dehydrated at 135°F (57°C) or higher to prevent the growth of bacteria and other pathogens. However, leafy greens and herbs require lower temperatures to preserve their volatile oils. Users should always follow the food-specific temperature guidelines provided in their dehydrator manual. Additionally, they should ensure that foods are evenly sliced and spread out to promote uniform drying since uneven pieces can lead to moisture pockets that may harbor bacteria.
Pre-treatment: Some foods benefit from pre-treatment, such as blanching, which can destroy enzymes that may cause spoilage during dehydration.
Proper Storage: After dehydration, foods should be properly cooled and then stored in airtight containers to keep moisture out. Regular checks are vital to ensure the food remains dry and free from contamination.
Maintaining Your Food Dehydrator
Regular maintenance is essential for the performance and longevity of your food dehydrator. After each use, cleaning is the most crucial step. Components such as trays and covers often require gentle washing with warm, soapy water. They should be thoroughly rinsed and completely dried before being reassembled or stored to prevent the growth of mold or bacteria.
Regular Inspections: Periodically, the dehydrator should be inspected for any wear and tear, such as cracks or damage to the heating element. Timely repairs or replacements prevent future contamination and inefficiency.
Manufacturer’s Instructions: Users should always refer to the manufacturer’s manual for specific maintenance guidelines, as each model may have unique features that need special care or cleaning methods.
Maintaining a clean environment and handling food safely in conjunction with regular equipment checks ensures that meal prepping with a food dehydrator is both a safe and effective method for preserving food.
