
The Ultimate Guide to Using a Soil Steamer
Mastering Soil Sterilization and Weed Control in Homesteading
Soil steaming is a proven method of soil sterilization that plays a crucial role in managing soil-borne diseases, weeds, and unwanted pests. This technique involves subjecting the soil to high-temperature steam, which penetrates the soil's layers, effectively neutralizing threats that can be detrimental to plant health. For homesteaders looking to cultivate a healthy and productive garden, soil steaming offers a non-chemical approach to preparing soil—making it an attractive option for both conventional and organic gardening practices.
Implementing soil steaming as part of a homesteading routine can significantly reduce the incidence of plant diseases and weed problems. By using steam to treat the soil, one ensures that pathogens such as bacteria and fungi, along with weed seeds and insect pests, are destroyed. The efficacy of soil steaming hinges on reaching the correct temperature and maintaining it for a sufficient duration—commonly at 180 degrees Fahrenheit for at least 30 minutes. Soil steaming contributes to an effectively sterilized growing environment, fostering a robust foundation for plant growth and crop yield without the reliance on synthetic chemicals for soil treatment.
Understanding Soil Sterilization
Soil sterilization is a critical process for maintaining a clean and productive homesteading environment. It effectively eliminates weeds, diseases, and pests from the soil, thereby creating an optimal growing medium for healthy plants.
Benefits of Sterilizing Soil
Sterilizing soil is crucial for several reasons:
Weed and Pest Control: It helps in eradicating weeds, soil-borne diseases, and pests without the use of harmful chemicals, making it a preferred method for organic farming.
Disease Prevention: By eliminating pathogens, the process reduces the chances of disease transmission to plants.
Enhanced Growth: Sterilized soil can improve plant growth and yield as it contains fewer competitors for nutrients.
Soil Sterilization vs. Solarization
While both soil sterilization and solarization are methods to clean and prepare the soil for planting, they differ significantly:
Soil Sterilization: This method uses steam to reach high temperatures that kill off unwanted organisms in the soil. It is considered sustainable as it reduces the reliance on chemical treatments and can be utilized in various settings including greenhouses and open fields.
Solarization: Solarization employs solar energy to heat the soil covered by a clear plastic tarp. This process is more time-consuming, typically requiring 4-6 weeks of hot, sunny weather to be effective. Nevertheless, it is a clean and passive technique that harnesses natural energy to achieve similar results as steam sterilization.
The Science of Soil Steaming
Soil steaming is an effective method that utilizes heat in the form of steam to sterilize soil, managing weeds and soil-borne pathogens for healthier crop production.
How Soil Steaming Works
Soil steaming involves injecting steam into soil to raise the temperature to a level lethal to unwanted organisms. The process typically elevates soil temperatures to between 170°-180° Fahrenheit (76°-82°C), with this heat causing the denaturation of proteins in the cells of weeds, bacteria, viruses, fungi, and other harmful pathogens. The high temperature is maintained for a period sufficient to ensure thorough sterilization of the soil:
Temperature: Soil heated to 170°-180° Fahrenheit (76°-82°C)
Duration: Maintain heat for effective sterilization (time varies)
The use of a steam generator and a steam distribution system, such as a steam sock, tarp, or water hoses, enables an even application of steam across the treatment area. The soil's moisture content is significant in this process as wet soil conducts heat more efficiently, thus aiding the sterilization.
Effectiveness Against Soil Pathogens
Soil steaming is particularly effective against a wide range of soil pathogens. Its efficacy in exterminating nematodes, a common agricultural pest, as well as various species of bacteria, fungi, and viruses, makes it a powerful disinfection technique. However, it is seen as a partial disinfection method since heat penetration can vary and some resilient spores may survive.
Key entities targeted by soil steaming include:
Bacteria: Reduced incidence due to protein denaturation
Fungi: Reduced incidence as high heat disrupts cellular structure
Nematodes: Killed by heat, especially at certain life stages
Viruses: Typically heat-sensitive, their proteins unfold
Each pathogen type may require different exposure times and temperatures for complete eradication. The steaming process is adjusted according to these factors to maximize the effectiveness of soil sterilization.
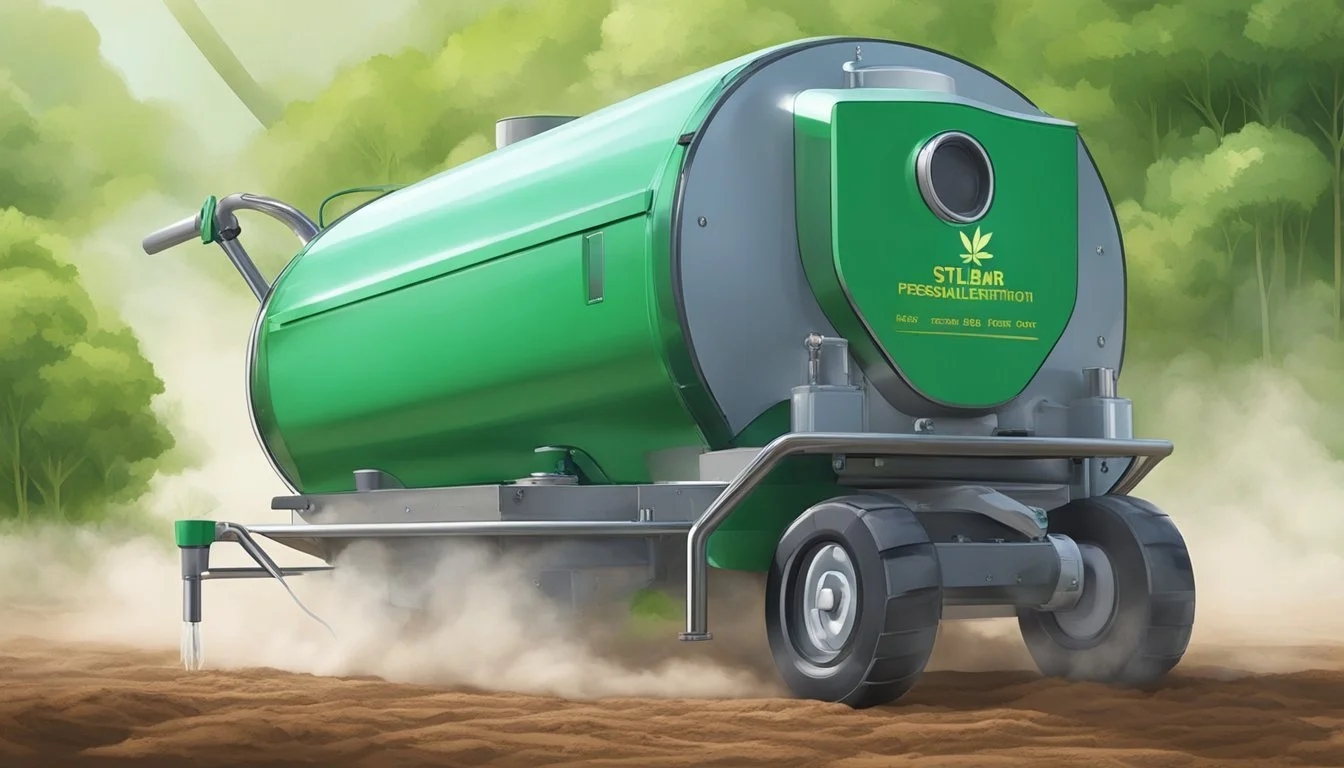
Soil Steamer Equipment
Choosing the right soil steamer equipment is crucial for homesteaders who are looking to sterilize soil and control weeds effectively. Soil steamers utilize steam to eradicate unwanted biological agents such as fungi, weed seeds, and diseases, ensuring a healthy start for planting.
Types of Soil Steamers
There are several types of soil steamers available, each designed to meet specific needs and scale of operation. The most common types include:
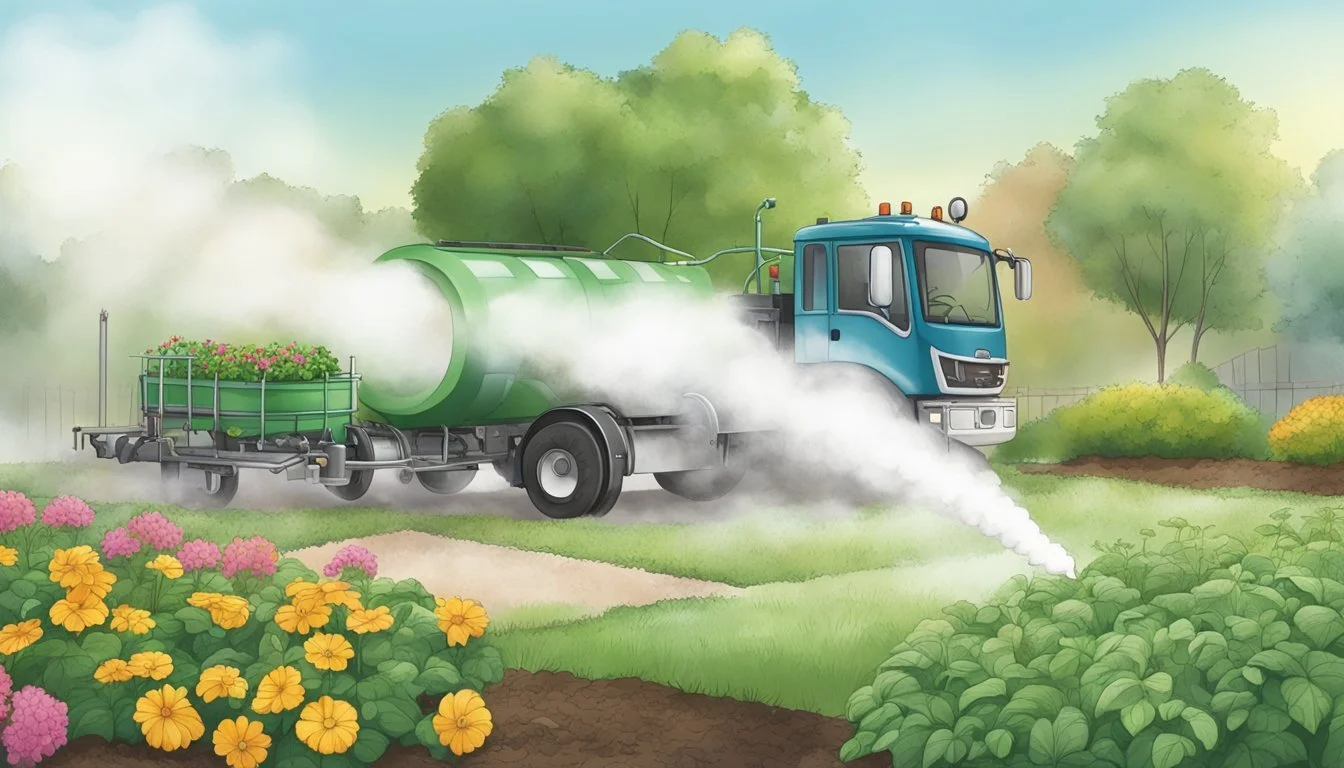
Commercial Soil Steamers: These are large units intended for substantial areas like greenhouses or outdoor fields and are highly efficient in treating soil on a commercial scale.
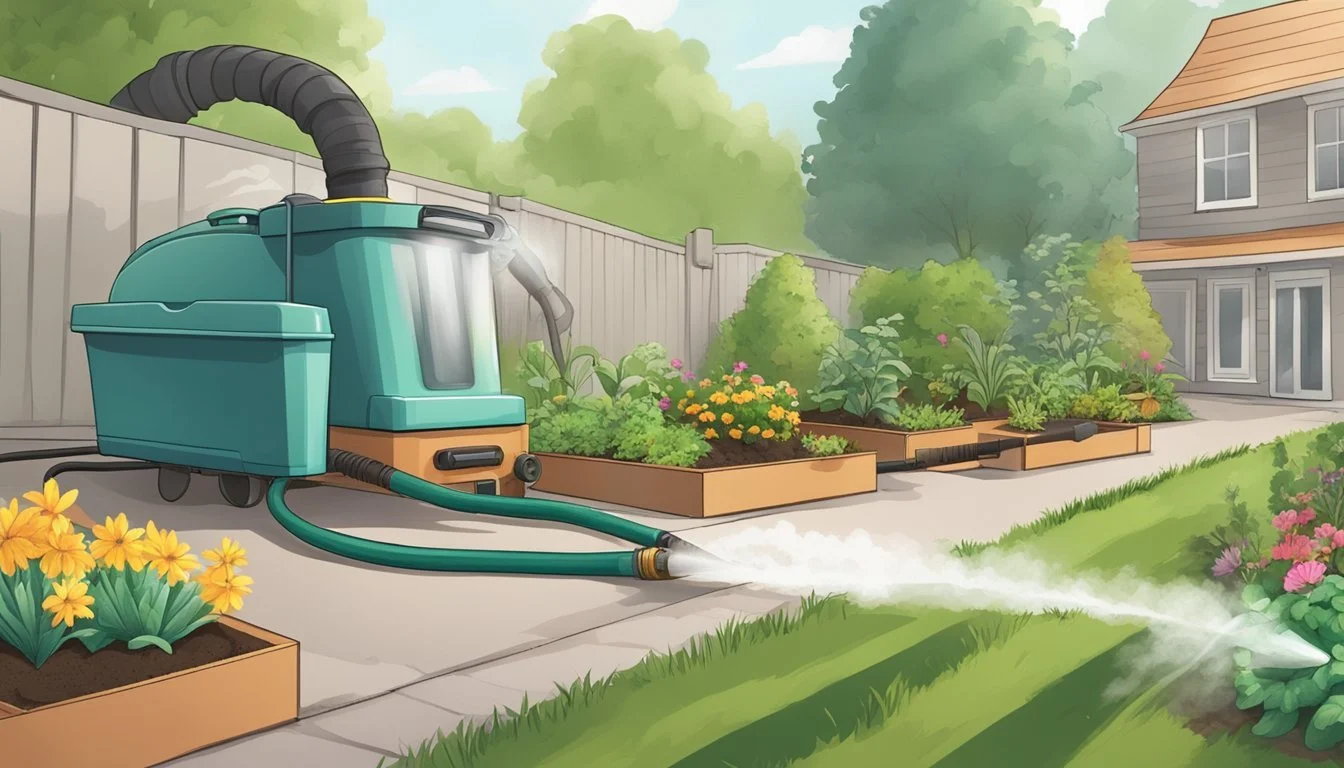
Low-Pressure Steamers: Ideal for smaller or medium-sized plots, low-pressure steamers can treat soil down to certain depths and require less fuel than their commercial counterparts.
Choosing the Right Soil Steamer
When selecting a soil steamer, homesteaders should consider the following factors:
Capacity: Reflect on the area size and the depth of soil you intend to treat. This determines the steaming time and fuel consumption.
Fuel Type: Common steamers run on diesel; it's essential to estimate the fuel requirement. For example, treating a 300 square foot area to a depth of 2 inches might consume approximately 10 gallons of Diesel.
Design Variation: There are many steamer designs available. Choose one that aligns with your specific needs, considering rental costs may vary with the model.
Efficiency: Steam penetration is more effective in moist soils. A model that blends soil with steam ensures quicker heating and better weed control.
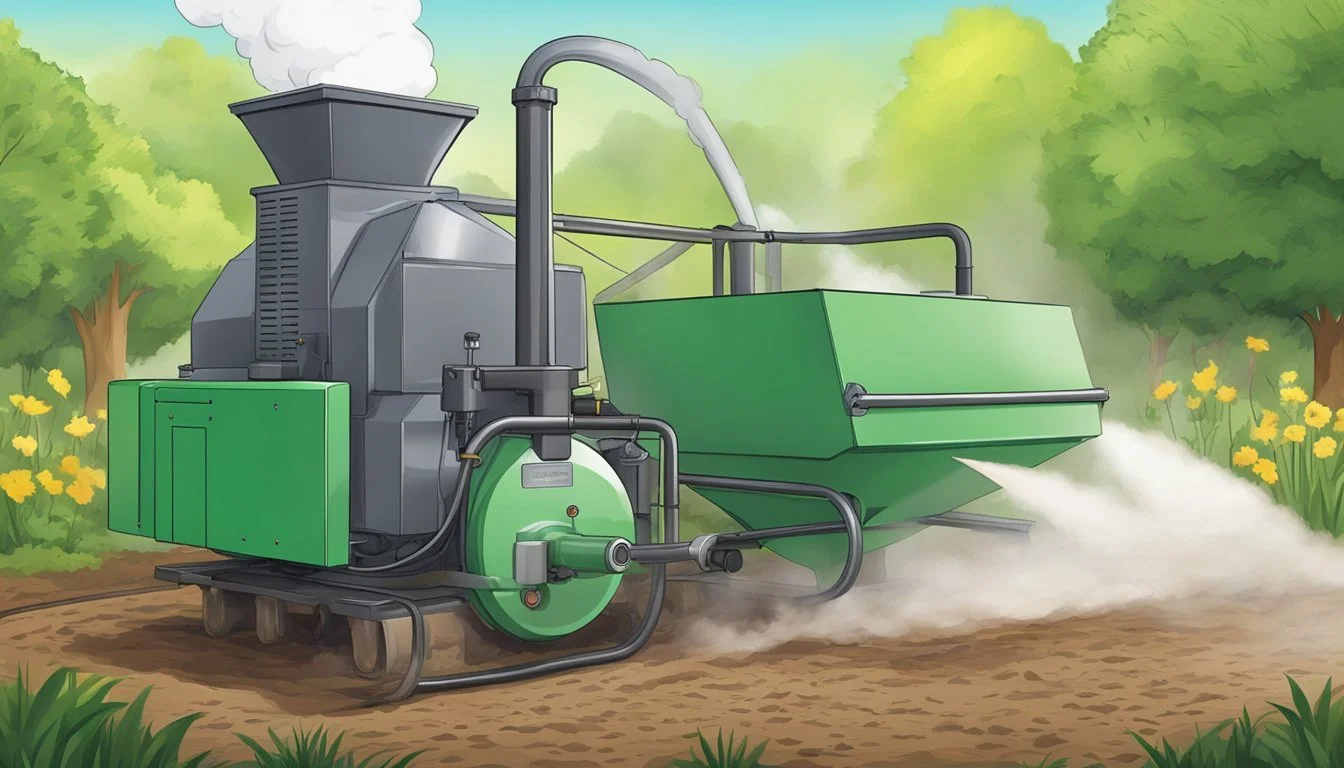
When it comes to soil steamer equipment, the steam generator is a core component that produces the steam required for the sterilization process. Understanding the types of soil steamers and choosing one based on capacity, fuel type, and design will lead to a more effective and efficient sterilization process, laying the foundation for a successful growing season.
Preparing Your Soil for Steaming
Before steaming soil, obtaining the right moisture level and ensuring the soil is properly prepared is essential. These steps lead to effective sterilization and better weed control.
Moisture and Temperature Considerations
Proper soil moisture is critical for effective soil steaming. Soil should be moist but not waterlogged; this enhances the heat transfer throughout the soil substrate. An optimal soil moisture level is roughly 20% water by weight, as overly dry soil can resist heat penetration, while excessively wet soil may reduce heating efficiency.
Temperature is equally crucial, with the target being a sustained soil temperature of 180°F (82°C) for at least 30 minutes to eliminate most pests, weeds, and pathogens. The steaming process increases in uniformity and efficacy when these conditions are optimized.
Pre-Steaming Soil Preparation Steps
To prepare for soil steaming:
Clear and level the area: Remove debris, large clumps, and rocks to ensure even steam penetration and coverage.
Assess soil structure: Loosen compacted soil to improve steam flow. This is beneficial for the soil structure and facilitates sterilization.
Integration of organic matter:
If incorporating compost or potting soil, mix them evenly with the native soil.
Allow for natural composting processes to occur before steaming, as organic matter can affect temperature uniformity.
Follow these steps diligently to create an environment conducive to the effectiveness of a soil steamer for homesteading soil sterilization and weed control.
Executing the Soil Steaming Process
In homesteading, soil steaming is a robust technique for soil sterilization and weed control. It efficiently eliminates soil-borne pathogens and weeds, requiring careful execution for safety and efficacy.
Step-by-Step Soil Steaming Guide
Prepare the Area: Clear the soil of large debris and moisten it, as dry soil may hinder steam penetration.
Setup the Equipment: Position the soil steamer on the soil and cover it with a steam sheet, ensuring the edges overlap with the soil by at least 12 inches.
Seal the Edges: Weigh down the edges of the steam sheet with chains or water hoses to trap the steam.
Begin Steaming: Activate the steamer and monitor until steam visibly escapes from under the sheet.
Steam Activation: Once steam is visible, maintain a consistent temperature—typically at the boiling point of water (212°F or 100°C), for approximately 30 minutes. Use a thermometer to ensure accurate temperature measurement.
Finish: After the steaming period, turn off the equipment and allow the soil to cool naturally while still covered to maximize the effect.
Remove Equipment: Once the soil temperature normalizes, remove the steam sheet carefully, and the soil is ready for use.
Safety Measures and Best Practices
Wear Protective Gear: Operators should use heat-resistant gloves and protective clothing to prevent burns.
Check Equipment: Prior to use, inspect the steamer for any malfunctions or leaks to ensure efficient and safe operation.
Clear Surroundings: Keep the area surrounding the steamer free from flammable materials and ensure proper clearance for the equipment to operate.
Stay Vigilant: Constant supervision is essential to prevent overheating and to maintain control over the steaming process.
Post-Treatment: Allow the soil to cool before planting, as high temperatures can harm new plantings.
By following these guidelines, homesteaders can sterilize soil effectively, ensuring a productive and healthy growing environment.
Managing Weeds and Pests Post-Steaming
After soil steaming, the ground is left in a sterilized state with reduced levels of weeds, seeds, pests, and diseases. This section focuses on maintaining this state to prolong the benefits of soil steaming.
Suppressing Weed and Seed Growth
Soil steaming significantly reduces the weed seed bank, but vigilant management is required to maintain clean soil. Here are direct strategies post-steaming:
Mulching: Application of organic or synthetic mulch to inhibit weed germination.
Regular Monitoring: Routine inspection to promptly address any emergent weeds before they establish.
Follow-Up Steaming: Conduct supplementary steaming sessions at intervals optimal for preventing weed resurgence, typically at 3- to 4-week periods during active growth phases.
Integrated Pest Management Following Steaming
Steaming disrupts the habitat for insects and pests, yet a comprehensive approach is necessary for sustainable control. A combination of tactics can be immensely effective:
Biological Control Agents: Introduce beneficial organisms like nematodes and predatory insects to the garden to naturally curb pest populations.
Physical Barriers: Employ floating row covers to protect plants from pests without the use of chemicals.
Chemical Controls: Minimally and strategically apply pesticides, favoring organic options, to target persistent pest problems after careful monitoring.
Impact on Soil Health and Plant Growth
Using a soil steamer can dramatically affect the soil's properties and, consequently, plant growth. Steam sterilization is known to eliminate weeds and soil-borne pathogens effectively. However, it also alters the soil by impacting nutrient levels and beneficial organisms which are crucial for plant health and crop yield.
Assessing Soil Nutrient Content
Before applying steam, assessing the nutrient content of the soil is essential. Steaming the soil may reduce the levels of available nutrients as it involves heating the soil to temperatures that can cause certain nutrients to volatilize or become less available to plants. A soil test can provide a precise measure of nutrient content, indicating:
NPK Levels (Nitrogen, Phosphorus, Potassium): Essential for plant growth.
Micronutrients (Zinc, Iron, etc.): Required by plants in smaller quantities.
Following soil steaming, amending the soil with the necessary fertilizers can help to replenish these essential nutrients.
Promoting Healthy Plant Development
In addition to nutrient content, soil steaming influences the soil biome—the ecosystem of microorganisms in the soil, including bacteria and fungi, some of which are beneficial to plant health. High-temperature steam can eradicate both harmful pathogens and beneficial organisms. Therefore, after steaming, it's important to reintroduce these beneficial organisms to maintain soil health. They play a vital role in:
Nutrient Cycling: Decomposing organic matter to replenish soil nutrients.
Enhancing Soil Structure: Improving soil aeration and water retention.
For achieving optimal plant development and maximizing crop yield, maintaining a balanced soil environment after steaming is paramount. This involves careful planning of steam application and immediate post-steaming management to ensure the soil is conducive to plant growth and health.
Environmental Considerations
When homesteaders consider soil sterilization and weed control methods, environmental impact plays a significant role. It's essential to compare the effects of chemical versus steam sterilization and consider the benefits of eco-friendly approaches.
Comparing Chemical vs. Steam Sterilization
Chemical Sterilization:
Sustainability: Often relies on synthetic inputs that may not be sustainable and can leave harmful residues in the soil and water supply.
Environmental Impact: Can contribute to pollution and may negatively affect beneficial soil organisms and non-target species.
Steam Sterilization:
Sustainability: Uses water and heat, which are more sustainable resources; though it does require energy, which could be from non-renewable sources.
Environmental Impact: Minimal, as it does not introduce harmful chemicals into the ecosystem and is safe for surrounding flora and fauna.
Advantages of an Eco-Friendly Approach
Benefits of Steam Over Chemicals:
Maintains soil structure and health by avoiding chemical disruption.
Compatible with organic farming practices, supporting a healthy farm ecosystem.
Eco-friendly practices highlight the importance of sustainable methods that protect the environment and align with organic agriculture. The choice of steam sterilization minimizes chemical use, thus preserving soil microbiology and preventing chemical runoff.
Alternatives and Complementary Methods
Despite soil steaming being an effective method for sterilization and weed control, homesteaders can explore non-steaming options and combine other techniques with steaming to optimize their results.
Exploring Non-steaming Sterilization Options
Chemical Sterilization: Homesteaders seeking alternatives to steam may consider chemical fumigants and pesticides as traditional tools. These can range from broad-spectrum herbicides to targeted treatments. It's critical to follow the manufacturer’s guidelines because these products can impact both harmful and beneficial organisms in the soil.
Hydrogen Peroxide: As a relatively mild alternative, hydrogen peroxide can be used to sterilize soil. It effectively kills pathogens and weed seeds at high concentrations and breaks down into water and oxygen, leaving minimal residues.
Introducing Beneficial Microorganisms: Introducing beneficial microbes into the soil ecosystem can naturally suppress harmful organisms. This method can enhance plant growth and resilience without removing the soil's organic balance.
Combining Steaming with Other Techniques
Sequential Use of Methods: Soil steaming can be followed by the application of beneficial microorganisms to re-establish a healthy soil ecosystem. The steaming process removes both harmful and beneficial microbes; thus, reintroducing beneficial organisms is critical for maintaining soil health.
Integrated Pest Management (IPM): Combining soil steaming with IPM strategies can yield better outcomes. IPM relies on a combination of biological, cultural, physical, and chemical methods to control pests in a more environmentally sensitive manner.
By incorporating multiple strategies, homesteaders can achieve a more balanced approach to soil sterilization and weed management that may also sustain the long-term fertility and health of their soil.
Advanced Soil Steaming Techniques
In the realm of soil sterilization and weed control, advanced soil steaming techniques offer homesteaders efficient and eco-friendly options. These approaches focus on depth and adaptability to soil variance, optimizing energy consumption and ensuring effective sterilization.
Deep Soil Steaming with Vacuum
Deep soil steaming with a vacuum takes a targeted approach to attack pests and pathogens below the surface. This method involves heating the soil to temperatures typically over 95°C, which are maintained consistently through the forced removal of air, allowing the steam to penetrate deeper into the soil. The process can reach depths of up to 33.5 cm and is effective in less than four hours, vastly reducing energy consumption and time compared to traditional surface steaming methods.
Advantages:
Increases steam penetration depth significantly
Reduces time and energy use
Achieves uniform soil temperature
Process:
Use a vacuum pump to extract air from the soil.
Introduce steam through the soil profile.
Maintain the temperature for a set period to ensure thorough disinfection.
Optimizing Steaming for Different Soil Types
Each soil type reacts differently to steaming, necessitating adjustments to achieve optimal results. For loamy soils, lesser time may be required due to better steam permeability, while clay soils require longer steaming due to their density and moisture retention properties. Adjustments in steam application and duration help to minimize fuel use, ensuring that energy consumption is kept at bay while maintaining the efficacy of sterilization.
Considerations:
Loamy Soil: Lower steaming duration with caution to prevent over-steaming.
Clay Soil: Increased steaming time to ensure thorough penetration and effectiveness.
Adjustments Guide:
Steam Duration: Tailor to the specific absorption and retention characteristics of the soil.
Temperature Monitoring: Use temperature sensors at different depths to optimize the steaming process.
Troubleshooting Common Soil Steaming Issues
In soil steaming, challenges can arise from equipment malfunctions to inconsistent sterilization. Understanding specific troubleshooting techniques enhances the effectiveness of using a soil steamer.
Resolving Equipment Malfunctions
Steaming Hood Issues:
Leaks: Inspect the steaming hood for any signs of damage or wear. If a leak is found, replace the damaged part or seal gaps with high-temperature resistant sealants.
Inadequate Seal: Ensure the steaming hood fits snugly over the soil. If necessary, adjust the hood or add weighting materials to minimize steam escape.
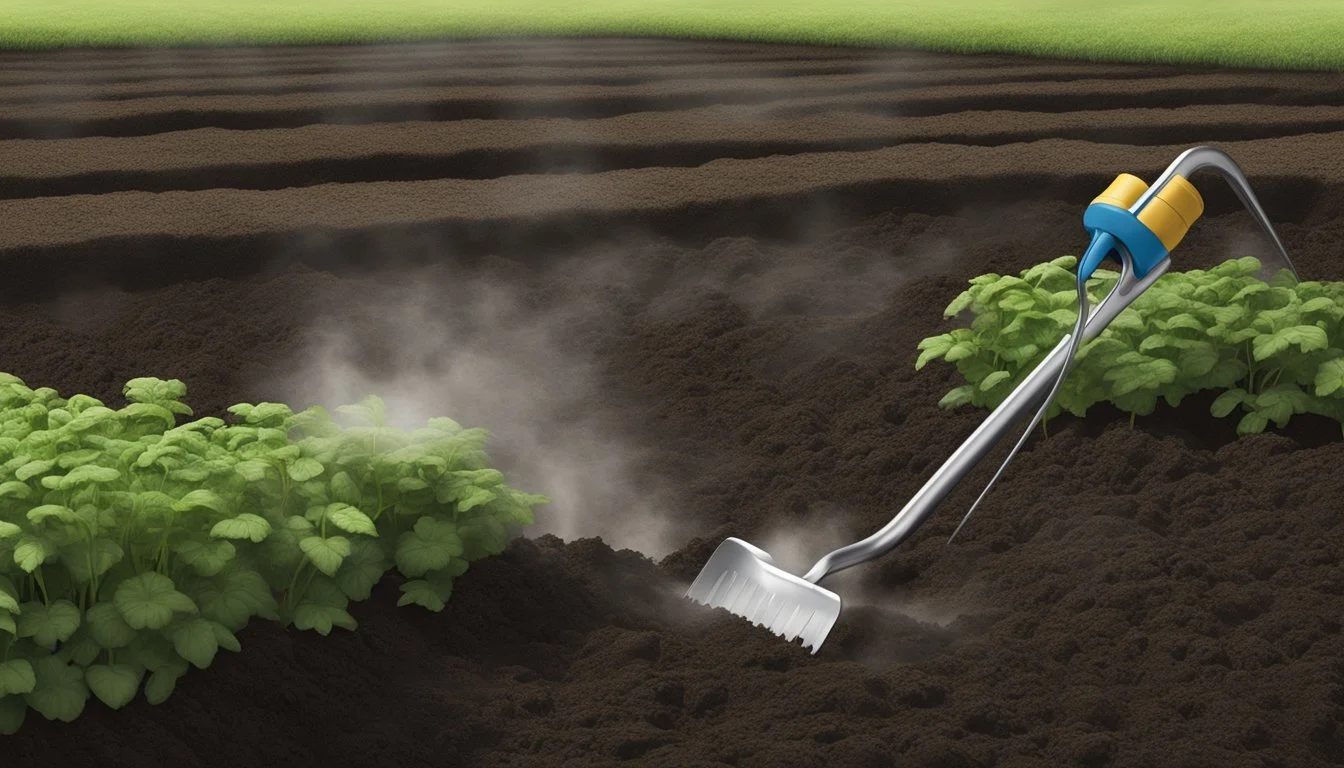
Steaming Harrow Complications:
Uneven Distribution: Check the alignment of the steaming harrow tines for consistent soil penetration. Realignment or replacement may be necessary for optimal performance.
Mechanical Failures: Regularly maintain moving parts and apply lubricants compatible with high-temperature conditions. If a part fails, consult the manufacturer's guide for specific repair instructions.
Steaming Plough Troubles:
Clogging: Soil residue can clog the plough. It should be cleaned after each use to ensure clear steam paths.
Depth Inconsistencies: Adjust the plough depth according to soil conditions to achieve uniform steaming. Different soil types may require modifications to the standard depth settings.
Tackling Inconsistent Sterilization Results
Temperature Monitoring:
Ensure the soil reaches the target temperature of approximately 180°F (82°C) for effective sterilization. Use a thermometer to monitor and adjust steaming times as needed.
Soil Composition and Moisture:
Heavy Soil: Dense soil may require longer steaming times. Adjust the duration to ensure thorough sterilization.
Moisture Levels: Optimal moisture is crucial for effective steam conduction. If the soil is too dry, pre-moistening may be necessary; if too wet, allow it to dry to the ideal moisture content.
By addressing specific issues related to equipment and sterilization outcomes, homesteaders can optimize their soil-steaming processes for better disease control and weed management.
Closing Thoughts on Soil Sterilization
Soil sterilization through steaming is a powerful method for homesteaders to manage soil health and control weeds. Steam sterilization enhances a garden’s productivity by ensuring that soil is free from harmful organisms and weed seeds that can impede plant growth.
When adopting this technique, consider that while it effectively controls undesirable elements, it also temporarily impacts beneficial soil activators and agents of nutrient cycling. Often, natural balances are restored over time as sterilized soil is recolonized by beneficial microbes that facilitate nutrient availability and support healthy plant growth.
To mitigate any negative effects on organic matter in the soil, homesteaders can incorporate compost and other organic materials post-sterilization. This reintroduces beneficial microorganisms and stimulates the breakdown of organic matter, helping to kickstart nutrient cycling processes.
Key considerations after soil steaming:
Reintroduction of beneficial microorganisms is crucial.
Addition of compost or a soil activator may enhance recovery.
Monitoring nutrient availability ensures plants have access to essential nutrients.
Regular assessment of soil health post-sterilization is recommended.
Homesteaders should approach soil sterilization with the understanding that it is part of a broader soil management strategy. It's a tool in their gardening arsenal for creating an environment where plants can thrive, ensuring their homestead’s garden is productive and sustainable.
