
The Ultimate Guide to Using a Soil Tiller/Cultivator
Key Steps for Optimal Land Preparation
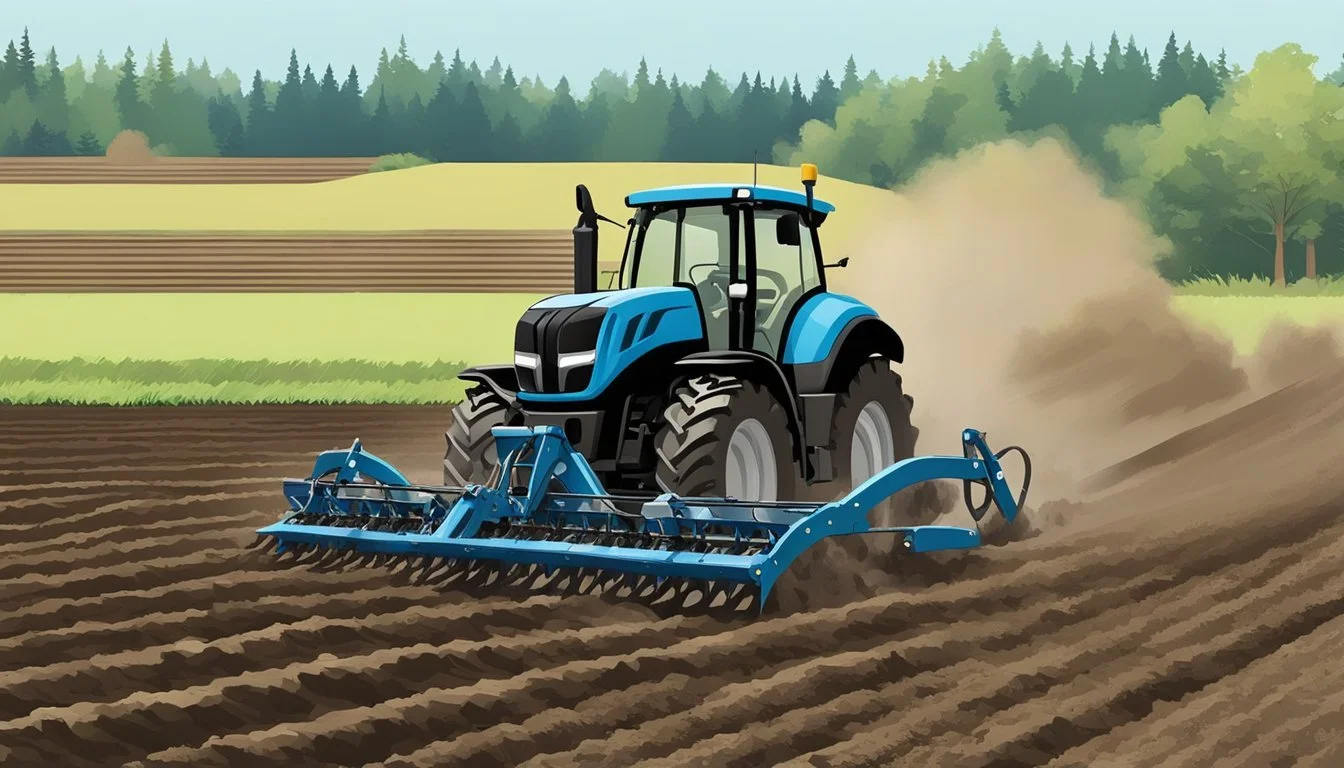
Preparing homestead land for planting is a critical step for a successful growing season. Key to this process is understanding the tools at one’s disposal: the tiller and the cultivator. These instruments are essential for bringing soil to its optimal condition for planting. A tiller is most often used when it’s time to break new ground or deeply work heavy soils, turning over and aerating the earth to create ideal seedbeds. Its robust nature allows it to tackle dense, unworked soils, making it suitable for preparing large areas for new gardens.
The cultivator, on the other hand, is lighter and serves a different purpose. Designed for maintenance, it is best suited for the task of weeding and incorporating soil amendments into existing beds. By stirring the top layer of soil, cultivators help gardeners maintain the fertility and readiness of their plots throughout the growing season. Each tool has its specific roles, and understanding these can make the task of soil preparation much more efficient.
Choosing between a tiller and a cultivator depends on the stage of garden preparation and the existing soil condition. For homesteaders looking to start a new garden or revitalize a neglected piece of land, a tiller would likely be the first choice. As the season progresses and maintenance becomes the focus, the cultivator then becomes the tool of choice to keep the soil in prime condition for plant growth. Both tools come in various models, including, but not limited to, gas-powered and electric, each with their own set of attributes catered to different scales of gardening and land management.
Understanding Tillers and Cultivators
Choosing the correct tool for soil preparation is essential for establishing a productive garden. Understanding the nuances between tillers and cultivators, alongside their specific applications and types, can significantly influence gardening outcomes.
Tiller vs Cultivator: Differences and Uses
Tillers and cultivators are often mentioned in the same breath but serve different purposes when preparing land for planting. Tillers are robust machines designed to break new ground and turn over large areas of soil. They excel in digging deep into the earth, making them ideal for creating new garden plots or preparing earth that has not been previously cultivated. Cultivators, by contrast, are smaller and less powerful. These tools are intended for stirring and loosening soil in existing garden beds, making them perfect for maintaining flower or vegetable gardens, where they intermix soil amendments like compost or fertilizer.
Tiller
Creates new garden plots
Handles large and compacted areas
Suitable for heavy soil
Cultivator
Maintains existing plots
Loosens and aerates top soil layers
Ideal for mixing in amendments
Types of Tillers: Front-Tine and Rear-Tine
Tillers come primarily in two types: front-tine and rear-tine. Front-tine tillers are equipped with tines located at the front and are propelled forward by the spinning action of these tines. They are smaller and more maneuverable, suitable for medium-sized gardens. On the other hand, rear-tine tillers feature tines at the rear and are generally more powerful, with the capacity to handle tougher, more compact soil. They are the better choice for larger plots or soil that requires more intensive work.
Front-Tine Tillers
Maneuverable in medium-sized gardens
Tines located in front
Rear-Tine Tillers
More powerful, suitable for larger gardens
Tines located at the rear
Selecting the Right Tiller for Your Garden Size
When deciding on a tiller, garden size and soil condition are pivotal factors. Motorized tillers for sizeable gardens come in both electric-powered and gas-powered variants. Electric-powered models can be either corded or cordless, with the latter offering more mobility. Gas-powered tillers provide maximum power output and are a go-to for extensive or challenging landscaping tasks. For smaller or more delicate gardens, a compact, corded cultivator may suffice. Selecting the right tiller will streamline the soil preparation process and is a crucial step towards a fruitful gardening experience.
Electric-Powered Tillers
Best for small to medium plots
Option for corded or cordless models
Gas-Powered Tillers
Preferred for large areas and difficult terrain
Offers more power and efficiency
Preparing Your Land for Tilling
Before tilling the land for a homestead garden or farm, it's important to first assess the soil conditions and to clear away any existing vegetation or barriers. Properly preparing the land is crucial for ensuring aeration, nutrient availability, and the effectiveness of adding organic matter.
Assessing Soil Conditions and Quality
Soil quality is paramount for a successful planting season. It's important to test the soil's pH and nutrient levels to determine what adjustments may be needed. Typically, garden soil has a pH between 6.0 and 7.0. Nutrient imbalances can often be corrected by incorporating organic matter into the soil. The presence of weeds or hard soil areas can indicate compacted soil, which requires aeration for better root growth and water absorption.
Conduct a soil test to assess pH levels and nutrient content.
Evaluate the soil texture and structure by examining clumps.
Look for signs of compacted soil such as water pooling or difficult penetration.
Clearing Debris, Weeds, and Obstacles
A clean area is essential for effective tilling. Remove all visible rocks, roots, and debris which can obstruct the tiller's blades or harm the burgeoning plants. Clearing weeds prior to tilling is also important as it prevents them from dispersing throughout the garden area.
Manually remove large rocks and break up any clods of hard soil.
Uproot weeds to minimize the spread of seeds during tilling.
Ensure all obstacles are cleared to provide a smooth tilling process.
By taking the time to thoroughly prepare the land, the soil will be well-suited for the tilling process and ultimately for a bountiful growing season.
Operating Your Tiller Safely and Effectively
In preparing your homestead land for planting, understanding the operation of your tiller is critical for both safety and gardening success.
Understanding Tiller Controls and Features
To operate a tiller or cultivator safely, you must first be acquainted with its controls and features. For instance, rear-tine tillers typically offer more power and stability, especially suitable for tough, hard ground, but require an understanding of their specific controls for safe operation. Front-tine tillers, on the other hand, tend to be more maneuverable. Most tillers will have adjustable working depths, allowing you to set the tilling depth appropriate for your soil condition, whether compact or loose. Knowing the function of heavy-duty tines, wheels, and if available, counter-rotating tines that enhance the breaking of hard soil, is essential.
Tilling Techniques for Homestead Land
Applying the correct tilling technique ensures soils are effectively prepared for planting while preserving the operator's safety. Starting the tiller involves allowing the metal blades or tines to dig into the soil at the right depth before moving. Move ahead slowly for the tiller to thoroughly break down the soil. Create parallel lines similar to mowing a lawn, ensuring even coverage. It is crucial to never force the tiller but rather let it progress at its own pace; pushing too hard can result in strain or damage to both the operator and the machine.
Maintaining and Storing Your Tiller
After tilling, ensure the rototiller is correctly maintained and stored for longevity and safety. Clean off any soil and vegetation from the blades and tines after use to prevent rusting and deterioration. Front and rear-tine tillers should be stored in a dry, covered area to prevent weather damage. Perform regular checks and maintenance on the engine, tines, and wheels to ensure they're in working order for the next use. Proper maintenance prevents accidents and failures during operation and extends the life of your tiller.
Soil Fertility and Amendment
Soil fertility is crucial for the success of any homesteading project, where soil tillers and cultivators play a vital role. The proper integration of fertilizers and compost into the soil can enhance nutrient availability and improve soil structure, thereby optimizing plant health and yield.
Integrating Fertilizer and Compost into the Soil
When preparing land for planting, it's important to introduce fertilizer and compost effectively. Fertilizers replenish essential nutrients that crops deplete from the soil. A balanced mix often includes nitrogen (N), phosphorus (P), and potassium (K), commonly referred to as NPK. For organic gardening, one might use bone meal or other organic fertilizers to provide a slow release of nutrients.
Composting is a process of decomposing organic matter, resulting in a rich soil amendment that improves soil structure and nutrient content. Compost can be homemade or purchased, and should be mixed into the soil using a tiller or cultivator. This ensures even distribution and aeration, crucial for a fertile garden bed.
Key Points:
Apply fertilizer according to soil nutrient requirements.
Evenly mix compost in the topsoil using tillers/cultivators.
Benefits of Compost and Fertilizer Integration:
Enhances soil quality and structure.
Promotes beneficial microbial activity.
Improves water retention and drainage.
Organic Matter Addition:
Add organic matter, such as leaves or grass clippings, during composting.
Organic matter serves as food for soil organisms and further enriches the soil.
Optimizing Soil for Plant Nutrient Uptake
For plants to thrive, the soil must be conducive to nutrient uptake. Cultivating the soil can break up compaction layers, allowing roots to extend and more efficiently absorb water and nutrients. The incorporation of mulch after tilling can help retain moisture and reduce weed competition.
Soil pH is a determinant of nutrient availability. A pH test can guide which amendments are required to balance the soil. For example, lime can adjust acidic soil, whereas sulfur may be used in overly alkaline conditions.
Key Steps to Optimize Soil:
Test soil pH and adjust accordingly.
Use a tiller/cultivator to incorporate amendments and break up compacted soil.
Considerations for Nutrient Uptake:
Balanced soil pH increases nutrient solubility and availability.
Loosening soil improves root growth and nutrient absorption.
By methodically enriching the soil through the use of fertilizers and compost, gardeners and homesteaders can establish a robust foundation for active, healthy plant growth. The integration of these amendments with proper cultivation techniques ensures that the yields from their gardens are bountiful and sustainable.
Garden Planning and Layout
When preparing homestead land for planting, meticulous planning and structuring of the garden layout are vital. This enables space optimization and weed control, ensuring that plants have the necessary resources to thrive.
Creating a Vegetable Garden: Beds and Rows
For those initiating a vegetable garden, the first step is to decide between using traditional garden beds or raised beds. Raised beds, typically constructed as 4 x 4 foot boxes, allow for intensive planting, which can lead to multiple harvests from the same space. These deeply-raised beds enhance drainage, extend the growing season, and make it easier to manage soil quality.
Traditional In-Ground Beds: Require tilling and are effective for large-scale planting.
Raised Beds: Offer excellent drainage and are ideal for small, defined areas. They can be filled with a mix of high-quality soil and compost for optimal plant growth.
When forming rows, ensure they are spaced adequately to support the mature size of the plants, while allowing for sufficient airflow and sunlight exposure. Aligning rows north to south can maximize sun exposure for most plants.
Planting Strategies for Effective Weed Control
Efficient weed control is integral for a healthy garden. To manage weeds:
Implement Mulching: Cover soil around plants with mulch to suppress weed growth and retain moisture.
Spacing: Plan for tight spacing within rows to shade the soil, discouraging weed germination.
Tilling: Before planting in a new or existing garden area, use a soil tiller/cultivator to uproot existing weeds. Be cautious as overtilling can bring dormant weed seeds to the surface.
For a new garden or existing planting area, start weeding early in the season. Remove weeds before they seed to minimize future problems. Regular maintenance such as hand-pulling or hoeing between rows can keep weed growth under control without disturbing plant roots.
Tiller Maintenance and Troubleshooting
Maintaining a tiller or cultivator involves consistent care to ensure it operates efficiently. The primary areas of focus are the engine, the tilling blades, and the fuel system.
Engine Care
Check oil regularly: Ensure the engine oil is at the correct level and change it according to the manufacturer's guidelines.
Air filter maintenance: Clean or replace air filters as needed to prevent dust and debris from impacting engine performance.
Tilling Blades
Clean and lubricate the tines: This prevents them from getting stuck or rusting.
Inspect for damage: Look for bent or worn tines and replace them as necessary for optimal soil cultivation.
Fuel System
Use fuel stabilizer: Adding a stabilizer prevents evaporation and oxidation in the fuel system.
Proper storage: If the tiller won't be used for a while, store any leftover fuel in an airtight container.
Troubleshooting Tips
Difficulty starting: Check the spark plug and replace it if it's worn out or dirty. Ensure the carburetor is clean and the fuel lines are unclogged.
Tines not turning: Disengage the clutch and gently pull the starter rope. If the tines still move, it indicates a need for cable adjustment. Loosen the adjustment nut and modify the cable tension accordingly.
Regular maintenance and addressing small issues promptly can prevent larger problems with a tiller or cultivator. Careful attention to these details will extend the life of the equipment and help maintain its performance for successful land preparation and planting.
Environmental Considerations
In the pursuit of preparing homestead land for planting, environmental considerations play a crucial role in both the health of the ecosystem and the success of gardening and farming activities. Sustainable practices and adaptive methods ensure that soil preparation enhances rather than depletes natural resources.
Eco-Friendly Gardening Practices
Rotary Tiller Use:
Using a rotary tiller may be more efficient than manual implements like shovels and hoes, but it should be done judiciously. Over-tilling can lead to soil degradation and erosion, disrupting the delicate balance of the soil ecosystem. Homesteaders should opt for tillers that are easier to maneuver, such as those from brands like Sun Joe, which allow for precise control and reduced soil compaction.
Soil Health:
Farmers and gardeners should take steps to promote soil health by incorporating organic matter into the soil, which can be facilitated by using a cultivator. The benefits include improved drainage, increased microbial activity, and better root penetration.
Composting: Adding compost before tilling enriches the soil with nutrients.
Cover Crops: Planting cover crops in off-season can prevent erosion and add organic matter when turned into the soil.
Planning for Weather and Seasonal Changes
Spring Preparation: The start of the growing season, especially in spring, is a critical time for soil preparation. Timing is everything — soil should neither be too wet nor too dry. Tilling when the soil is too damp can lead to compaction and clumping, while tilling overly dry soil might not provide the optimum seed bed.
Monitor Weather Patterns: Avoid tilling before bad weather to prevent soil erosion.
Test Soil Moisture: A simple test is to squeeze a handful of soil; it should crumble easily, indicating readiness for tilling.
Seasonal Adaptation: Changes in weather patterns dictate the approach to land preparation. Homesteaders should plan the cultivation schedule around seasonal changes for optimal soil conditions.
Temperature: Work the soil when temperatures are stable to foster a suitable environment for plant growth.
Frost Considerations: Ensure the threat of frost has passed, to avoid damaging new plantings.
