
The Ultimate Butchering Kit for Efficient Meat Processing
Essential Tools for Homesteaders
For homesteaders looking to streamline their meat processing, building an ultimate butchering kit is essential. The self-sufficiency that comes with raising and processing one's own livestock requires reliable tools that can handle the task efficiently. A well-equipped butchering kit ensures the process is done properly, leading to better quality meat and less waste. Selecting the right equipment aids in everything from skinning to packaging, and turns what can be an overwhelming job into a manageable one.
In creating such a kit, one must consider several core tools that are fundamental to butchering. The space set aside for processing should have a durable surface easy to clean, and include features such as a heavy-duty butcher block and a stainless steel table. A steel rail with hooks facilitates the hanging of carcasses, while good lighting and ample room are key for precise work. Moreover, specialized cutting tools like boning knives, butcher knives, and saws must be chosen for their capacity to cut through various types of meat and bone with precision.
Lastly, after primary butchering tasks are completed, processing equipment like meat grinders for ground products, vacuum sealers for packaging, and a digital scale for accurate measurements become important. This additional gear helps in transforming raw cuts into consumable products, such as sausages or ground meat blends, ready for the freezer or the dinner table. A properly built butchering kit on a homestead not only saves time and resources but also enhances the self-reliance of the homesteader, allowing for a sustainable and personalized approach to meat processing.
Understanding Butchering Fundamentals
When embarking on the butchering process, it is essential to have a solid foundation in the techniques and considerations at play. This includes proper preparation, ethical practices, and understanding different meat cuts per animal.
The Importance of Preparation
Butchering your own meat begins with meticulous prep work. This typically involves a few hours devoted to gathering the necessary tools, such as sharp knives and cleaning stations. Having a clear plan and all equipment on hand streamlines the process and ensures safety.
Butchering at Home vs. Professional Processing
Butchering at home affords a level of control and personal satisfaction not found in professional processing. It allows individuals to apply their knowledge to obtain desired cuts of meat, though it requires significant investment in time and resources. In contrast, professional butchers bring expertise that can maximize yield and quality.
Ethical and Humane Practices
Ethical considerations play a crucial role in the butchering process. For poultry like turkeys, using killing cones ensures a more humane end, while larger animals, such as beef cattle, require appropriate techniques to minimize stress. Ethical practices are about respecting the life given for sustenance.
Types of Animals and Appropriate Techniques
Each species of livestock requires specific butchering methods. For instance:
Turkeys: Utilize secured killing cones and sharp knives.
Beef: Beef is divided into large sections known as quarters before breaking down into various cuts of meat like steaks and chops.
Understanding these differences is key to efficient processing.
Overview of Meat Cuts
Knowledge of different cuts of meat is fundamental in butchering. Different animals have varying prime cuts:
Animal: Beef, Prime Cuts: Ribeye, tenderloin, sirloin
Animal: Turkeys, Prime Cuts: Breasts, thighs, drumsticks
Recognizing where these cuts are located and how to extract them requires skill and precision.
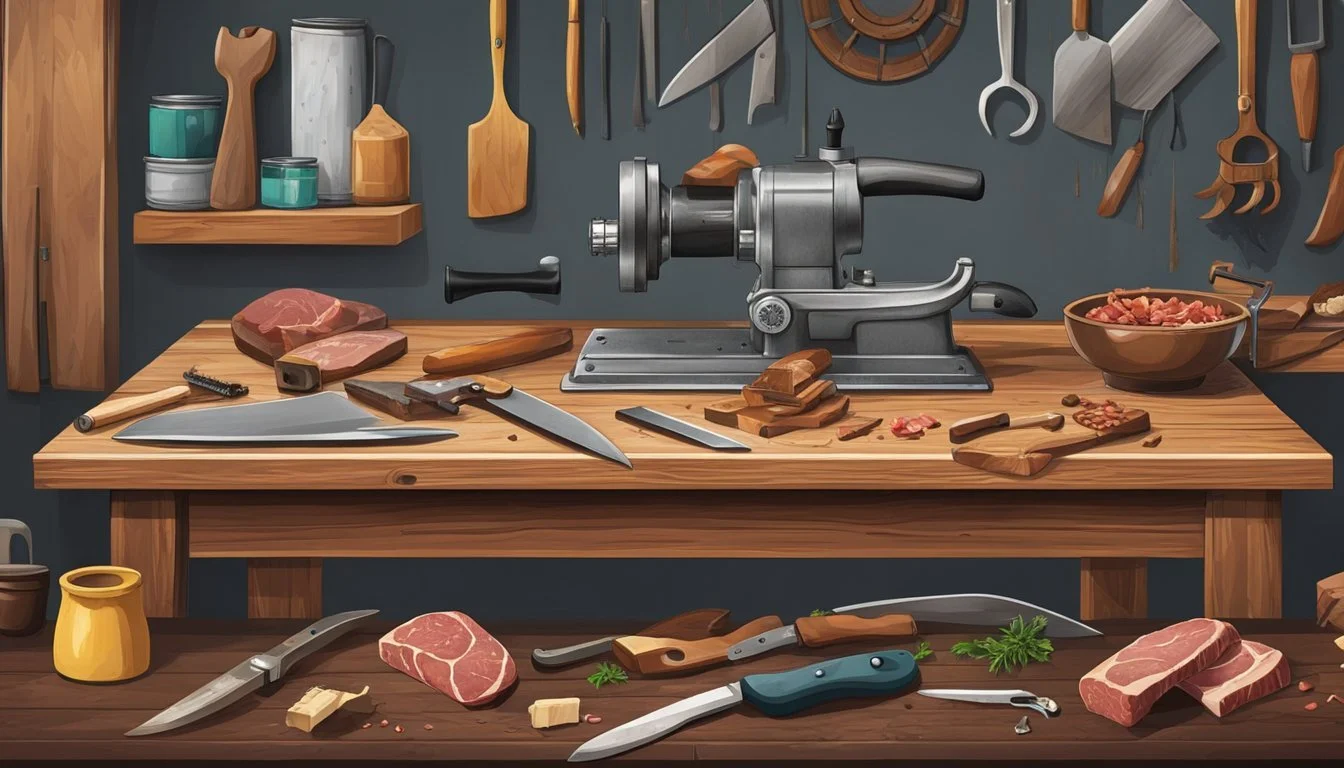
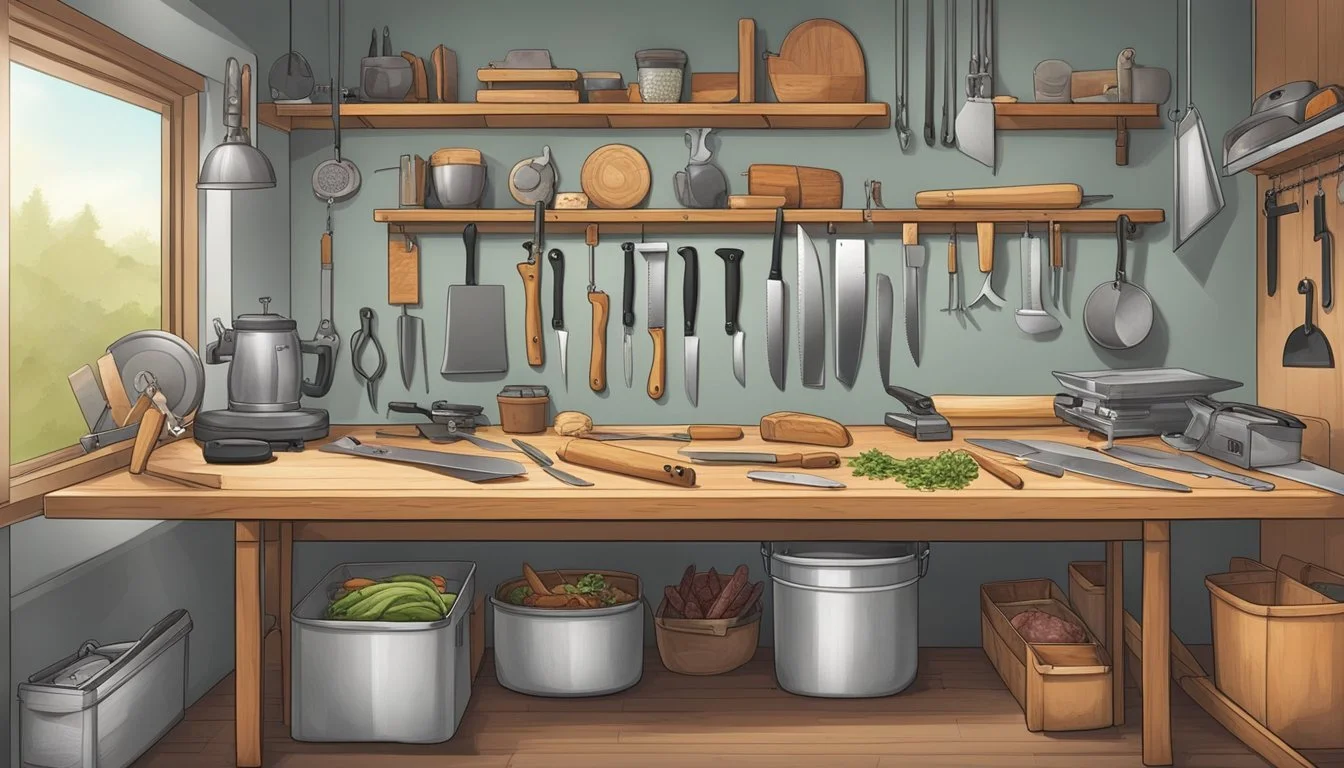
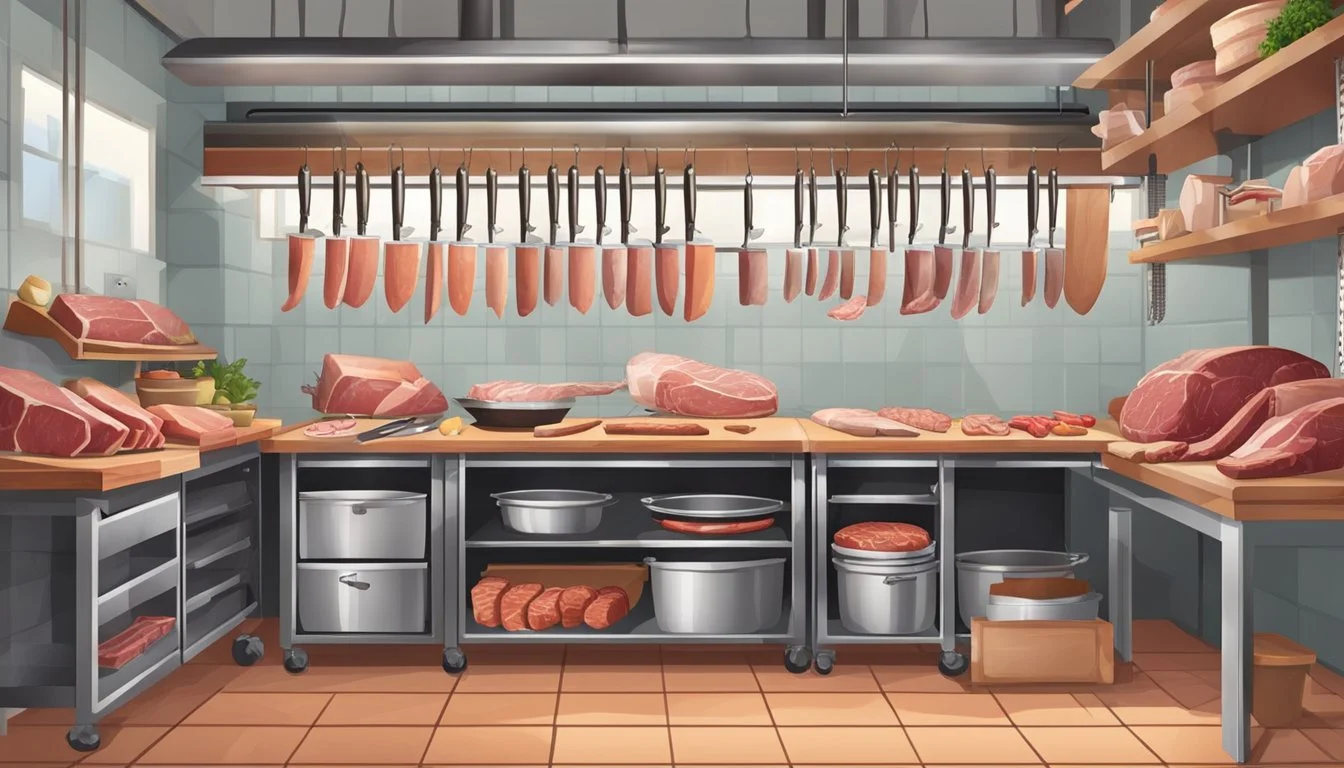
Essential Butchering Tools and Equipment
To efficiently process meat on a homestead, one requires a set of specialized tools and equipment designed for precision, durability, and hygiene.
Knives and Sharpening Tools
For butchering tasks, a variety of sharp knives are indispensable. Essential knives include a boning knife for separating meat from bone, and a heavy-duty cleaver for cutting through thick tissue and bone. Consistent sharpness is critical, making a knife sharpener or butcher's steel an essential accessory for maintaining a keen edge on all blades.
Boning knife: precise cuts and deboning
Cleaver: heavy-duty chopping
Knife sharpener: maintaining a sharp edge
Cutting Surfaces and Processing Equipment
Cutting boards are a foundational element of butchering. Preferably, one should use a plastic cutting board as it’s easier to clean and disinfect. For the processing of larger cuts, a meat saw or band saw is used, and a stainless steel table provides a sturdy and hygienic surface for meat preparation.
Plastic cutting boards: easy to sanitize
Stainless steel table: durable and hygienic
Meat saw/band saw: processing large cuts
Meat Preservation and Storage
Properly preserving meat is crucial for safety and quality. For short-term storage, one can use butcher paper, plastic wrap, and freezer bags within freezers or a large cooler to ensure the meat remains at safe temperatures.
Butcher paper/plastic wrap: wrapping and storing cuts
Freezer bags: airtight long-term storage
Freezers/large cooler: maintaining optimum temperatures
Auxiliary Items and Sanitation
Maintaining cleanliness is vital in meat processing, necessitating access to a water source for rinsing, as well as buckets, soap, and a bleach solution for disinfection. Ensuring all equipment, trays, and surfaces are properly sanitized after use prevents contamination and preserves meat quality.
Buckets/soap/bleach solution: cleaning tools and surfaces
Water source: necessary for washing and rinsing equipment
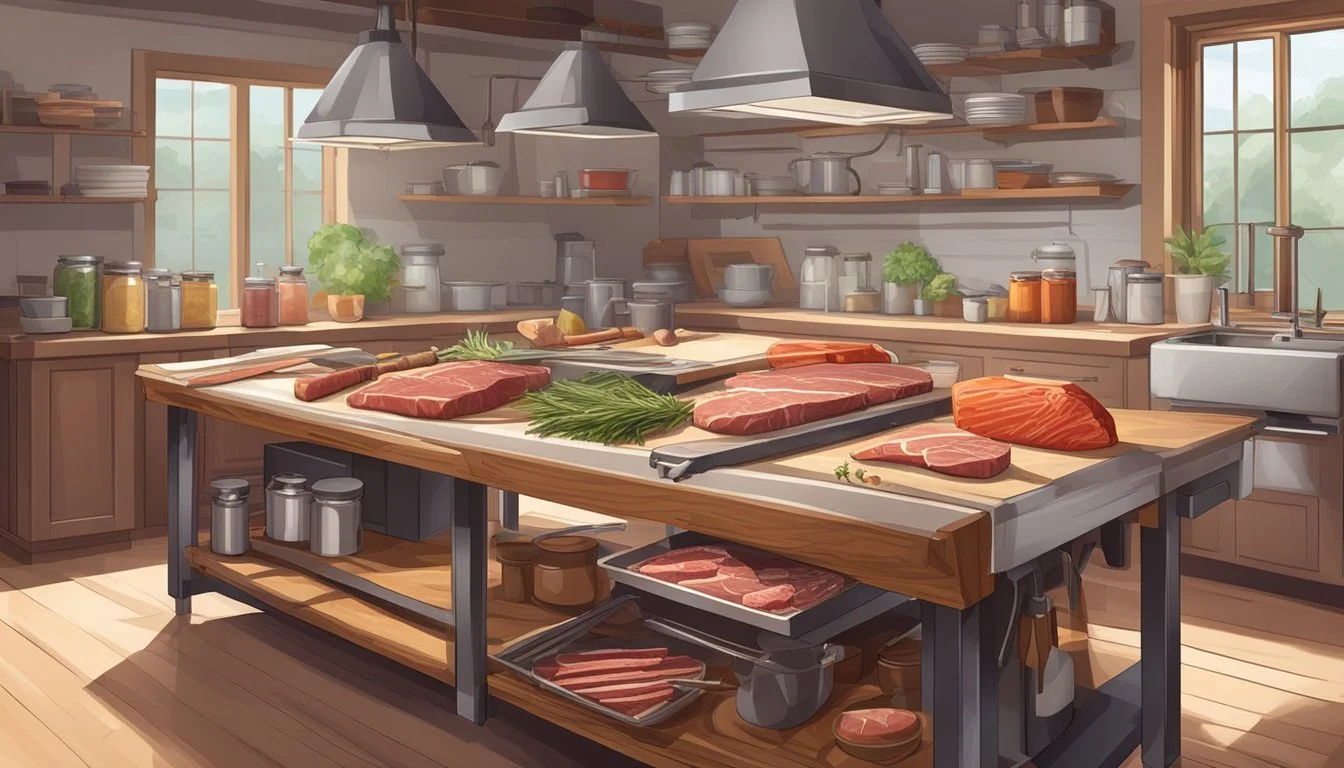
Setting Up Your Butchering Area
When establishing a butchering area on a homestead, one must consider location, space layout, temperature control, and safety to ensure efficiency and cleanliness during meat processing.
Choosing the Right Location
The optimal location for a butchering area combines convenience with practicality. It should be positioned close to where the animals are raised to minimize transport stress and contamination risk. Cleanliness must be a top priority; having access to a water source for cleaning is essential, making proximity to plumbing beneficial.
Space Requirements and Layout
An area approximately 20x20 feet with a concrete floor facilitates easier cleaning and includes a drainage system. A layout should provide enough space for a gambrel to hoist the meat, and PVC pipes can be installed to create custom hanging solutions. Stainless steel tables are preferred for their durability and ease of sanitation. Additionally, the layout must allow ample movement around the butchering station to maintain a safe and efficient work environment.
Temperature Control Strategies
To prevent spoilage, the butchering area needs a cold room or walk-in cooler to keep meat at safe temperatures. Inside the cooler, one can employ a combination of coolers and ice, which should be monitored with a thermometer to ensure the environment stays between 32°F and 34°F. A separate space for hanging beef or pork facilitates the necessary aging process, such as hanging beef for at least ten days or pork for a couple of days.
Safety and Ergonomics
The butchering area must be thoughtfully designed from an ergonomic standpoint, with work surfaces at the proper height to prevent strain. Non-slip flooring and adequate lighting are paramount for safety. Sharp knives and other tools should be stored securely but remain easily accessible to maintain a seamless workflow. Regular maintenance and sanitation routines are crucial for preserving a safe butchering environment on the farm.
The Butchering Process Step by Step
When it comes to processing meat on a homestead, there are several critical steps from dispatching the animal to packaging the meat. Ensuring each step is done properly will result in high-quality meat for your table.
Dispatching the Animal
Properly dispatching the animal is crucial for both humane purposes and meat quality. For larger livestock, a clear and precise method is employed, ensuring a swift process. When dispatching poultry, using a restraining cone can help contain the bird and allow for a quick, humane end.
Scalding and Plucking
After dispatching poultry, they should be submerged in a scalding pot of water at the right temperature to loosen feathers. Scalding should be brief to prevent cooking the skin. Immediate plucking of scalded poultry ensures feathers are removed with minimal effort. This is a step where people often involve their children, turning butchering day into a family activity.
Evisceration and Cleaning
Using sharp knives and poultry shears, the evisceration process involves carefully removing the internal organs without rupturing them, which could contaminate the meat. The cavity is then thoroughly cleaned. For larger animals, gravity aids in the removal of innards when the carcass is hung.
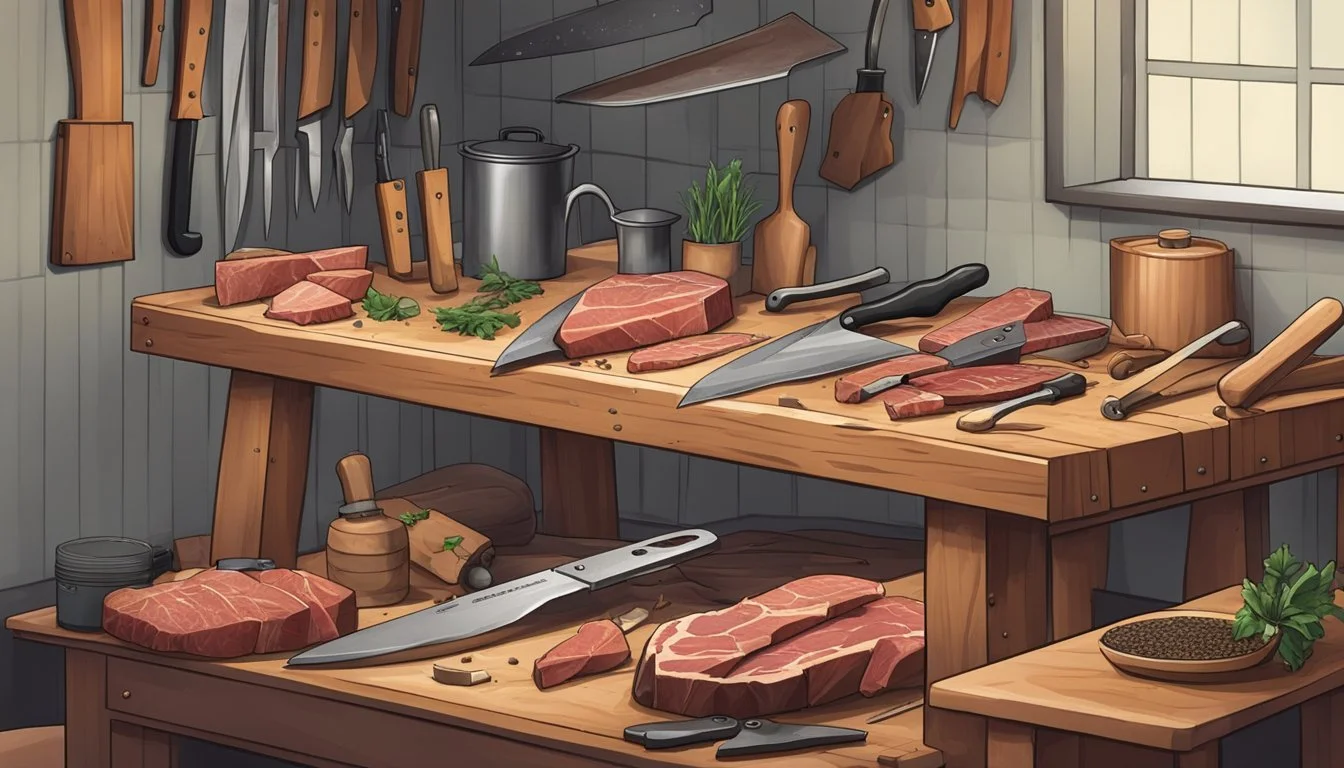
Segmenting and Processing Meat
Once the carcass is clean, it is time to portion the meat into different cuts. A set of knives specific for butchering is crucial here. Men and women alike can do this by following the natural separations of the animal's muscles and using meat lugs to hold the portions for further processing.
Packaging and Labeling
The final step includes packaging the meat into appropriate storage materials—usually freezer paper or poultry shrink wrap bags—and labeling each package with the cut and butchering date. Proper labeling is essential for managing your inventory and ensuring the meat is consumed while fresh.
Storage and Preservation of Meat
Efficient meat preservation is crucial for maintaining quality and safety. The following strategies focus on specific methods for cooling, preventing spoilage, and long-term storage.
Cooling and Freezing
Immediately after butchering, it's critical to reduce the temperature of the meat. For carcasses such as a beef quarter, rapid cooling prevents bacteria growth. Ideally, the temperature should be brought down to less than 10°C. Utilizing a large cooler filled with ice water can swiftly lower the temperature before transfer to a freezer. Freezers should be set to maintain a temperature below -18°C for safe storage.
Preventing Meat Spoilage
To hinder spoilage, hang the meat in a well-ventilated, cool area or immerse it in ice water right after butchering. This rapid chilling process slows down the growth of spoilage-causing bacteria. Wrap the meat tightly in heavy-duty bags or butcher paper to shield it from air exposure, which can lead to freezer burn and spoilage.
Long-Term Storage Solutions
When packaging meat for long-term storage, use freezers dedicated to meat preservation. Store different types of meats in labeled heavy-duty bags or vacuum-sealed packages. Keep a food scale on hand to portion meat before freezing, ensuring easy thawing and usage later on. Organize the meat in order that it was frozen to use the oldest meat first, preventing waste.
Tips for Organizing Your Freezer
An organized freezer ensures longer shelf life and simplifies the retrieval process. Use bags and butcher paper to package meat, clearly labeling each package with the contents and freeze date. Store similar cuts together using garbage cans or bins to group items within the freezer. Keep frequently used items near the top or front, and rotate stock to ensure older meat is used before newer stock.
Advanced Butchering Techniques
Advanced butchering techniques are essential for maximizing yield and quality of meat from livestock. This section illustrates the precise methods involved in creating various cuts, transforming meat into boneless or bone-in varieties, and processing meat for recipes.
Creating Various Cuts and Specialties
To produce specialty cuts such as venison steaks or jerky, one requires a nuanced approach. It begins with understanding the anatomy of the animal, identifying prime sections like the tenderloin or rump. A meat slicer can ensure evenly cut slices ideal for jerky, while a boning knife is crucial for more intricate cuts. Here's a quick guide for deer:
Backstrap/Loin: Ideal for steak cuts; slice against the grain for tenderness.
Round: Versatile for roasts, steaks, or jerky; precise slicing enhances the quality.
Bone-In vs. Boneless Cuts
Debating between bone-in and boneless cuts impacts flavor and cooking methods. Bones can impart a deeper taste and assist in even heat distribution during cooking. However, boneless cuts, which require careful separation of meat from the bone, tend to cook quicker and offer more versatility. It is essential to leverage a sharp boning knife to navigate close to the bone for minimal waste.
Grinding and Mixing Meat for Recipes
Ground meat is the foundation for a variety of recipes, such as sausages or homemade burger patties. A durable meat grinder is indispensable for this task, turning larger cuts into finely ground meat. Mixing different types of meat can create complex flavors and textures, particularly for sausages. Experimenting with the ratio of fat to meat can yield juicier results. Key considerations include:
Grind meat when it's partially frozen to prevent mushiness.
For sausages, a mixture of lean and fatty meats ensures the right balance of flavor and texture.
