
The Ultimate Guide to Using a Row Crop Planter
Master Precise Planting Techniques for Your Homestead
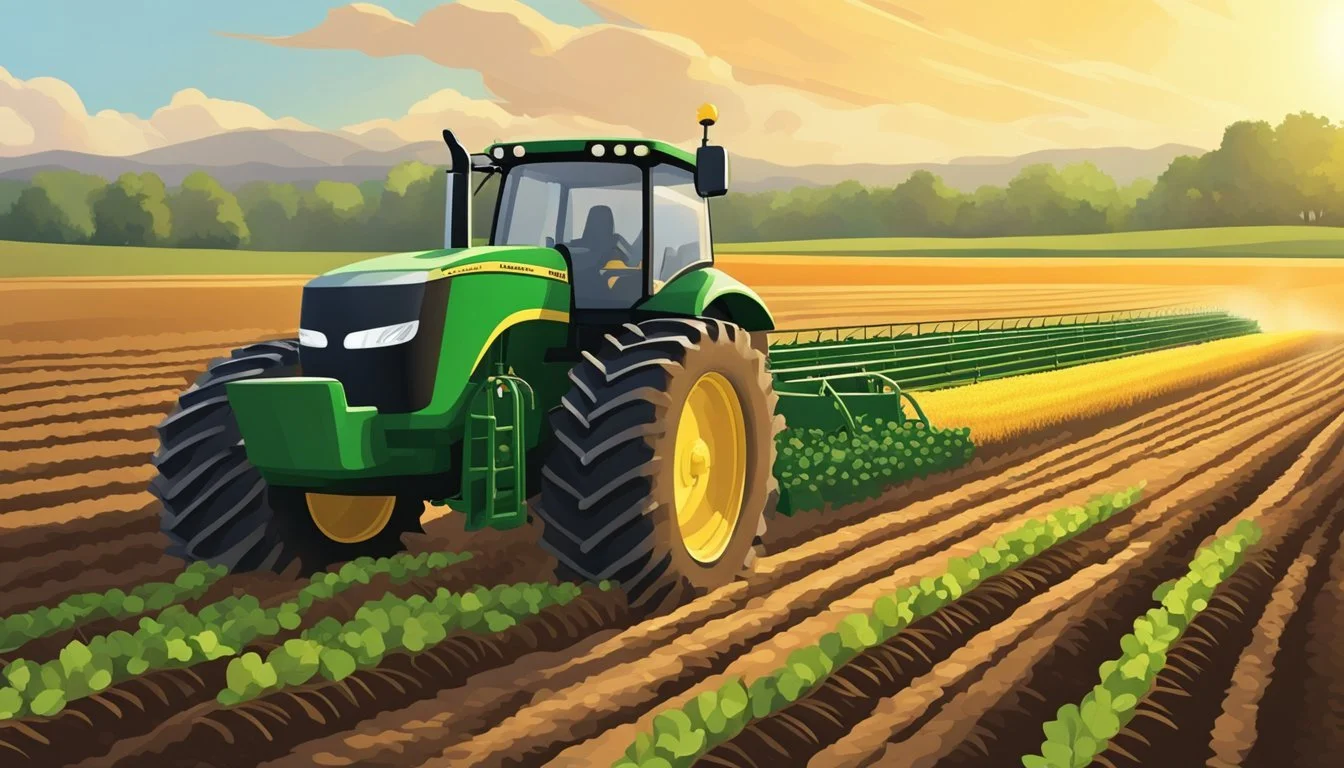
A row crop planter is a crucial tool for a successful homestead farming operation, especially when precision is paramount. Precise planting ensures that seeds are evenly spaced, planted at the correct depth, and provided the best chance for uniform growth. This not only optimizes the use of space and resources but also can lead to increased yield and productivity. For homesteaders and small-scale farmers, understanding how to use a row crop planter effectively can mean the difference between a bountiful harvest and a subpar crop.
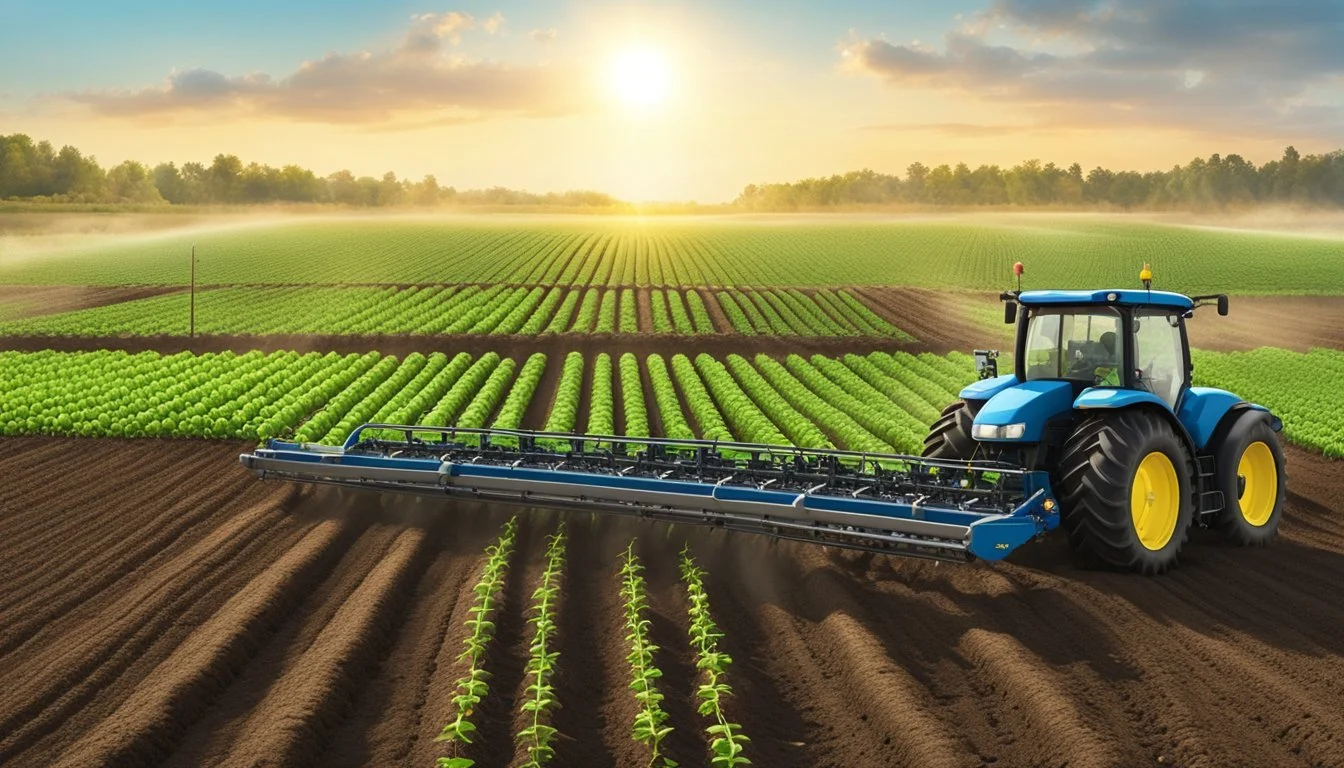
Setting up a row crop planter properly is the first step to achieving an ideal stand of crops. Factors such as seed depth, seed spacing, and planting speed are all controlled by the planter and, if set correctly, can ensure that each seed has the opportunity to develop under the best possible conditions. Conducting routine maintenance and adjustments on the planter further enhances its performance, guarding against common mistakes that can lead to poor stand establishment and ultimately affect yield. With careful planning and execution, a row crop planter can be an indispensable asset in the homesteader's toolkit for efficient and effective planting.
Understanding Row Crop Planters
Row crop planters are essential tools for precision seeding in agriculture. They ensure each seed is placed at a consistent depth and spacing, which is critical for optimizing crop emergence and eventual yield.
Types of Row Crop Planters
Row crop planters come in various configurations to suit differing seed types and planting conditions. The most common types include:
Plate Planters: Utilize a rotating plate that picks up and releases seeds into the furrow. They are ideal for larger seeds such as corn and sunflower.
Drum Planters: Work similarly to plate planters but use a drum mechanism. They are adaptable to a range of seed sizes and types.
Vacuum Planters: Employ a vacuum to hold seeds against a plate with holes. As the plate rotates to the drop-off point, the vacuum releases, allowing for precise seed placement.
Pneumatic Planters: Use air pressure to ensure seeds are singularly placed in the planting furrow, which is beneficial for small and delicate seeds.
Anatomy of a Planter
Understanding the components of a row crop planter is key to maximizing its effectiveness:
Seeder: The heart of the planter where seeds are held before being distributed. It must be correctly calibrated for different seed sizes and types.
Hopper: The container that holds the seeds or fertilizer before it is distributed by the seeder.
Tubes: The seed tube guides seeds from the hopper to the soil. It ensures the correct trajectory and placement of seeds in the furrow.
Planter Toolbar: This horizontal bar holds the components of the planter in alignment including the hoppers and planting units.
Ground Drive: A system where the rotation of the planter’s wheels drives the mechanical distribution of seeds, suited for uniform terrain.
Hydraulic Drive: Uses hydraulic power to turn the planter's seed distribution mechanisms. This drive allows for more precise control, especially on varied terrain.
Choosing the Right Planter for Your Needs
When selecting a planter for precise planting on a homestead, one must carefully consider the compatibility of the equipment with their agricultural needs. It's crucial to balance the cost against the features and efficiency the machinery offers.
Assessing Farm Equipment Needs
A homestead's crop planting efficiency heavily relies on the right row crop planter. The appropriate planter should meet specific criteria:
Size and Capacity: It should match the scale of the planting operations, whether for a small family farm or a larger commercial venture.
Type of Crops: Some planters are more suited for specific crops due to spacing and depth requirements.
Soil Compatibility: The chosen equipment must work efficiently with the soil conditions of the farm.
Mechanical Precision: Manufacturers design planters to offer varying levels of precision in seed placement, which can affect the yield.
Manufacturers offer a range of planters, and one must evaluate them based on these key functionalities.
Cost Considerations and Budgeting
Budgeting for farm equipment is a delicate balance of cost versus potential return on investment. Here are budgeting pointers:
Upfront Cost vs. Long-term Benefits: The initial expense of a planter can be significant, but one should also consider durability and reduced maintenance costs.
Manufacturer's Reputation: A manufacturer with a strong track record may offer better quality and after-sales support, which can be worth the extra investment.
Budget-friendly Alternatives: One shouldn't overlook pre-used planters or those from lesser-known manufacturers if they meet the necessary quality standards and farming needs.
The decision on a row crop planter involves a thorough analysis of equipment features aligned with an explicit budget plan to ensure it meets the farm's requirements efficiently and cost-effectively.
Preparing Your Planter for Planting
To ensure precise and successful planting, a row crop planter requires thorough preparation. This involves a routine check for wear, accurate calibration, and meticulous adjustment.
Maintenance Prior to Planting Season
Before delving into the planting season, it's crucial to conduct a comprehensive maintenance check on your planter. Inspect all crucial components such as bearings, bushings, chains, and brushes for signs of wear. These parts are essential for smooth operation and should be replaced if they show significant degradation. Furthermore, lubrication is vital to prevent equipment failure. Each moving part should be properly lubricated to ensure optimal performance and to extend the life of the planter.
Here is a brief maintenance checklist:
Bearings and Bushings: Check for smooth movement and absence of play.
Chains: Look for signs of rust, stiff links, or wear. Adjust tension if necessary.
Seed brushes: Ensure they are clean and in good shape to facilitate the even distribution of seeds.
Calibration and Adjustment of the Planter
Calibration is essential to deploying seeds with precision. A well-calibrated planter can significantly impact seed spacing and depth, which can lead to a uniformly growing crop and ultimately maximize yield. Start by confirming the calibration settings for your specific seed type and size according to the planter's manual. Next, adjust your planter's settings, including seed drop rate and depth, to match your seed's requirements and soil conditions. Lastly, perform a field test to make sure the settings are delivering the expected results, tweaking as needed to achieve the perfect calibration.
Adjustments and calibrations might include:
Seed Rate: Set the correct amount of seeds to be planted per inch.
Planting Depth: Adjust according to seed size and soil type for optimal germination.
Down Pressure: Calibrate so that each seed is planted firmly into the soil without compaction.
Seed and Soil Fundamentals
When using a row crop planter, one must pay close attention to the choice of seed variety and the specific soil conditions to ensure optimal plant growth and yield.
Selecting Appropriate Seed Varieties
In selecting seeds for a row crop planter, the size of the seed is crucial, as it determines the type of planter plate needed. For large seeds like corn and soybeans, one must ensure that the planter's settings match the seed's size for precise planting. Meanwhile, smaller seeds, such as those of wheat, small grains, and vegetables like onions, need more delicate handling to avoid damage during the planting process. The planter must be capable of handling different seed sizes and deliver them at the correct spacing and depth.
Large Seeds: Corn, Soybeans
Need planter plates that match the seed size.
Require adequate spacing to avoid crowding and competition.
Small Seeds: Wheat, Small Grains, Vegetables
Suitable for plates designed for precision.
Benefit from closer spacing and shallower planting depths.
Understanding Soil Conditions
The success of growing crops like corn, soybeans, wheat, cotton, and various vegetables hinges not only on seed selection but also on preparing the soil to foster the seeds' growth. The planter must be set to place the seed at the proper depth based on soil conditions: whether it's the loamy soil preferred for its moisture and nutrient retention or the denser clay soils where deeper planting can hinder sprout development.
Table of Optimal Seed Depths:
Corn
Ideal Seed Depth: 1.5 - 2 inches
Soil Type Preference: Warm, well-drained loamy soils
Soybeans
Ideal Seed Depth: 1 - 1.5 inches
Soil Type Preference: Loose, fertile soil
Wheat
Ideal Seed Depth: 1 - 1.5 inches
Soil Type Preference: Well-aerated, fertile soils
Cotton
Ideal Seed Depth: 1 inch
Soil Type Preference: Lighter, well-drained soils
Small Grains
Ideal Seed Depth: 1 inch
Soil Type Preference: Varies, generally well-drained
Vegetables
Ideal Seed Depth: 0.25 - 1 inches
Soil Type Preference: Rich in organic matter, moist
Fine-tuning the row crop planter to accommodate the specific soil conditions is essential, ensuring proper seed-to-soil contact, which is critical for germination and root establishment. Moreover, understanding the soil's capacity to retain moisture and provide adequate nutrients can guide the planting process to enhance a healthy start for the crop.
Planting Techniques and Adjustments
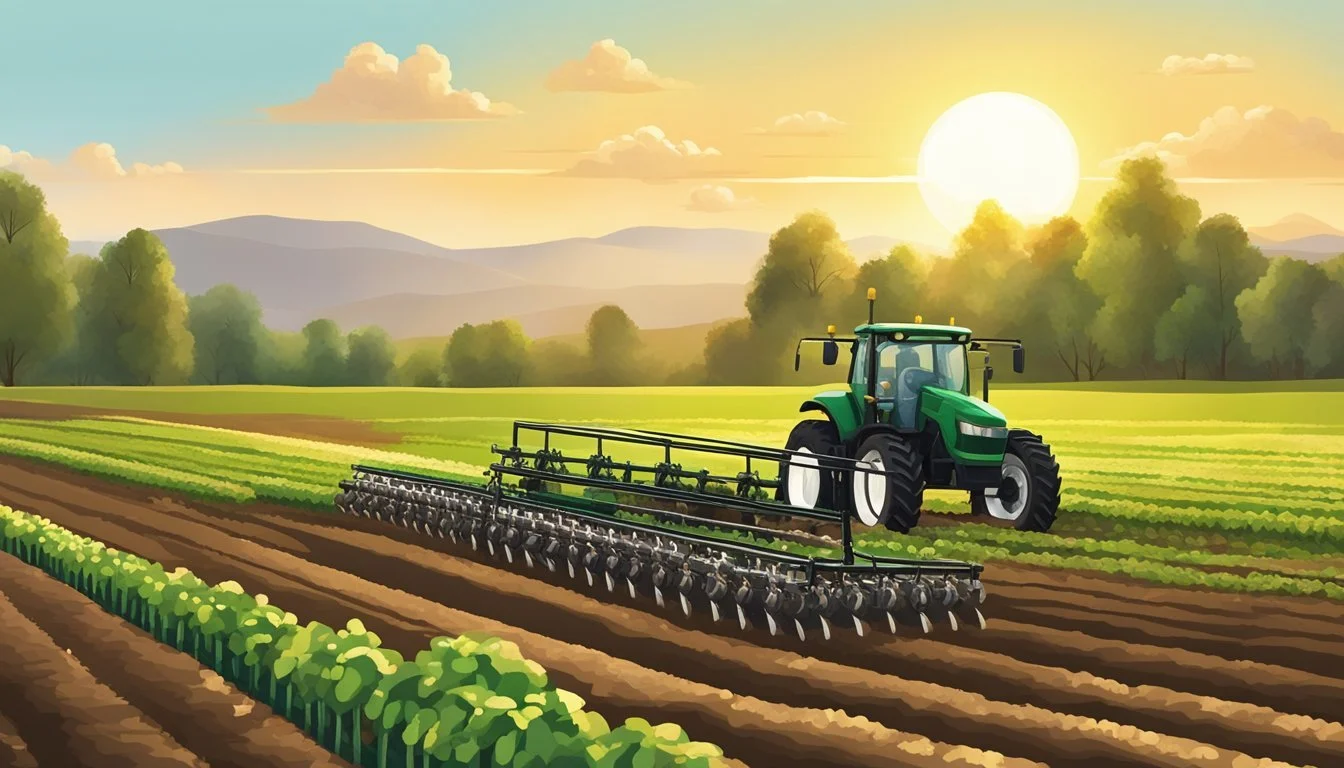
Precise planting is crucial for optimizing crop yields on a homestead. This section outlines essential adjustments and techniques to achieve uniform seed depth, proper row spacing, and consistent seed-to-soil contact using a row crop planter.
Setting the Correct Seed Depth
Proper depth adjustment is fundamental for uniform germination and growth. Seeds planted too shallow may be exposed to the elements, whereas too deep can prevent germination. The ideal seed depth varies by crop, but generally, it should be:
Small seeds (e.g., lettuce, carrots): 1/4 to 1/2 inch deep.
Large seeds (e.g., beans, corn): 1 to 2 inches deep.
Adjust the planter's depth gauge wheels or T-handles to set the desired depth and check periodically during planting to maintain consistency.
Optimizing Row Spacing and Seeding Rate
Achieving the correct row spacing and seeding rate is essential for maximizing the use of space and resources:
Row Spacing: Depends on the crop and equipment but typically ranges from 15 to 30 inches. Adjust the planter's row units accordingly.
Seeding Rate: Must be calibrated to seed size and desired plant population. Adjust the metering system on the planter to control the number of seeds dropped per unit of distance.
A balance between too dense and too sparse plant populations must be struck to prevent competition for nutrients and ensure ample growth space.
The Role of Downforce and Ground Contact
Downforce and ground contact are pivotal for consistent seed-to-soil contact:
Downforce: Adjust downforce settings to ensure the row unit's opening discs and closing wheels maintain contact with the soil without compacting it excessively.
Ground Contact: Periodically assess ground conditions and adjust downforce accordingly to guarantee that seed trenches are properly closed for optimal seed-to-soil contact, ensuring good germination.
These variables should be monitored and modified as necessary to respond to different soil types and moisture levels.
Fertilization and Seed Treatments
Precise planting is not just about sowing seeds; it also involves the strategic use of fertilizers and seed treatments to ensure optimal germination and robust plant growth. The following subsections detail the incorporation of fertilizers during the planting process and the advantages that seed treatments provide to a homestead’s row crops.
Incorporating Fertilizers with Planting
When planting row crops, the direct placement of fertilizer in close proximity to the seeds, often referred to as in-furrow application, can significantly enhance early plant development. The technique allows for immediate availability of nutrients to the young roots, potentially improving crop yield. However, it is crucial to maintain a balance because excessive fertilizer can damage seedlings and lead to reduced stand. For successful in-furrow fertilization:
Seed Safety: Apply low rates of fertilizer to avoid toxicity.
Nutrient Availability: Ensure nutrients are available when the seed germinates.
Equipment: Use planter attachments designed for accurate fertilizer placement.
Starter Fertilizer
Application Rate: Low to Moderate
Placement Tip: Place beside and below seed to prevent seedling damage.
Nitrogen
Application Rate: Modulated
Placement Tip: In-row application aligned with crop needs.
Benefits of Seed Treatments
Seed treatments leverage protective coatings that add a layer of defense against soil-borne diseases and pests. These treatments may include:
Fungicides: Protect seeds during critical germination and early growth stages.
Insecticides: Shield the seed from early-season insect threats.
By coating the seed with these treatments, they ensure a healthier start by:
Reducing Stress: Seeds can better withstand early environmental stresses.
Enhanced Growth: Treated seeds are more likely to result in uniformity in both germination and plant development.
Seeds given this additional care can lead to stronger stands and potentially higher yields since they're safeguarded against common threats that untreated seeds may succumb to. It’s important to follow manufacturer guidelines for application rates and safety to ensure effectiveness and minimize risk to the crop and environment.
Dealing with Pests and Weeds
When using a row crop planter, dealing with pests and weeds efficiently is crucial to ensure precision planting. A proactive approach to weed control and pest management can significantly improve crop health and yield.
Pre-Planting Weed Control
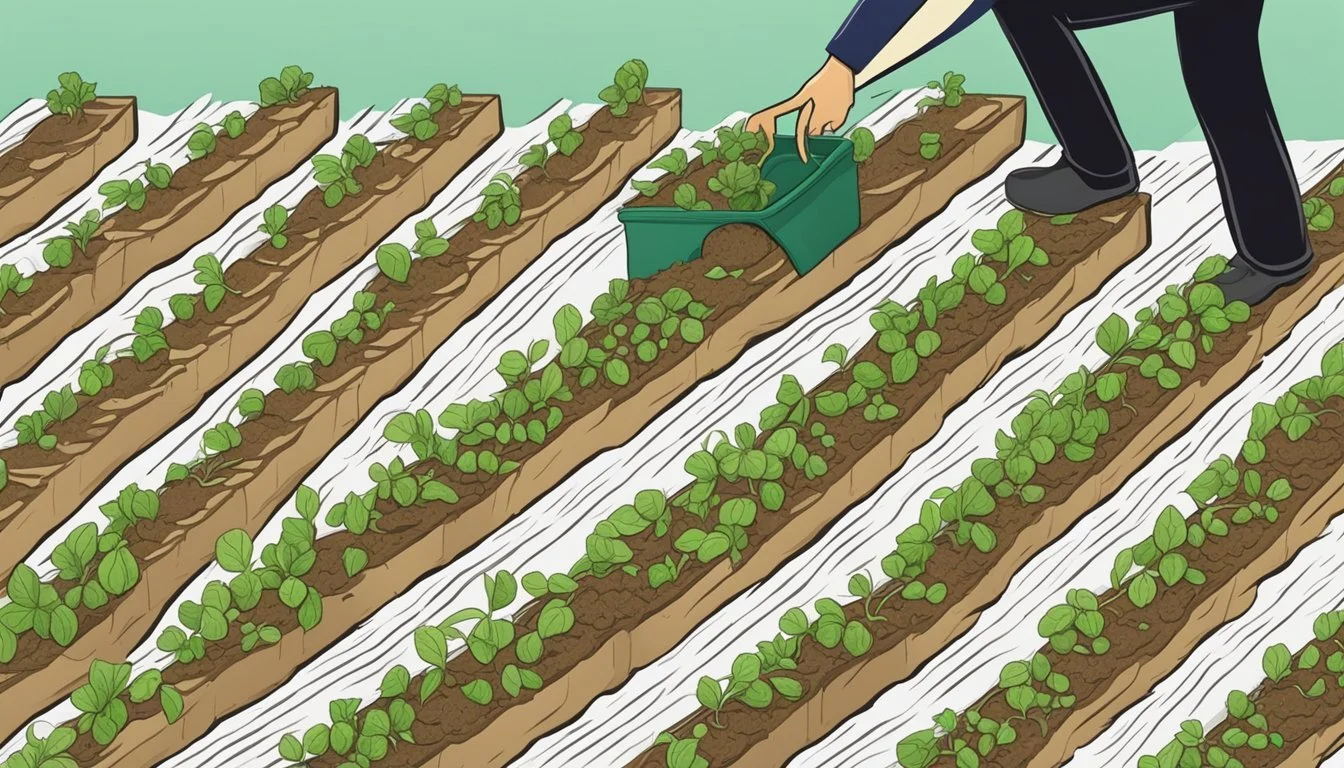
Before planting, it's important to create a hostile environment for weeds to prevent them from competing with crops. One effective strategy is the use of cover crops to suppress weed growth. Cover crops, such as rye or clover, can be planted prior to the main crop season. They grow quickly, cover the ground, and inhibit weeds through natural competition for resources.
Organic Mulching: Applying a thick layer of organic material, including crop residues or wood chips, can physically block weed emergence and maintain soil moisture.
Managing Pests During the Planting Process
During planting, pests can pose a significant threat to emerging seedlings. Pests such as ants and lice can be managed using specific, targeted measures.
Mechanical Barriers: Row covers can shield crops from pests. These are installed over the rows and provide a physical barrier against insects.
Organic Pesticides: Neem oil, derived from the seeds of the neem tree, is effective against a variety of pests, including aphids and mites, and can be applied during the planting process while minimizing the impact on beneficial insects and the environment.
After Planting Care
Proper care after planting is crucial for optimising crop yield and health. This involves vigilant monitoring of seed germination and emergence, followed by tailored cultivation and management practices.
Monitoring Germination and Emergence
One should regularly inspect the planted rows to assess seed germination rates and uniformity of seedling emergence. This is vital because inconsistent emergence can lead to competition for resources, ultimately affecting plant health and crop yield. An Emergence Table may be utilized to record and analyze this data:
Day 5: 20% Emerged
Day 10: 60% Emerged
Day 15: 90% Emerged
It's recommended to investigate areas with poor performance to identify potential issues such as soil compaction, pests, or moisture inconsistencies.
Cultivation and Crop Management
Once the seedlings have emerged, cultivation practices should commence to promote healthy plant growth. This includes:
Weed Control: Regularly remove weeds to reduce competition for water, nutrients, and light.
Soil Management: Ensure the soil around the crop roots remains aerated but avoid disturbing the young roots.
Irrigation: Implement an irrigation schedule that meets the crops' developmental needs, adjusting for rainfall to avoid overwatering or drought stress.
Continued management and observation throughout the growing season will help ensure that the plants remain healthy and productive until harvest.
Troubleshooting and Maintenance
Effective troubleshooting and diligent maintenance are crucial for ensuring a row crop planter operates at peak efficiency. This section explores how to identify common planter issues and outlines essential maintenance tasks to prolong the planter’s service life.
Identifying Common Planter Issues
When operating a row crop planter, one might encounter a range of mechanical breakdowns that could impact planting precision. It is important to frequently inspect for wear on the seed tube guard, as a worn guard can result in non-uniform plant spacing. Additionally, checking for cracks or damage in the seed tubes is vital because such issues can lead to inconsistent seed placement.
The double disc openers should be keenly inspected to ensure sharpness and proper alignment. Dull or misaligned openers can lead to poorly formed seed furrows, which directly affects seed placement and emergence. Monitoring for excessive row-unit bounce is also crucial, as this can contribute to uneven seed depth.
One should be attentive to the gauge wheels, ensuring they are in good condition and firmly secured against the disc openers to maintain consistent planting depth and prevent debris from entering the seed trench.
Regular Maintenance for Longevity
Proactive and systematic maintenance can prevent most mechanical failures and extends the operational lifespan of a row crop planter.
Below is a simplified maintenance checklist:
Disc Openers & Gauge Wheels:
Inspect double disc openers for sharpness and replace if worn.
Check the gauge wheels for wear and proper contact with disc openers.
Seed Tubes:
Replace any seed tubes with visible cracks or damage.
Ensure that seed tubes are clear of obstructions to maintain unimpeded seed flow.
Bearings & Bushings:
Spin each row cleaner to check for loose bearings; tighten or replace as needed.
Check all pivot bushings for wear; secure any loose bushings promptly.
Regular monitor and sharpness of disc openers, securing gauge wheels, and replacing worn bearings and bushings greatly reduces the likelihood of in-season planter breakdowns. It is recommended to perform these maintenance tasks during the off-season to guarantee readiness for planting.
Additional Considerations for Homesteaders
When homesteaders intend to utilize a row crop planter, they must account for the unique scale of their operation and the trade-offs in investing time and resources.
Adapting Large-Scale Agricultural Practices
Homesteaders should consider how large-scale agricultural practices can be tailored to smaller operations. For areas like home gardens and landscaping, a row crop planter can be modified to fit the reduced space. This may involve adjusting the planter's size or row spacing to ensure that it's compatible with the homesteader's available land. In forestry applications, the use of such planters might be limited, but could assist in the planting of certain tree nurseries or in the cultivation of crops like nuts that can be integrated into agroforestry systems.
Planter Size: Adjustments for smaller plots
Row Spacing: Customization for plant type and garden layout
Evaluating the Return on Investment
Homesteaders need to weigh the cost of the row crop planter against potential benefits. They must consider not only the initial outlay of money but also ongoing expenses such as fuel, labor, and maintenance. Furthermore, the homesteader should evaluate whether the planter will produce a sufficient interest in gardening or farming activities to justify the investment. It’s crucial to assess the return on investment based on the size of the homestead and scale of operations, projecting whether the efficiency gained in planting will translate into a monetarily viable or food-sufficiency outcome.
Initial Investment: Cost of the planter and additional equipment
Ongoing Expenses: Fuel, labor, maintenance costs
