
The Ultimate Guide to Using a Tiller
Mastering Soil Preparation and Garden Bed Creation
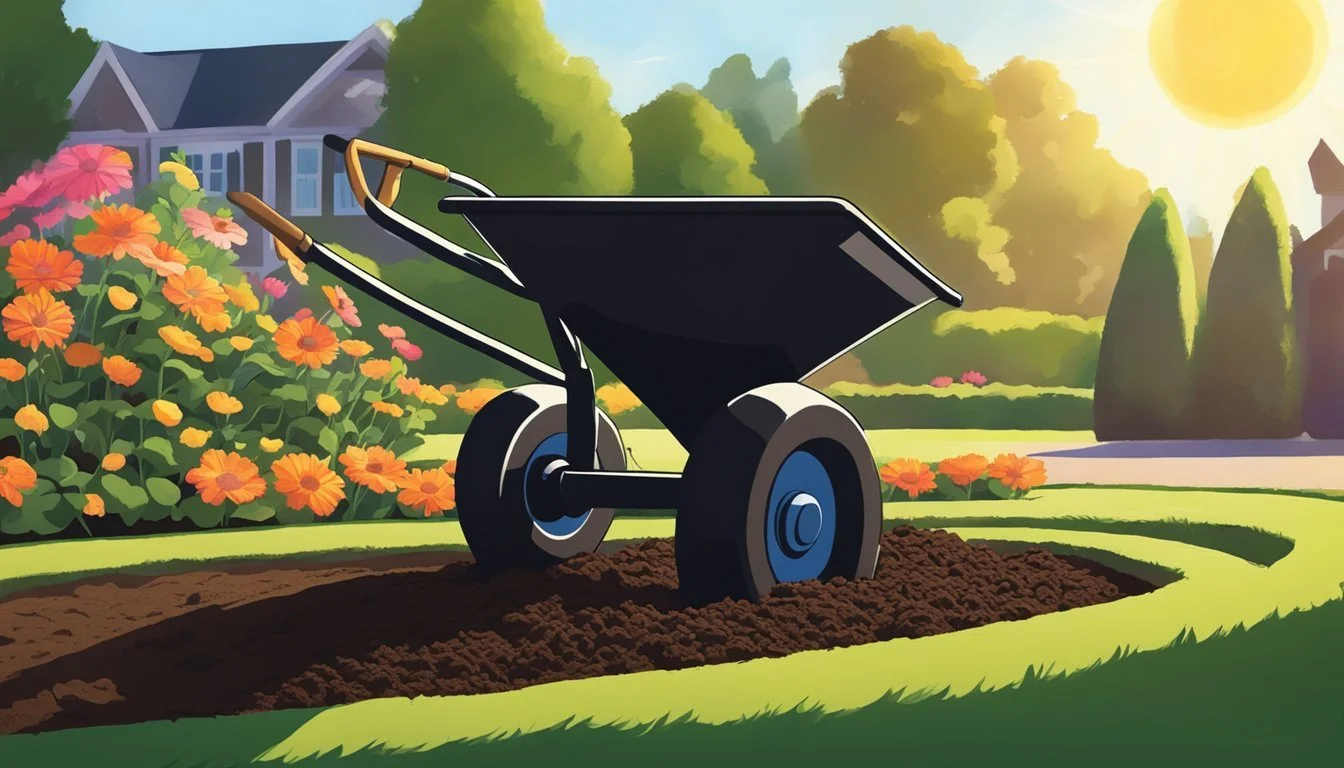
When embarking on the journey of creating a new garden bed or revitalizing an existing one, preparing the soil is a crucial first step. A tiller, an invaluable tool for the gardener, simplifies this process by mechanically loosening the soil, thereby promoting better air and water penetration. Using a tiller effectively can transform a daunting task into a manageable one, making it a favored method for both amateur and professional gardeners.
The process of using a tiller helps to eradicate weeds, incorporate amendments, and create a uniform seedbed, setting the stage for a prosperous garden. There are multiple types of tillers, including walk-behind rotary tillers and tractor-mounted models, each designed to suit various garden sizes and soil types. Properly tilling soil not only facilitates plant root growth but also enhances the overall soil structure, which is essential for optimal plant health.
To make the most out of a tiller, gardeners should adhere to disciplined techniques, carefully adjusting the machine's depth and operating pattern. Strategic passes with the tiller, first lengthwise and then perpendicular, can ensure an even and thorough soil mix. After the initial soil preparation, adding compost and other amendments before a final pass can invigorate the soil with nutrients needed for a thriving garden.
Understanding Tillers and Their Types
A tiller is an essential gardening tool that breaks up hard soil and mixes in amendments. Knowing the different types of tillers and selecting the right one can lead to successful soil preparation and garden bed creation.
Differentiating Between Tiller Types
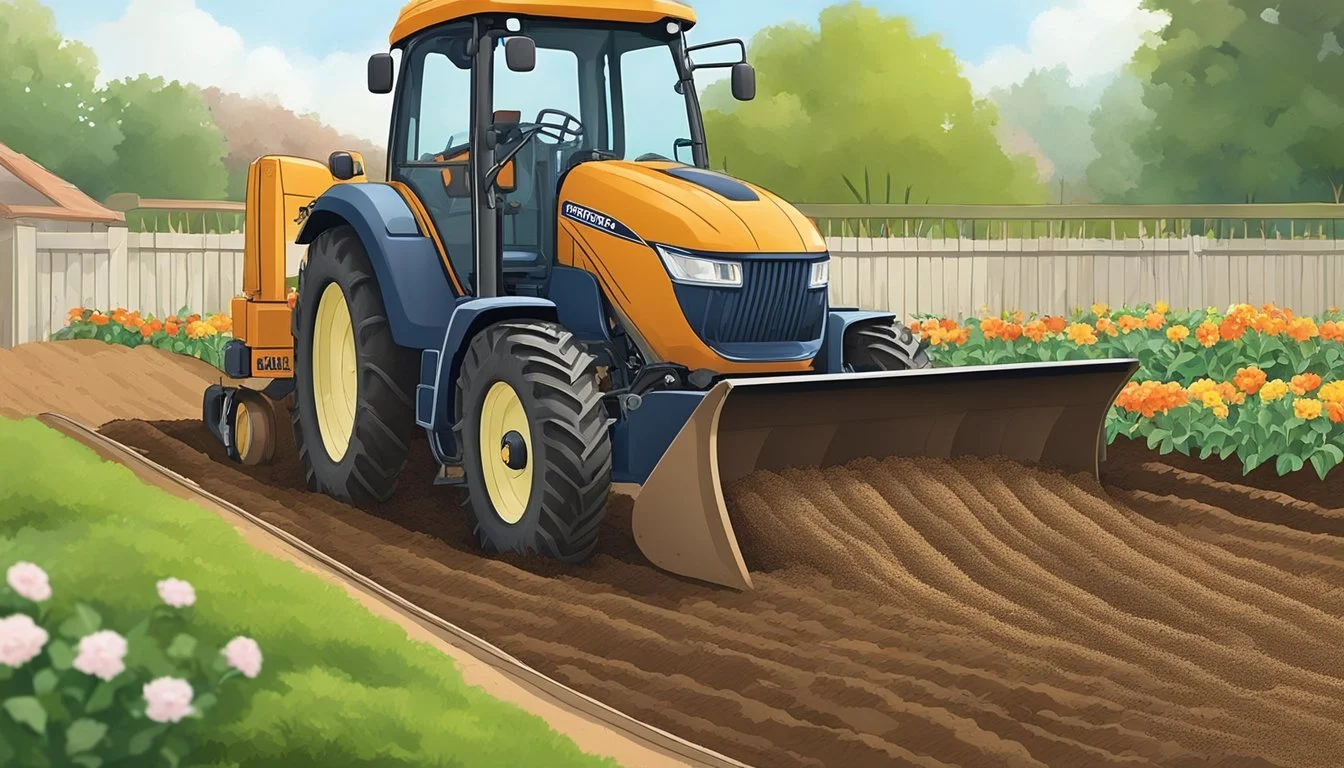
Tillers come in various shapes and sizes, each designed for specific tasks. Broadly, they can be categorized based on their tine position and power source. Rear-tine tillers have their tines positioned behind the wheels and are ideal for breaking new ground and working on large areas. They are more powerful and stable, making them suitable for heavy-duty work. In contrast, front-tine tillers have their tines in front and are typically more maneuverable, suitable for weeding and maintaining garden beds.
Motorized tillers, including gas and electric tillers, offer different levels of power and convenience. Gas models tend to be more powerful and suitable for larger projects, while electric models are quieter and easier to maintain, perfect for smaller gardens.
Rear-tine:
Tines Location: Behind wheels
Use Case: Breaking new ground
Front-tine:
Tines Location: In front
Use Case: Weeding, maintenance
Electric:
Tines Location: -
Use Case: Smaller gardens
Gas:
Tines Location: -
Use Case: Larger projects
Cultivators are often mistaken for tillers, but they serve a different purpose. Cultivators are typically smaller and used for light-duty tasks, such as stirring the soil in existing garden beds and weeding.
Selecting the Right Tiller for Your Garden
When choosing a tiller, gardeners should consider the size of their garden and the type of soil. For expansive gardens with tough soil, a rear-tine tiller may be the most effective choice. For smaller, already-established garden beds, a front-tine tiller or even a simple cultivator can be sufficient.
Electric tillers are a convenient option for those who have access to power outlets and prefer a quieter, fume-free operation. They are easier to start and maintain compared to gas-powered tillers.
Here’s a brief guide to help choose the right tiller:
Soil Type: Rocky or heavy clay soils require a more robust rear-tine tiller.
Garden Size: Large plots are better served by motorized tillers (gas-powered), while small to medium plots may only need an electric tiller.
Task Complexity: For tilling large areas or breaking new ground, opt for a rear-tine tiller. For regular maintenance and weeding, front-tine tillers or cultivators are adequate.
By considering the intended use and the garden's specific needs, the gardener can select the appropriate tiller type to ensure optimal soil preparation and garden bed creation.
Preparing for Tilling
Before one can start tilling, understanding the soil composition and ensuring optimal fertility is essential. This preparation ensures the soil is amenable to cultivation and promotes healthy plant growth.
Assessing Your Soil Type
Identifying the type of soil is a primary step in garden prep. Soil types range from sandy, loamy, to clay, each with distinct characteristics. Sandy soils, for example, drain quickly but may not hold nutrients well, whereas clay soils are nutrient-rich yet often have poor drainage. Loamy soil, a balanced mix, is widely regarded as ideal due to its nutrient retention and drainage capability. Knowing one's soil type aids in predicting how it will behave and what steps are necessary to condition it for planting.
Soil Testing and Amendments
A comprehensive soil test is pivotal and will inform a gardener about the soil's pH and key nutrient levels, such as nitrogen, phosphorus, and potassium. The soil's pH influences nutrient availability to plants. A pH between 6.0 and 7.0 is generally optimal for most garden plants.
Soil tests can also gauge organic matter content, which improves soil structure, water retention, and microbial activity. Once the soil test results are in, one can make informed decisions about necessary amendments to improve soil fertility and condition. For instance, if the soil is deficient in nitrogen, amending it with well-composted manure could enhance its fertility. Incorporating organic matter like compost not only supplies nutrients but also improves the soil's overall health and structure, making it more conducive for successful tilling and planting.
The Tilling Process
When preparing a garden bed, the process of tilling is pivotal for ensuring optimal soil conditions for planting. It involves the meticulous turning and loosening of the soil, which can significantly improve soil aeration and texture.
Timing for Tilling
Spring: The ideal time for tilling is often during the spring, when the soil has warmed sufficiently and is moist but not waterlogged. Tilling in spring helps in weed elimination and soil warming, making it conducive for new plantings.
Autumn: Some gardeners prefer to till in the autumn, which allows organic amendments like compost to decompose over the winter. Post-harvest tilling can also help in managing pests and disease residues.
Tilling Step by Step
Clear the Area: Begin by removing all surface debris, including rocks, weeds, and garden waste. This ensures that nothing obstructs the tilling blades.
Measure the Depth: Aim to till the top 8-12 inches of soil, which is sufficient for most garden plants.
Start Tilling: Using the tiller, go over the garden bed in a uniform pattern to avoid missing any spots. Be thorough but avoid over-tilling, as this can harm the soil structure.
Incorporate Amendments: Distribute compost or other organic materials over the tilled soil, then pass the tiller again to mix these amendments thoroughly into the soil.
Level the Bed: Once tilling is finished, use a rake to level the soil, breaking up any large clods and creating a smooth, even surface ready for planting.
By following these steps, a gardener can establish a well-prepared garden bed that's ready for a successful growing season.
Post-Tilling Practices
After using a tiller, the soil is loosened and aerated, but the groundwork isn't finished. Proper post-tilling practices are crucial to create the perfect bed for planting.
Removing Rocks and Debris
A critical step is to clear the garden bed of large rocks and debris. These elements can obstruct root growth and hinder the development of plants. The gardener should systematically inspect the tilled soil and remove such obstacles by hand or with a tool designed for this purpose, such as a garden fork or a stone rake.
Leveling and Raking the Soil
Once the larger obstructions are removed, the focus shifts to leveling and raking the soil. This achieves a uniform garden bed, which is essential for consistent plant growth and moisture distribution. The process should involve:
Using a rake: It's important to employ a rake to comb through the garden soil. This action helps in further breaking down soil clumps and smoothing out the surface.
Checking the level: Periodically stepping back to visually check the levelness of the area can guide adjustments, ensuring all parts of the garden bed are even.
Seeking a gentle slope: If drainage is a concern, the soil should be gently sloped away from buildings or the center of the garden bed to facilitate runoff and prevent waterlogging.
In completing these steps, gardeners can ensure a well-prepared foundation for a thriving garden.
Enhancing Soil Quality
Successful garden beds depend heavily on rich, nutritious soil. Enhancing soil quality involves two main actions: incorporation of organic material like compost and fertilizers, and improvement of soil structure and drainage.
Incorporating Compost and Fertilizers
Compost is an essential component in enriching soil. A gardener should apply a 2-3 inch layer of compost across the planting area and use the tiller to integrate it 6-8 inches deep into the soil. This process enriches the soil with organic material, which provides essential nutrients and improves microbial activity.
Fertilizers, on the other hand, should be applied according to the specific needs of the soil and plants. A soil test can guide on the fertilizer type and quantity needed. It's crucial to ensure even distribution and integrate it well into the soil to prevent any potential burning of roots and to promote uniform plant growth.
Improving Soil Structure and Drainage
The soil's physical properties—texture, density, and consistency—are pivotal for plant health. To improve soil structure, one must avoid tilling wet soil as it can lead to compaction and harm drainage. The aim is to create a well-aerated and loose seed bed that allows roots to penetrate and spread easily.
Drainage is crucial for preventing water-logging, which can suffocate plant roots. To enhance drainage, especially in heavy clay soils, one can mix in gritty sand or small gravel with the compost during tilling. This helps to create channels in the soil that facilitate the movement of water and air, essential for robust root systems.
Planting and Garden Bed Creation
Creating optimal conditions for planting is critical to cultivating a thriving garden. Accurate bed preparation sets the stage for healthy plant growth.
Designing Garden Beds
Before tilling, one should mark the perimeters of the intended garden bed. It allows clear visualization of the space and aids in creating an efficient layout. Garden beds should be designed with dimensions that permit easy access from all sides, typically not exceeding four feet in width. The length can vary based on the available space. Integrating paths between beds helps prevent soil compaction and facilitates maintenance. One may consider raised beds for improved drainage and easier access, filling them with a mix of soil, compost, and aeration materials.
Sowing Seeds and Transplanting Plants
After tilling and working amendments into the soil, planting can commence. To sow seeds, one should follow the recommended planting depth and spacing described on the seed packet. Proper spacing ensures adequate air circulation and sunlight, reducing disease risk and competition for nutrients. Transplanting seedlings into the garden bed requires a similar consideration for spacing. The root ball should be planted level with the soil surface, and the soil must be firmly pressed around each plant to eliminate air pockets. After sowing seeds or transplanting, it is essential to water thoroughly to establish the plants in their new environment.
Maintenance and Care of Your Tiller
Proper maintenance extends the life of a tiller and ensures it operates efficiently. Neglect can lead to performance issues and costly repairs. Users should adopt a routine that includes cleaning, storing, and regular maintenance while practicing safety measures.
Cleaning and Storing Your Tiller
Cleaning the tiller after every use prevents dirt buildup and rust. Users should clean off any soil and plant debris from the tines and body with a brush or hose. They should apply a light coating of oil to the tines to prevent rusting, especially if the tiller won't be used for a while.
Storing is essential for a tiller’s longevity. A tiller should be stored in a dry, covered place away from extreme temperatures. Fuel should be stabilized if the tiller won't be used for an extended period, and it should be stored in an airtight container to prevent evaporation and oxidation, which can harm the engine.
Regular Tiller Maintenance and Safety Tips
Regular Maintenance includes checking the engine oil level before each use and replacing it according to the manufacturer's instructions. Air filters should be inspected and cleaned or replaced to keep the engine running smoothly. Spark plugs require checking and cleaning periodically and replacing when worn to ensure reliable starting and operation.
Safety Tips must be observed every time the tiller is used. Operators should wear gloves to protect their hands and use the appropriate tools for any adjustments. Before performing any maintenance, they should disconnect the spark plug to avoid accidental starts. They should also ensure that all cables and connections are secure and adjusted as needed to prevent any operational hazards.
Overcoming Common Tilling Challenges
Tilling a garden is an essential step in preparing the soil for planting. However, individuals often encounter a few obstacles that can make the task more difficult. Below are strategies to address common tilling challenges:
Physically Demanding Task: Tilling can be strenuous, so it's crucial to use ergonomically designed tools that reduce the physical toll. They should consider taking breaks and splitting the tilling process over multiple days if necessary.
Dealing with Hard-packed Soil:
Moisture: Wait until the soil is moderately dry, as too much moisture makes it tough to till and can also damage the soil structure.
Depth: Start with shallow passes, gradually increasing depth with each subsequent pass to prevent undue strain on both the tiller and operator.
Roots and Weeds: Before tilling:
Clearing: They should remove large roots and weeds by hand to prevent tangling in the tiller's tines.
Herbicide: In severe cases, consider a pre-treatment with a suitable herbicide, adhering strictly to environmental guidelines.
Grass Removal: For areas with dense grass, they should:
Slice: Use a sharp spade to slice under the grass and lift it off to prevent it from getting tangled in the tiller.
Layering: Add a layer of newspaper or cardboard topped with compost before tilling to smother and decompose grass more effectively.
By addressing these common challenges with the proposed strategies, gardeners can significantly reduce the difficulty associated with tilling and ensure their soil is well-prepared for planting.
Pro Tips for Advanced Gardeners
When an advanced gardener operates a tiller, they focus on efficiency and the promotion of healthy plant growth. They know that well-prepared soil is the bedrock of a thriving garden. Here are tips to refine the tilling experience:
Depth Mastery: The pro gardener understands that the depth of tilling dramatically influences soil health. They typically set the tiller to go 6 to 8 inches deep to properly aerate the soil and incorporate amendments.
Organic Matter Integration: Thorough mixing of compost or other organic matter is key. Experienced gardeners make multiple passes with the tiller, crisscrossing the first pattern, to evenly distribute compost for nutrient-rich soil.
Equipment Care: They maintain their tiller meticulously, knowing that sharp blades and proper adjustments are crucial for an efficient and smooth tilling process.
Seasoned Techniques:
Aeration: They aerate compacted areas efficiently, ensuring oxygen reaches plant roots.
Weeding: Advanced users weed with precision, disrupting weed growth while preserving soil structure.
Timing: They till at the correct time, when the soil is moist but not wet, to prevent clumping.
Safety and Enjoyment:
Safety Gear: They never compromise on safety, always using gloves and sturdy footwear.
Careful Operation: The tiller is handled with care, aware of its power and potential hazards.
Pleasure in Process: They find joy in the preparation stage, understanding that it sets the stage for a successful garden.
By following these pro tips, gardening with a tiller becomes not only more efficient and conducive to plant growth but also a more enjoyable activity.
