
The Ultimate Guide to Using a Portable Seed Cleaner
Essential Tips for Homesteader Efficiency

A portable seed cleaner can be a game-changer for homesteaders striving towards self-sufficiency. In an era where the quality of produce is as important as yield, ensuring that your seeds are clean and free of debris is essential for the success of your planting endeavors. For homesteaders, this process becomes more practical and accessible with the help of a portable seed cleaner, which efficiently prepares seeds for storage or the next planting season.
Homesteaders often cultivate a variety of plants, each with seeds that require special attention. A portable seed cleaner allows for the flexibility to work with different types of seeds, making it an indispensable part of the homesteading toolkit. It streamlines the seed cleaning process by removing chaff, soil, and other impurities that can affect seed viability and germination rates.
Embracing the use of a portable seed cleaner not only contributes to more successful harvests but also enhances a homesteader's resilience and autonomy. By facilitating a cleaner and more organized approach to seed saving, homesteaders can maintain a robust seed library, ready for future growing seasons, which is a cornerstone of any thriving self-sufficient homestead.
Understanding Seed Cleaning
Seed cleaning is a critical step in agriculture that ensures seeds are free of debris and contaminants before planting. This process enhances germination rates and contributes to successful crop production.
Basics of Seed Cleaning
Seed cleaning involves the separation of seeds from the harvested plant material, such as chaff, husks, and other debris. This is crucial for seed saving and maintaining the purity of plant varieties. Here are key components to consider:
Seed Separator: A device that aids in the division of seeds from unwanted materials based on size, weight, and shape.
Cleaning Process: The sequence of steps in which seeds are processed to remove impurities. It typically includes screening, air separation, and occasionally washing.
The process may vary depending on the type of seed cleaner used and the specific needs of the seeds being cleaned.
Benefits of Using a Seed Cleaner
Using a seed cleaner can offer significant advantages to homesteaders and commercial farmers alike:
Enhanced Seed Quality: Clean seeds have higher germination rates as impurities that may introduce disease or inhibit growth are removed.
Efficiency: Seed cleaners can process a large volume of seeds quickly, saving time during the planting season.
Cost-Effectiveness: By cleaning their seeds, growers can reduce dependency on purchasing new seeds, resulting in long-term savings.
Seed cleaners, such as the portable seed cleaner, can be especially beneficial for mobile seed cleaning needs, enabling the user to clean seeds directly in the field.
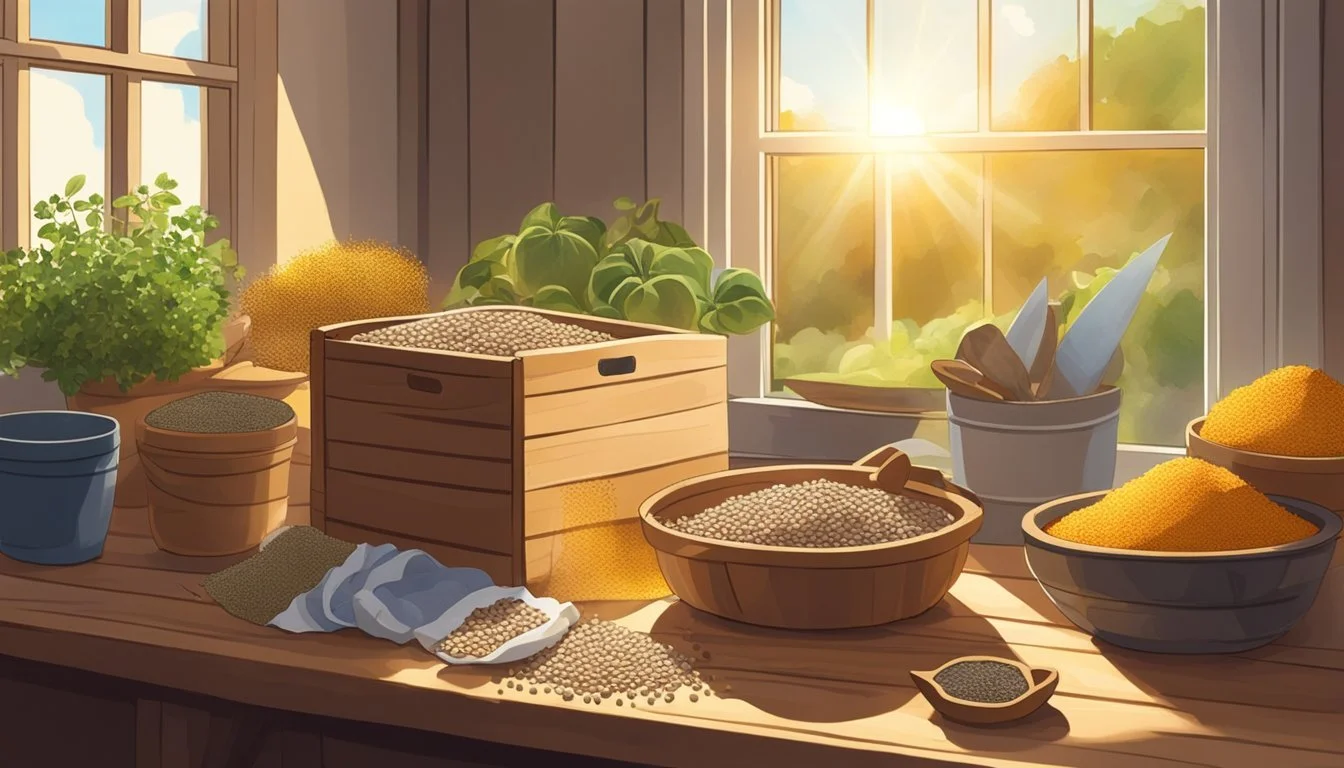
Preparation for Seed Cleaning
Before starting the seed cleaning process, it is essential to choose the right seeds and gather all necessary equipment to ensure efficiency and effectiveness. This preparation lays the groundwork for a successful seed cleaning session.
Selecting the Right Seeds
Choosing the appropriate seeds for cleaning is the first critical step. It is important to examine seed packets for information on the seed variety and its specific cleaning requirements. Seeds should be ripe, dry, and free from disease or damage to ensure the best possible outcomes. Select seeds from plants that have desirable traits such as drought tolerance, disease resistance, or high yield to encourage those characteristics in future crops.
Gathering Necessary Equipment
The next step is to assemble the required equipment. For homesteaders using a portable seed cleaner, the following items should be prepared:
Portable Seed Cleaner: Ensure it is fully assembled and operational.
Cleaning Surfaces: Prepare surfaces for sorting and inspecting seeds post-cleaning.
Storage Containers: Have a variety of containers ready for different seed sizes and types.
Protection Gear: Gloves and masks may be necessary to prevent dust inhalation.
One should conduct research on their specific seed cleaner model to familiarize themselves with its operation. If a homesteader has chosen to build their own DIY seed cleaner, they must ensure that it has been properly assembled with all components secured firmly. This includes double-checking fastenings, adhesives, and ensuring the motor is in good working condition.
Setting Up a Seed Cleaning Area
When homesteaders embark on the project of setting up a seed cleaning area, two crucial steps ensure a smooth and efficient process: selecting the appropriate location and assembling the seed cleaner properly. This guide will walk one through these foundational tasks.
Choosing a Location
Location is paramount when creating a seed starting area. One should consider an area that is:
Dry and well-ventilated: to prevent mold and ensure seeds dry properly.
Room Temperature: ideally between 60-70°F (15-21°C) for most seed types.
Accessible: choose a space that allows for easy operation and maintenance of the seed cleaner.
It's advised to have grow lights available, especially if the area lacks natural sunlight. A table or sturdy surface should be available to place the seed cleaner and to facilitate an organized workflow.
Assembling the Seed Cleaner
Assembling a portable seed cleaner involves:
Unboxing all parts and lay them out.
Follow the manufacturer's instructions carefully to assemble the unit.
Check all fittings and connections to ensure they are secure.
Test the seed cleaner without seeds to troubleshoot any issues before actual use.
Always prioritize safety and refer to the seed cleaner's manual to confirm that it's assembled correctly. Proper assembly ensures longevity of the equipment and effectiveness in seed cleaning tasks.
Seed Cleaning Techniques
Effective seed cleaning maximizes seed quality and viability, directly impacting the success rates of homesteading efforts. This involves different methods to separate seeds from chaff and debris, including both manual and mechanical techniques tailored for various types and sizes of seeds.
Manual Seed Cleaning Methods
Manual cleaning methods are crucial for homesteaders who prefer a hands-on approach or have limited quantities of seeds to process.
Winnowing: A traditional technique where seeds are tossed into the air, allowing the wind to blow away lighter debris, while seeds fall into a container below.
Hand Screens: Sieves or screens with different mesh sizes can separate seeds based on size and shape by shaking or vibrating them manually.
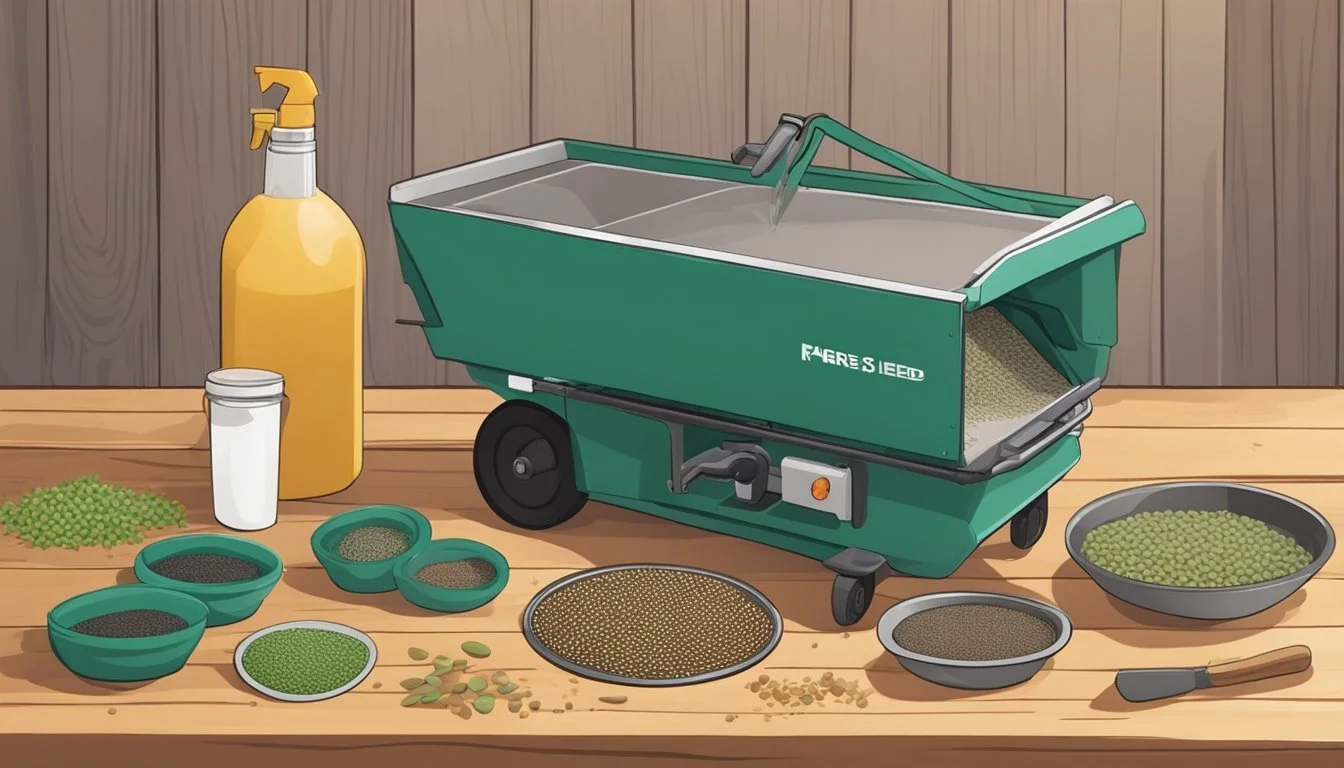
Mechanical Seed Cleaning Procedures
Mechanical cleaning processes utilize equipment such as seed cleaners, combines, and seed separators to efficiently handle larger volumes of seeds.
Portable Seed Cleaner: Compact and mobile seed cleaning devices, often equipped with wheels, enable the cleaning of seeds anywhere, which is especially useful for homesteaders who need to work in various locations.
Function: Air Blowing
Description: Uses a stream of air to remove lighter impurities.
Function: Screening
Description: Employs a series of screens to sort seeds by size and shape.
Function: Threshing
Description: Loosens seeds from their pods or husks.
Combine: A combine is a versatile and larger-scale agricultural machine that can thresh and clean seeds as part of the harvesting process.
Seed Separator: Specifically designed to precisely sort seeds from unwanted materials, helping to ensure the purity and cleanliness of the seed batch.
Homesteaders can choose from these methods based on the scale of their operations and the resources at their disposal. The choice between manual and mechanical techniques ultimately depends on the specific needs of the seed types and the goals of the homesteading project.
Seed Starting Fundamentals

Proper seed starting is the cornerstone of a successful gardening journey. It involves understanding the intricacies of seed germination and creating an ideal seed starting mix tailored to promote healthy seedling growth.
Understanding Seed Germination
Seed germination is the process by which a seed develops into a new plant. Key factors in this process include heat and soil temperature, as they activate enzymes that wake the seed from dormancy. Most seeds germinate optimally at soil temperatures between 65°F and 75°F. A portable seed cleaner allows homesteaders to ensure that only viable seeds, free from debris and damage, are chosen for planting, which increases the likelihood of successful germination.
Ideal Soil Temperature: 65°F - 75°F
Seed Type: Most vegetable seeds
Ideal Soil Temperature: Cooler Temperatures
Seed Type: Lettuce, spinach
Ideal Soil Temperature: Warmer Temperatures
Seed Type: Tomatoes, peppers
Creating the Ideal Seed Starting Mix
A seed starting mix provides the right environment for seeds to germinate and for seedlings to grow. The mix should be sterile to prevent disease, well-draining, and yet capable of retaining moisture. An ideal mix combines peat moss, which retains water, with perlite or vermiculite, which ensures drainage and aeration. A light texture allows roots to penetrate easily, and consistent moisture levels are crucial during the critical stages of seedlings’ growth.
Peat Moss: Retains water, keeps the mix moist.
Perlite/Vermiculite: Increases aeration, improves drainage.
These elements work together to create an environment that supports the seedlings as they germinate and begin their growth journey. Homesteaders who optimize their seed starting practices lay the foundation for robust plants that contribute to a bountiful harvest.
Seedling Care and Management
Good seedling care is pivotal in ensuring healthy, vigorous plants ready for transplanting. Key factors include maintaining the right temperature, providing adequate moisture, and ensuring sufficient lighting.
Temperature and Heat Requirements
Seedlings thrive in a consistent temperature range. Optimal temperatures for vigorous growth are usually between 70 and 80 degrees Fahrenheit (21-26 degrees Celsius). If temperatures fall outside this range, seedlings may experience stunted growth or other stress-related issues. Heating mats can be used to maintain soil warmth, especially for heat-loving plants that require a steady temperature.
Ideal Temperature Range: 70-80°F (21-26°C)
For Heat-Loving Plants: Use heating mats to maintain consistent soil temperature
Moisture and Watering Practices
Maintaining proper moisture levels is crucial for seedling health. Water should be applied when the soil's surface feels dry to the touch. Overwatering can lead to issues such as root rot, while underwatering can stress plants and hinder their development.
Watering Indicator: Soil surface is dry to the touch
Watering Technique: Use a gentle spray to avoid displacing the soil or damaging delicate seedlings
Lighting and Grow Light Utilization
Seedlings require adequate light to grow strong and prevent legginess. In the absence of natural light, grow lights provide a full spectrum of light that mimics the sun. Fluorescent lights, particularly full-spectrum ones or combination cool and warm white bulbs, are commonly used. They need to be positioned a few inches above the seedlings and raised as plants grow.
Light Source: Full-spectrum grow lights or fluorescent lights
Position: A few inches above seedlings; adjust as they grow
Maintaining a Portable Greenhouse
For homesteaders, maintaining a portable greenhouse optimally can lead to successful plant growth and yield. This involves precise climate control along with selecting the right accessories to support plant development.
Controlling Climate and Environment
The environment within a greenhouse significantly influences plant health. They should closely monitor temperature and humidity levels, ensuring that they stay within the ideal range for their plants. The use of a thermometer and humidity gauge is essential for this purpose. A balance is crucial; too much humidity might encourage fungal growth, while too little can dehydrate plants.
Ventilation is another key factor, which can be managed with adjustable openings or installing a small fan. This helps regulate both temperature and prevents the accumulation of excessive humidity. For seedlings, employing a humidity dome over plastic pots or biodegradable pots can facilitate controlled germination conditions by maintaining consistent moisture and warmth.
Greenhouse Accessories
To maintain an ideal environment, homesteaders equip their greenhouse with a variety of accessories:
Thermometers and Hygrometers: Devices for monitoring temperature and humidity.
Ventilation Equipment: Includes fans and adjustable openings.
Shelving: Offers organized space for plastic pots or biodegradable pots.
Watering Systems: Ranging from simple watering cans to drip irrigation systems for consistent soil moisture.
Heating Mats or Cables: Provide bottom heat to encourage seed germination and growth during cooler periods.
Through meticulous climate control and the integration of adequate greenhouse accessories, one ensures the portable greenhouse remains a nurturing environment for plant growth.
Following a Garden Planner
Utilizing a garden planner can optimize the yield and efficiency of homestead gardens, allowing gardeners to make informed decisions about planting and harvesting times tailored to their specific environment.
Timing the Growing Season
Early Season:
Onions: Plant as soon as the soil is workable in late winter or early spring.
Lettuce: Sow seeds directly in the ground 2-4 weeks before the last frost date projected for your gardening zone.
Spinach: Ideal for early spring sowing; it requires 6-8 weeks of cool weather to flourish.
Mid Season:
Brassicas: Such as broccoli and cabbage, should be transplanted outdoors 2-3 weeks before the last frost date.
Late Season:
Cucumbers and Squash: Sow seeds after the danger of frost has passed, as they require warm soil to germinate effectively.
Zoning and Crop Selection
Gardening Zone:
Reference your gardening zone to accurately select crops that are suitable for your climate.
Zone 5 Example:
Onions: Long-day varieties thrive here.
Brassicas: They prefer cooler spring and fall temperatures.
Spinach: A hardy choice for early spring or late fall.
Lettuce: Can be grown in both spring and fall seasons.
Cucumbers and Squash: Plant only after the last spring frost to avoid damage.
By carefully considering the growing season and appropriate crops for a particular zone, gardeners can enhance their chances of a bountiful harvest. A garden planner serves as a customized roadmap for scheduling planting and harvesting activities in alignment with the seasonal conditions and regional climate.
Error Prevention and Best Practices

In the pursuit of homesteading success, paying attention to detail in the seed starting process is crucial. Error prevention ensures high germination rates and the healthy growth of a variety of crops in one's nursery.
Common Seed Starting Mistakes
One often encounters specific mistakes when starting seeds using a portable seed cleaner. These errors can drastically reduce the success rate of germination and the overall health of the nursery. Two key missteps to avoid are:
Over-processing: Seeds can be damaged by excessive cleaning or handling. By using the portable seed cleaner gently and following the manufacturer's guidelines, one can avoid the risk of cracking the seed coats.
Incorrect Cleaning Settings: Each variety of seed has unique requirements. It’s imperative to use the correct settings on the portable seed cleaner for the specific type of seed being processed.
Maximizing Germination Success
Achieving high germination rates is a result of meticulous care and the proper use of tools. To this end, these best practices should be followed:
Optimal Seed Condition: Ensure that seeds are neither too wet nor too dry before they go into the portable seed cleaner. Moisture levels should be just enough to allow for easy removal of debris without causing the seeds to stick together or to the cleaner.
Correct Operation: Operate the machine at the recommended speed and duration. Too fast and seeds may be missed or damaged; too slow and it may lead to unnecessary time consumption and potentially harmful over-exposure to the cleaning process.
Implementing these practices will play a significant role in preventing errors and contributing to a successful and productive nursery.
Advanced Seed Starting Techniques
Seed starting is pivotal for homesteaders aiming to achieve a jump-start on the growing season. This section delves into sophisticated methods: utilizing a food dehydrator for seed drying and exploring soilless options to nurture seed germination.
Utilizing a Food Dehydrator
To ensure longevity and improved germination rates, seeds must have low moisture content before storage. A food dehydrator can be employed to achieve this with precision. Homesteaders can set the dehydrator to a low temperature, typically around 95-100°F, to dry seeds effectively without damaging their viability. For example:
Tomato Seeds:
Step 1: Rinse seeds to remove pulp.
Step 2: Place seeds on dehydrator tray.
Step 3: Dry at 95°F for 6-8 hours.
Exploring Soilless Options
Seed starting isn't confined to traditional soil-based mediums. Soilless options, such as peat moss, provide a sterile, consistent environment for seeds, reducing the risk of disease and pests. For starting seeds in peat moss, one could follow these steps:
Prepare Peat Moss:
Saturate peat moss with warm water until it's evenly moist but not waterlogged.
Seed Sowing:
Place seeds at an appropriate depth within the peat moss.
Maintain humidity and temperature as required for the seed species.
Employing these advanced seed starting techniques can significantly increase a homesteader's success in cultivating healthy, robust plants ready for transplanting when the time is right.
Species-Specific Considerations
When using a portable seed cleaner for homesteading, one must account for the peculiarities of each species. The cleaning process varies significantly based on the characteristics of the seeds from different plants, such as tomatoes compared to lettuce. Properly understanding and applying species-specific considerations ensures the purity and viability of seeds, which leads to successful cultivation.
Growing Tomatoes and Peppers
Tomatoes and peppers produce seeds encased in a gelatinous sac, which is nature's way of protecting the seed. A portable seed cleaner must be gentle enough to extract seeds without damage, yet robust enough to remove the sac and any attached pulp. Here are the specific steps for these species:
Tomatoes:
Ferment the seeds briefly to dissolve the sac.
Rinse thoroughly to avoid mold growth.
Dry the seeds completely before storage.
Cut open and remove seeds directly from the fruit.
Air-dry the seeds, as peppers do not require fermentation.
Cultivating Root Vegetables and Leafy Greens
The seeds of root vegetables and leafy greens, such as onions and spinach, are smaller and have different textures, affecting how they should be cleaned. A portable seed cleaner should have adjustable settings to cater to these differences.
Onions:
They produce black, angular seeds.
The seed cleaner should apply a mild agitation to avoid breaking these rigid seeds.
Lettuce and Spinach:
Lightweight seeds that need a gentle flow of air to separate chaff.
Use mesh screens fine enough to pass only the seeds, leaving debris behind.
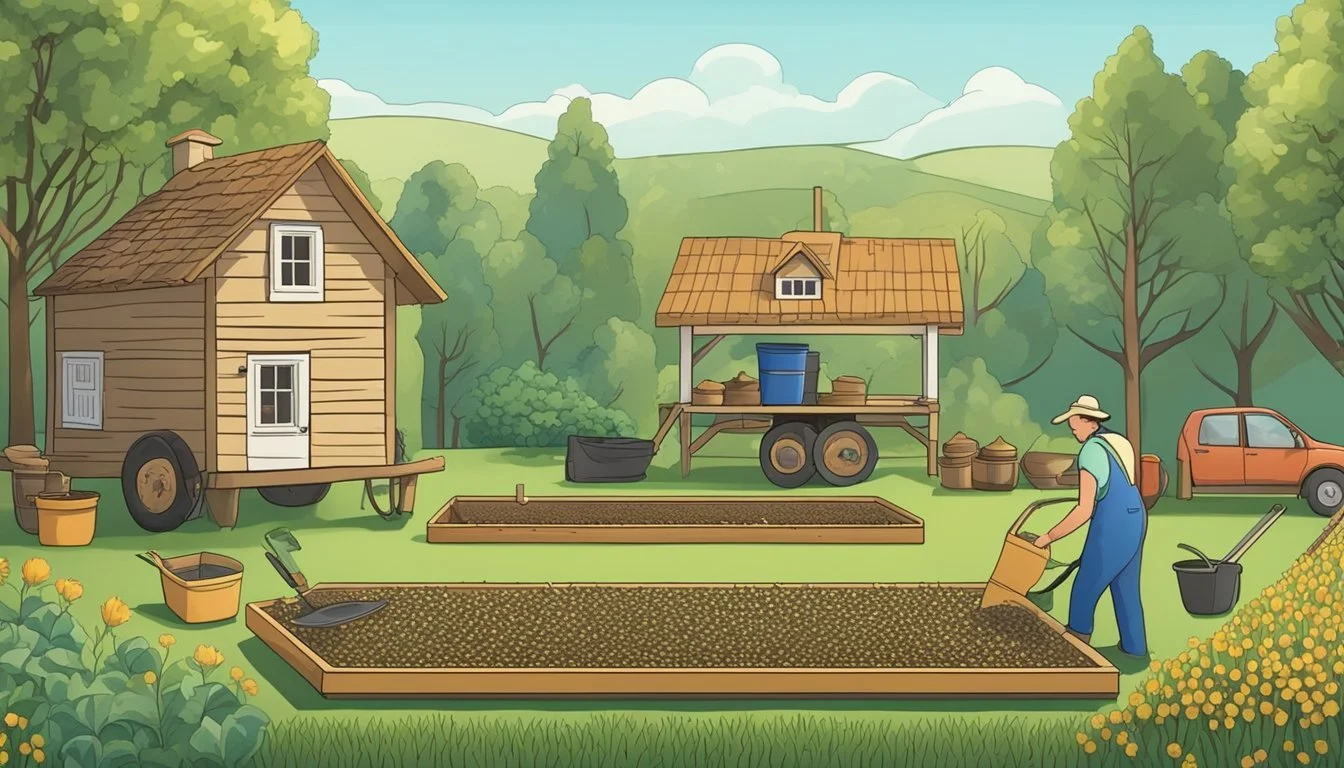
Building a Self-Sufficient Homestead
Building a self-sufficient homestead demands integrating reliable systems and practices that promote sustainability and resilience. The key to success lies in strategic resource management and the utilization of versatile tools, such as portable seed cleaners, which are essential for seed saving and effective crop production.
Incorporating Seed Saving into the Cycle
Seed saving is a critical aspect of a self-sufficient homestead because it enables growers to cultivate crops adapted to their specific microclimate. Homesteaders should select their strongest and healthiest plants from which to save seeds, ensuring genetic diversity and plant resilience. Key steps in seed saving involve:
Isolation: Preventing cross-pollination by spacing or using physical barriers.
Harvesting: Collecting seeds at the right time, when they are mature and dry.
Processing: Using equipment like portable seed cleaners to separate seeds from chaff.
Storage: Keeping seeds in a cool, dry place to maintain viability.
Properly saved seeds can lead to a reliable and self-renewing source of plant stock for subsequent planting seasons, thereby reinforcing the homestead's food security.
Leveraging Equipment for Multiple Purposes
A self-sufficient homestead benefits greatly from versatile equipment that has multiple uses, conserving resources and space. Homesteaders should aim for tools that contribute to different homestead operations, reducing the need for specialized, single-purpose instruments. Essential characteristics for homestead equipment include:
Durability: Equipment should be robust and long-lasting.
Adaptability: Tools must be versatile, suitable for various tasks and conditions.
Efficiency: They should accomplish tasks effectively, saving time and labor.
Portable seed cleaners, for example, are an invaluable investment for a homestead, as they not only facilitate seed saving for next season's crops but also can be used for cleaning grains for milling and food preparation. By focusing on such multifaceted tools, homesteaders can maximize resources, streamline processes, and inch closer to self-sufficiency.
Conclusion
In the realm of homesteading, a portable seed cleaner emerges as an invaluable tool for ensuring the purity and viability of seeds. Homesteaders can leverage this device to sift through undesired debris, like sand and small stones, from their coveted heirloom seeds. These seeds, once cleaned, are ready for storage or immediate planting.
The cleanliness of seeds affects their growth potential. By removing excess dirt and potential pathogens, gardeners increase the likelihood of successful germination. Pairing a portable seed cleaner with other gardening essentials, such as grow lights and moisture control systems, can amplify homestead productivity.
Seed starting containers and trays, when filled with high-quality potting soil, set the stage for a thriving garden. Selecting appropriate containers, whether repurposed or designed for the task, combined with the judicious application of fertilizer, can make a tangible difference.
Rope and other tools may be required for setting up gardening structures, but the beginning—clean, viable seeds—is where success is sown.
Compost serves as a crucial element in enriching the soil, offering a sustainable loop from table scraps back to the earth.
Finally, the portable seed cleaner helps safeguard the investment in time and resources homesteaders pour into their gardens. It's a merger of tradition and efficiency that underscores a commitment to self-reliance and the nurturing of one's own food supply.
