
The Ultimate Guide to Canning Supplies
Essential Tools for Home Food Preservation
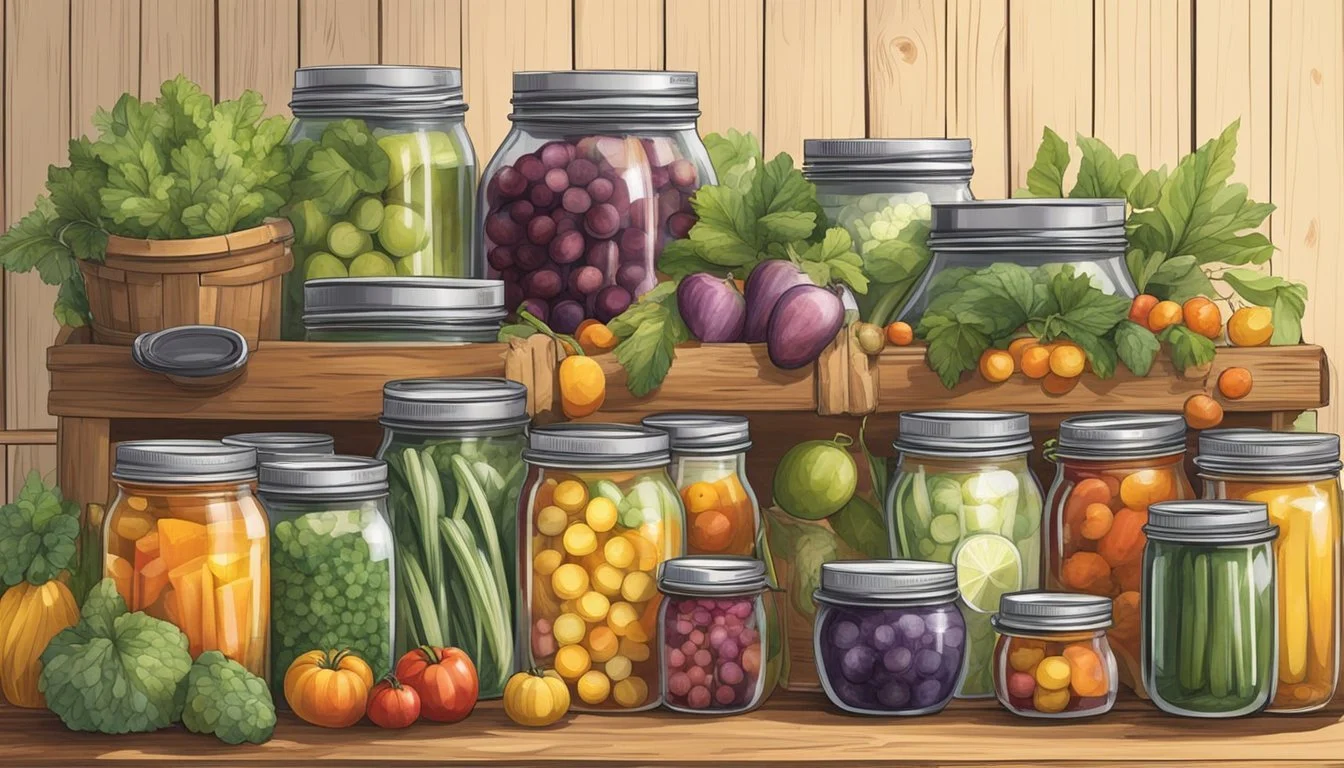
Canning is a time-honored method that allows homesteaders to preserve the abundance of their gardens and orchards for seasons to come. By storing food in airtight containers, canning extends the shelf life of fresh produce and homemade recipes, ensuring a supply of wholesome food throughout the year. The process not only enhances food security but also allows for the enjoyment of seasonal flavors long after the harvest has passed.
The art of canning requires specific supplies to ensure that each step of the process—from preparing the preserve to sealing it in jars—is completed safely and effectively. Essential tools such as mason jars, lid lifters, canning racks, and a reliable pressure canner or water bath canner are the foundation of any well-equipped canning setup. Each item plays a crucial role in achieving the sterilization and vacuum seal necessary to protect the preserved food from spoilage and contamination.
Homesteaders embarking on the canning journey must understand that the quality and safety of the canned goods significantly depend on using the proper supplies and adhering to tested canning methods. Canning supplies, chosen with care and knowledge, become valuable investments that contribute to the self-sufficiency and sustainability of a homestead's food practices.
Essential Canning Supplies
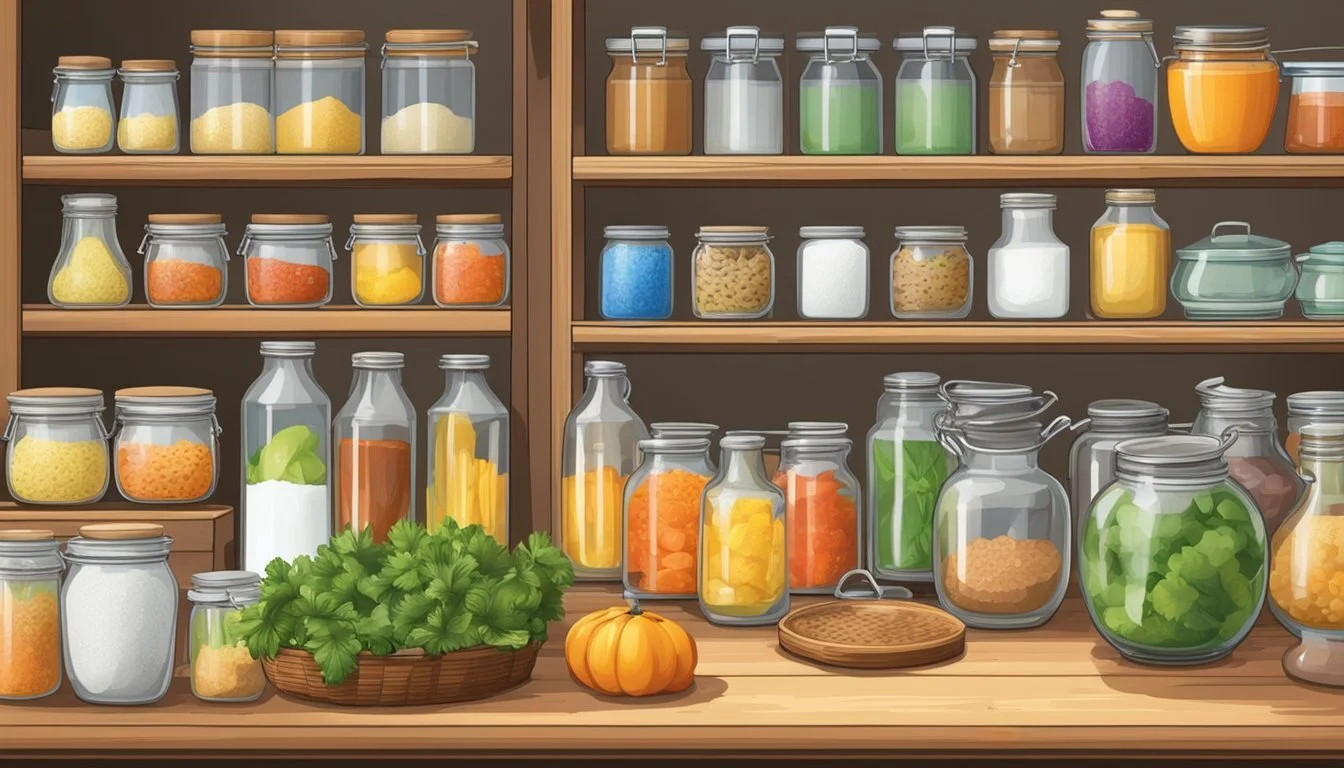
A well-equipped homestead kitchen for canning includes specific jars, lids, and bands designed for preserving, as well as specialized equipment and tools to streamline the process and ensure safety.
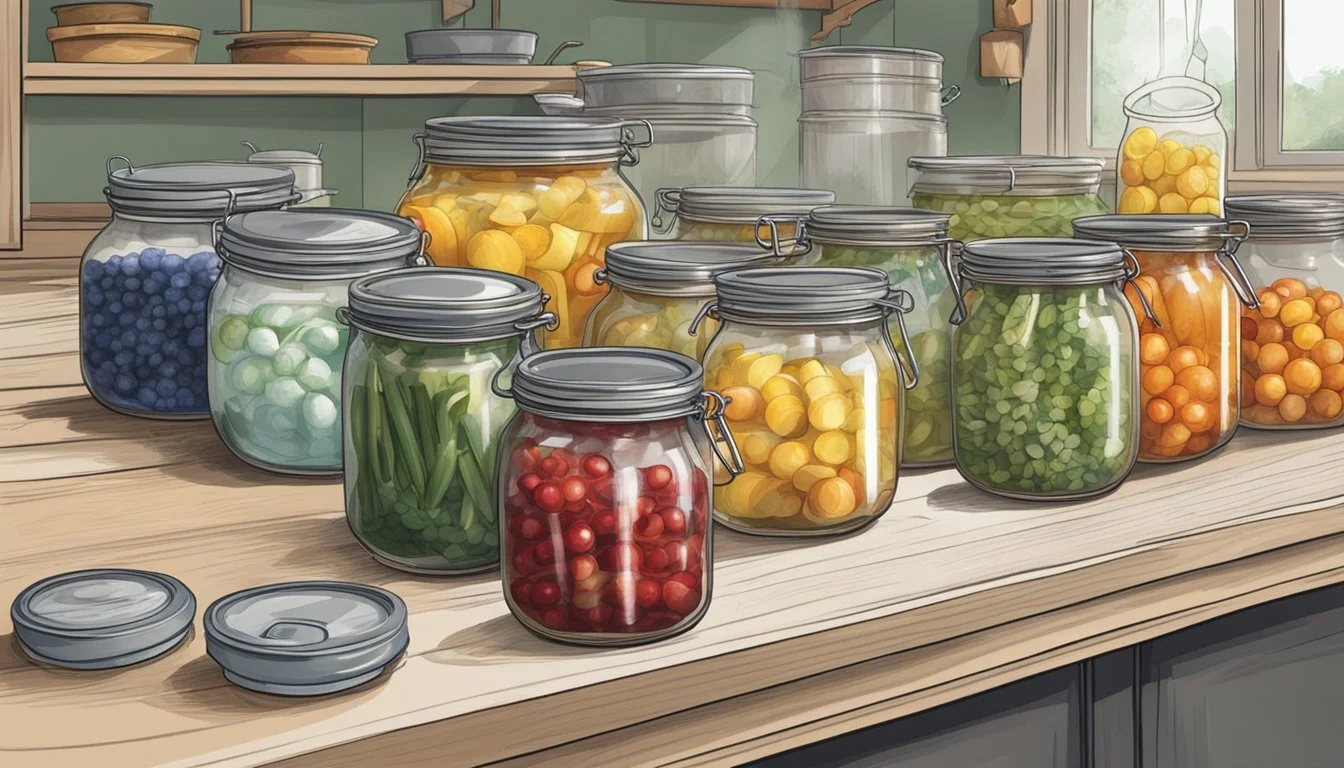
Canning Jars, Lids, and Bands
Canning jars, typically made of glass, are a fundamental component for food preservation. They come in various sizes to accommodate different types of food, such as half-pint, pint, quart, and half-gallon capacities. Jars are reusable, while lids and bands (often referred to as rings) secure the contents and need to meet specific standards to ensure a proper seal during the canning process. Lids are one-time use only due to the sealant on the underside; however, bands can be reused if they are not warped or rusty.
Jars: Half-pint, Lids: Single-use, Bands: Reusable
Jars: Pint, Lids: Food-grade, Bands: Screw bands
Jars: Quart, Lids: Built-in seal, Bands: Adjustable
Jars: Half-gallon, Lids: Airtight, Bands: Metal
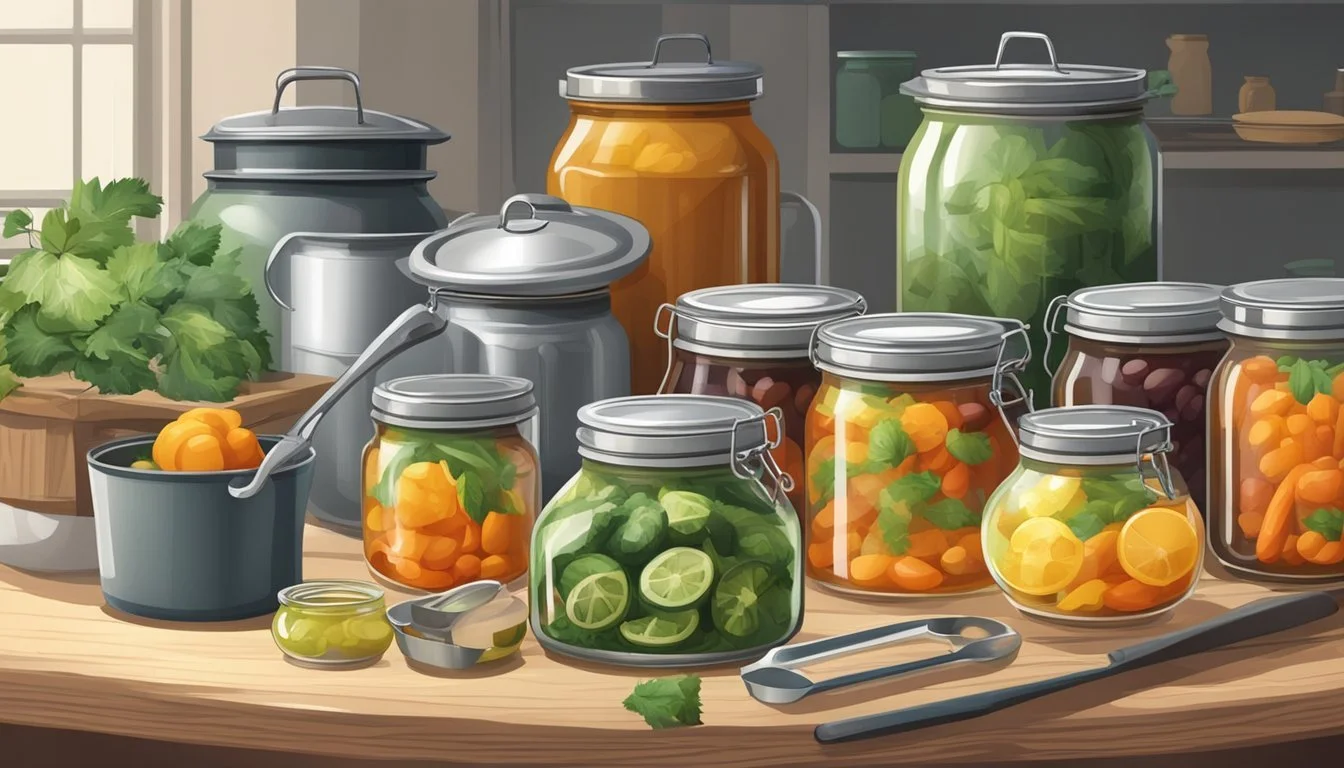
Canning Equipment Overview
Beyond jars, a successful canning operation requires certain canning equipment to process foods safely and effectively. This includes a canning pot with a rack to hold jars and facilitate even heat distribution during processing. Pressure canners are essential for low-acid foods, while water bath canners are sufficient for high-acid foods. The equipment ensures food reaches the appropriate temperature to prevent the growth of bacteria and create a vacuum seal.
Canning Tools and Utensils
Essential canning tools and utensils are the unsung heroes of the preservation process. These not only aid in safety but also increase efficiency. A canning funnel helps with the clean transfer of food into jars. Magnetic lid lifters and lid lifters allow for the safe handling of sterilized lids. Meanwhile, a jar lifter provides a secure grip for moving hot jars during and after processing, minimizing the risk of burns or breakage.
Canning Funnel: Prevents spills, fits standard jar openings.
Jar Lifter: Safeguard against burns, rubberized grip for stability.
Magnetic Lid Lifter: Picks up lids from hot water, minimizes contamination.
Lid Lifter: Handy for prying lids from jars.
Each tool plays an integral role in preserving food efficiently and safely, helping to maintain the highest quality of home-canned goods.
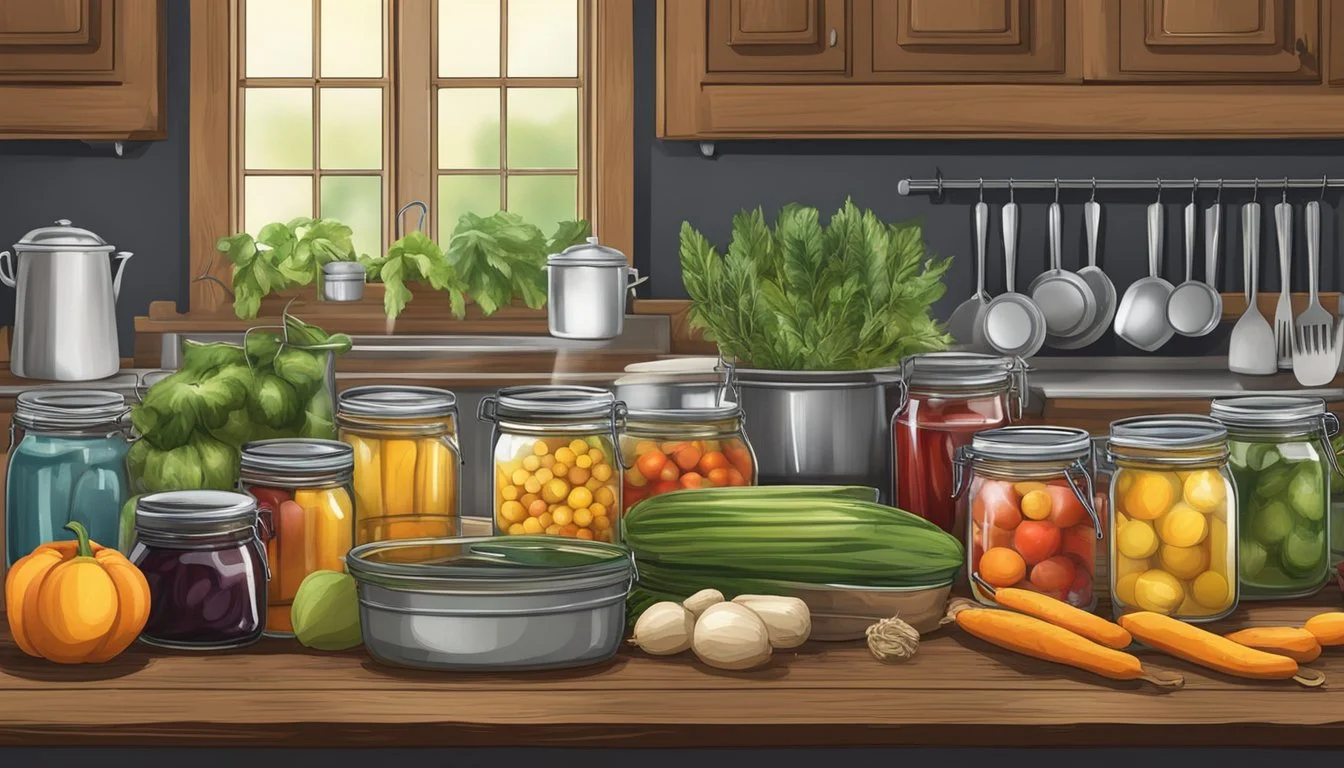
Preparing Your Canning Ingredients
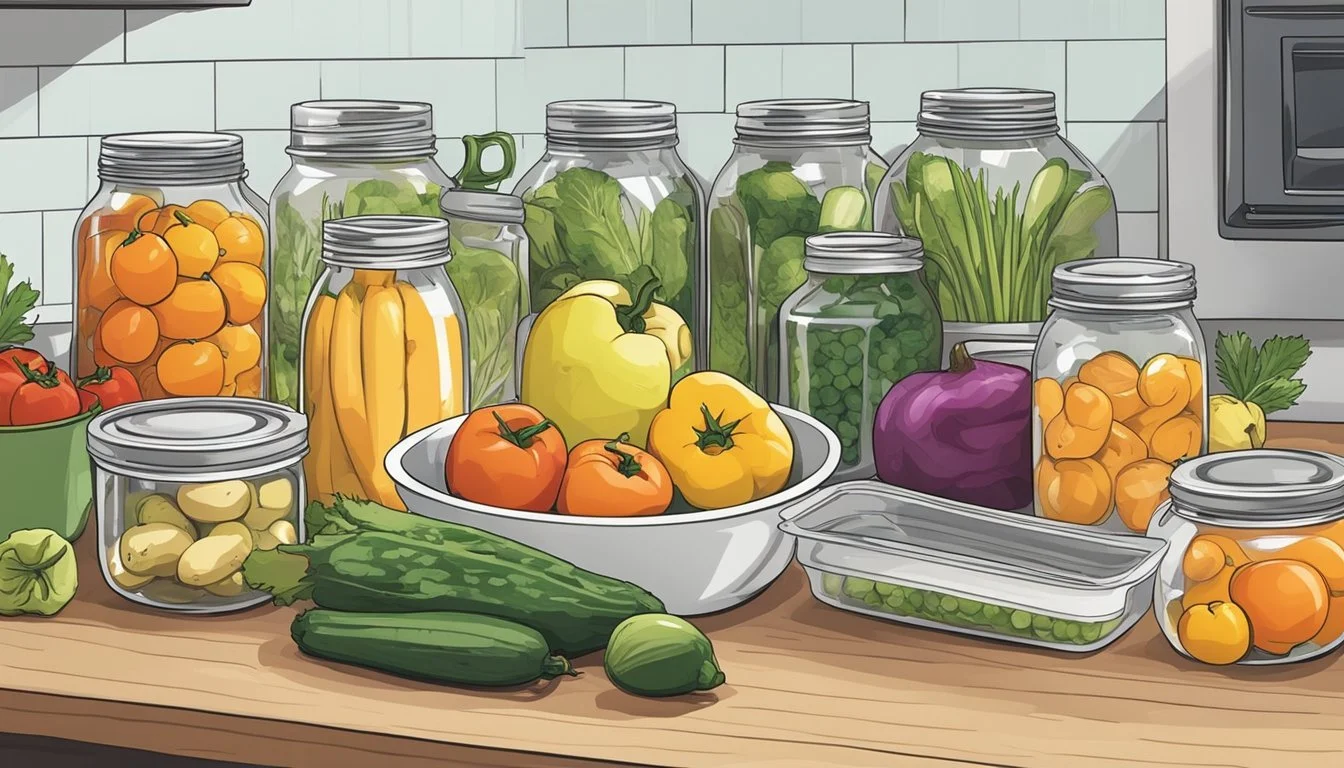
Properly preparing ingredients is an essential starting point for successful canning. Correct preparation ensures that preserved foods retain flavor and are safe for consumption.
Selecting and Washing Produce
The first step in preparing ingredients is the selection of fresh produce. Opt for ripe, high-quality fruits and vegetables, as the quality of the finished product cannot surpass the quality of the initial ingredients. Tomatoes, pears, apples, peppers, cucumbers, plums, and grapes should be free of bruises and blemishes.
Once selected, thoroughly wash the produce under running water to remove any dirt or residue. A colander can be used for smaller fruits and vegetables or batches:
Tomatoes/Cucumbers: Rinse individually
Grapes/Pears: Place in a colander and gently wash
Apples/Plums: Rinse and use a soft brush if needed
Do not soak produce, as it can become waterlogged and may affect the preservation process.
Cutting and Pre-Cooking
After washing, some recipes may require produce to be cut into specific sizes. For example:
Recipes for jams may call for finely chopped fruits.
Pickles often require cucumbers to be sliced uniformly.
Prepare each item according to the specific details outlined in the recipe, ensuring that the sizes and shapes are consistent for even cooking and canning. Pre-cook certain ingredients if the recipe necessitates. Vegetables like peppers may need blanching to preserve color and texture, while fruits for jams are usually simmered to the proper consistency. Use a sharp knife and a stable cutting board to prep produce safely and efficiently.
Tomatoes: Cut into quarters for sauces or crush for juices.
Apples/Pears: Peel, core, and slice as needed.
Plums: Pit and halve if required by the recipe.
Make sure to clean cutting surfaces between different types of produce to avoid cross-contamination.
Understanding Food Acidity and Safety
When preserving food through canning, it is fundamental to understand the role of acidity for ensuring the safety and longevity of your canned goods. The pH levels in food can directly impact the growth of bacteria, making proper knowledge of acidity pivotal for safe canning.
PH Levels and Acidity in Foods
Food acidity is determined by its pH level, which is measured on a scale from 0 to 14. High-acid foods have a pH of 4.6 or lower and generally include fruits, pickles, and foods to which acidic additives like vinegar, lemon juice, or citric acid have been added. High-acid foods create an inhospitable environment for the growth of many bacteria, including the dangerous Clostridium botulinum.
Foods with a pH below 4.6:
Fruits
Tomatoes (with added acid)
Pickles
Jams and jellies
On the other hand, low-acid foods - with a pH above 4.6 - typically encompass vegetables, meats, and some fruits. These foods do not naturally inhibit bacterial growth and therefore require different canning techniques to ensure safety.
Foods with a pH above 4.6:
Meats
Vegetables
Dairy products
Ensuring Safe Canning Practices
The acidity of food mandates the canning method to use. For high-acid foods, a water bath canner is sufficient to create a seal and prevent spoilage because these foods naturally suppress harmful bacteria. In contrast, low-acid foods necessitate the use of a pressure canner that reaches higher temperatures to kill more resilient bacteria like C. botulinum.
Safe canning practices involve proper sterilization and adherence to tested recipes to maintain pH levels conducive to food preservation. Here's an overview of which canning method to use based on acidity:
Water bath canning: Suitable for high-acid foods.
Pressure canning: Required for low-acid foods.
It is crucial that individuals never use appliances like slow cookers, dishwashers, or microwaves to can food as they do not reach the necessary temperatures for safe sterilization. Always reference reliable sources and guidelines to determine the proper canning techniques and processing times for different food types.
Canning Techniques
Canning on the homestead allows for the preservation of food, utilizing either the Water Bath Canning Method or the Pressure Canning Method, each suited for different types of food.
Water Bath Canning Method
In water bath canning, acidic foods such as fruits, jams, and pickles are processed. A large pot filled with water, a water bath canner, is required and should come with a rack to keep jars off the bottom. This method involves submerging filled jars in boiling water and processing them for a specified amount of time, which varies based on altitude and recipe. As the jars cool, a vacuum seal forms, preserving the food.
Equipment Needed: Water bath canner, rack, jars, lids, and bands.
Steps:
Fill the canner with water and preheat to simmer.
Prepare food and fill jars, ensuring proper headspace.
Place filled jars on the rack in the canner.
The water level should be at least one inch above jars.
Cover the pot and bring to a full rolling boil; start timing the processing time.
Once finished, turn off heat and let jars sit for 5 minutes before removing.
Pressure Canning Method
Pressure canning is essential for low-acidic foods like vegetables, meats, and poultry which are not safe to can using the water bath method due to the risk of botulism. This method uses a specialized pot known as a pressure canner which raises the temperature beyond that of boiling water. The pressure and temperature reached are crucial for destroying harmful bacteria.
Equipment Needed: Pressure canner, jars, lids, and bands.
Features:
Equipped with a vent/cover lock.
Contains a vent port (air vent/cover lock).
Includes a weighted gauge or dial gauge for regulating pressure.
Steps:
Heat jars and prepare food.
Fill jars and affix lids and bands.
Place jars on the rack in the pressure canner with 2 to 3 inches of water.
Lock the canner lid and heat until steam flows from the vent.
Allow steam to escape for 10 minutes before placing the weight or closing the vent.
Process the jars for the recommended time and pressure specific to the food and altitude.
After processing, turn off heat and let the canner depressurize.
Wait 10 to 20 minutes before opening the lid, then remove jars and let them cool.
Proper Use of Canning Tools
When embarking on the food preservation journey, understanding how to correctly use canning tools is essential for both safety and ensuring high-quality preserved foods. A proper grip on using tools like jar lifters and lid lifters, as well as the right technique for sealing jars and managing air bubbles, are crucial steps in the process.
Using a Jar Lifter and Lid Lifter
Using a jar lifter properly is critical for safely handling hot jars when placing them in and removing them from the canning pot. The user should secure the jar lifter around the neck of the jar, ensuring a firm hold without tilting the jar, which could lead to spillage or burns. A lid lifter, which often has a magnetic end, is used to place lids on jars without contaminating them or burning fingers. It allows for precise placement and helps to maintain the sterility of the sealing edge of the lids.
Sealing Jars and Managing Air Bubbles
To achieve a proper vacuum seal, lids must be placed on the jars carefully and bands should be tightened to fingertip tightness—not too loose and not too tight. This allows for air to escape during the canning process without compromising the seal. Using a bubble remover or nonmetallic utensil, glide around the inside of the filled jar to release any trapped air bubbles before sealing. This step is vital as trapped air can prevent a successful seal and compromise the safety and quality of the preserved food. A funnel and ladle can be used to transfer food into the jars cleanly and efficiently, helping to maintain the integrity of the jar rims for optimal sealing.
Proper use of these canning tools helps in maintaining the seals and quality of canned goods, ensuring they are safely preserved for future enjoyment.
Canning Different Types of Food
The art of canning on a homestead involves specific techniques depending on the type of food one wishes to preserve. Knowing the proper method for each food group ensures both safety and quality.
Preserving Fruits and Jellies
Fruits are typically canned using high-acid recipes where the natural sugars aid in their preservation. Jams and jellies require pectin for proper gelling and often entail a boiling water canning method. Popular fruits like apples, pears, and plums can be transformed into preserves or canned as pie fillings. It’s crucial to use the freshest fruits and follow the precise recipe, especially for the sugar and pectin ratios.
Fruits: Apples, Pears, Plums
Fruit Preserves: Jams, Jellies
Canning Vegetables and Pickles
Vegetables, such as cucumbers for dill pickles and peppers, require careful attention to acidity levels to prevent spoilage. Pickling with vinegar or fermentation increases the acid content making it suitable for water bath canning, whereas low-acid vegetables like green beans or carrots typically require pressure canning. Tomatoes are a unique case; they can be canned using either method, but may need added acid for water bath canning.
Vegetables: Green Beans, Carrots, Peppers
Pickled Items: Cucumbers (Dill Pickles), Relishes
Processing Meats, Seafood, and Poultry
When it comes to canning meats, seafood, and poultry, one must adhere to strict bottling methods to avoid the risk of foodborne illnesses. These proteins demand a pressure canning process to reach the necessary temperatures to destroy harmful bacteria. It's essential to trim excess fat, remove bones where possible, and not overload jars to allow for proper heat distribution.
Proteins: Meats, Seafood, Poultry
Finishing Touches for Canning
Once the canning process is complete, ensuring the longevity and safety of the preserved food hinges on proper sealing and storage techniques. Precise labeling is key for organization and effective use of the preserves before their optimal shelf life expires.
Checking Seals and Storing Canned Goods
After processing, one must let the jars cool for 12 to 24 hours. The checker should verify seals by pressing the center of the lid. It should not pop back. If it does, the seal is not airtight, and the jar needs refrigerating for immediate use or re-processing with a new lid. Tightly sealed jars are then stored in a cool, dark place to prevent spoilage and retain flavor. They should avoid direct sunlight, and the temperature should be constant to ensure a shelf life of up to a year for high-acid foods and up to 5 years for low-acid foods.
Storing Suggestions:
Keep jars away from direct heat sources.
A temperature range of 50-70°F is ideal.
Humidity should be limited to prevent rust on canning rings.
Labeling and Organizing Your Preserves
Labeling each jar with the contents and the date of canning is essential. This practice aids in using older stock first and tracking the shelf life of the preserves. Labels should be clear and durable and should be placed where they remain visible.
Organization Tips:
Group jars by content type (fruits, vegetables, meats).
Place newer batches behind the older ones.
Keep a canning journal or database for a detailed inventory.
Using these methods not only extends the shelf life of the preserved food but also ensures the best quality of the home-canned goods. An organized pantry with well-labeled, airtight preserves is a testament to one’s dedication to food preservation on their homestead.
Advanced Canning Concepts
When venturing into advanced canning, one must consider the nuances of adjusting recipes and ensuring proper processing times as well as the scientific aspects of controlling mold and spoilage.
Adjusting Recipes and Processing Times
Adjusting canning recipes and processing times is critical for the safety of preserved foods. Canners must account for altitude since boiling points change with elevation, affecting processing times. A table or chart is often used as a reference to adjust processing times for altitudes above 1,000 feet. For example:
Altitude (feet): 1,001 - 3,000, Increase processing time (minutes): +5
Altitude (feet): 3,001 - 6,000, Increase processing time (minutes): +10
Altitude (feet): 6,001 - 8,000, Increase processing time (minutes): +15
Altitude (feet): 8,001 - 10,000, Increase processing time (minutes): +20
The weight of the food and the size of the jars also impact processing. Heavier foods and larger jars generally require longer processing times. Recipes should only be adjusted if one has a deep understanding of the science behind canning, as changes can affect the acidity, which is vital for preventing spoilage.
Understanding and Controlling Mold and Spoilage
Mold and spoilage result from the growth of microorganisms in preserved foods, which poses a serious health risk. Controlling these factors involves strict adherence to sterilization procedures and ensuring a strong vacuum seal post-processing. During canning:
Sterilize jars and lids before filling them.
Vacuum sealing is a byproduct of proper processing; the heat causes the air in the headspace to expand and escape, creating a vacuum as jars cool.
To control mold, one must ensure that the acidity level of the food is appropriate. This can be managed by:
Adding acids like vinegar or lemon juice.
Using tested recipes from reputable sources, which have been scientifically developed to prevent spoilage.
By understanding and applying these advanced concepts, one significantly reduces the risk of spoilage and extends the shelf life of home-canned foods.
Resources for Home Canners
Canners should be equipped with credible knowledge sources to ensure safety and quality. Resources range from expert advice to governmental guidelines.
Learning from Canning Experts
Experts offer a wealth of practical knowledge on preserving seasonal produce through canning. They provide recipes and demonstrate procedures that ensure the longevity and safety of canned goods. A reliable source is the book, The Complete Guide to Pressure Canning, which details step-by-step instructions on the canning process.
Alphafoodie, for example, gives practical tips on using a pressure canner, including maintaining the right amount of water and preparing jars. Their methodical approach helps canners of all levels improve their craft.
Using Government and Educational Resources
The National Center for Home Food Preservation and the USDA offer extensive educational resources and research-based guidelines. These resources are critical for home canners to adhere to the latest safety standards.
The USDA’s Complete Guide to Home Canning: It delves into the scientific principles behind canning and provides comprehensive guidance on safe canning techniques.
National Center for Home Food Preservation: Their website is a hub for canning information, covering a wide variety of preservation methods, including fermenting, pickling, and dehydrating.
By utilizing these resources, home canners can confidently preserve their seasonal produce, ensuring a year-round supply of homegrown foods.
