
Pressure Canning at Home
Efficient Techniques for Food Preservation
Discover > Canning > Pressure Canning at Home
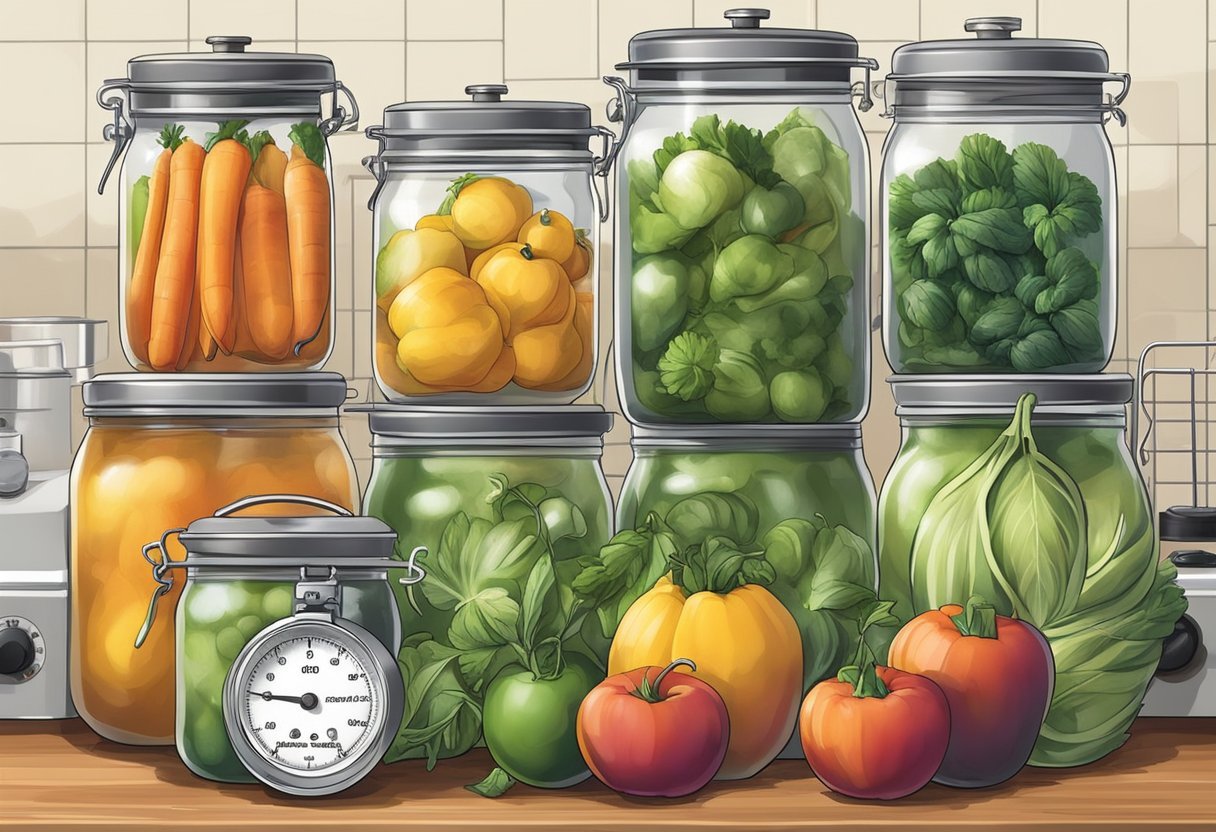
Pressure canning is an essential method for preserving low-acid foods such as meats, vegetables, and broths, allowing them to remain shelf-stable for an extended period without refrigeration. The process involves sealing food in jars and then subjecting it to high temperatures under pressure, effectively killing any microorganisms that might cause spoilage or illness. By following the proper steps and safety guidelines, it's possible to enjoy homegrown or homemade food throughout the year.
Before beginning the pressure canning process, gather all necessary equipment, including a pressure canner, jars, lids, and a jar rack. The jars should be clean and free of cracks or chips. It's essential to heat the jars before filling them to prevent breakage due to temperature change. To do so, place the jars in a pot with enough hot water to cover them, bring the water to a simmer, and keep them hot until ready to use.
The pressure canning process involves filling the jars with food, sealing them with lids, and placing them in the pressure canner. The canner is then brought to the required pressure and temperature, which will vary depending on the type of food being canned, for a specified duration. Following the proper canning guidelines ensures safe, high-quality food that can be stored and enjoyed throughout the year.
Understanding Pressure Canning
Pressure canning is a method used for preserving low-acid foods, such as meats, vegetables, and beans. It involves using a pressure canner to process jars of food at a high temperature and pressure, killing bacteria and making the food shelf-stable without refrigeration.
The process begins by preparing the food, filling the jars, and sealing them with lids. The sealed jars are then placed in a pressure canner, which creates a high-pressure environment by trapping steam inside. As the pressure increases, the boiling point of water inside the canner rises above 212°F, allowing the food to reach a temperature that effectively eliminates harmful bacteria and pathogens.
There are two types of pressure canners: weighted gauge canners and dial gauge canners. Weighted gauge canners vent steam at a steady rate while the pressure remains constant. On the other hand, dial gauge canners use a dial to indicate the pressure within the canner, requiring more monitoring and adjustment during the canning process.
When pressure canning at home, safety is a top priority. It is vital to follow the manufacturer's instructions for your specific canner and to use tested recipes to determine the appropriate pressure and processing time. It is crucial to adjust the pressure setting based on your altitude, as higher altitudes require increased pressure for safe canning.
Here are the basic steps for pressure canning:
Prepare the food and fill the jars, leaving appropriate headspace.
Clean and seal the jars with lids and rings.
Set up the pressure canner with the rack and add water to the recommended level.
Place the filled jars on the rack and close the canner securely.
Heat the canner to build up pressure, following the manufacturer’s guidelines.
Maintain the required pressure for the recommended processing time.
Turn off the heat and let the canner cool down, allowing the pressure to decrease naturally.
Remove the jars carefully and let them cool undisturbed on a towel or wire rack for 12 to 24 hours.
By understanding the principles of pressure canning, such as pressure gauges, canner types, altitude adjustments, and safety precautions, you can confidently preserve a wide variety of delicious and nutritious low-acid foods at home.
Preparing for Canning
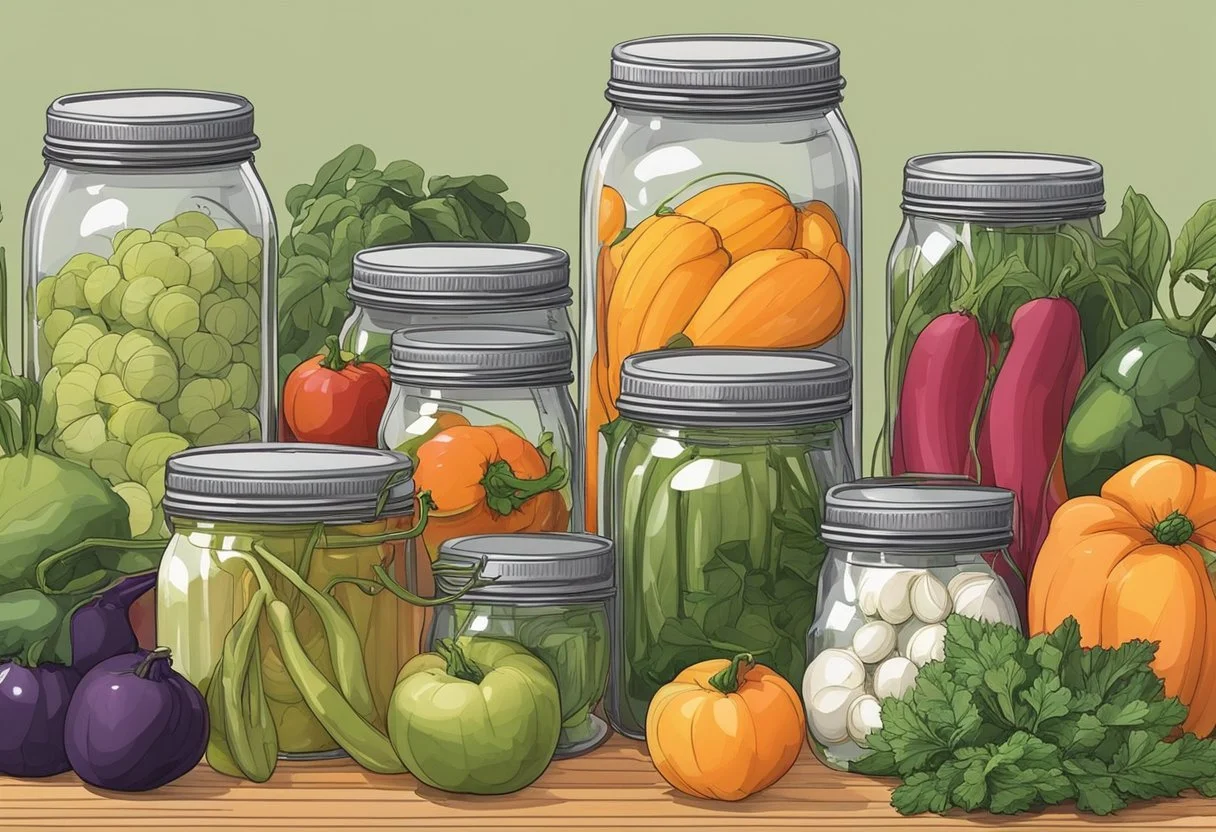
Before starting the pressure canning process, it's essential to gather all the necessary equipment and supplies. In a typical home kitchen, the following items are needed:
Canning jars: These come in various sizes and styles, but wide-mouth jars are more manageable for filling and cleaning.
Canning lids and rings: Lids create an airtight seal, while rings secure them in place during processing.
Canning funnel: This helps transfer hot food into the jars cleanly and easily.
Jar lifter: A critical tool for safely lifting hot jars in and out of the boiling water or pressure canner.
Rack: Used in the canner to keep jars elevated and prevent direct contact with the heat source.
Water: Enough to submerge jars in the canner, typically 2-3 inches above the jar tops.
Towels: Essential for wiping jar rims, handling hot jars, and cushioning jars while cooling.
Before starting the canning process, it's crucial to sterilize all equipment. To do this, place the jars and lids in boiling water for 10 minutes, then remove them using a jar lifter. Ensure that you have read the manual for your specific pressure canner, as each canner may have different instructions and requirements.
Here's a step-by-step guide on preparing for canning:
Set up a clean and organized workspace in the kitchen.
Assemble all necessary equipment: canning jars, lids, rings, funnel, jar lifter, rack, water, and towels.
Sterilize canning jars, lids, and other tools that will come into contact with food by submerging them in boiling water for 10 minutes.
Carefully remove and drain the sterilized equipment using a jar lifter and lay them out on a clean towel.
Keep jars and lids warm to avoid breakage when hot food is added.
Fill the pressure canner with the appropriate amount of water, usually 2-3 inches above the jars, and place the rack inside.
Ensure the canner is functioning correctly by following the manufacturer's instructions and recommendations.
With your kitchen space prepared and your equipment sterilized, you're ready to begin pressure canning. Follow a tested canning recipe and the instructions from your pressure canner's manual to ensure safe and successful home food preservation.
Ingredients Suitable for Pressure Canning
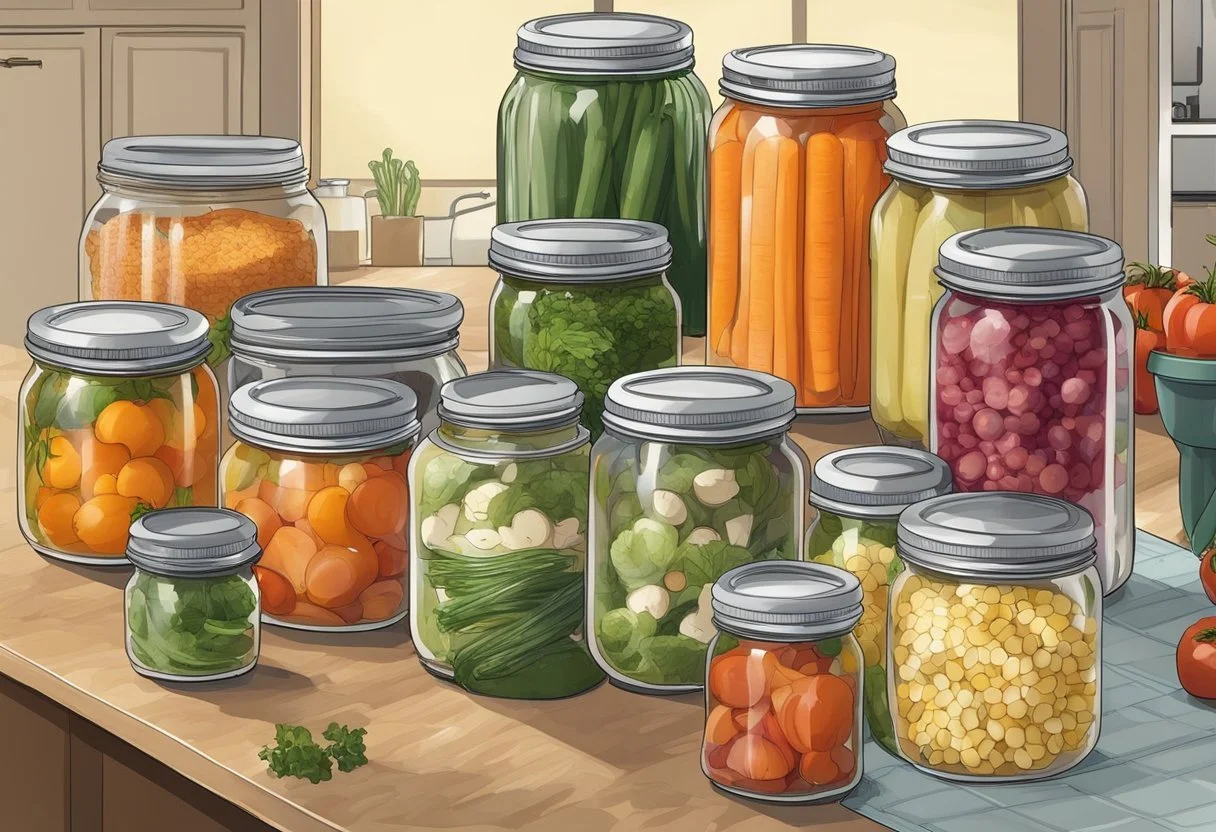
Pressure canning is a popular method for preserving a wide variety of foods for long-term storage. It uses high temperatures and pressure to kill harmful bacteria, making it an ideal method for preserving low-acid foods. This section will provide a brief overview of the various ingredients suitable for pressure canning at home.
Meats and vegetables are the most common ingredients for pressure canning. Meats such as chicken, beef, and pork can be preserved with this method, as well as their stocks and broths. Vegetables like green beans, corn, onions, peppers, mushrooms, peas, potatoes, and pumpkin can also be pressure canned, allowing you to enjoy their flavors year-round.
In addition to vegetables and meats, many fruits can be preserved through pressure canning, typically when they are used in recipes that have a low acidity level. Examples include apple pie filling and fruit soups.
Tomatoes are another popular ingredient for pressure canning, whether canned whole, diced, or made into sauces and salsas. To ensure safe preservation, you may need to add vinegar or lemon juice to increase the acidity levels when canning tomatoes.
Pickles, including various types of cucumbers, carrots, green beans, and other pickled vegetables, (What wine goes well with pickled vegetables?) can be pressure canned if their acidity levels are adjusted appropriately. Canning these ingredients allows you to enjoy crisp and tangy preserves all year long.
Pressure canning is also suitable for soups and stews (What wine goes well with stews?), such as chili, beef stew, or chicken noodle soup, allowing you to create ready-to-eat, shelf-stable meals for later consumption.
While pressure canning is designed for low-acid foods, it can be used for other types of food as well, providing a high level of safety. When using a pressure canner, always ensure you are following a tested recipe and guidelines specific to your ingredients, as this will deliver the best results and ensure safe preservation.
Remember that this is not an exhaustive list of ingredients suitable for pressure canning, but a brief overview to give you an idea of what can be preserved using this method. There are countless recipes and resources available to help guide you through proper pressure canning techniques for various ingredients, ensuring a safe and enjoyable experience in preserving your favorite foods.
Step-By-Step Process
Pressure canning is a great way to preserve food at home, ensuring a longer shelf life for your fruits, vegetables, and other produce. Follow these steps to get started:
1. Prepare your jars and lids: Start by washing your jars and lids in warm, soapy water. Sterilize them by placing the jars in a large pot filled with hot water, then bring the water to a simmer for at least 10 minutes. Keep the jars warm until you're ready to fill them. Place the lids in a separate pot filled with hot water but do not boil them; keep them in the hot water until you're ready to use them.
2. Choose your packing method: You have two main options when it comes to filling your jars: raw pack and hot pack. Raw packing involves placing raw, uncooked food directly into the jars, while hot packing involves pre-cooking the food and adding it to the jars while still hot. Hot packing is generally preferred because it removes more air from the jars and results in better quality preserved food.
3. Fill the jars: First, add the appropriate amount of headspace for your specific recipe. Headspace is the space left between the top of the food and the rim of the jar, usually between ¼ and ½ inch. Next, remove any air bubbles by running a non-metallic utensil around the inside perimeter of the jar. Wipe the rims clean and place the sterilized lids and screw bands onto the jars, ensuring the lids are secure but not too tight.
4. Preparing the pressure canner: Place the jars in the pressure canner with the rack in place, and add 2-3 inches of water. Start heating the water over medium heat, allowing it to reach a simmer.
5. Venting: Once the water is simmering, and steam starts to escape, vent the pressure canner for 10 minutes, ensuring proper airflow and the elimination of air inside the canner.
6. Start the processing time: After venting, close the steam vent and attach the pressure regulator. Let the pressure build up to the required level according to the recipe. Once the desired pressure level is reached, start the processing time.
7. Maintain the right pressure: Keep the processing pressure stable throughout the entire processing time by adjusting heat as needed. Make sure the pressure does not drop below the necessary level and avoid over-pressurizing.
8. End processing time and depressurize: When the processing time is complete, turn off the heat, and let the pressure inside the canner dissipate naturally. Do not attempt to release the pressure manually or remove the pressure regulator until it is fully depressurized. Wait for any remaining pressure to drop before carefully removing the regulator and opening the canner.
9. Remove and cool the jars: Using a jar lifter, carefully remove the jars from the pressure canner and let them cool on a towel, undisturbed for at least 12 hours. Check for proper sealing and store your preserved food in a cool, dark place.
Following these steps will ensure that you successfully and safely pressure can your food at home.
Understanding and Preventing Common Issues
When pressure canning at home, it is crucial to understand and prevent common issues that can occur during the process, as well as to ensure food safety and preservation. The following paragraphs discuss challenges faced during the pressure canning and their solutions, focusing on bacteria, botulism, spores, liquid loss, and seals.
Bacteria and botulism: One of the main risks associated with canning is the growth of harmful bacteria, particularly Clostridium botulinum, which produces a toxin that causes botulism. Its spores can survive boiling water, but are destroyed at higher temperatures reached during pressure canning. To prevent the growth of bacteria and botulism, always follow properly tested recipes and guidelines, process low-acid foods (such as meat, vegetables, and beans) using pressure canning, and maintain the appropriate temperature and pressure throughout the process.
Spores: Even after proper processing, some spores may still remain in the canned food. However, they require a low-acid environment and the absence of oxygen to grow and produce toxins. Ensuring the correct acidity level for the food being processed, using an appropriate canning method, and storing cans in a cool and dark place can help inhibit spore growth.
Liquid loss: Loss of liquid during processing can occur for various reasons, such as rapid fluctuation of pressure or overfilling the jars. While it is not a sign of spoilage, significant liquid loss can affect the quality of the preserved food. To minimize liquid loss, avoid filling jars too full, and make sure to not over- or under-tighten the lids. Also, ensure a steady pressure during the process by following the manufacturer's instructions for venting and adjusting the pressure canner.
Seals: A proper seal is essential for long-term preservation and to prevent contamination. Common issues with sealing include nicks in the jar rim, food residue on the sealing surface, or improper lid placement. To ensure a good seal, carefully inspect jars for chips or cracks before use, wipe the rim clean after filling, and follow lid manufacturer's instructions for tightening the lids. After the canning process, check the seals and reprocess any jars that didn't seal properly.
By understanding and addressing these common issues, you can increase the likelihood of successful pressure canning and ensure safe, high-quality preserved foods.
Working with Recipes

When it comes to pressure canning at home, there is a wide array of recipes to choose from. Pressure canning recipes typically include various soups, stews, jams, chili, tomato products, stocks, broths, pasta sauce (how long does pasta sauce last?), and even fruit. In this section, we will discuss some tips and considerations for working with these recipes.
First and foremost, it is crucial to follow the recipe instructions carefully, as the correct processing time and pressure level are vital for safe canning practices. Familiarize yourself with both high-acid and low-acid foods, as the canning process may differ based on these categories. For example, high-acid foods like jams, tomato products, and certain fruits typically require shorter processing times than low-acid foods such as soups, stews, and some vegetables.
When selecting recipes to pressure can, consider the following general categories to help you plan your canning projects:
Soups and Stews: Hearty soups and stews can be pressure canned to preserve their flavors and nutrients for year-round enjoyment. Examples include chili, beef stew, and mushroom soup.
Jams and Fruit Spreads: Fruit-based jams and spreads are a popular choice for canning, but using a pressure canner enables you to preserve less acidic fruits, such as peach and apricot jams.
Tomato-Based Products: Tomato products such as pasta sauce, tomato juice, and salsa can also be pressure canned for long-term storage.
Stock and Broths: Homemade stocks and broths from various sources, including chicken, beef, or even vegetable, are perfect candidates for pressure canning.
Pasta Sauce: Whether it's a classic marinara sauce (how long does marinara sauce last?) or a more complex bolognese, pressure canning allows you to preserve the flavors of homemade pasta sauces.
Fruit: Pressure canning fruit preserves the taste and texture of fresh harvests, making them a delightful addition to any pantry.
Keep in mind that not all ingredients in a recipe can be canned successfully. Certain thickeners, rice, pasta, and eggs may need to be added at serving time or replaced with canning-approved substitutions, like Clear Jel for thickeners.
With a little practice and attention to detail, working with pressure canning recipes can be a rewarding and practical way to preserve a variety of delicious home-cooked meals (how long do cooked meals last?) for future enjoyment.
Low-Acid and High-Acid Foods
When it comes to home canning, understanding the difference between low-acid and high-acid foods is crucial for food safety and preservation. The acidity level of the food being canned determines which canning method must be used: boiling water bath canning for high-acid foods, and pressure canning for low-acid foods.
Low-acid foods are those with a pH greater than 4.6. Most vegetables, meats, poultry, seafood, and soups fall into this category. Due to their low acidity, they are more susceptible to the risk of botulism, a dangerous form of food poisoning. Therefore, low-acid foods must be processed in a pressure canner, which uses high temperatures to kill any harmful bacteria that may be present. Examples of low-acid foods include:
Green beans
Corn
Peas
Carrots
Potatoes
Meats and poultry
Seafood
On the other hand, high-acid foods have a pH of 4.6 or below. Fruits, pickles, jams, and jellies are examples of high-acid foods. These foods can be safely processed using the boiling water bath canning method, as the high acidity creates an environment where harmful bacteria cannot thrive. Some common high-acid foods are:
Apples
Berries
Cherries
Peaches
Tomatoes
Pickles
It is important to note that certain high-acid foods, such as tomatoes, can also be safely processed in a pressure canner. Furthermore, some low-acid foods can be made safe for boiling water bath canning by adding acidifying agents, like vinegar, lemon juice, or citric acid (how long does citric acid last?). However, always consult a reliable recipe or resource before doing so to ensure the correct acidity level is achieved and proper food safety is maintained.
Storing Your Canned Goods
Proper storage of your home-canned goods is essential to maintain their quality and safety. The importance of choosing the ideal location, temperature and method to store your canned goods cannot be overstated.
For optimal storage conditions, select a cool, dark place such as a pantry shelf or a basement. This prevents unwanted exposure to sunlight, which can cause discoloration and degradation in the food quality. Aim to maintain a consistent temperature, ideally between 50°F (10°C) and 70°F (21°C). Fluctuations in temperature can compromise the integrity of the jar seals and impact the shelf life of your canned foods.
When organizing canned goods on the pantry shelf, label each jar with the contents and the date of canning. This makes it easy for you to keep track of your inventory and use the products before their optimal quality diminishes. A general rule of thumb is to consume home-canned foods within a year for best flavor and quality. However, it's important to note that these canned goods are safe to eat after a year, provided that there is no sign of spoilage or an unsealed jar.
It's vital to store your canned goods in an upright position, never stack them on top of each other. Stacking jars can cause the seals to weaken, leading to potential food contamination or spoilage. Arranging your jars in a single layer with easy-to-read labels will ensure a safe and efficient storage system, keeping your kitchen neat and organized.
Occasionally, your canned goods might not have been properly sealed. In such cases, it's a good idea to refrigerate the unsealed jars and consume their contents within a few days. Keep an eye out for signs of spoilage, such as bulging lids or unusual odors, and discard any suspicious jars promptly to ensure you and your family's safety.
Remember, by adhering to these storage guidelines, you'll be able to enjoy the fruits of your labor and guarantee the safety and quality of your home-canned goods.
Additional Tools and Techniques
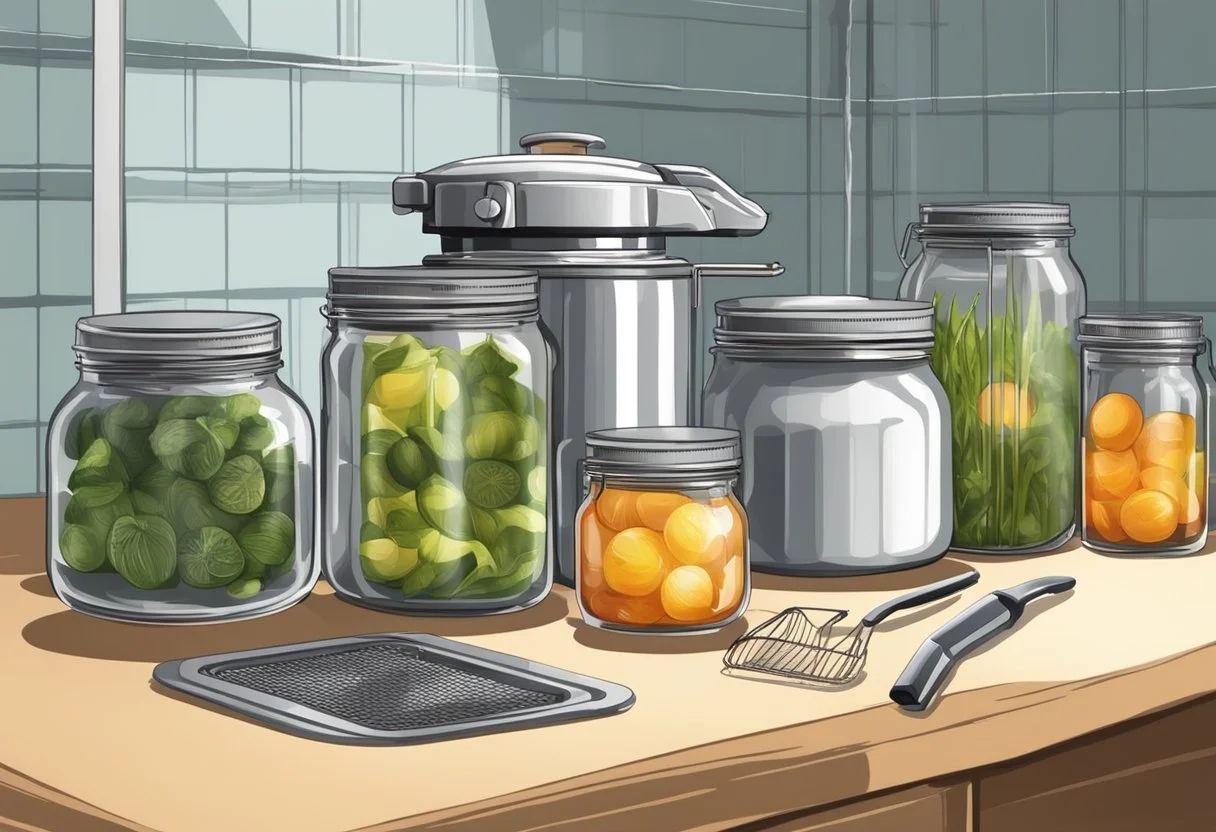
Pressure canning is a popular and safe method for preserving low-acid foods at home. To have a successful pressure canning experience, it's important to be well-equipped with the appropriate tools and techniques to ensure safe, high-quality canned products.
In addition to a pressure canner, there are several other tools that are necessary for efficient pressure canning. These include:
Jars: They should be clean, mason-style jars with two-piece, self-sealing lids.
Jar lifter: A helpful tool to safely lift hot jars in and out of the canner.
Funnels: To neatly fill the jars, a wide-mouth funnel can aid in reducing spills.
Tongs: Useful for handling hot lids and bands.
Bubble remover: To release trapped air bubbles in the jars, a plastic or wooden utensil is needed.
Ladle: To easily transfer hot food into the jars.
Knives: For trimming, peeling, and cutting produce.
Clean towels: For wiping jar rims and covering filled jars.
It is important to follow proper techniques and recommended guidelines provided by reliable sources, such as the National Center for Home Food Preservation. They offer comprehensive guides on canning different types of foods, including essential information on processing times and pressure levels.
When using the pressure canning method, it's important to understand that the process involves building up pressure within the canner, usually between 10 and 15 pounds per square inch (psi) gauge pressure. This pressure will vary depending on the type of pressure canner used (such as Presto or All American) and the altitude of your location. Make sure to refer to your specific pressure canner's instructions and adjust the processing times and pressures according to your altitude.
Additionally, weight-regulated pressure canners use weights to control the pressure inside the canner. These weights come in different sizes and help maintain a constant pressure level during the entire processing time.
Instant pots or electric pressure cookers may not be suitable for pressure canning low-acid foods, as they may not maintain consistent pressure levels throughout the process. It is highly recommended to use stovetop pressure canners that are specifically designed for canning purposes.
In conclusion, properly selecting and using the appropriate tools and techniques for pressure canning at home is crucial for preserving healthy, nutritious food that can be stored and enjoyed all year round. Always adhere to guidelines provided by reputable sources, such as the National Center for Home Food Preservation, to ensure that the final product is safe, delicious, and has a proper shelf life.
