
Water Bath Canning at Home
A Step-by-Step Guide to Preserving Your Harvest
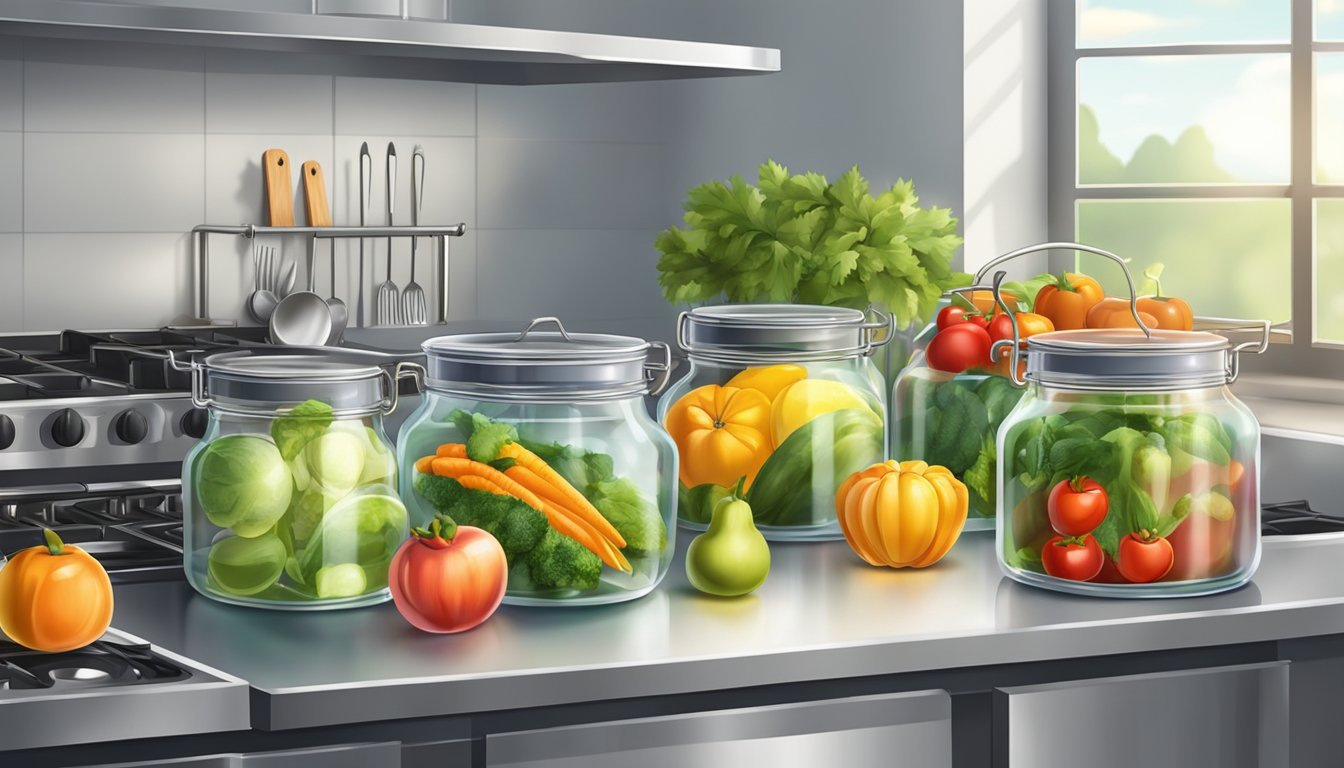
Water bath canning is a traditional method of preserving high-acid food by immersing it in boiling water. This technique is suitable for fruits, jams, jellies, and pickles, using the high acid content as a natural preservative. The process involves placing jars filled with food items into a pot of boiling water, ensuring the temperature is hot enough to seal the jars and eliminate bacteria that could cause spoilage.
Home canning using this canning method is popular for its simplicity and effectiveness in prolonging the shelf life of homemade preserves. It does not require specialized equipment beyond a large pot, making it accessible for those new to canning. The basic principle revolves around heat, as it sterilizes the jar contents and, through creating a vacuum seal during cooling, prevents recontamination.
However, it's crucial for safety to understand that water bath canning is not suitable for alkaline foods such as meats, dairy, seafood, and most vegetables. These require a higher temperature to safely preserve, which can only be achieved through pressure canning. Adhering to recommended guidelines ensures that home canning is both a delightful and safe undertaking.
Understanding Water Bath Canning
Water bath canning is a method of food preservation that utilizes a canner filled with boiling water to process jars of food. This technique is suitable for preserving fruits, tomatoes, jams, jellies, and pickled vegetables. (What wine goes well with pickled vegetables?)
It involves submerging sealed jars of food in boiling water for a specific period, ensuring the food remains safe and extends its shelf life significantly. Water bath canning is appropriate for high-acid-content foods because the acid prevents the growth of harmful bacteria. Low-acid foods require steam canning in a pressure canner.
When preparing for hot water bath canning at home, it is crucial to follow guidelines offered by authoritative sources like the USDA and the National Center for Home Food Preservation. These institutions conduct extensive research and provide science-based instructions to ensure safety and efficacy.
Steps for Water Bath Canning:
Prepare Jars: Clean and heat jars in hot water, ensuring they are free of cracks or chips.
Fill the Canner: Add enough water to the canner to cover the jars by at least 1 inch a deep pot is required for larger canning jars.
Heat the Water: Bring the water to a simmering temperature appropriate for the type of food being canned.
Process the Jars: Once the simmering water is ready, place the jars on a canning rack inside the water bath canner pot using canning tongs, ensuring they remain upright and spaced correctly, and bring it to a full rolling boil.
Temperature control is vital to prevent breakage. For raw-packed foods, a starting water temperature of about 140°F (60°C) is ideal, while hot-packed foods require a temperature closer to 180°F (80° to 85°C), keep the canning jars at a rolling boil.
Water bath canning is a simple yet effective way to preserve food at home. It allows individuals to extend the harvest season and enjoy homegrown or farm-fresh produce all year round. Adhering to the recommended practices ensures that home-canned foods are both safe and delicious.
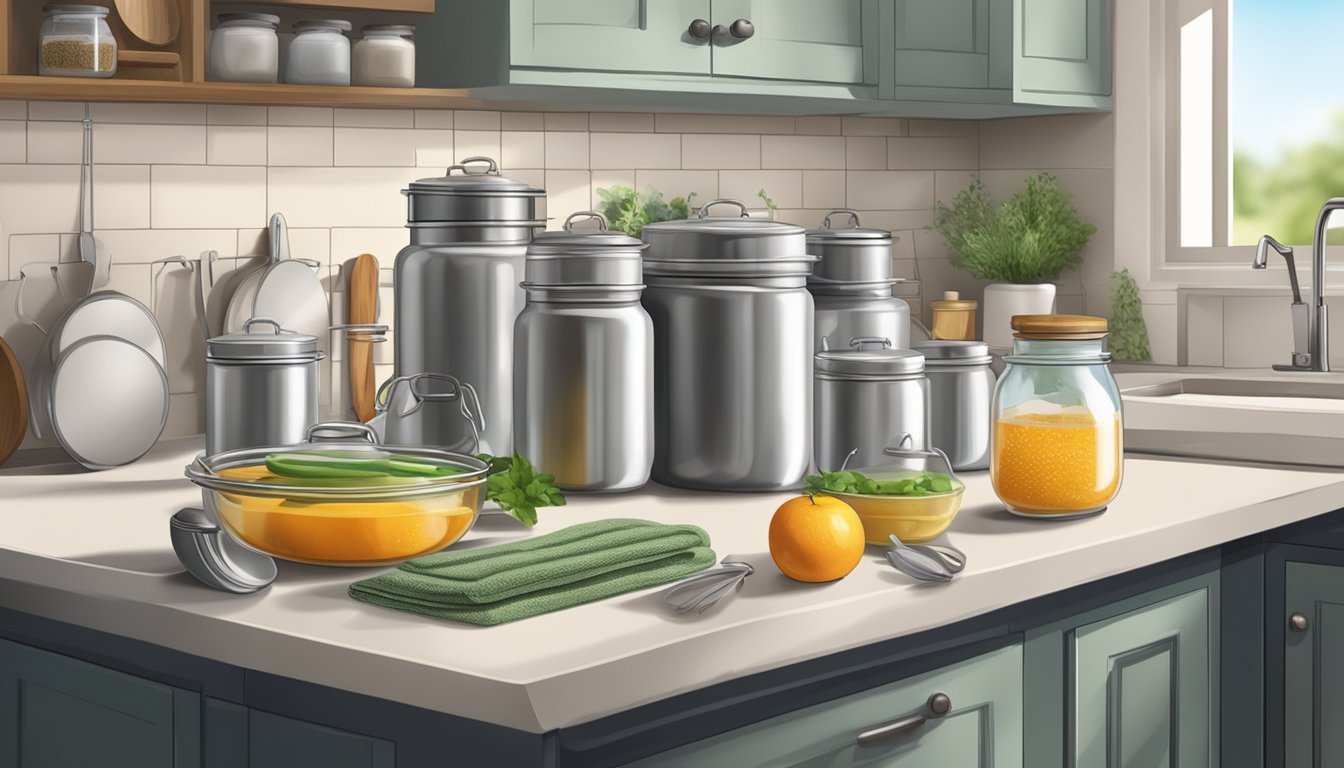
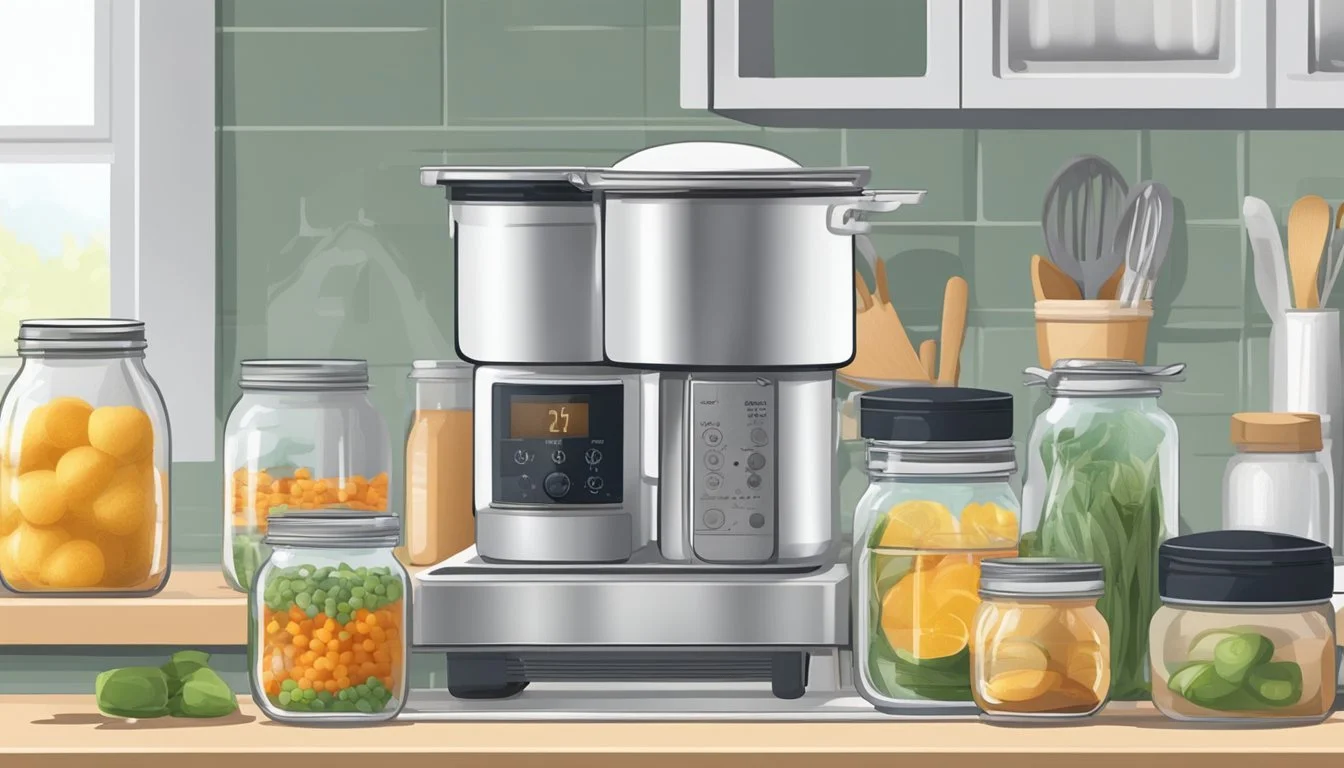
Essential Canning Tools and Equipment
To ensure the success and safety of water bath canning at home, it's important to have the right tools and equipment. This includes not just the canner itself, but also the jars, lids, and special tools designed for the canning process. Each piece, whether a jar funnel, lid, or damp cloth plays a pivotal role in food preservation.
Selecting the Right Jars for your Boiling Water Canner
Canning jars, also known as Mason jars or Ball jars, are specifically designed for home canning. They come in a variety of sizes such as pint jars and quart jars and shapes, appropriate for different types of food. It's crucial to inspect every canning jar for nicks, cracks, or chips, especially around the rim, as these imperfections can prevent a proper seal.
Using the Correct Canning Lids and Bands
The use of proper canning lids and bands is vital for creating an airtight seal. Lids should be new each time to ensure safety, as reusing them can lead to seal failures.
Bands should be free of rust and fit snugly but not overly tight, allowing air to escape during the process.
Depending on the food you are canning and the size of the food chunks or slices you may favor wide-mouth canning lids over smaller ones.
Importance of a Canning Rack
A canning rack is placed at the bottom of the water bath canner to keep jars off the direct heat in the water bath canning pot and to allow water circulation around them. This helps prevent jar breakage due to temperature changes and makes it easier to handle multiple jars at once.
The Role of Jar Lifters and Canning Funnels
Jar lifters provide a secure grip when placing and removing jars from the hot water, minimizing the risk of burns and breakage. A canning funnel allows for a neat transfer of food into jars, reducing spills and maintaining the necessary headspace for expansion during processing.
Additional Useful Canning Supplies
Other supplies include a ladle for filling jars, a spatula to remove air bubbles, and a headspace tool to measure the correct space left at the top of the jar—a critical step for ensuring a good seal. A clean towel or damp cloth is needed to wipe the jar rim before applying lids, as well as to cushion the jars as they cool down post-processing. A cake cooling rack can protect work surfaces from a hot jar. A Magnetic lid wand can help with metal lids.
Preparation Before Beginning the Canning
Before beginning the water bath canning thorough preparation is imperative to ensure the safety and quality of canned goods. This includes meticulously cleaning unsealed jars, rightly preparing foods, and carefully selecting appropriate recipes.
How to Clean and Sterilize Jars
Materials Needed:
Canning jars
Hot soapy water
A large pot or canner
Steps:
Wash jars in hot, soapy water, rinsing well afterward.
Place the jars in a pot filled with enough water to cover them completely.
Bring the water to a simmer (180°F) and keep the jars hot until ready to fill.
Preparing the Foods for Canning
Fruits and Vegetables:
Inspect: Choose fresh fruits and vegetables, free from blemishes.
Wash: Clean thoroughly under running water.
Meat:
Trim: Remove any fat or gristle.
Cook: Brown if required by the recipe.
Sauces and Relishes:
Follow the canning recipe instructions for chopping and combining ingredients.
Canning Recipe Selection and Considerations
Choosing Water Bath Canning Recipes:
Opt for tested recipes from reliable sources.
Canning Recipe Considerations:
Acidity: Recipes should have a suitable acid level for water bath canning.
Ingredients: Confirm you have all the necessary ingredients.
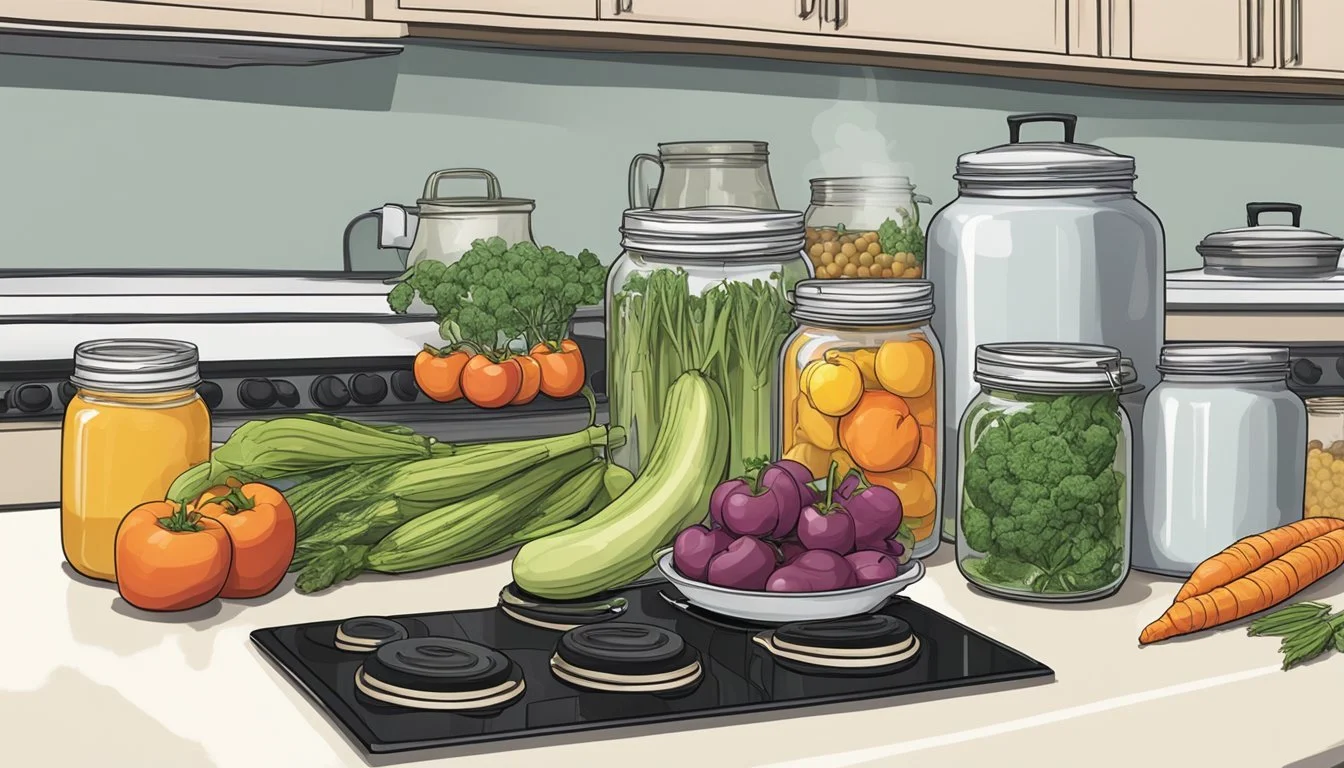
Use a timer to track processing times. Note fruits like tomatoes, apples, pears, and berries are often suitable for water bath canning, while vegetables like peppers are typically pickled first. Meat, however, should not be processed using this method.
Be sure to use canning recipes aimed at preserves, jellies, jams, and sweet relishes, which are well-suited for this canning technique.
The Process of Canning
The water bath canning process is a safe and effective method for preserving foods with high acid levels. It involves filling canning jars with food, processing them in boiling water, and allowing them to cool and seal.
Filling the Jars Properly
Filling canning jars requires attention to detail. Begin by preheating jars in simmering water (180°F) to prevent them from breaking when filled with hot food. Use a jar funnel to pour the food into the jars, and ensure that no food particles are left on the rim, which could compromise the seal.
Ensuring Correct Headspace
Headspace, the gap between the food and the jar's lid, is critical for creating a proper seal. Follow the recipe's recommended headspace for filled jars, which typically ranges from 1/4 inch to 1/2 inch. Use a ruler or headspace measuring tool to achieve accuracy. Too little or too much headspace can lead to sealing failures or food quality issues.
Fruit juices: 1/4 inch
Jams and jellies: 1/4 inch
Pickles and relish: 1/2 inch
Securing the Jar Lid and Band
After filling the jars and wiping the rims clean, place the flat lids on the jars, ensuring they're centered.
Screw on the bands until they're finger-tip tight; this allows air to escape during the canning process and helps to form a vacuum seal as jars cool. Do not overtighten, as this could prevent the escape of air and lead to failed sealing. remember hot jars require a jar lifter.
Processing the Canning Jars Safely
When water bath canning at home, proper jar processing is key to preserving food safely. It involves using a water bath canner to heat the jars to the point where harmful bacteria are eliminated.
Using Water Bath Canners Correctly
To use a water bath canner correctly, one should ensure it is filled at least halfway with water and maintain a temperature of 180°F until the jars are ready to be placed inside. The process begins by submerging clean jars in boiling water for at least 10 minutes to sterilize them. Once filled with the prepared food, the jars should be carefully placed in the canner using a jar lifter to prevent burns.
Instructions:
Maintain a consistent simmer for the water before jar insertion.
Arranged jars should not touch each in the canning pot or canner lid other to allow for proper water circulation.
Water should cover jars by 1-2 inches after being placed in the canner.
Start the timer for processing once the hot water returns to a full boil.
Timing and Adjustments for Altitude
The processing time for jars in a water bath canner depends significantly on the food being preserved and the altitude at which one is canning. Generally, for every 1,000 feet above sea level, one needs to extend the processing time by an additional minute.
Altitude Adjustments for Processing Time:
Altitude (feet) Increase in Boiling Time (minutes) 1,000 5 3,000 10 5,000 15 7,000 20 10,000 25
It is critical to consult a reliable canning guide or local extension service for the correct timing adjustments specific to one's altitude to ensure the safety and quality of the preserved food.
Post-Processing Checks and Storage
Once water bath canning is complete, attention to detail during post-processing checks ensures the longevity and safety of the preserved food. Cooling the sealed jars correctly is the first step. They must be removed from the canner using proper jar lifter equipment and placed on a protected surface, preventing rapid temperature changes that could compromise the seals. As the jars cool—a process that can take 12-24 hours—audible popping sounds typically indicate a successful seal, until then leave jars undisturbed.
When jars are thoroughly cool, a vital check confirms that each jar's seal has sufficiently formed. Press the center of the lid; it should not pop up or down. If it does, the seal does not form properly, and the jar either needs to be reprocessed within 24 hours, refrigerated, or consumed immediately. Once confirmed, one can wipe the jars clean to ensure that no residue remains that could potentially harbor bacteria.
For long-term storage, adhere to the following guidelines for packing food:
Place the water bath canned jars in a cool, dry, and dark place to prevent spoilage and protect nutritional value.
Avoid direct sunlight, as it can lead to deterioration of food quality and compromise seals.
Finally, properly label each jar with the contents and the date of canning. This practice helps track how long the food has been stored and promotes consumption within the optimal period.
Check for seal integrity periodically during storage as fluctuations in temperature and humidity can affect the seals. If a seal has failed or shows signs of spoilage such as leakage, rusting, or bulging lids, the contents should not be consumed.
Troubleshooting Common Canning Issues
In water bath canning, a household can face various challenges such as seal failures, breakage, and food spoilage. Addressing these issues promptly ensures the safety and longevity of preserved foods.
Identifying and Addressing Filled Jars Seal Failures
Seals are crucial for preserving the integrity of canned goods. A proper vacuum seal is indicated by a depressed lid that does not flex when pressed. To address seal failures:
Inspect canning jars' rims for nicks or food residue, which can prevent sealing.
Make sure the lids and jars are properly sterilized and warmed before use.
If jars fail to seal, one can reprocess the contents with a new lid within 24 hours, or refrigerate and consume the food within a few days.
Avoiding Jar Breakage with a Jar Lifter
Breakage can be caused by sudden temperature changes, known as thermal shock, or by using jars not designed for canning. It is vital to:
Use only jars specifically designed for canning, often referred to as canning jars.
Avoid placing cold jars in hot water. Instead, heat jars in the canner or fill them with hot contents and ensure the water in the canner is warm before submersion.
Check the jars for any existing cracks or chips before use to prevent potential breakage during processing.
Preventing Food Spoilage
Preventing spoilage is vital to food preservation and protects against harmful bacteria. Key steps to avoid spoilage include:
Ensure all air bubbles are removed from the jar before sealing as they can affect the vacuum seal and preservation process.
Adhere to recommended processing times to properly destroy bacteria and ensure safe storage of the food.
Store preserved foods in a cool, dark place to maintain their quality and prevent premature spoilage.
By attentively handling these common issues, one can maintain safety and quality in canning practices.
Advanced Canning Topics
In this section, we explore the nuances of high-acid versus low-acid canning and delve into the specific techniques used in pickling and fermentation.
Understanding the Differences Between High-Acid and Low-Acid Canning
High-acid foods have a pH of 4.6 or lower and are suitable for water bath canning. They include fruits, jams, jellies, relish, salsa, and others where acid levels are high enough to inhibit the growth of harmful bacteria like Clostridium botulinum. It’s the acidity, often heightened with vinegar or lemon juice, that allows these items to be safely canned in a water bath.
In contrast, low-acid food refers to items with a pH higher than 4.6. Vegetables, meats, seafood, and dairy products fall into this category. These require pressure canning to achieve temperatures above the boiling point of water, which is necessary to effectively eliminate the threat posed by bacteria.
Exploring the World of Pickling and Fermentation
Pickling is a preservation method that uses brine made with vinegar, water, and salt, sometimes enhanced with sugar, spices, and herbs. Foods like cucumbers transform into pickles when submerged in this acidic environment, making it ideal for water bath canning for long-term storage.
Fermentation, on the other hand, relies on the natural conversion of carbohydrates to alcohol or organic acids using microorganisms like yeast and bacteria under anaerobic conditions. Items like relish and salsa may also be fermented but require careful monitoring of acidity levels to ensure safety when canning.
Both methods not only extend the shelf life of foods but also create unique flavors and textures, contributing to diverse culinary traditions.
Safety Considerations in Home Canning
When preserving food through home canning, safety is paramount. The process requires strict adherence to tested guidelines to prevent foodborne illnesses, and choosing the correct methods based on the acidity of the food is critical for eliminating harmful bacteria.
Up-to-Date Canning Guidelines
The National Center for Home Food Preservation and the USDA publish comprehensive canning guidelines, essential for ensuring food safety. They recommend utilizing researched and tested recipes for both boiling water canning and pressure canning, with the latter being necessary for low-acid foods. It's crucial to follow these sources for scientifically-backed instructions.
High-acid foods: Boiling water canning
Low-acid foods: Pressure canning (requires 240°F to kill bacteria)
Proper Use of Water Bath Canners and Relative Equipment
All equipment must be in excellent condition. Before starting, one should verify that jars, lids, and canning rings are free of nicks or rust, which could compromise the seal. Everything should be cleaned and then sterilized—jars and tools need to be boiled for 10 minutes to ensure they are free from microorganisms.
Do:
Use jars specifically designed for canning such as mason jars
Ensure seals are new and undamaged
Use a jar lifter to prevent scalds from hot water canning
Don't:
Reuse commercial jar lids
Use equipment not intended for canning
Awareness of Food Safety and Bacteria
Understanding the science behind food safety and bacteria is critical. The goal of canning is to eliminate pathogenic bacteria, such as botulism, which can thrive in improperly canned foods. One should always inspect canned goods before use, looking for signs of spoilage such as off odors or bulging lids, which can indicate bacterial growth.
Exploring Creative Canning Ideas

Home canning with a water bath canner offers an enjoyable way to capture the essence of fresh ingredientsd to explore an array of flavors, transforming them into delightful recipes that can be savored year-round or during special events.
Experimenting with Unique Canning Recipes and Flavors
One enters a realm of infinite possibilities when combining various fruits, such as apples, pears, and berries, with an assortment of spices and herbs. Here's how to begin:
Fruits: One may start with traditional favorites like peach or apple jam, then venture into more exotic combinations such as pear and raspberry or mixed berry jam, lemon juice can up the acidity levels.
Relishes and Sauces: Relishes and sauces offer a medium to experiment with sweet, savory, and spicy flavors. Cucumbers can become dill or sweet pickle relish, while tomatoes are the foundation for homemade salsa.
Unique Twists: Adding unique ingredients such as chili to a fig spread or using heirloom tomato varieties can create extraordinary new tastes.
When crafting these recipes, one should consider the balance of flavors. Acidic fruits may need sugar for balance, and savory relishes might require just the right touch of salt or vinegar.
Canning for Special Occasions
Canning excels in creating special treats tailor-made for holidays and celebrations:
Holiday Spreads: Pumpkin butter or spiced berry jams can complement one's holiday table and serve as thoughtful homemade gifts.
Bridal Showers and Weddings: Personalized jars of strawberry preserves or elegant apple-pear butter can make charming favors.
Themed Canning: One can create a collection of salsa varieties for a fiesta or pickle different vegetables for a rustic-themed gathering.
In each case, the attention to detail in the selection of ingredients and the craft of well-balanced flavors will yield preserved goods that not only taste delicious but are also befitting of the occasion's spirit.
Community and Resources
Home canning enthusiasts have a wealth of resources and communities at their disposal, each offering valuable advice and camaraderie. Engaging with groups and utilizing expert sources can enhance the canning experience, ensuring safety and success.
Joining Canning Enthusiast Groups
Community support is critical for both novice and experienced canners. Joining enthusiast groups offers an opportunity to exchange recipes, discuss techniques, and share experiences. Local canning workshops, often organized by community centers or cooking schools, are excellent for hands-on learning. Online forums and social media groups provide a platform for canners to connect globally. The National Center for Home Food Preservation (NCHFP) is an invaluable resource; its website hosts guidelines and offers a database of classes conducted by Cooperative Extension offices nationwide.
Finding Reputable Sources for Canning Advice
When looking for canning advice, it's crucial to consult reputable sources to ensure food safety. The United States Department of Agriculture (USDA) provides updated guidelines on home canning that are reliable and scientifically backed. The USDA's Complete Guide to Home Canning is considered a definitive resource. The NCHFP, supported by USDA research, offers publications and fact sheets that are rigorously vetted. They cover a comprehensive range of topics, from the basics of water bath canning to the specifics of preserving different types of food. Users should look for information that adheres to the latest USDA recommendations to maintain the highest standards of safety and quality in their canning endeavors.
Conclusion
Water bath canning is an accessible method for preserving high-acid foods, offering a way to extend the shelf life of homemade jams (how long does homemade jam last?), pickled vegetables, and fruit preserves. By using this technique, individuals can capitalize on seasonal produce throughout the year. However, it is vital to emphasize that this method is not suitable for low-acid foods such as meats, poultry, and certain vegetables, as they require higher temperatures of pressure canning to ensure safety from harmful bacteria.
Those new to canning should adhere to the fundamentals:
Preheat water sufficiently to cover jars by at least one inch
Clean jars thoroughly before use
Ensure the acidity of foods is appropriate for water bath canning
Create a vacuum seal with proper jar immersion in boiling water
By following these best practices and adhering to safety guidelines, one can achieve successful and reliable preservation of foods. The canner must uphold cleanliness, temperature control, and proper sealing techniques to safeguard the quality and safety of the canned goods.
Remember, the goal of water bath canning is not just to store food but to do so in a way that maintains its taste and safety, providing enjoyment well beyond the season of harvest. The process is fairly simple you don't need any fancy pressure canning equipment and it can be done safely at home with just a large pot and some quality mason jars with the right equipment supplies and know-how It remains a tried-and-true method for home preservation, backed by generations of practice.
